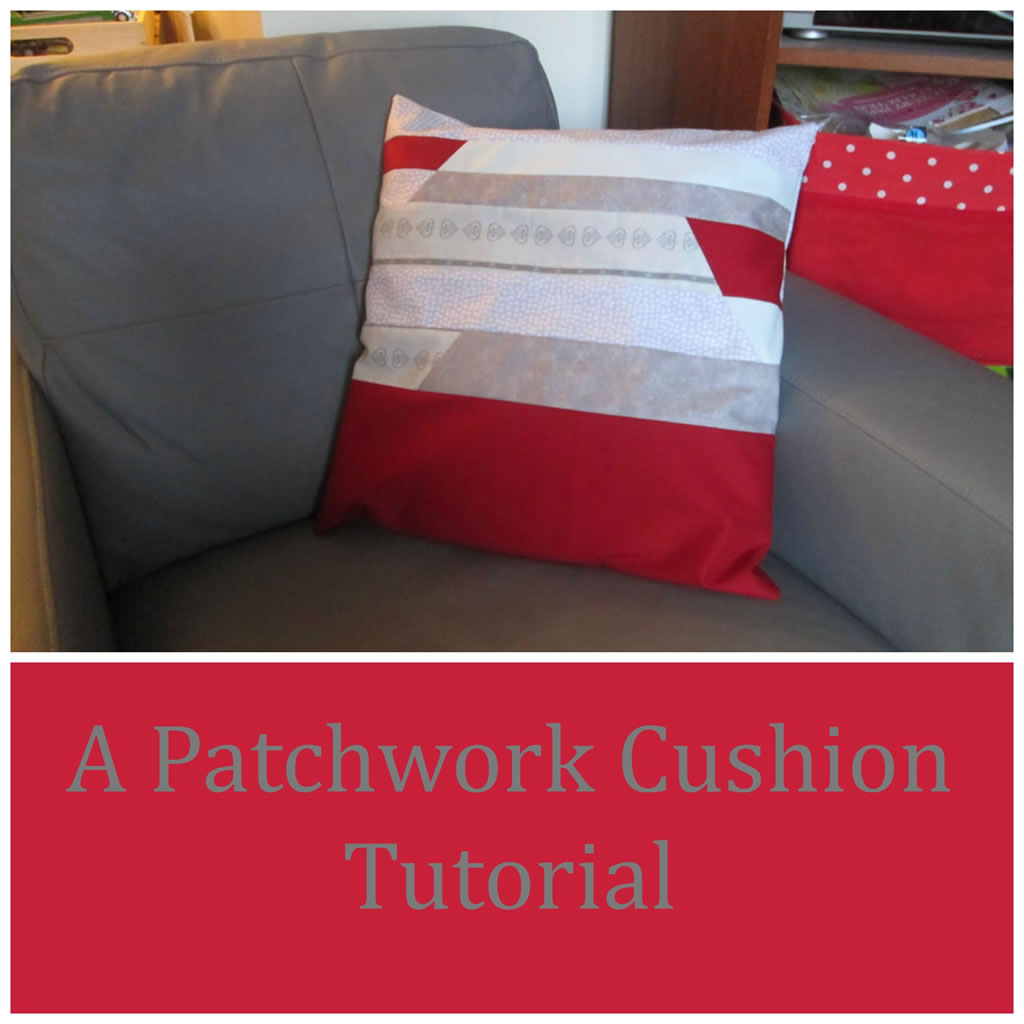
A Winter Patchwork Cushion Pattern and Tutorial
Here is a tutorial for a winter patchwork cushion.
In my previous post, I described the colour scheme I was planning to use for a winter themed project. You can read about that here!
This was photo I used to come up with the colour scheme…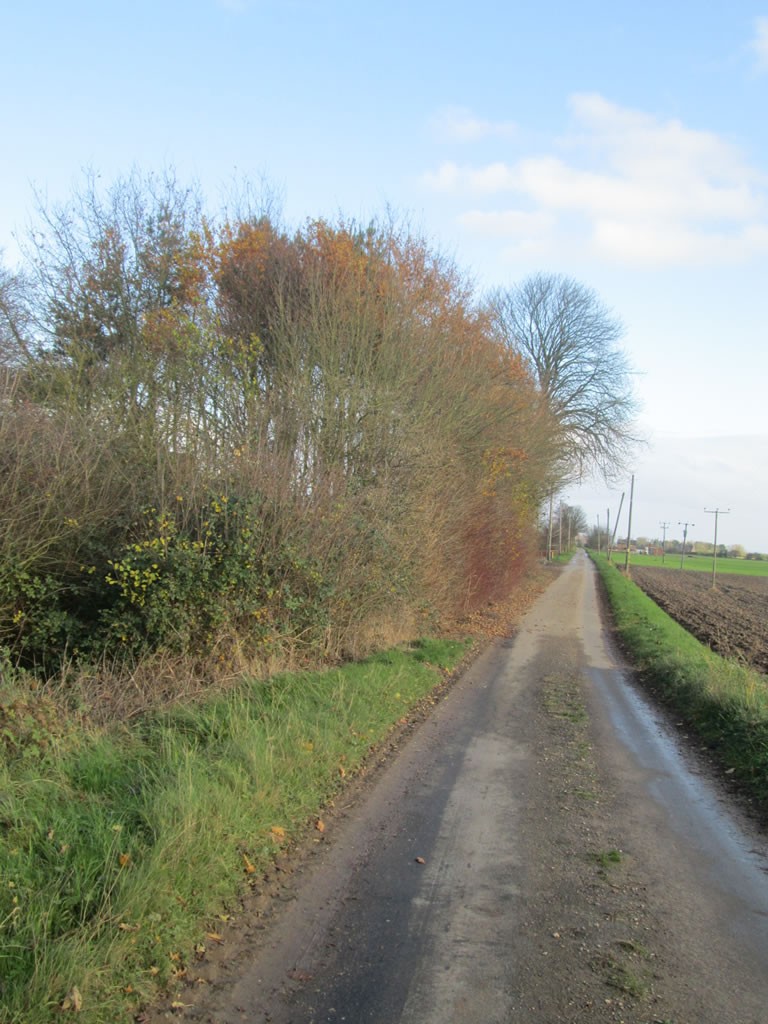 …and these are the fabrics I chose based on the some of the colours in the picture.
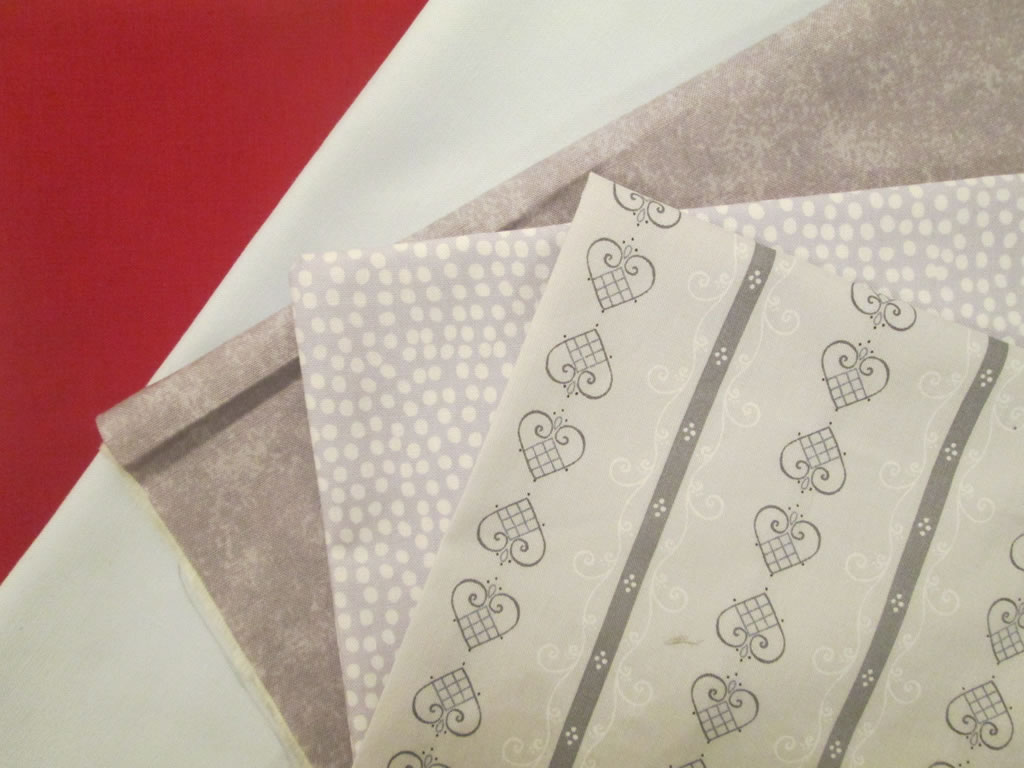
The project I had planned was a cushion. In order to use different colours and fabrics, a patchwork cushion seemed like the best thing to do.
I wanted to keep it simple (I have a habit of not finishing things if they are too complicated!) so I came up with a design that uses horizontal lines, which also reflects the flat fenland countryside that inspired the cushion in the first place.
Here are the instructions in case you want to make one yourself!
If you don’t like red and grey, I have other winter themes colour scheme ideas here!
If you would like to download the pattern as a pdf, you can do so here: winter patchwork cushion pattern.
How to Make a Patchwork Cushion
You will need: 1 fq each of 5 different fabrics, either the downloaded pattern or newspaper/ greaseproof paper, pencil and ruler, pins, sewing machine or needle and thread, digital camera (optional).
Making the Pattern
You could download the pattern I used here. It will fit a cushion pad measuring 41 cm x 41 cm. The seam allowances are not included.
Or you could make your own. Here is how!
1. To make the pattern, firstly draw a sketch of how you want it to look.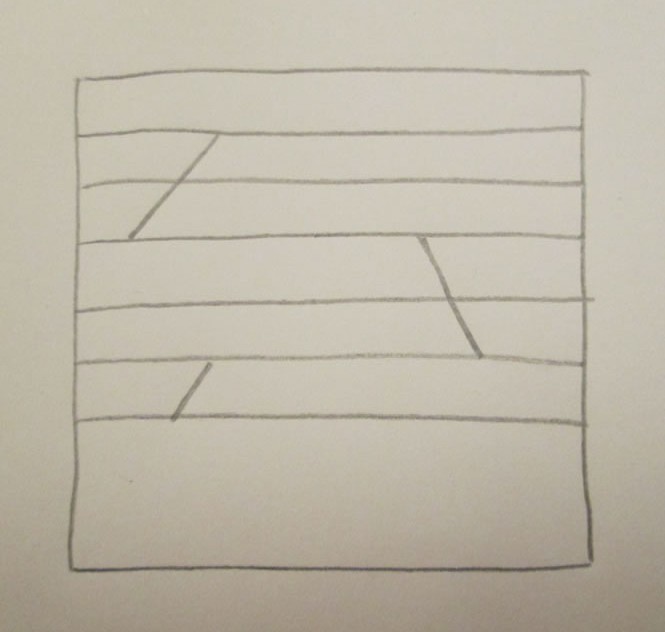
2. Then measure the cushion pad and cut a square of greaseproof paper or newspaper the same size.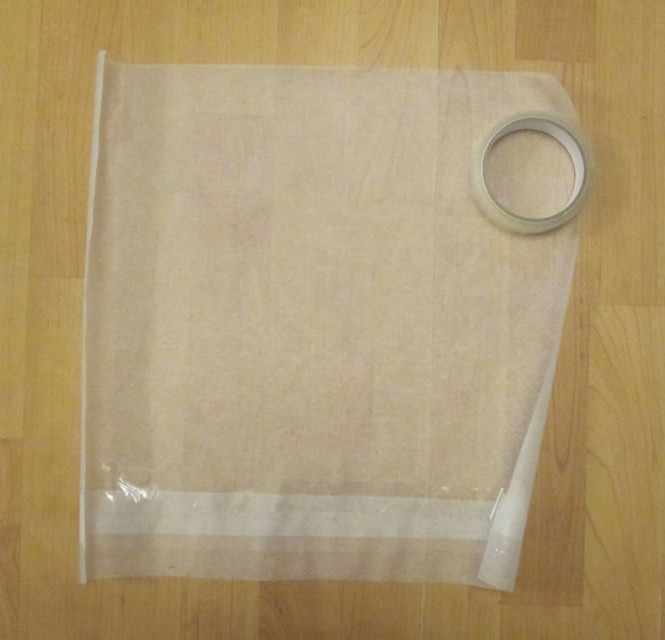
3. Depending on how particular you are, you could either just draw it onto the square or use maths to scale it up. My sketch was roughly a 6th of the size of the cushion pad, so I multiplied the dimensions of the sketch by 6.
4. Number the sections. 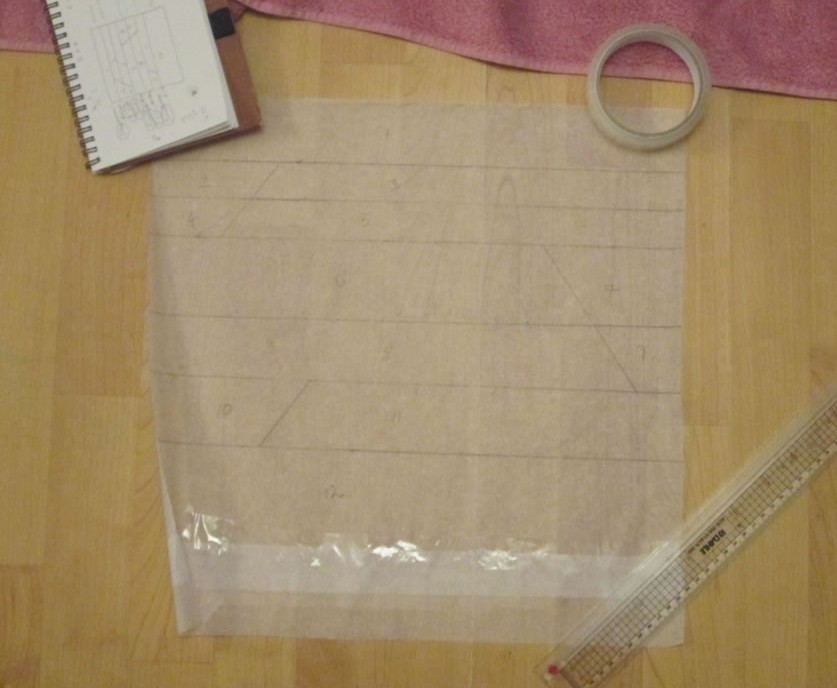 This is very important! When you have numbered them, take a photo and also number the corresponding sections on your sketch.
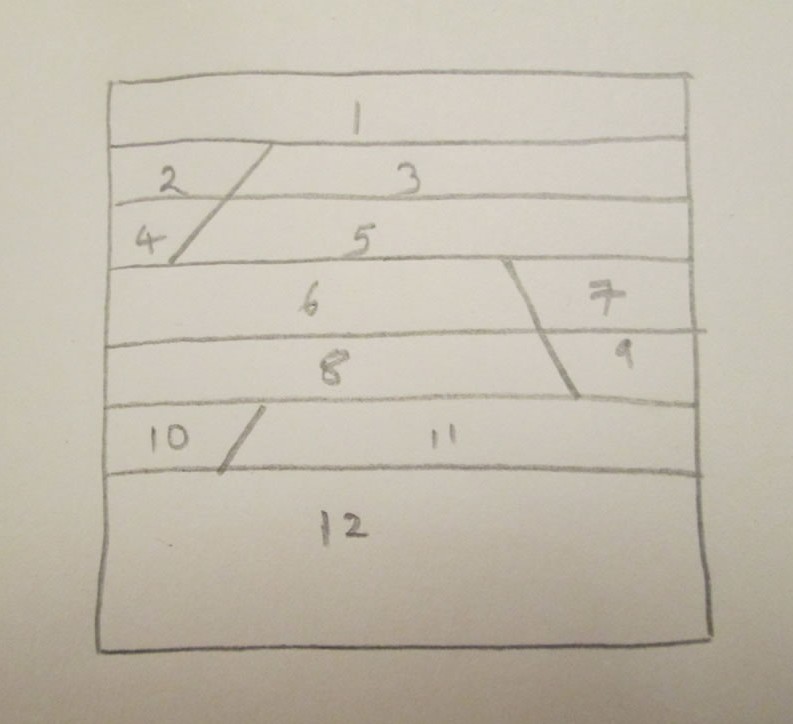
Making the Cushion
1. Cut out the pieces for the front of the cushion. Add 1 cm all the way around each piece for the seam allowance.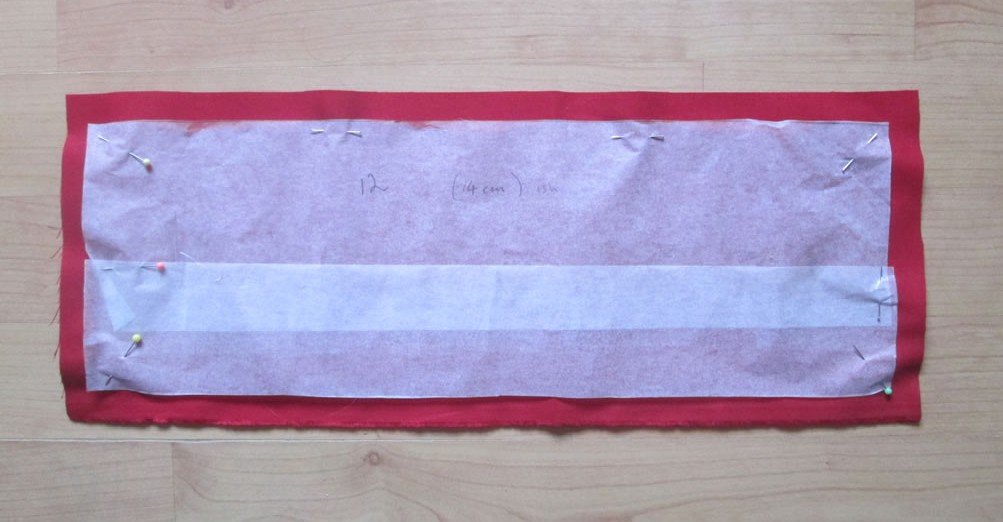
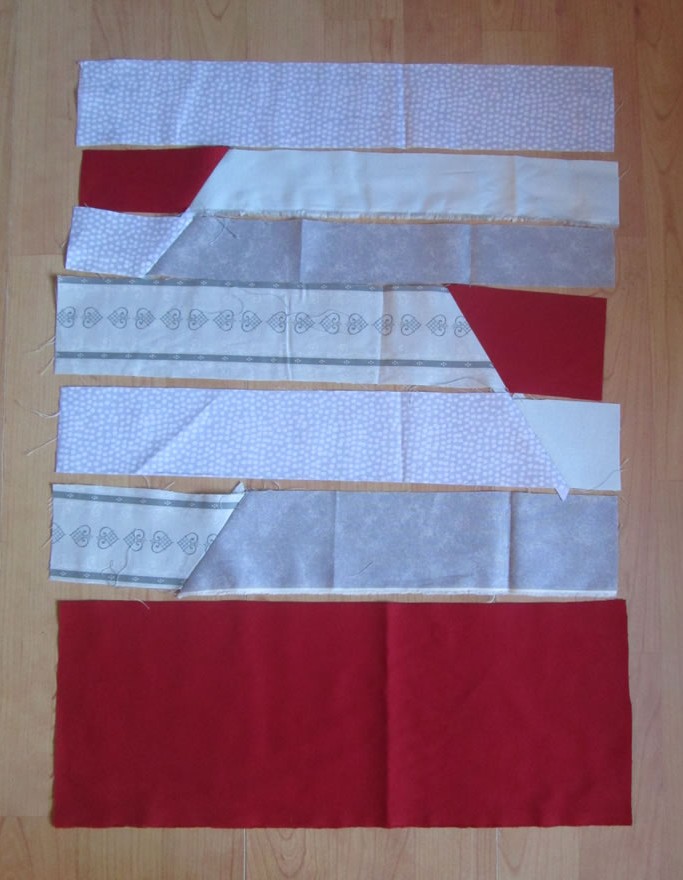
2. Arrange the pieces and take a photo!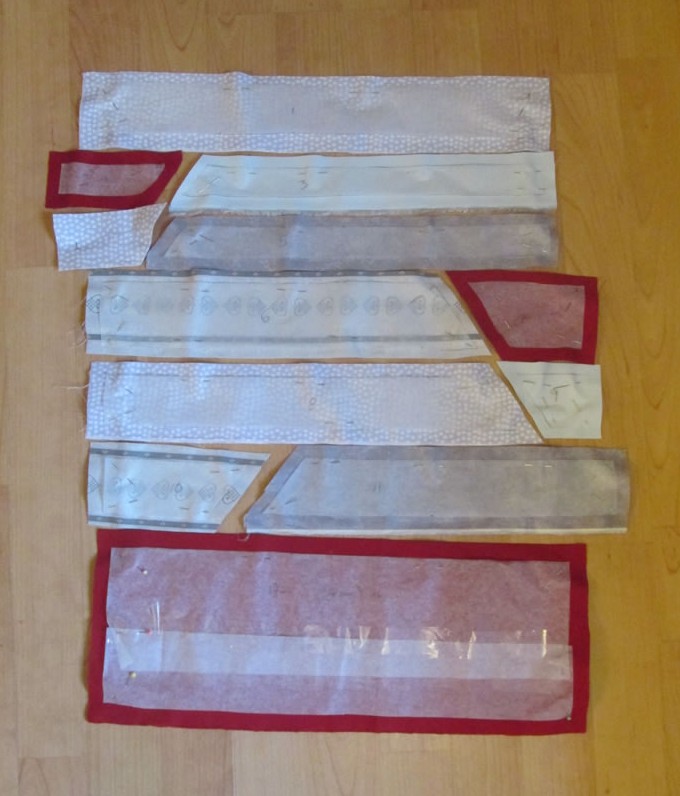
3. Begin to sew the pieces together. Start by joining the rows that have 2 pieces so that all your rows are complete. Remember that pieces cut on a diagonal will need to be joined at an angle! Trim the seams and press them flat.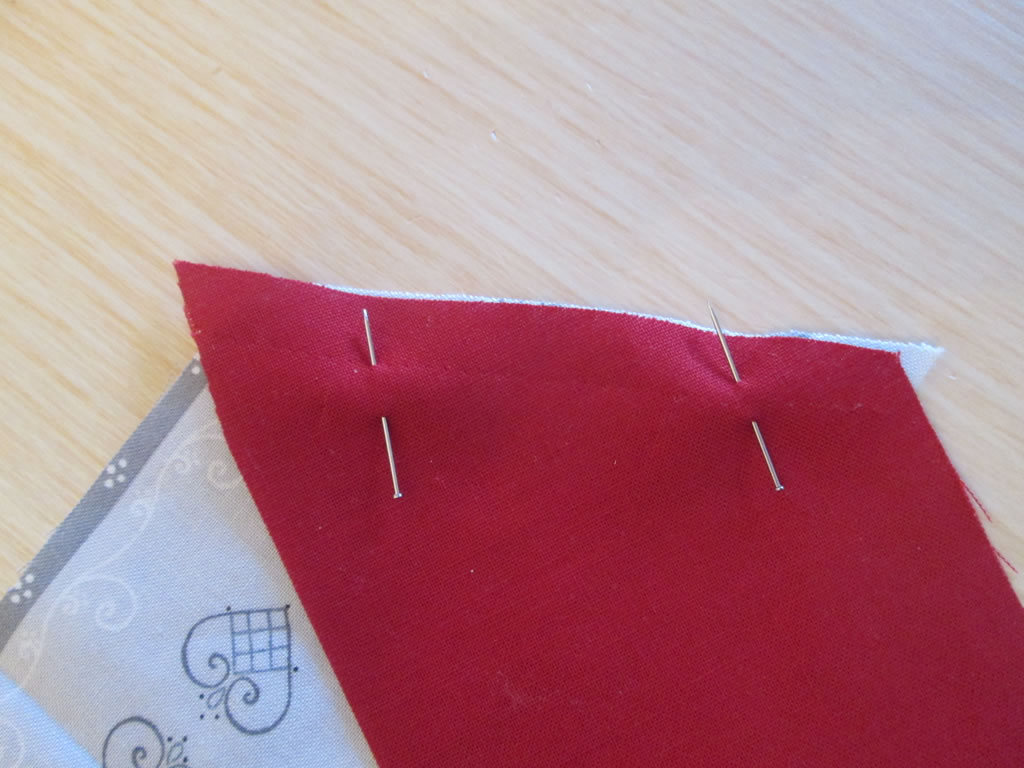
 4. Join the rows together, trimming and pressing seams open as you go.
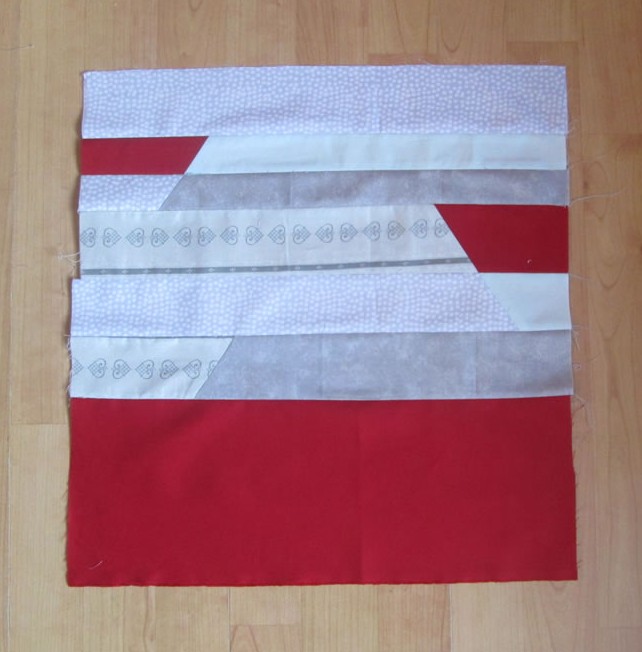
Now the front section is completed!
5. Cut 2 pieces of fabric the same width as your now completed front piece and about 2/3 of the height.
6. Hem each piece along one of the wider edges.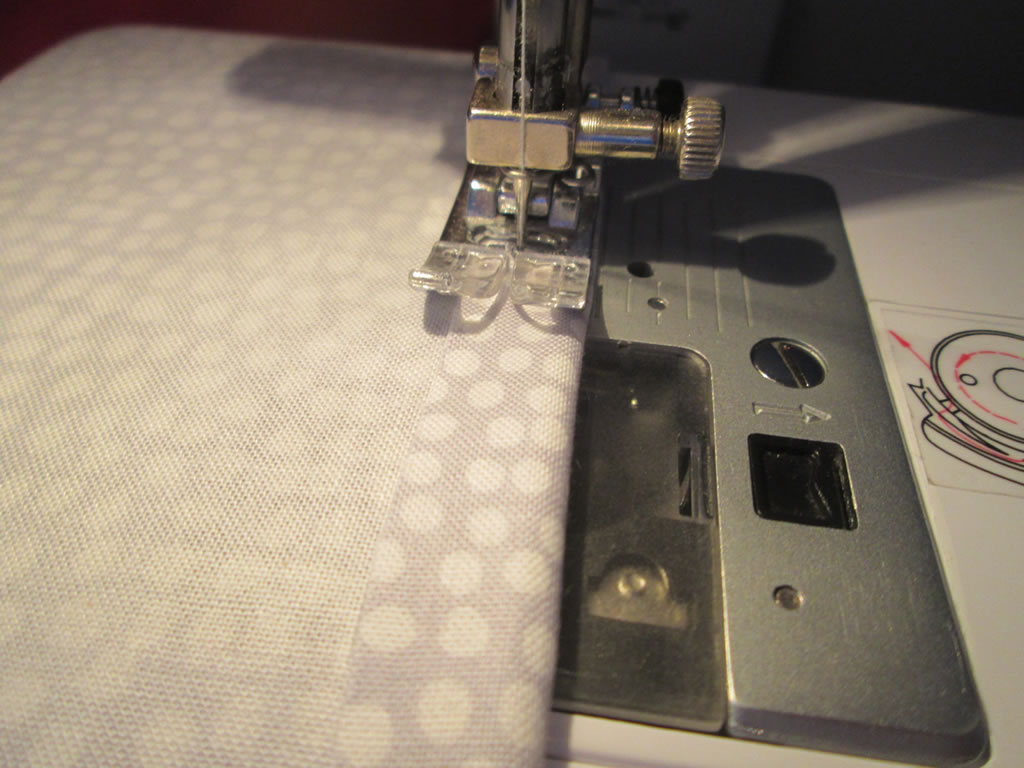
7. It’s time to sew all the pieces together! Layer them up as follows:
Front piece right side up
Top back piece wrong side up (so right sides are together) with the top level with the top of the front piece.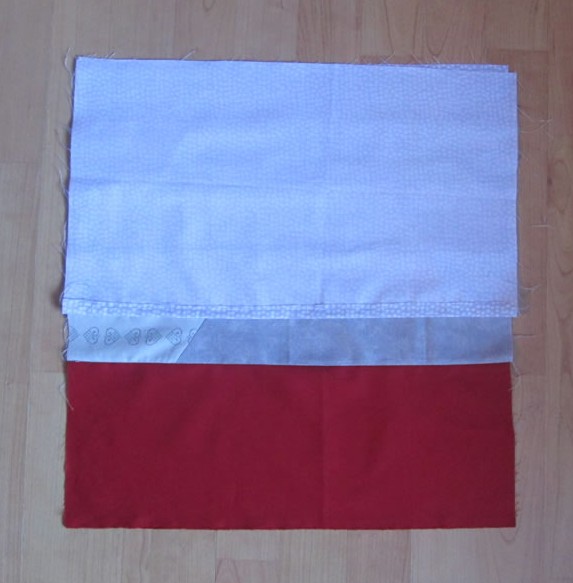
Bottom back piece wrong side up with the bottom level with the bottom of the front piece.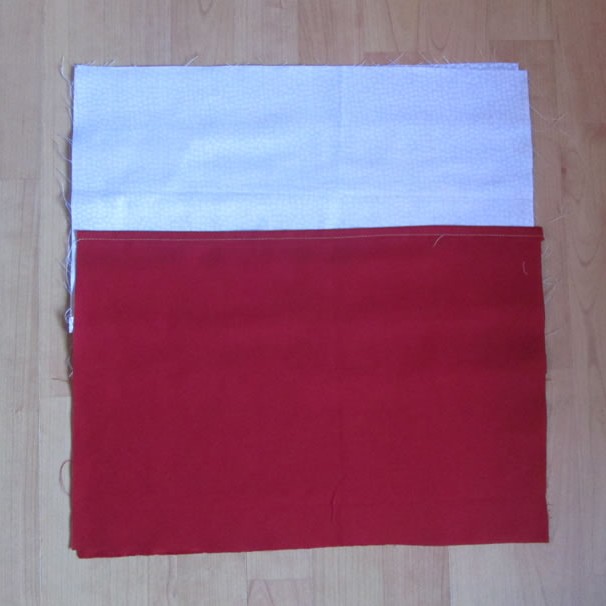
Pin together and sew all the way round.
8. Trim seams and cut the points off the corners. Turn out and stuff a cushion pad inside.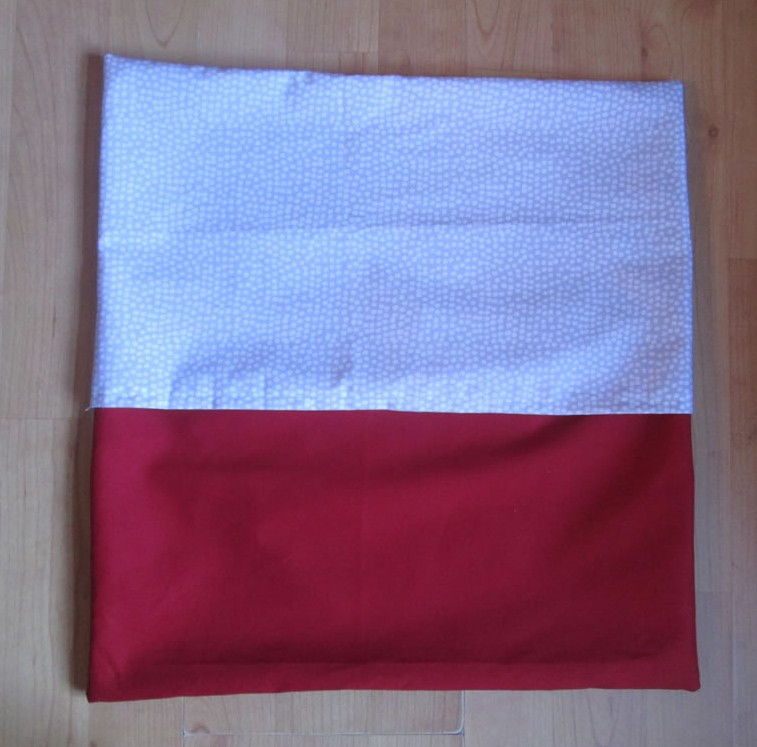
Tips

Trim and press seams open as you go.
when joining pieces diagonally, place them right sides together at right angles to each other. The edges need to be together where the seam starts and finishes. If you line the pieces up at the corners they will look like this and you will be reaching for the unpicker just as I was!  They need to look like this.
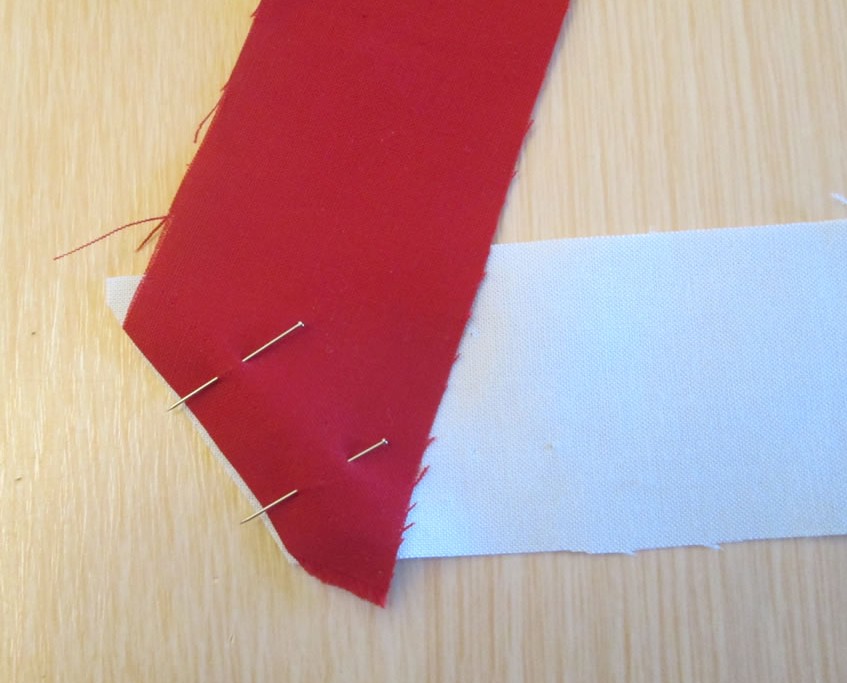
When joining the horizontal pieces, line up the diagonal joins first before pinning together. Remember to line them up where you will be sewing the seam!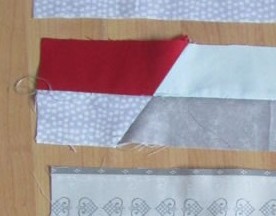
Taking pictures with a digital camera will help you to remember which bits go where. You might think you will remember, perhaps you will, but I also thought this when I attempted to make a car seat cover, a project that went horribly wrong! You can read about that here!
If your cover turns out to be too large for the pad, just sew round the outside of it again slightly further in.
If the cover is too small, try the pad anyway. If it’s just a little bit too small it will just make the cushion look nice and plump. 🙂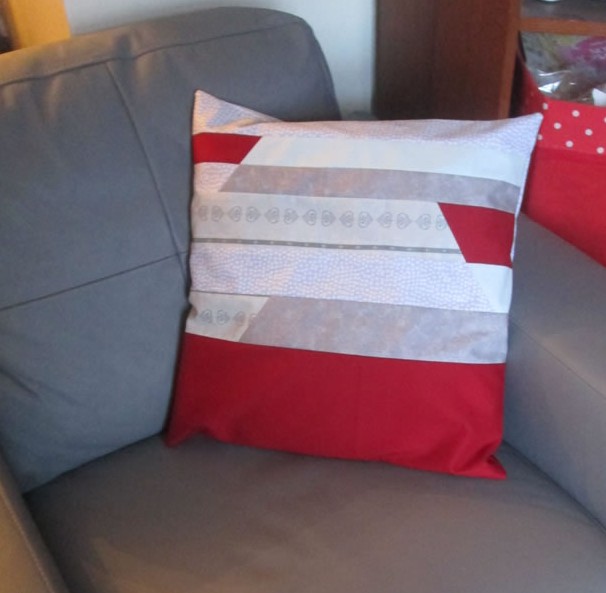
The fabric I used came from Plush Addict. Here is a link for some cushion pad
and here is a link for pattern paper
(these are affiliate links).