
A Quick and Easy Shopping Bag Tutorial
Shops in England are now required to charge for carrier bags and this causes me a problem.
I know that carrier bags are bad in lots of ways. Litter, polluting the seas, killing turtles, biodegrading on the way home, life without carrier bags is probably better.
However, like lots of people, I have many uses for carrier bags. I use them as bin bags, for dirty nappies and for clearing up cat sick. I put wellies in them and I’ll pop one over the wheels of the buggy if they are muddy and I need to fold it up. I keep a couple of plastic bags in my bag for wet clothes and stones, feathers, pine cones and conkers. My plastic bags are all used more than once, even though I only usually use them once for shopping.
So I have always used new carrier bags for my shopping.
Thankfully this arguably first world problem is easily solved by doing some sewing. Yay! 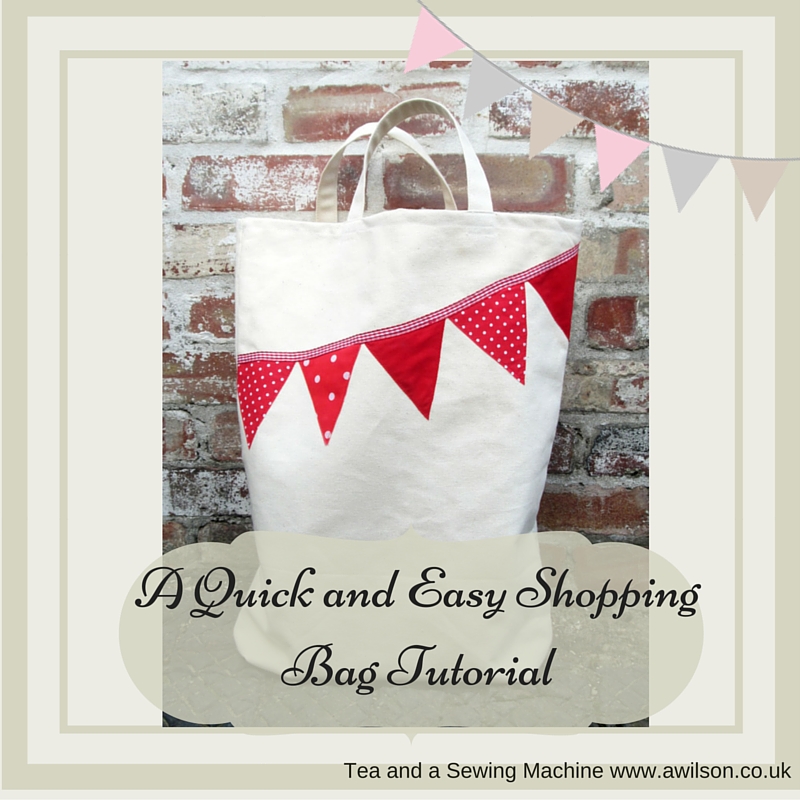
How to Make a Quick and Easy Shopping Bag
When choosing which fabric to use for this, obviously it’s going to need to be strong. Canvas or duck cotton would be a good choice. If upcycling is your thing, an old table cloth would do.
If you do choose to use lighter fabric like polycotton, you could either line it or just use it to carry stuff that is not too heavy.
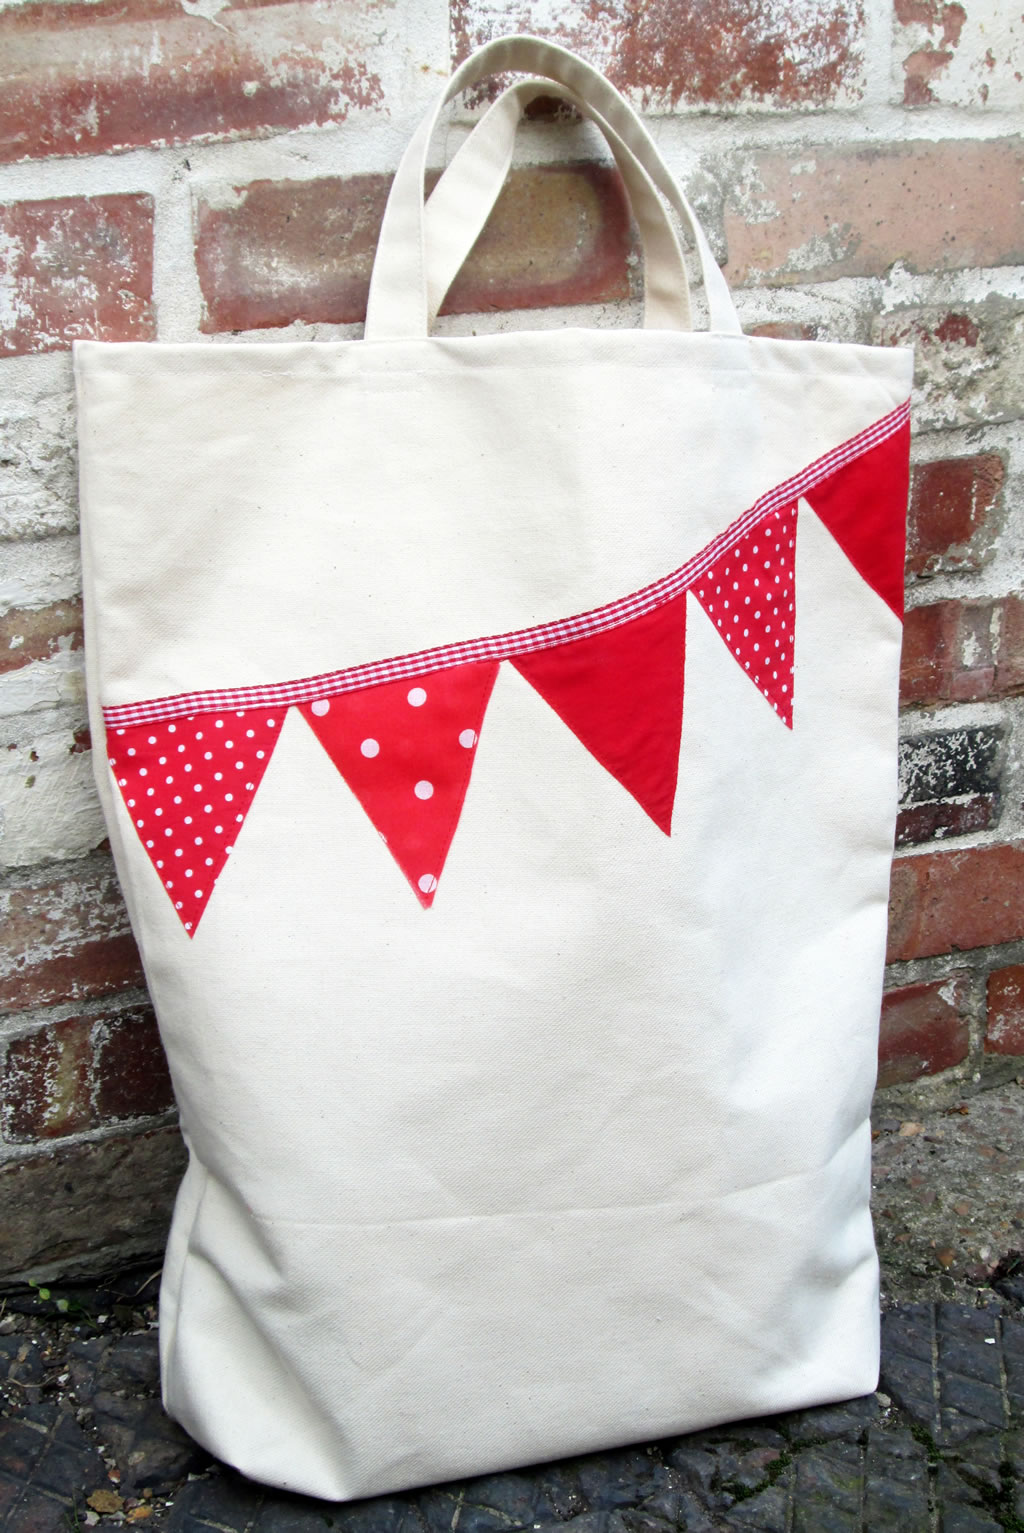
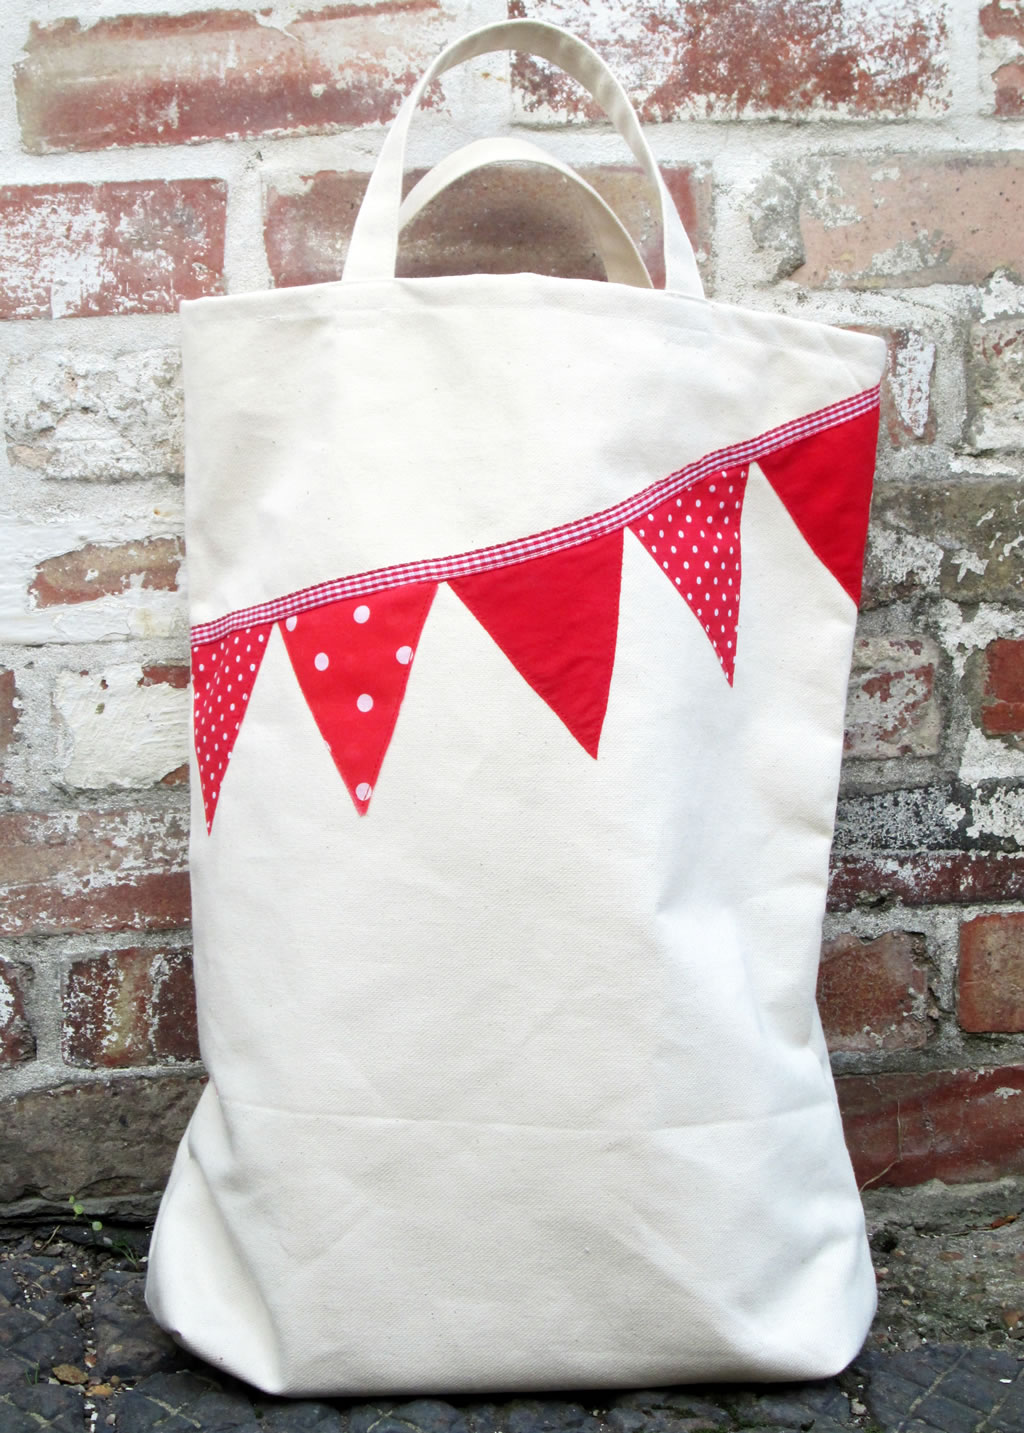
1. Cut a rectangle of fabric. Good dimensions would be the same width as a Lidl bag (or other bag for life) and twice as long, plus seam allowance. Mine measured at 48 cm x 120 cm.
If you are using fabric with a directional print, cut 2 rectangles and sew them together.
2. If you do not have an overwhelming urge to cover everything in bunting, you can skip this bit and go straight to Step 3.
To make the bunting, cut a rectangle 9 cm x 10 cm. Fold in half lengthways. Cut diagonally from the folded corner to the corner opposite. Use this triangle to cut 5 triangles. 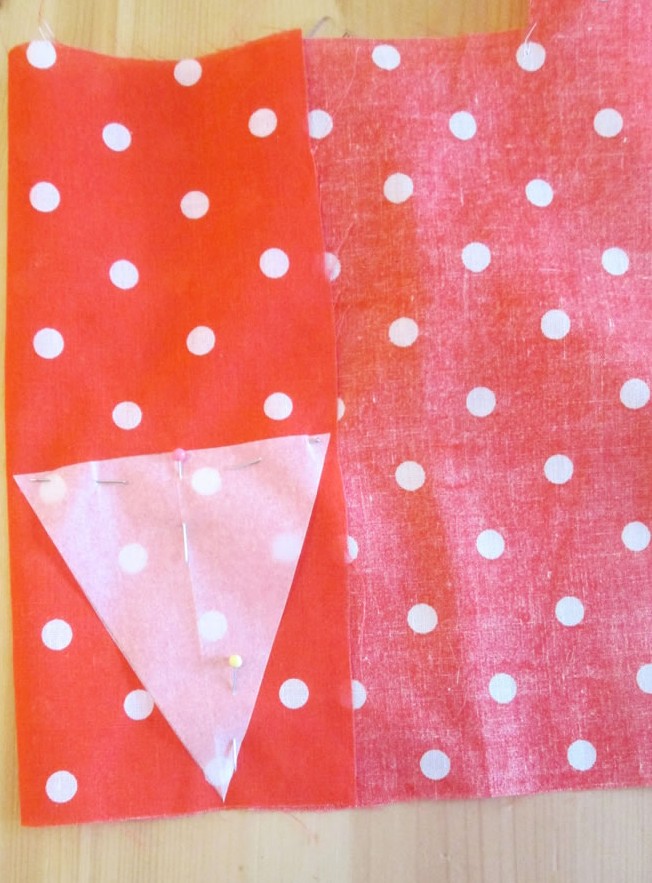 Position them onto the fabric, allowing for seams. Pin in place, then applique them to the fabric.
  Sew a piece on of ribbon so that it covers the tops of the triangles.
3. With the right sides together, pin the side seams then sew them up.  Trim the seams. Finish the seams with zigzags, or an overcasting stitch if you don’t have an overlocker. This could be the difference between getting all of your shopping home and the bag breaking and veg and milk and stuff ending up all over the road!
4. To make the boxed corners, press firmly on the fold at the bottom. Squash one of the corners flat so that the seam is aligned with the fold at the bottom. Measure up 6 cm from the corner. Pin.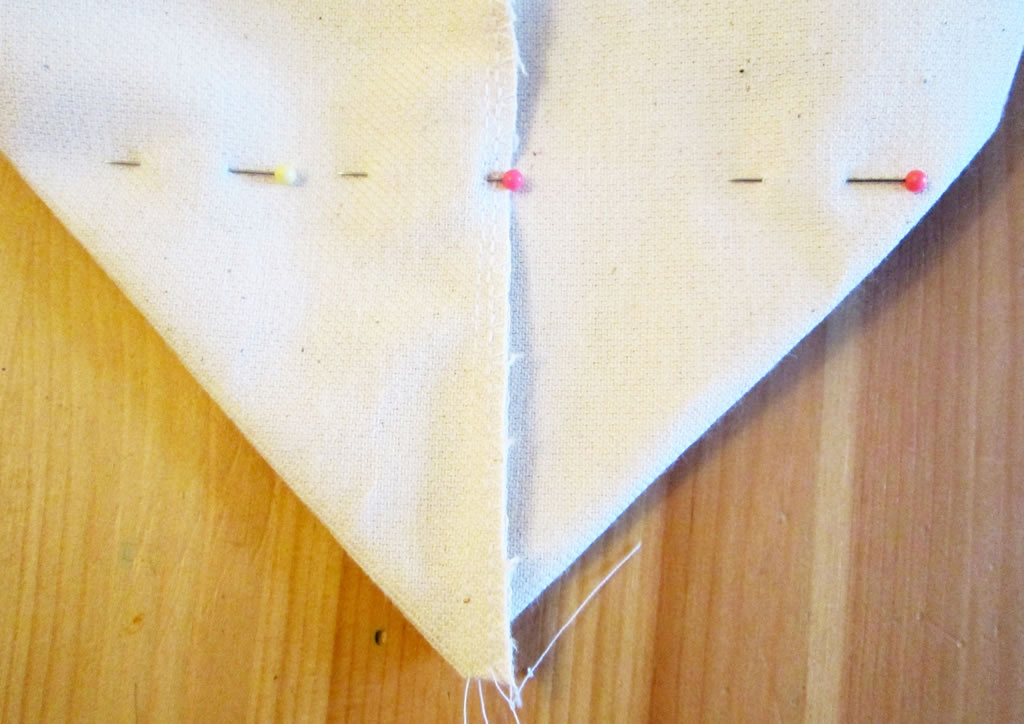 Sew across the corner. Cut the corner off.
 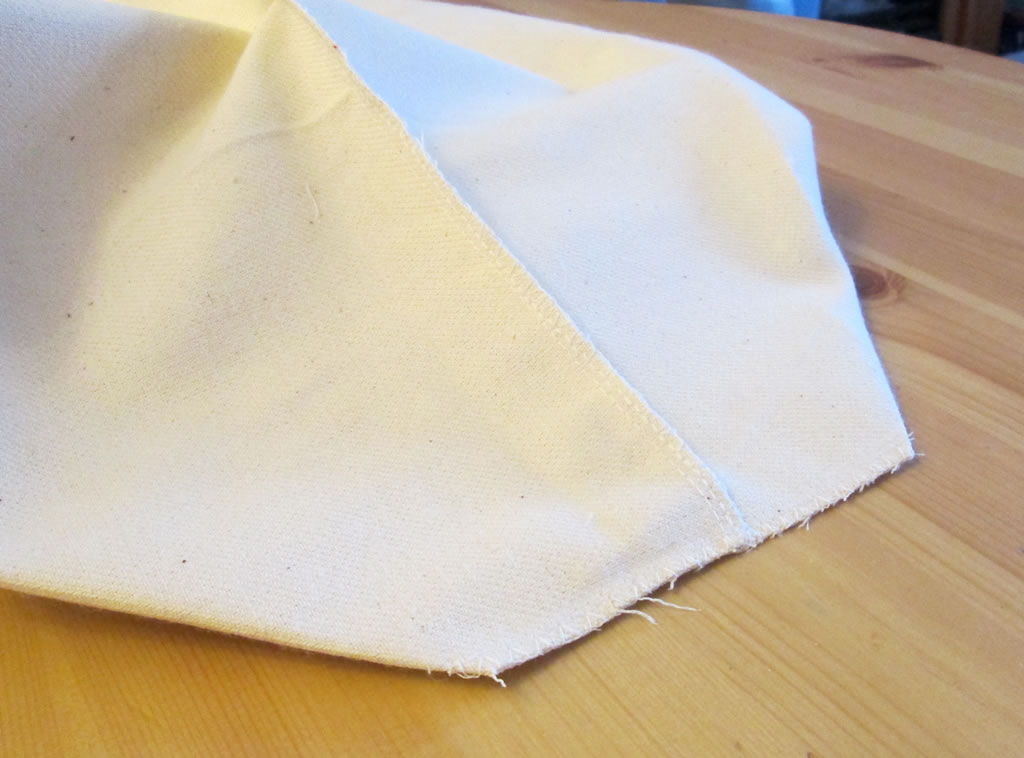 For more detailed instructions for making boxed corners, visit this tutorial here.
5. Hem the top of the bag.
6. To make the handles, cut 2 pieces of fabric 40 cm long and 10 cm wide. Fold in half lengthways.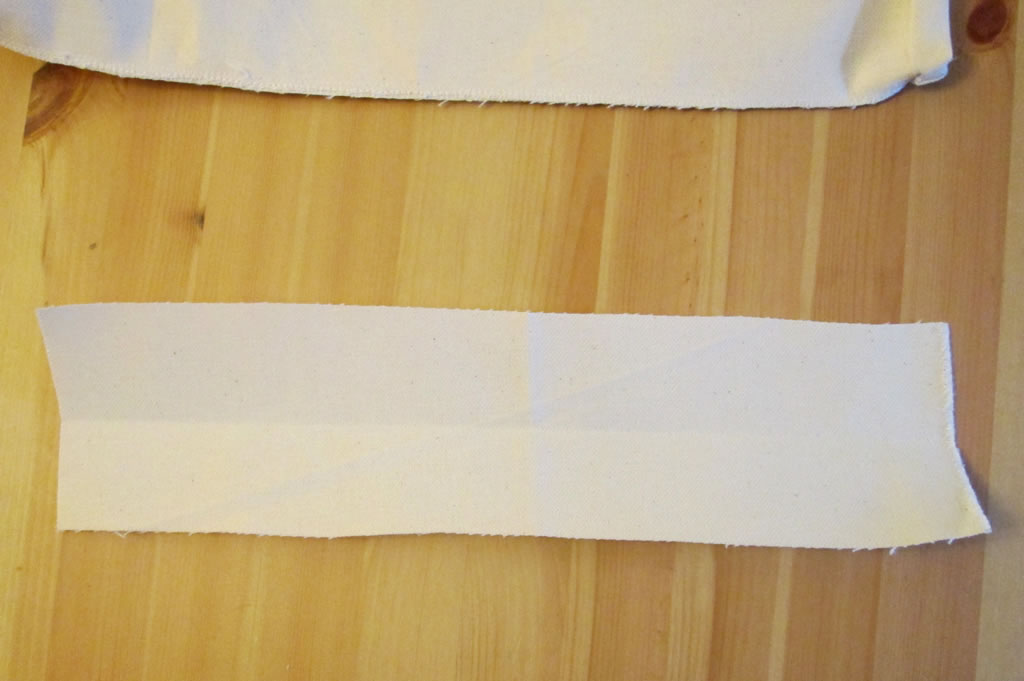 Then fold the outer edges into the middle.
 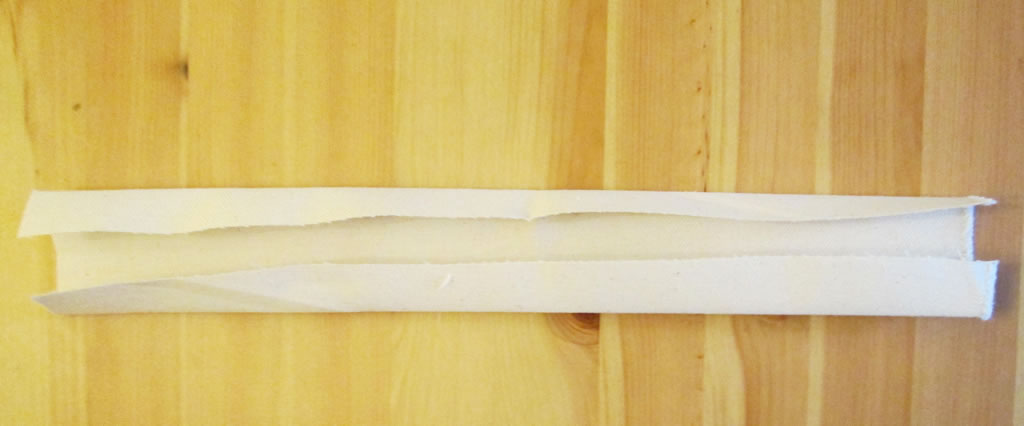 Fold in half and pin. Sew. I like to sew along both edges so that it looks symmetrical. Repeat for the other handle.
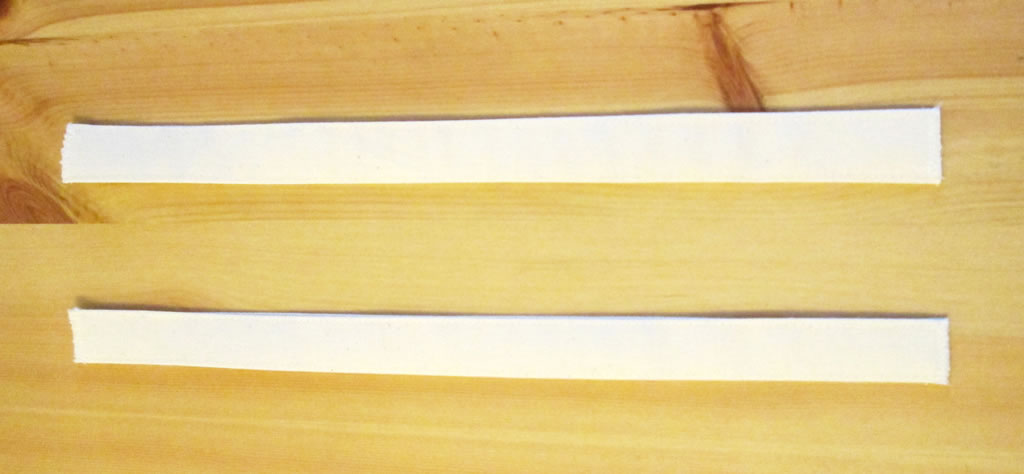
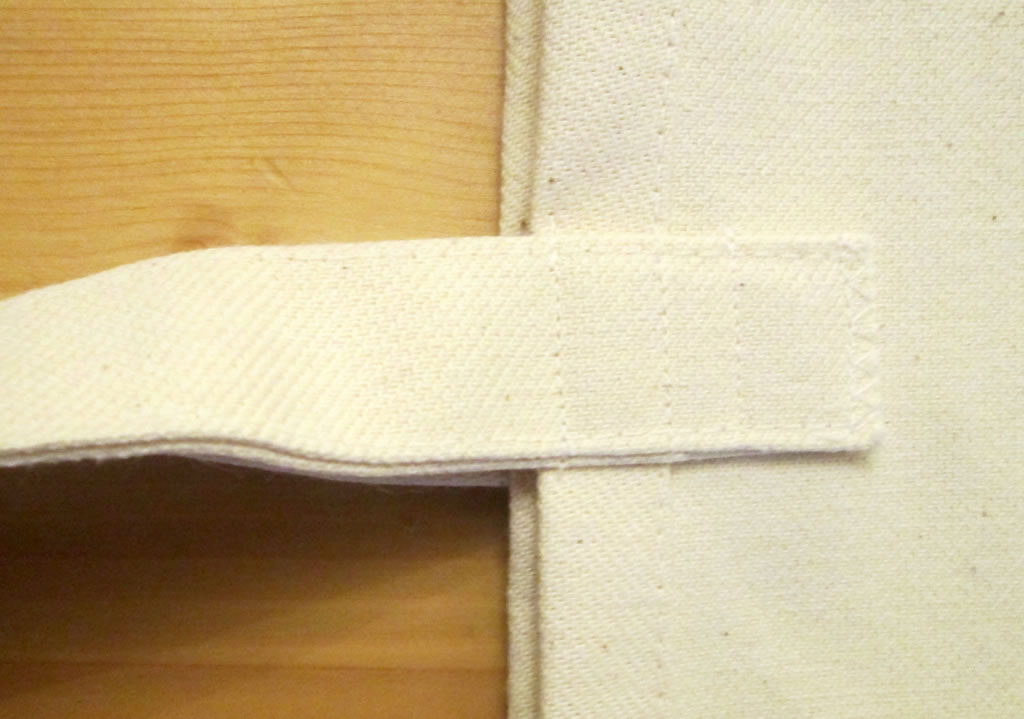
7. Sew the handles to the bag. You will need to sew them on in a few places to ensure that they stay on when the bag is full of shopping.
Now all you have to do is remember to take it with you when you go shopping!
Tips
Heavy weight fabric will be strongest, but other fabrics can be made stronger by adding a lining.
Ripstop will make good bags that are both strong and waterproof.
You could make bags in different sizes.
Decorate them as you like to jazz them up.
If you will be carrying your shopping a long way, add some wadding to the handles and quilt them to make them more comfortable.
They make great last minute Christmas gifts and are a good way of using up fabric that you don’t know what to do with!
Linking up here:


Good post!
Lovely bag and great idea about the bunting. I have so many scraps! I would do a French seam for strength though and then not trim the boxed corners. They just need a few hand stitches to hold them to the bottom of the bag.
Thanks, good advice about the seams. French seams would definitely be better 🙂
This is a really cute bag! I could definitely use a shopping bag. Thanks for sharing at Submarine Sunday!!
Thank you!
What a great idea and another lovely tutorial too.
Thanks 🙂
Very nice project. In Italy we have the same problem of carrier bags and this a beautiful solution!! Thanks for sharing.
Hugs, Cri
Thank you!
Love it! So cute and functional too, and thanks for sharing on craft schooling Sunday!
Thank you!
Wonderful! A great size for shopping and it looks so bright and cheerful!
Thank you! It turned out huge!