
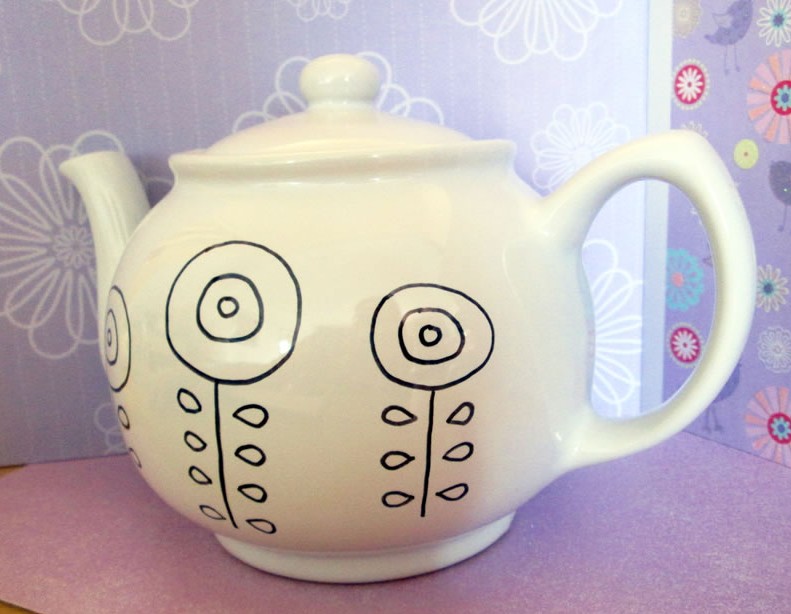
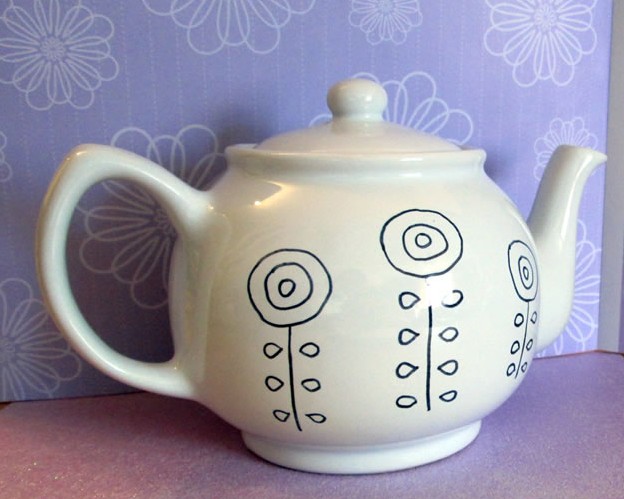
DIY Sharpie Teapot
Making a Sharpie teapot is something I’ve wanted to try for ages!
Ever since I saw some beautiful cups somebody very talented had decorated with a blue Sharpie on a link up somewhere.
I opted for a teapot because I drink gallons of the stuff.
The only slight problem was that I can’t really draw! Making things is fine but drawing usually is not. However, I decided to keep it simple and just to see how it turned out.
We decorated the living room a while ago (it’s not quite finished!) and I made some new curtains. 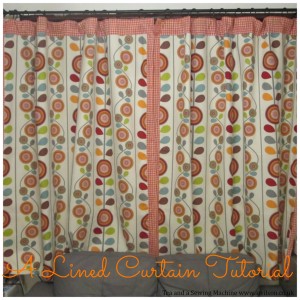 I chose the fabric because I loved the flowers, so I decided to do something similar with the teapot. My other source of inspiration was this lovely Orla Kiely decorated bus from The Year of The Bus.
 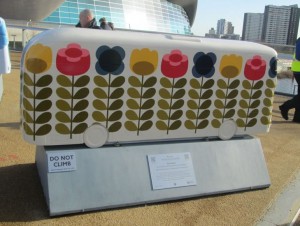 I love her designs and, without wanting to copy, I wanted to do something similar.
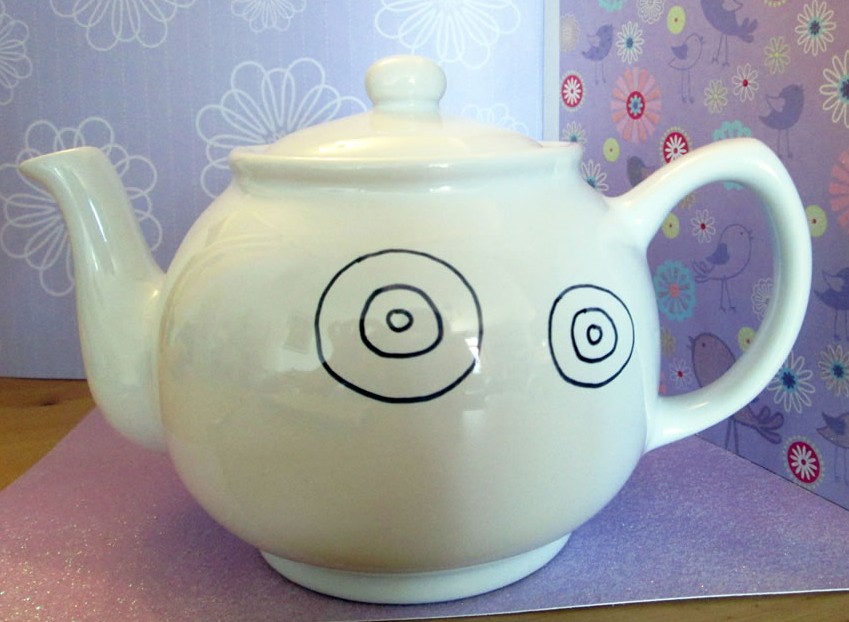
I drew a design on paper first. As you can see I kept it very simple!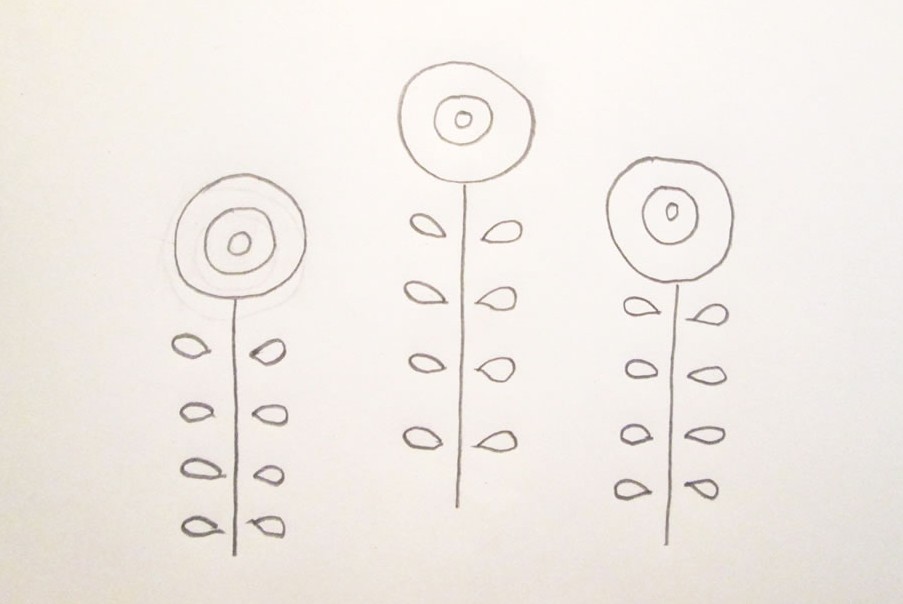
Next I wanted to check how easy it would be to remove the Sharpie ink from the teapot. I used baby wipes as these things remove all sorts of stuff!
Thankfully the baby wipes removed Sharpie ink even after it had dried, so I was free to make plenty of mistakes!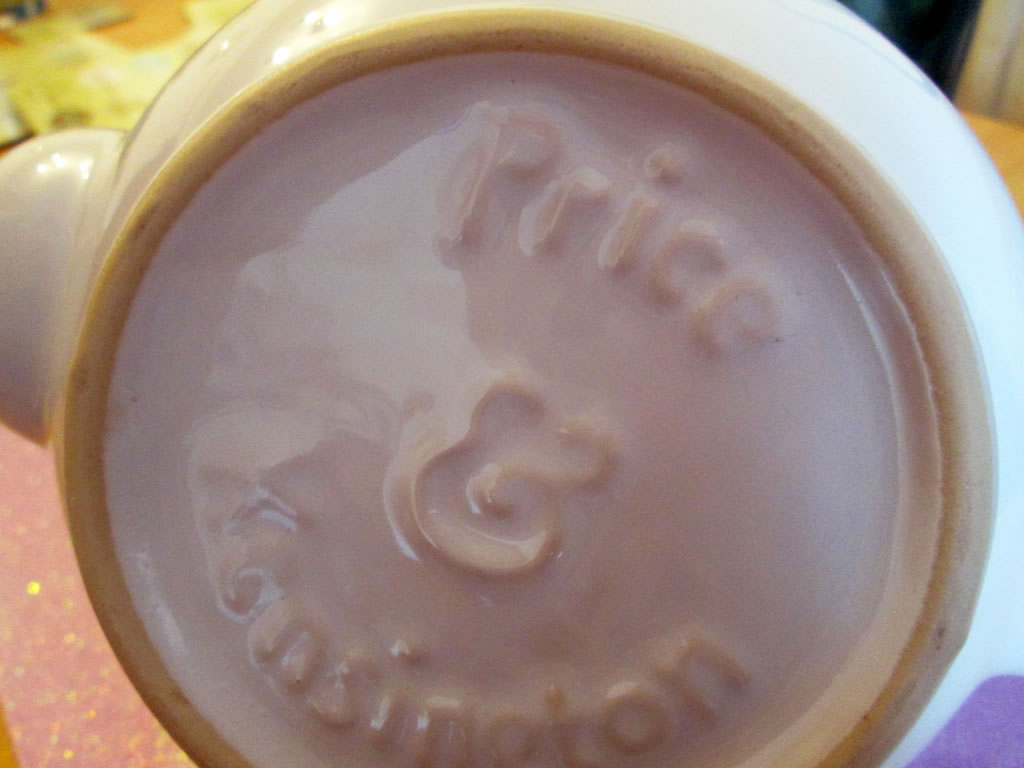
Then all I had to do was draw the design onto the teapot! I started with the flowers, then I did the stems, then the leaves.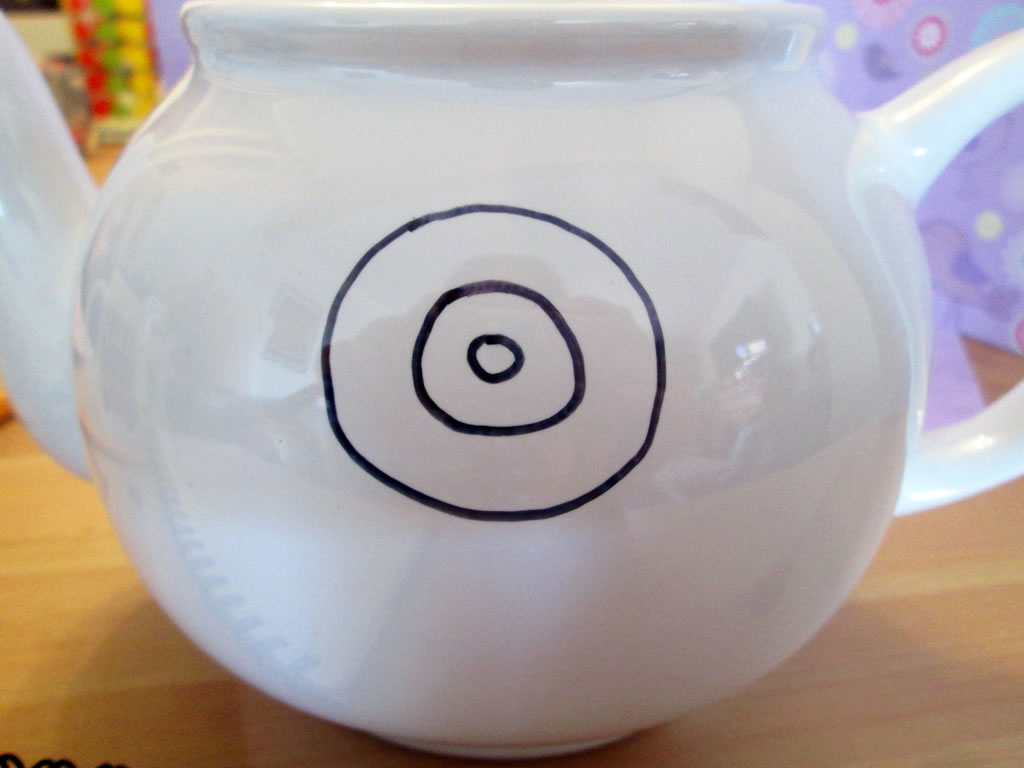

I did have to have several goes at it, but I’m pleased with the results!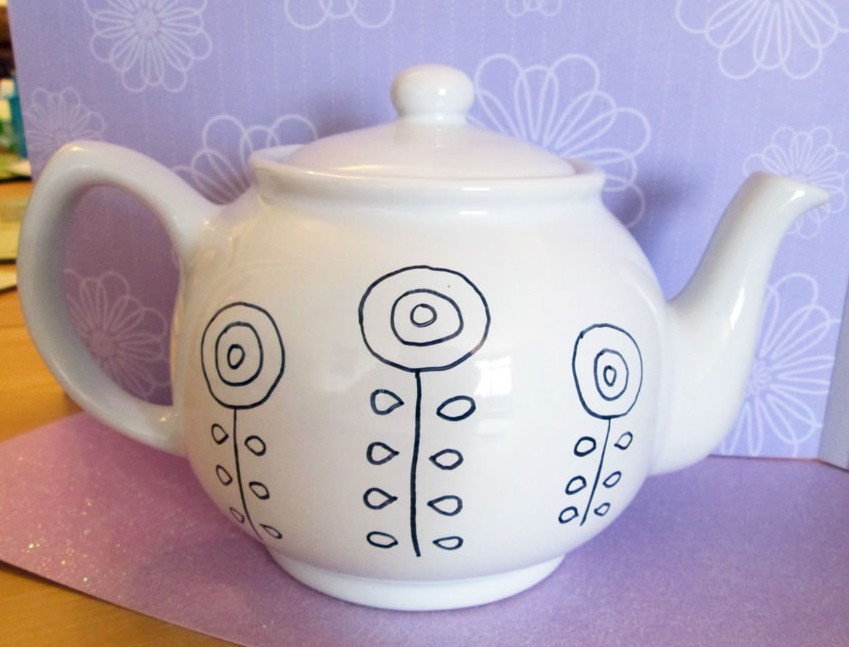
The last thing to do was to put it in the oven on 200 degrees C for half an hour, then let it cool completely.
I like the black and white but I might colour them in. What do you think?
Here are some tips if you want to try this yourself!
- If you have small children, wait until they are asleep. It is very difficult to draw on a teapot while a two year old is climbing all over the table.
- Keep a supply of baby wipes to hand.
- If you are right handed, start with the design at the top right hand corner and work left to right so you don’t smudge your design.
- I found it easiest to draw on the teapot with it on my lap. However this will only work for the first side.
Happy crafting! xx
Lovely. Thanks for sharing.
Thank you
Such a cute idea! With so many possibilities! Thanks for the tips, especially the baby wipes- I am a bit of perfectionist, so I think I would be using those a lot!
The first thing I did was check that I could rub out my mistakes!
Such a cute idea and a great design. Reminds me of Tomie dePaola. 🙂
Thank you:)
Ever wanted to decorate your own tableware with a Sharpie/ Here’s how! http://t.co/GoSnHxVAs3