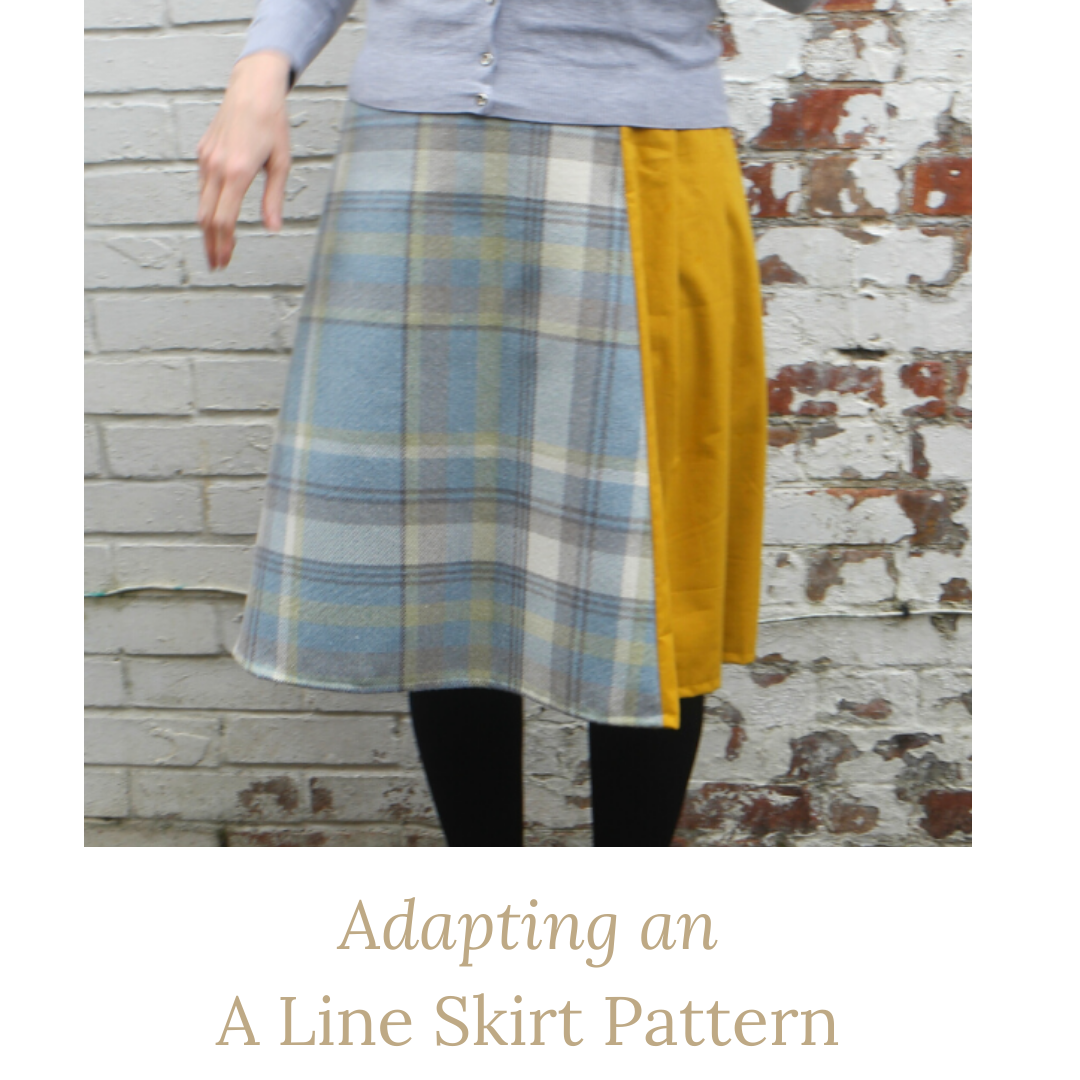
Adapting an A Line Skirt Pattern
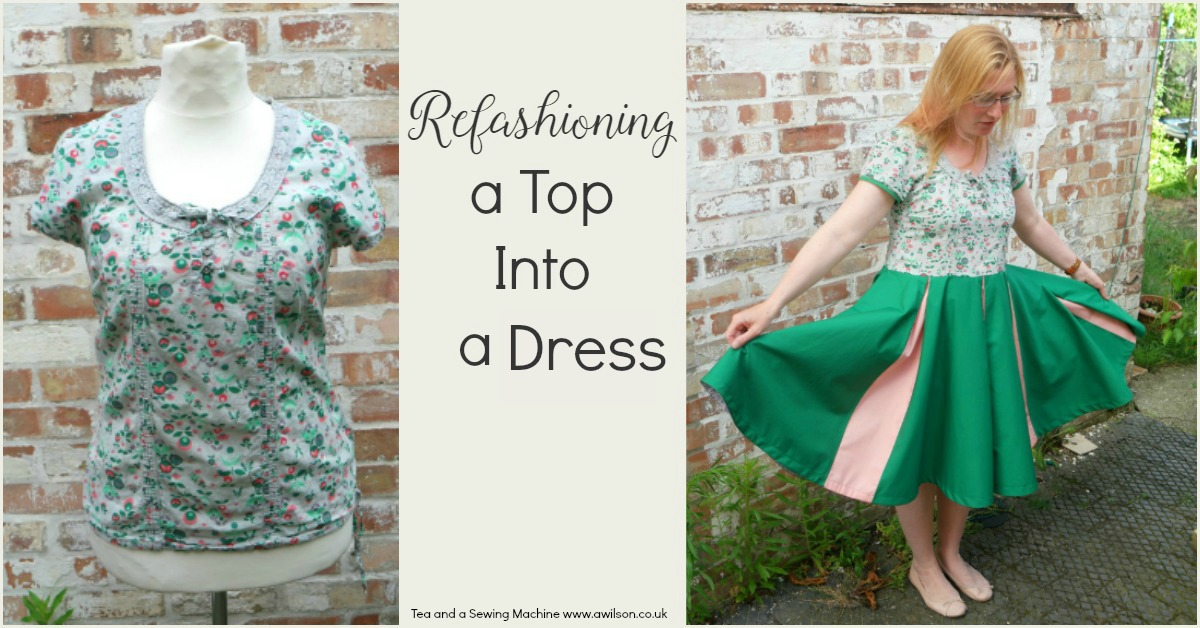
The other week I showed how to draft a pattern for an A line skirt. It’s here if you missed it! Although A line skirts are just fine as they are, I had plans for adapting an A line skirt pattern to make it a little bit different….