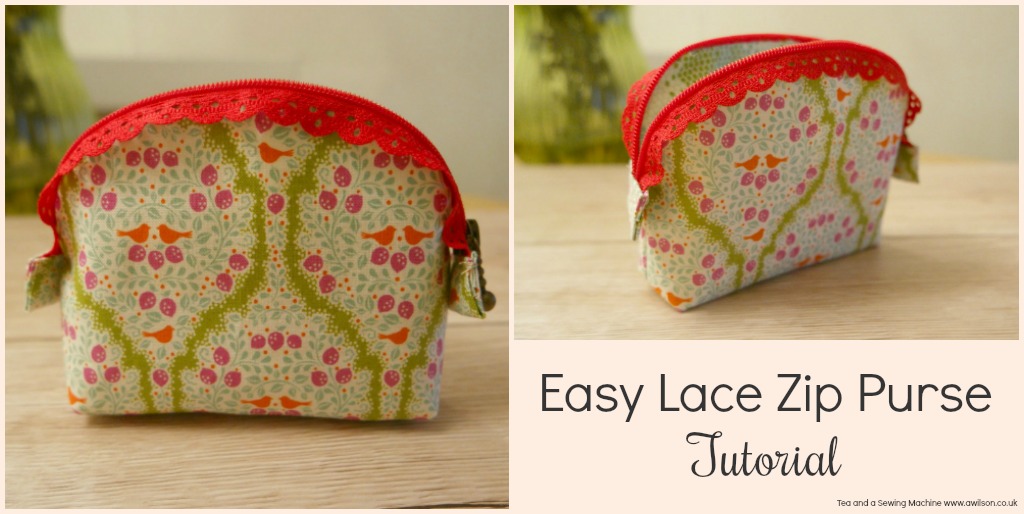
Easy Lace Zip Purse Tutorial
Easy Lace Zip Purse Tutorial Although I know of people who will go to some lengths to avoid sewing with zips, it’s difficult to avoid them altogether, especially if you like to make lots of different things. Lace zips are a fab idea. They turn something functional into a…