
How to Add a Magnetic Snap
The first time I made a bag using a magnetic snap was about 18 months ago when I made my Tardis bag, so called because it was much bigger than it seemed!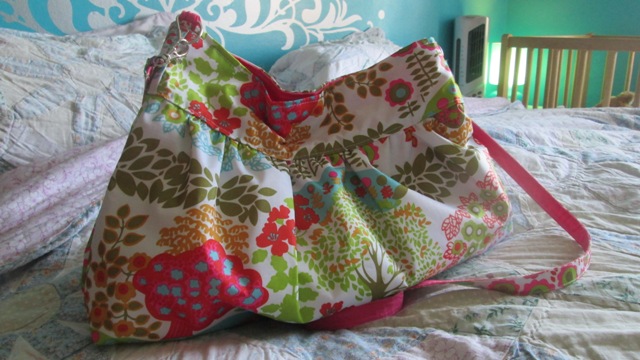
Before that i just made bags that didn’t close! Magnetic snaps seemed like some kind of wizardry only available to people who were experts in bag making.
Having a bag that does not close is not a good thing. Apart from anything else, stuff gets wet. Zips are fine sometimes but they can be awkward, especially if you are also using you hands to do other things, like hang on to a todder so they don’t run into the road.
Thanks to the wonder that is the internet, even if you live in the back end of nowhere, you can get magnetic snaps. And without even having to leave the house. Hurrah!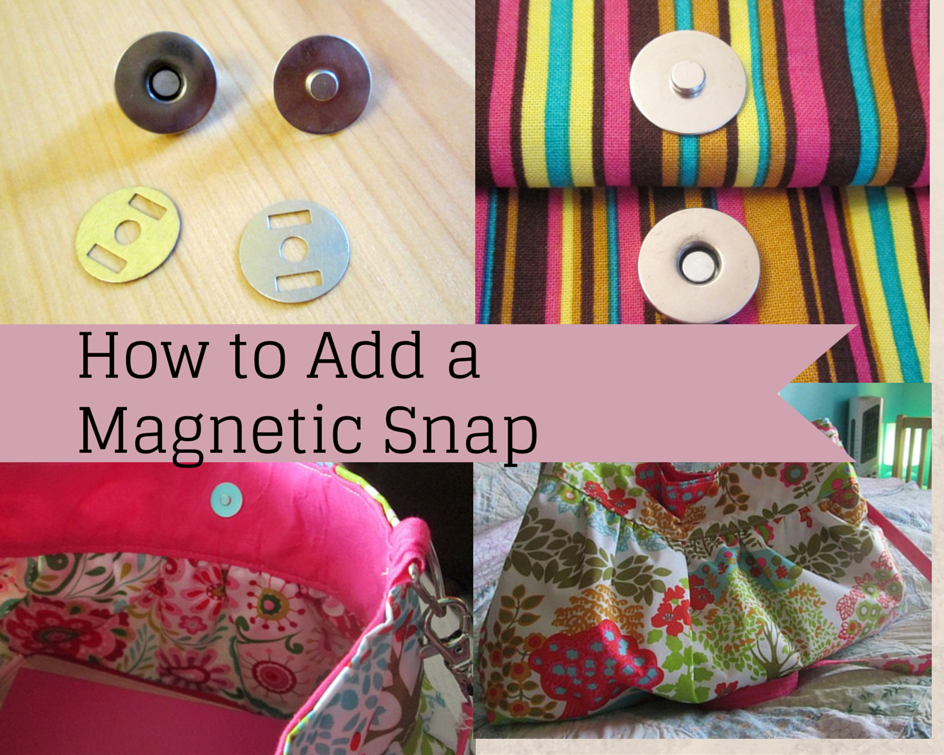
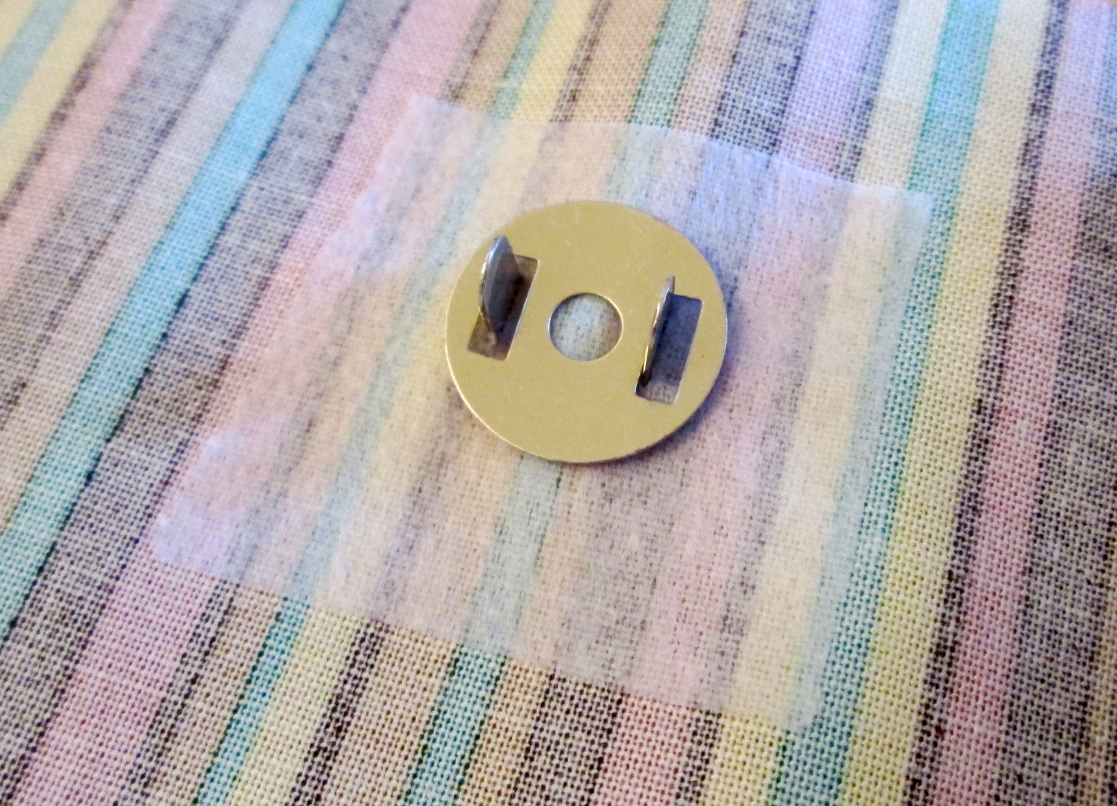
Magnetic snaps come with 4 bits. 2 of the bits are the closure itself and the other 2 bits are what holds it in place. The snap is attached to the lining and the bits that hold it in place are hidden between the lining and the interfacing.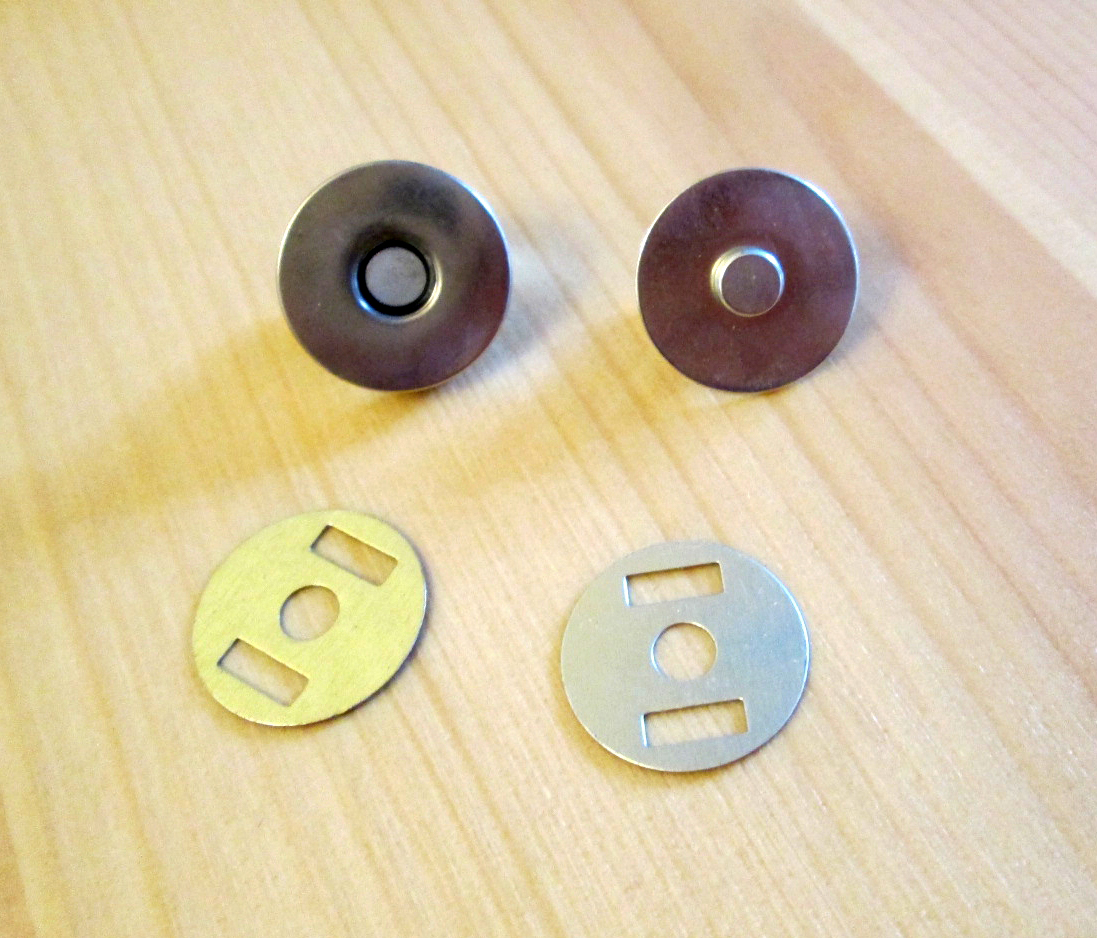

1. Identify where you need the magnetic snap to go. Cut 2 small squares of fusible interfacing. 3 cm x 3 cm will be enough. Fuse it to the wrong side of the lining where you want to put the snap.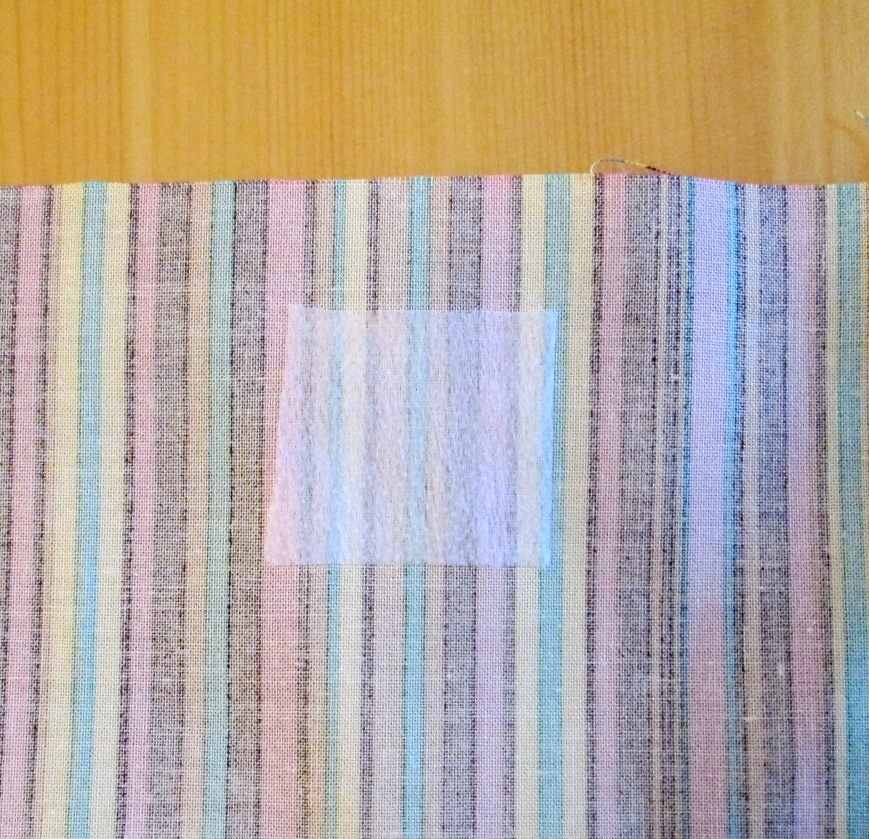
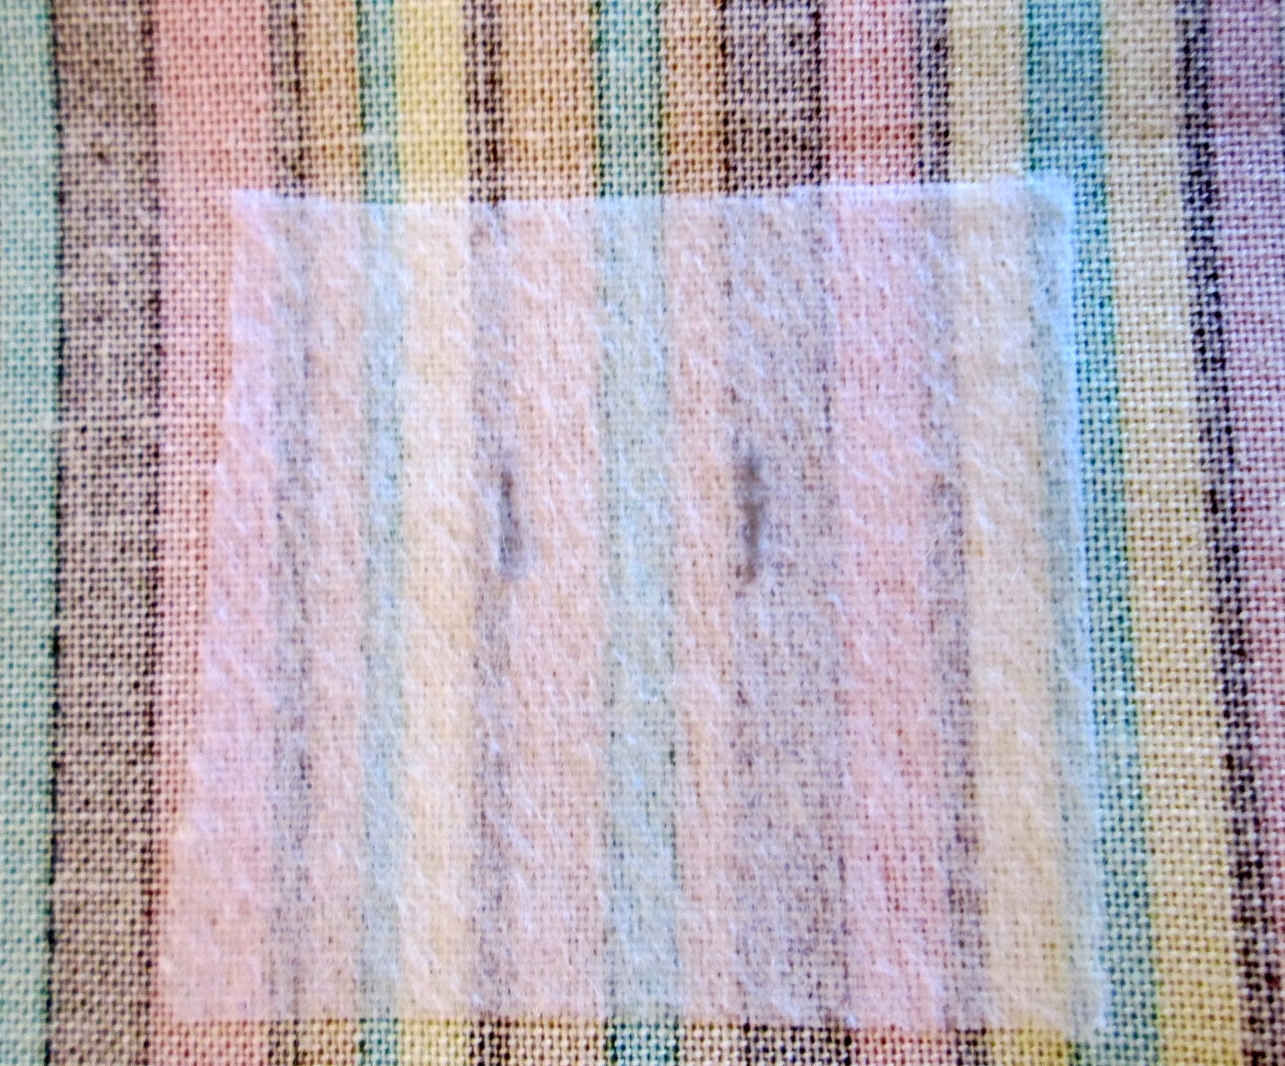
2. Using the back of the snap as a guide, mark on the interfacing where you will need to cut to get the prongs of the snap through. Carefully cut where you have drawn.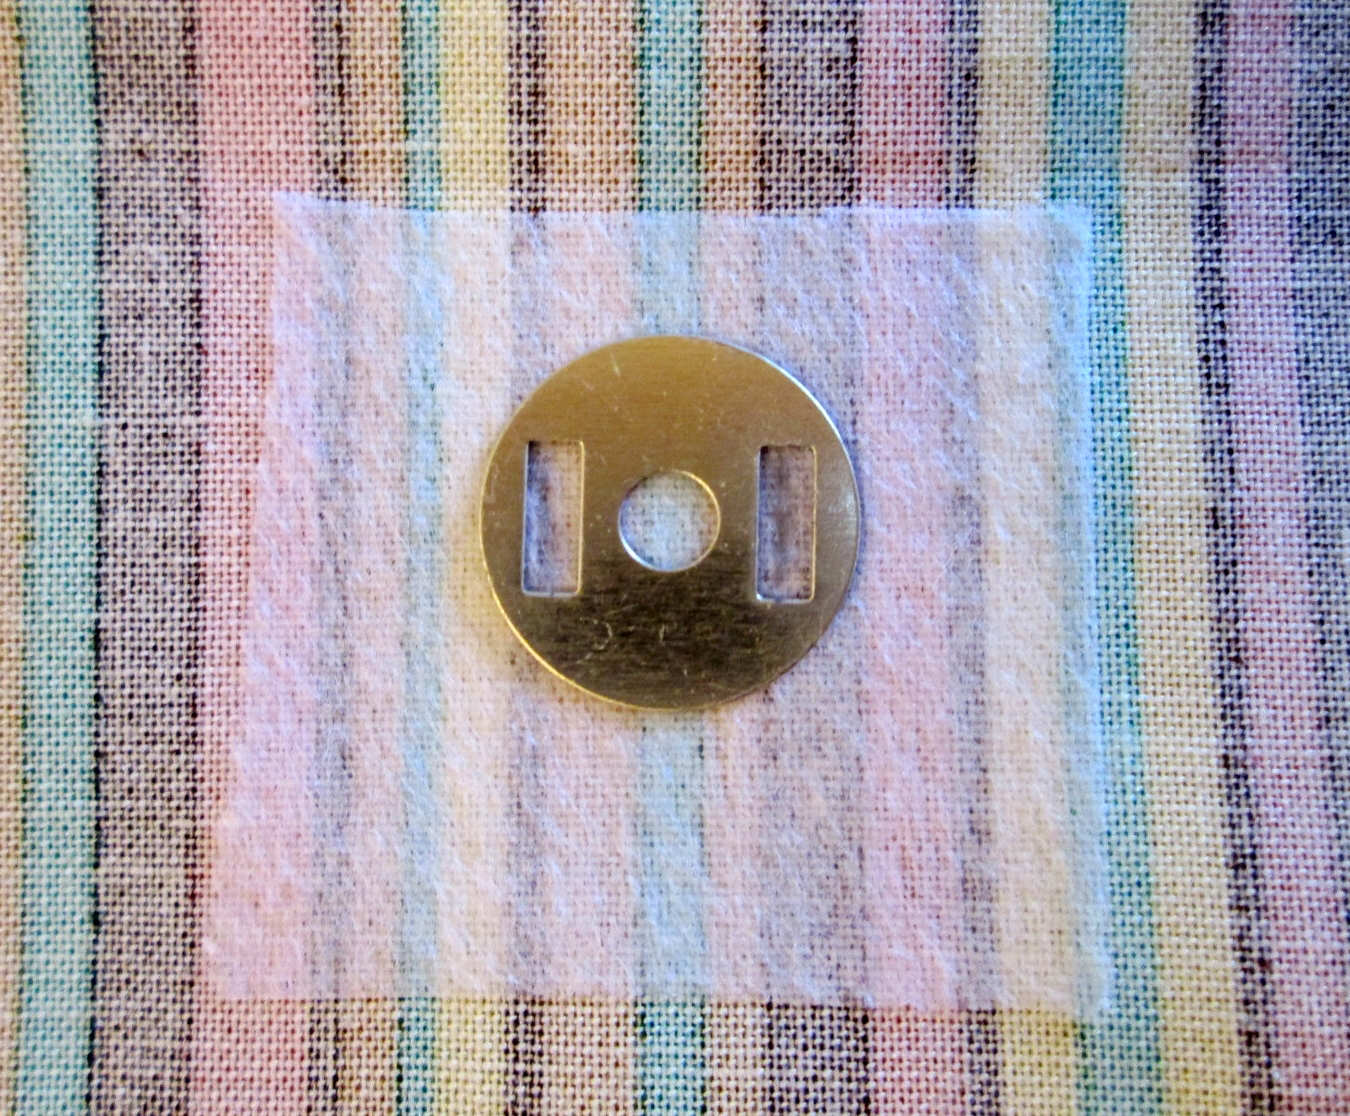
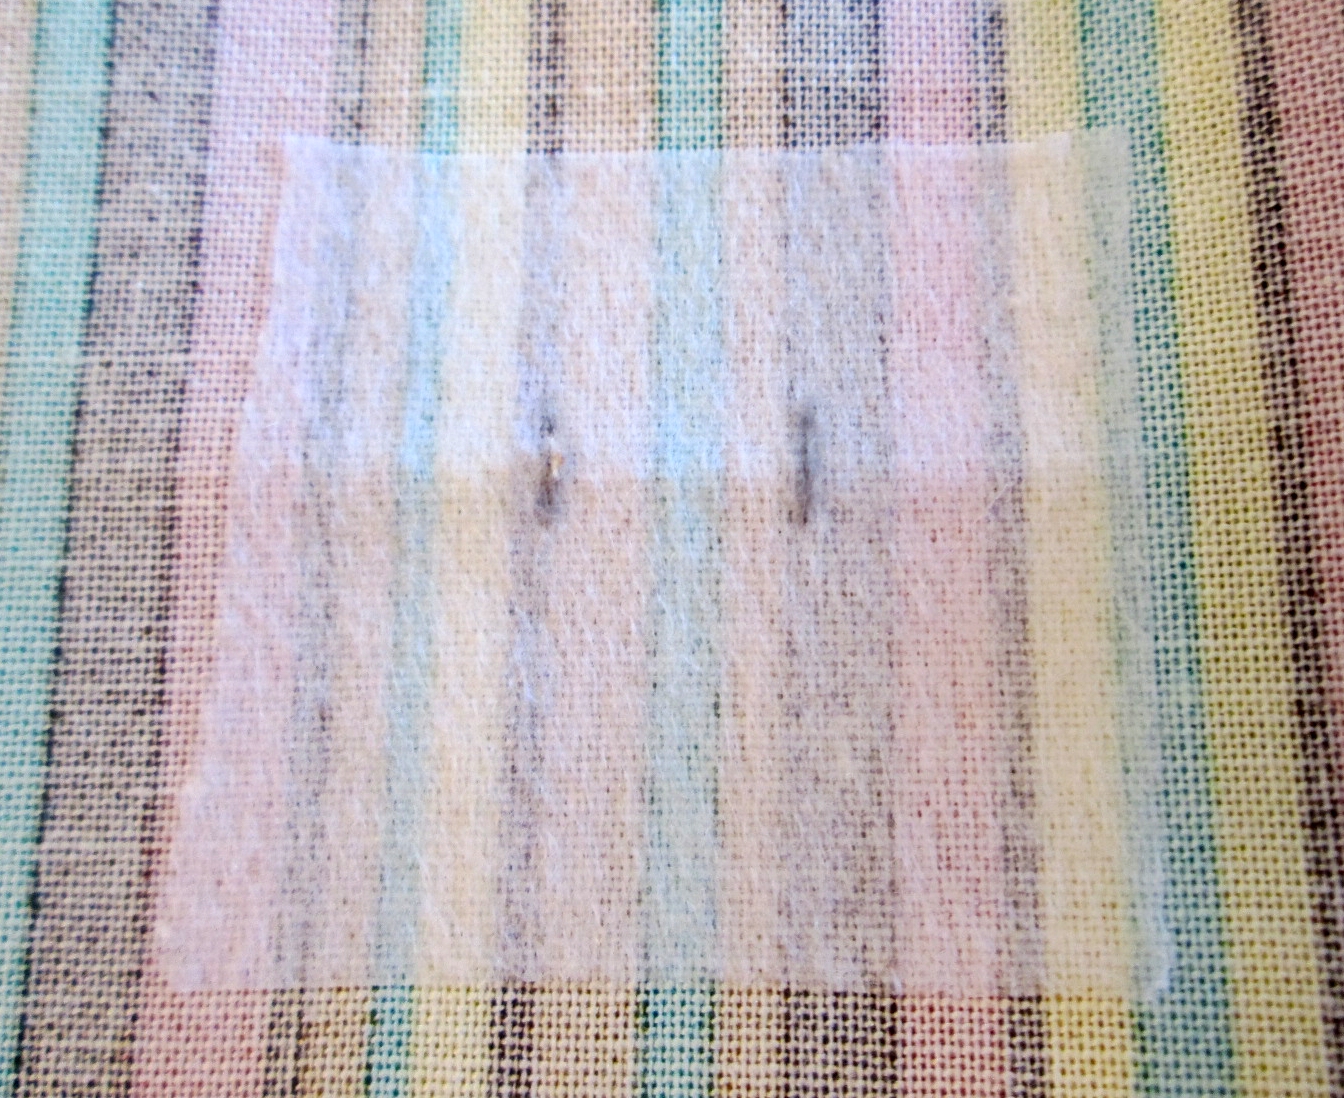
3. On the right side of the lining, poke the prongs of the snap through the cuts you made in the previous step.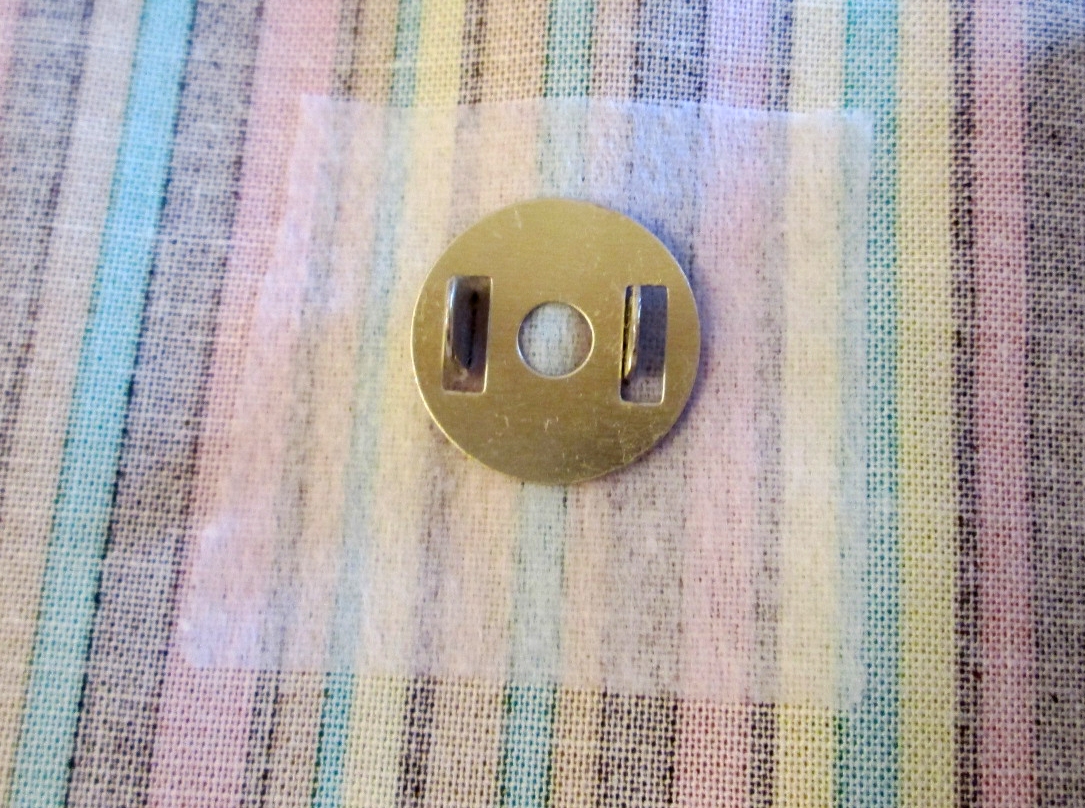
4. Take one of the back pieces and put it over the prongs, pressing it right down. Bend the prongs down firmly over the back of the snap. Repeat for the other half of the snap.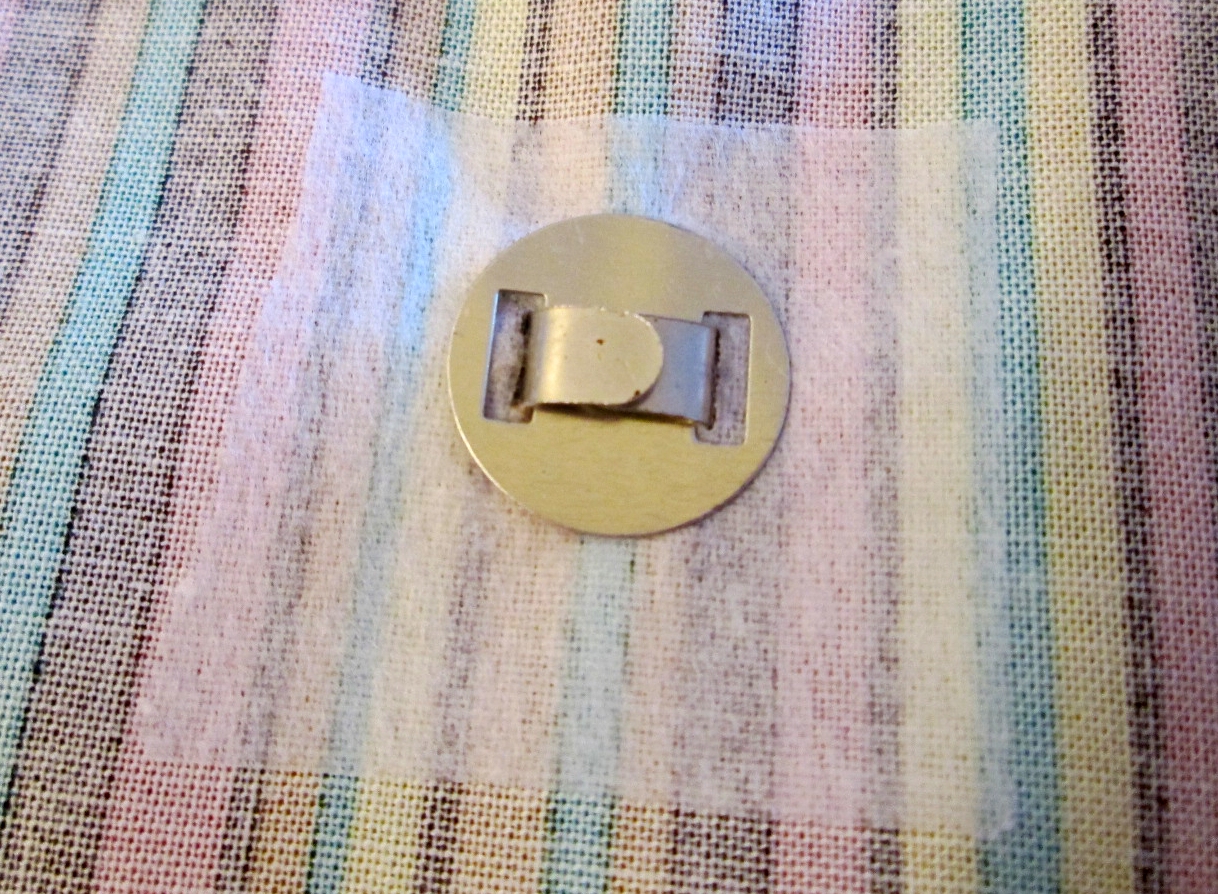
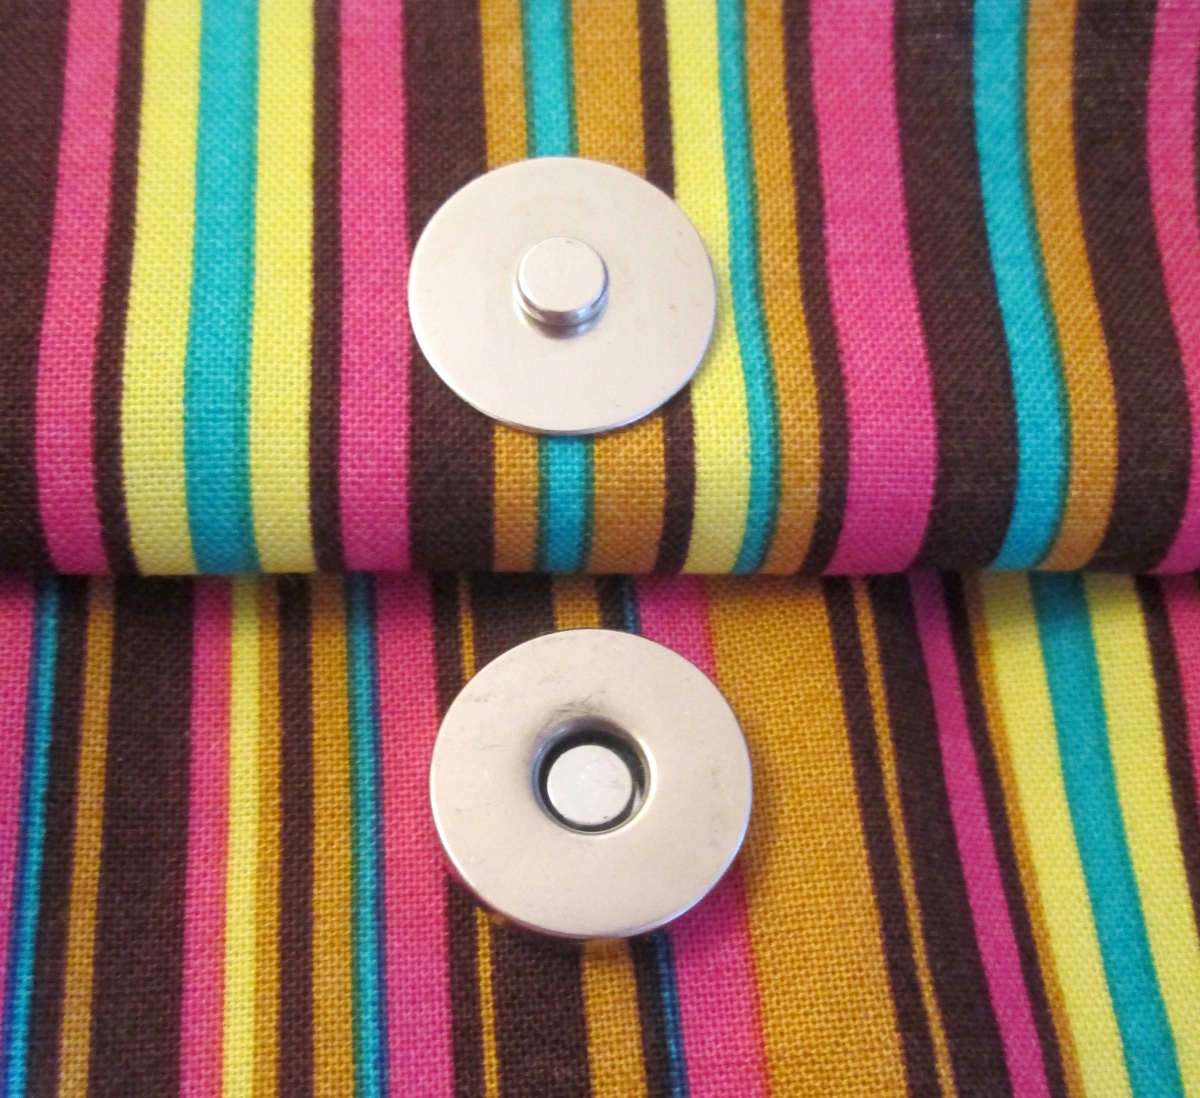
That’s all there is to it!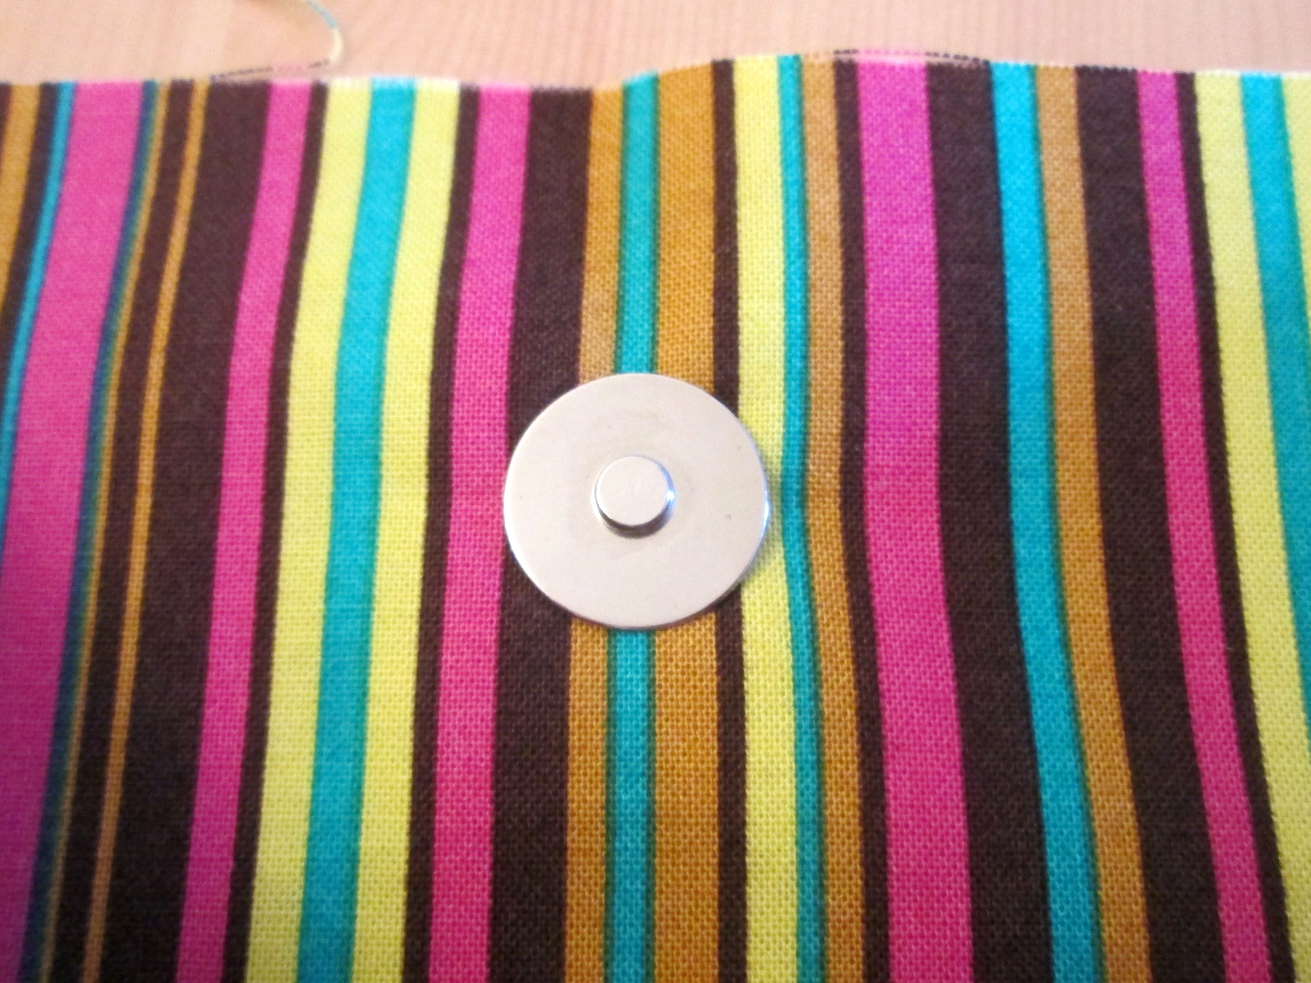

Tips
Adding interfacing to the lining first will give the fabric more strength and stability. It will also be less likely to fray so snap will stay put and the lining of your bag will be less likely to tear.
Match up the sides of your bag and mark exactly where the snap needs to go before cutting anything.
The prongs of the snap will need to be pressed down hard. If you find that it hurts your thumbs or if you are worried about ruining your nails, bend the prongs a little bit, then cover them with a tea towel before pressing them all the way down.


I would suggest covering the back part of the snap after installation to prevent rubbing and fraying the lining. Using the same fusible material would help a lot and would not create extra bulk.
Great clear pictures. Thank you!
Good suggestion!
Whaaat? This is SO easy!
Thank you for posting this. 🙂
It is unbelievably easy 🙂
Great tips! I plan on making a purse for my daughter soon, and this would be great for it. Thanks for sharing at the Submarine Sunday Link Party!
Hope you found it useful 🙂
A great tutorial, thanks for sharing.
Thank you
loving your tutorials
Thanks 🙂
Thanks for this I’m in the process of making a denim purse now I know how to fasten it
Glad I could help 🙂
How To Add A Magnetic Snap #sewing #tip #howto https://t.co/R613KVDqVy via @sharethis