Top
Skip to main content
Skip to footer
Home
About
Contact
Ebooks and Printables
Etsy
Login
Search this website
Tea and a Sewing Machine
Crochet
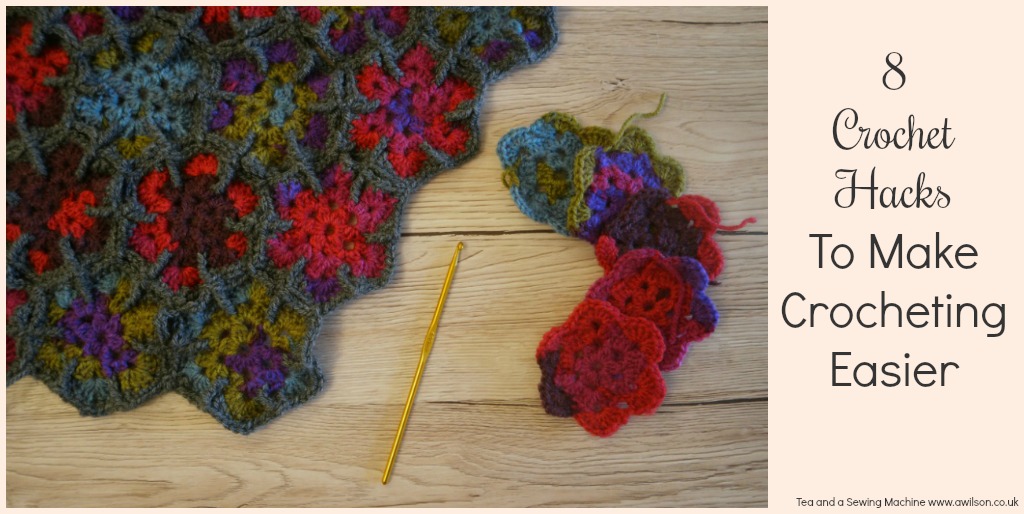
8 Crochet Hacks to Make Crocheting Easier
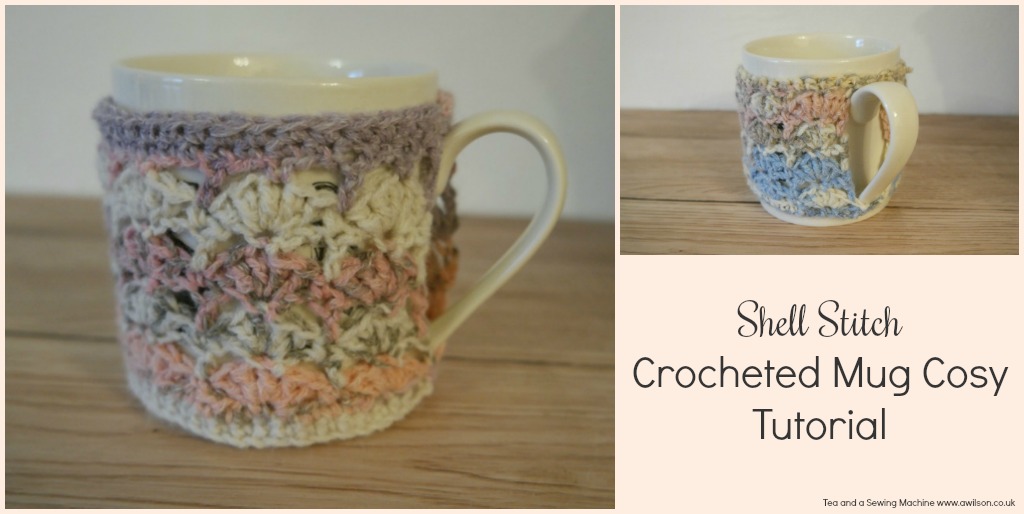
Shell Stitch Crocheted Mug Cosy Tutorial
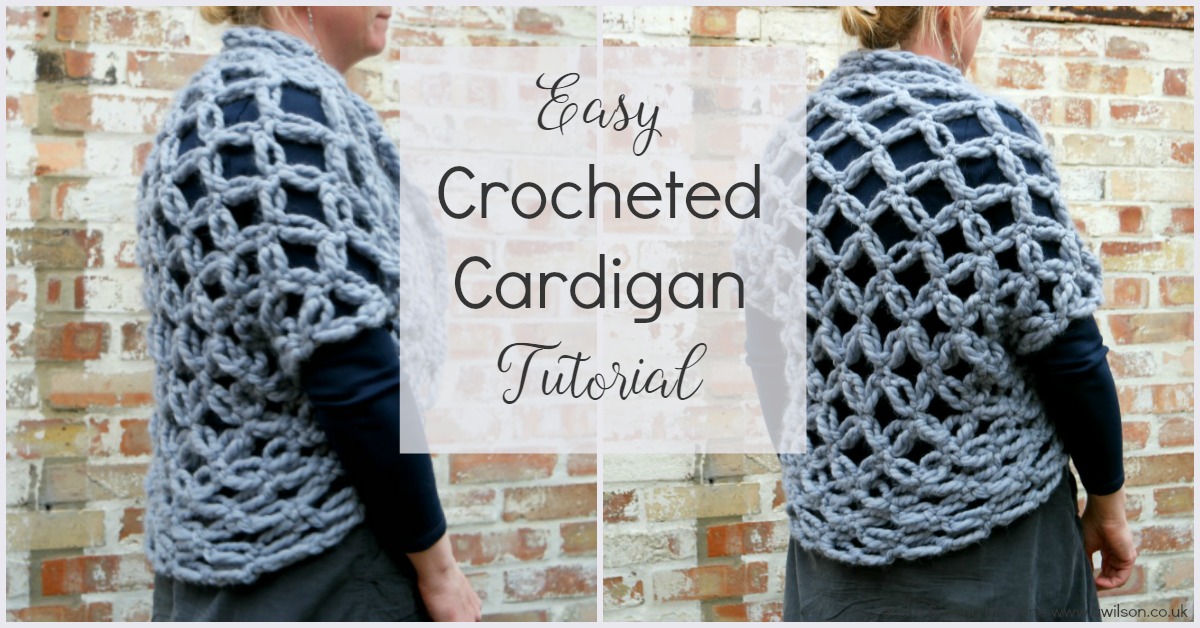
Easy Crocheted Cardigan Tutorial: Solomon’s Knots
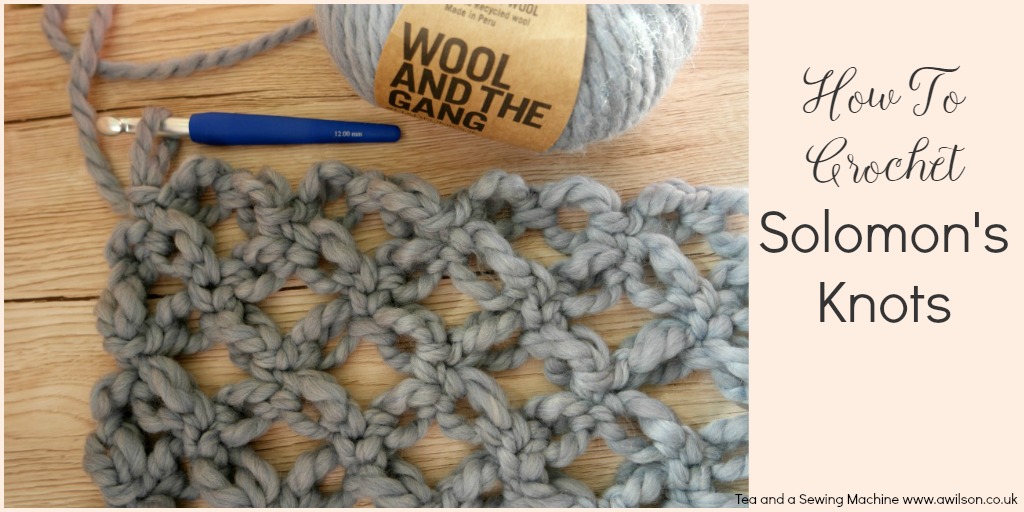
How To Crochet Solomon’s Knots
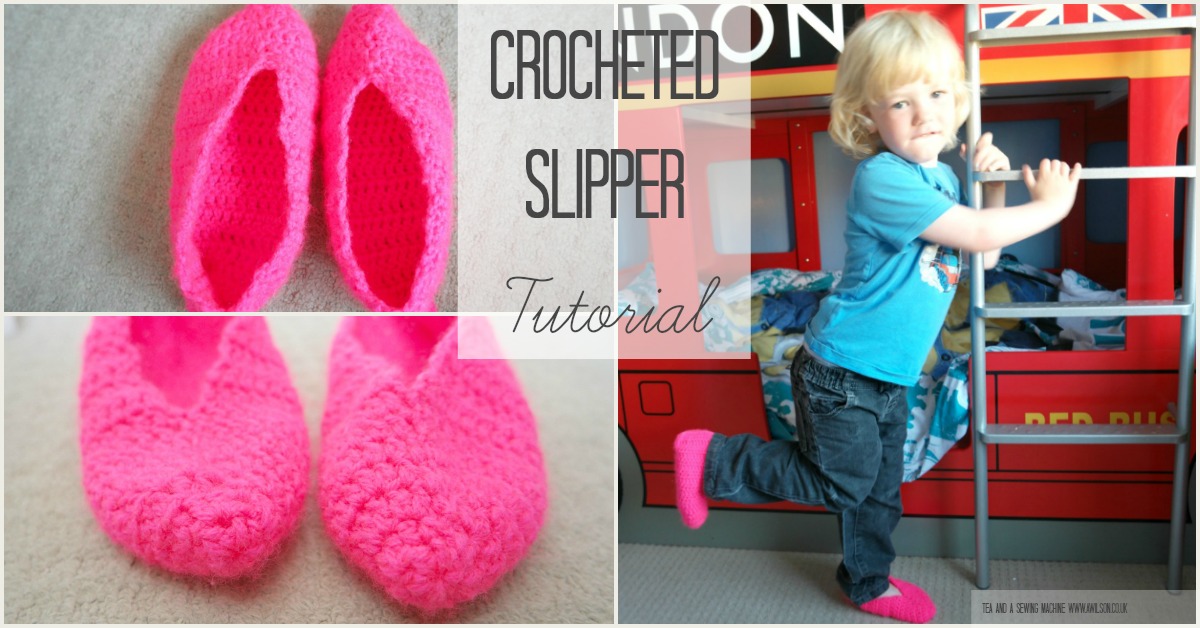
Crocheted Slippers Tutorial
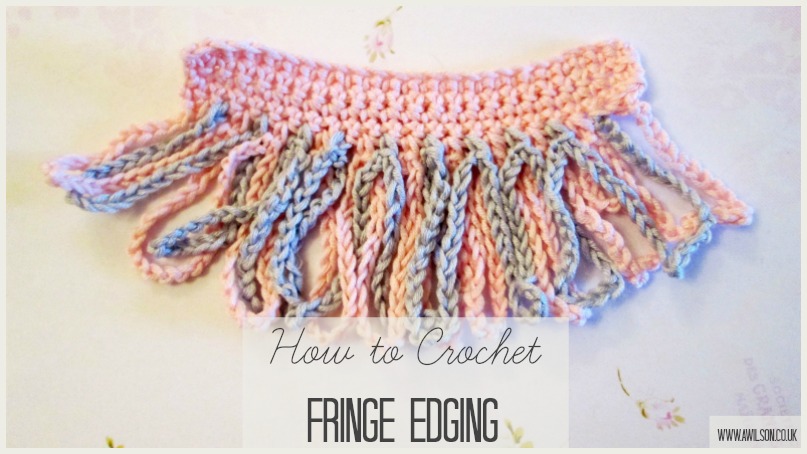
How to Crochet Fringed Edging
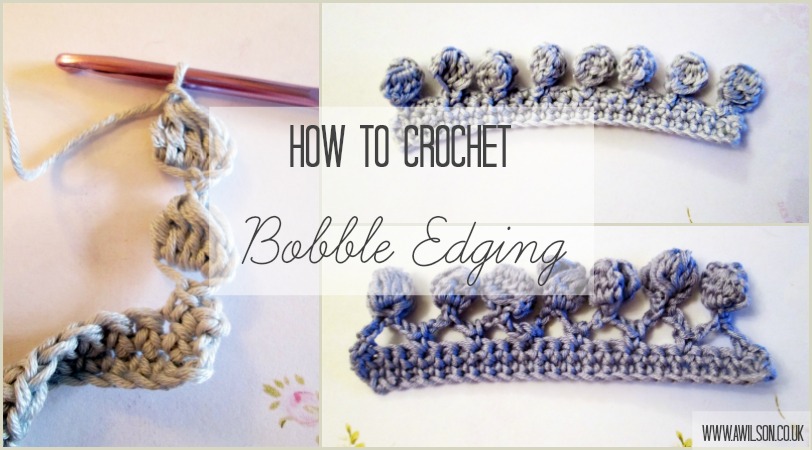
How to Crochet Bobble Edging
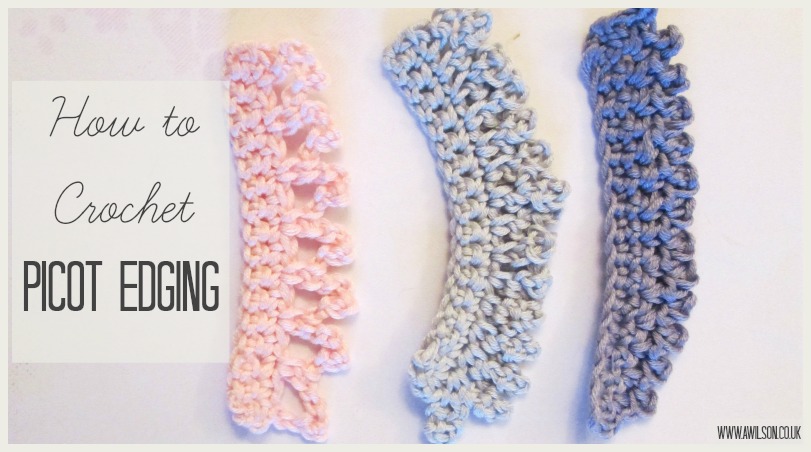
Crocheted Picot Edging
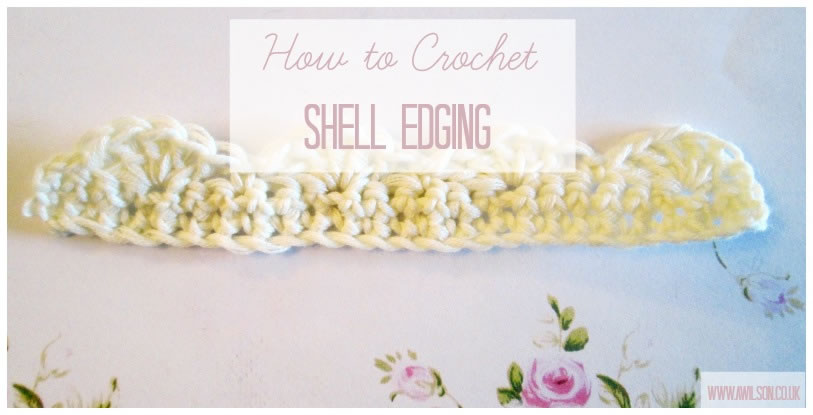
How to Crochet Shell Edging
«
Go to
Previous Page
Page
1
Page
2
Page
3
Page
4
Page
5
Go to
Next Page »
We use cookies to ensure that we give you the best experience on our website. If you continue to use this site we will assume that you are happy with it.
Ok
No