Top
Skip to main content
Skip to footer
Home
About
Contact
Ebooks and Printables
Etsy
Login
Search this website
Tea and a Sewing Machine
Sewing Projects
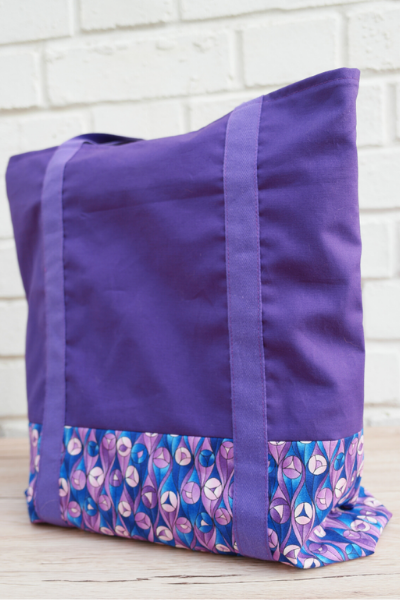
DIY Tote Bag With Webbing Straps
Appliqued Rose Skirt With a Scalloped Hem
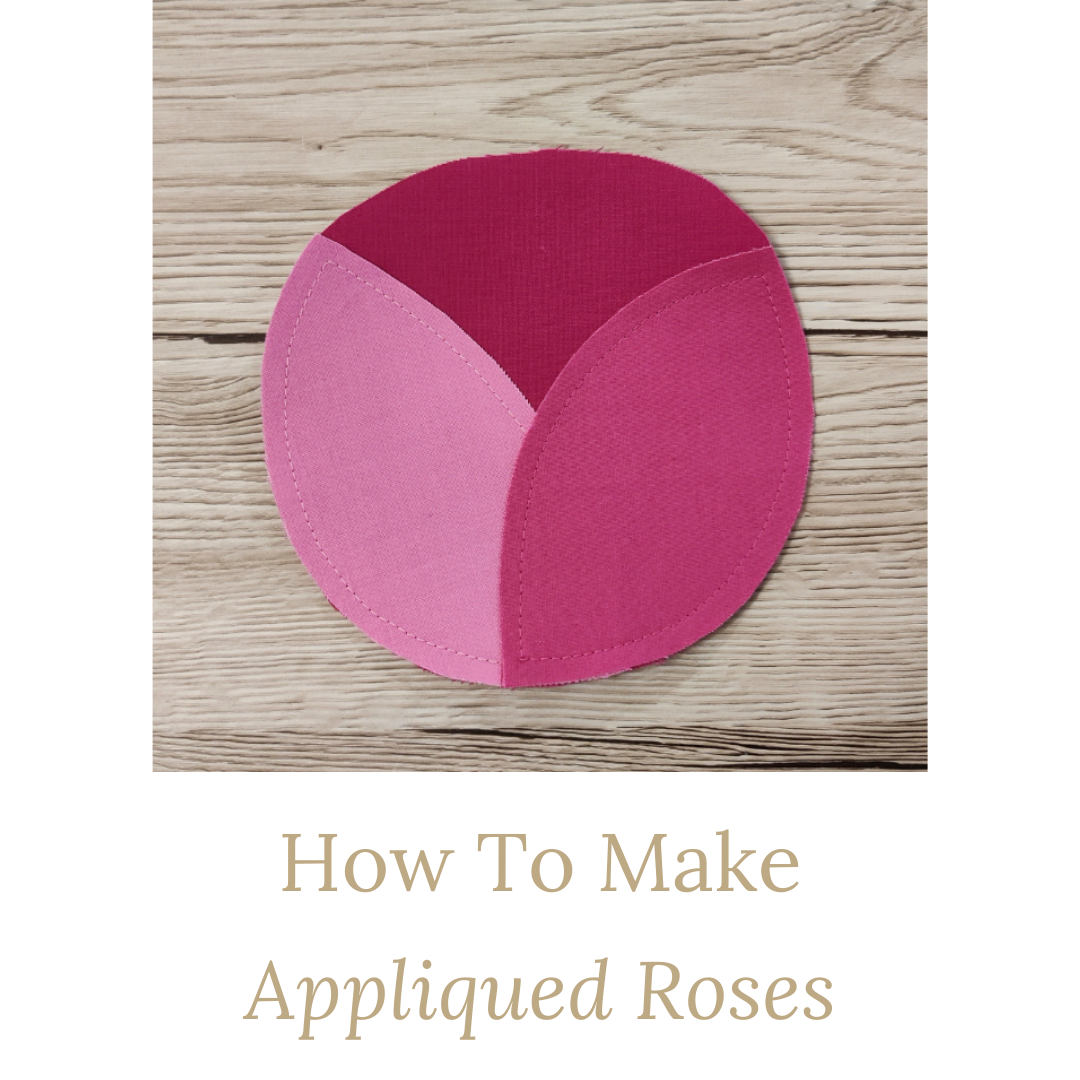
How To Make Appliqued Roses
Kimono Style Dress: Sewing the Dress
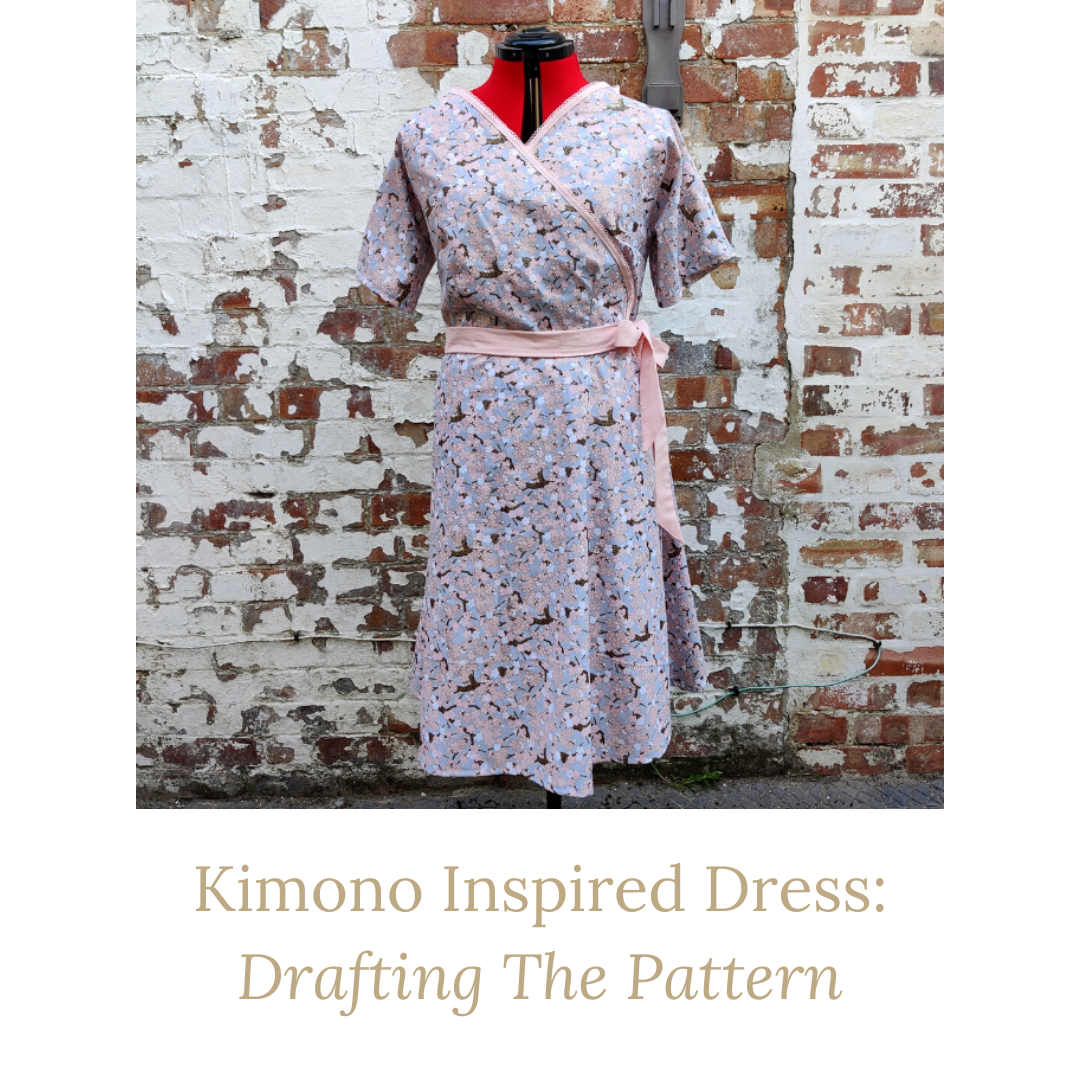
Kimono Inspired Dress: Drafting the Pattern
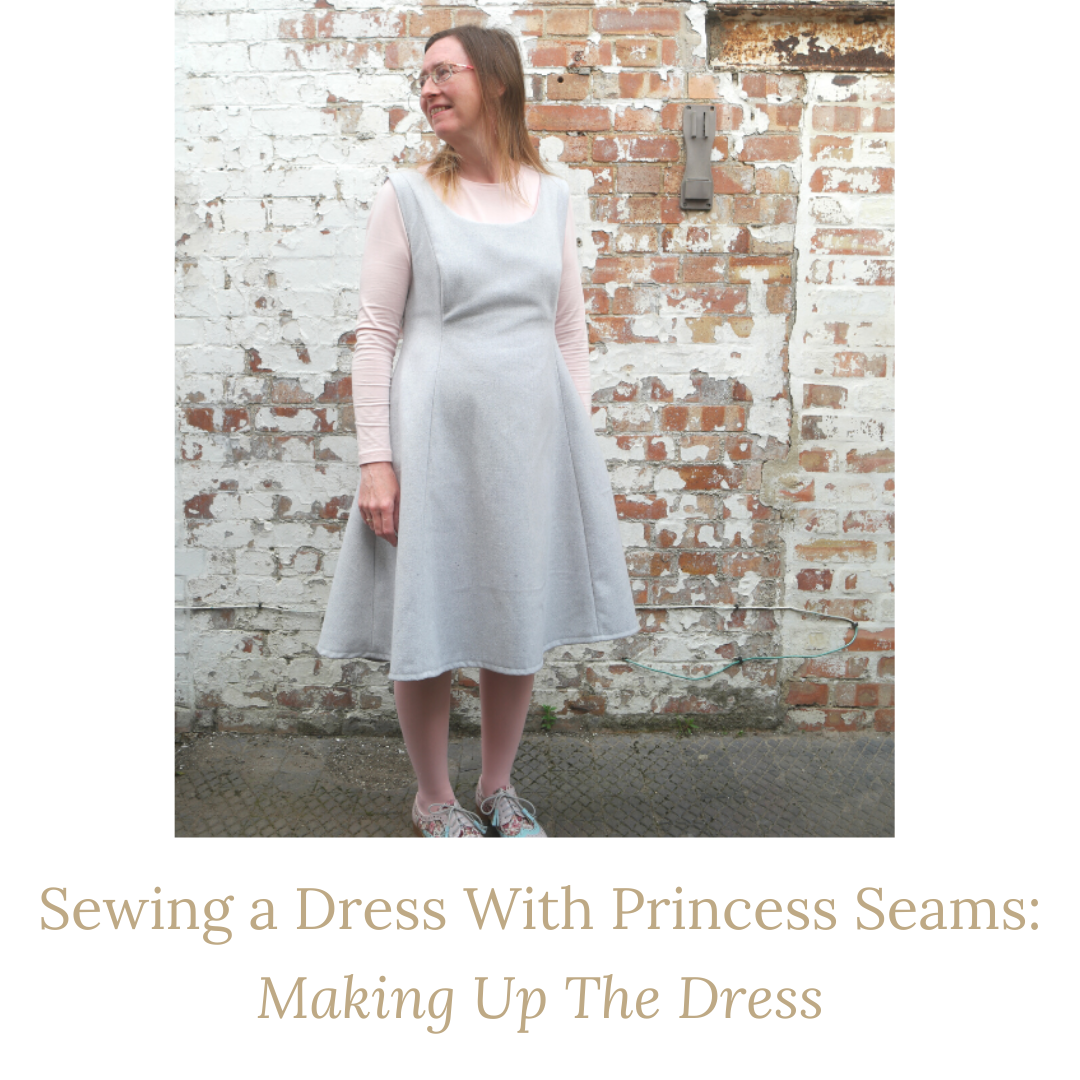
Sewing a Dress With Princess Seams: Making Up the Dress
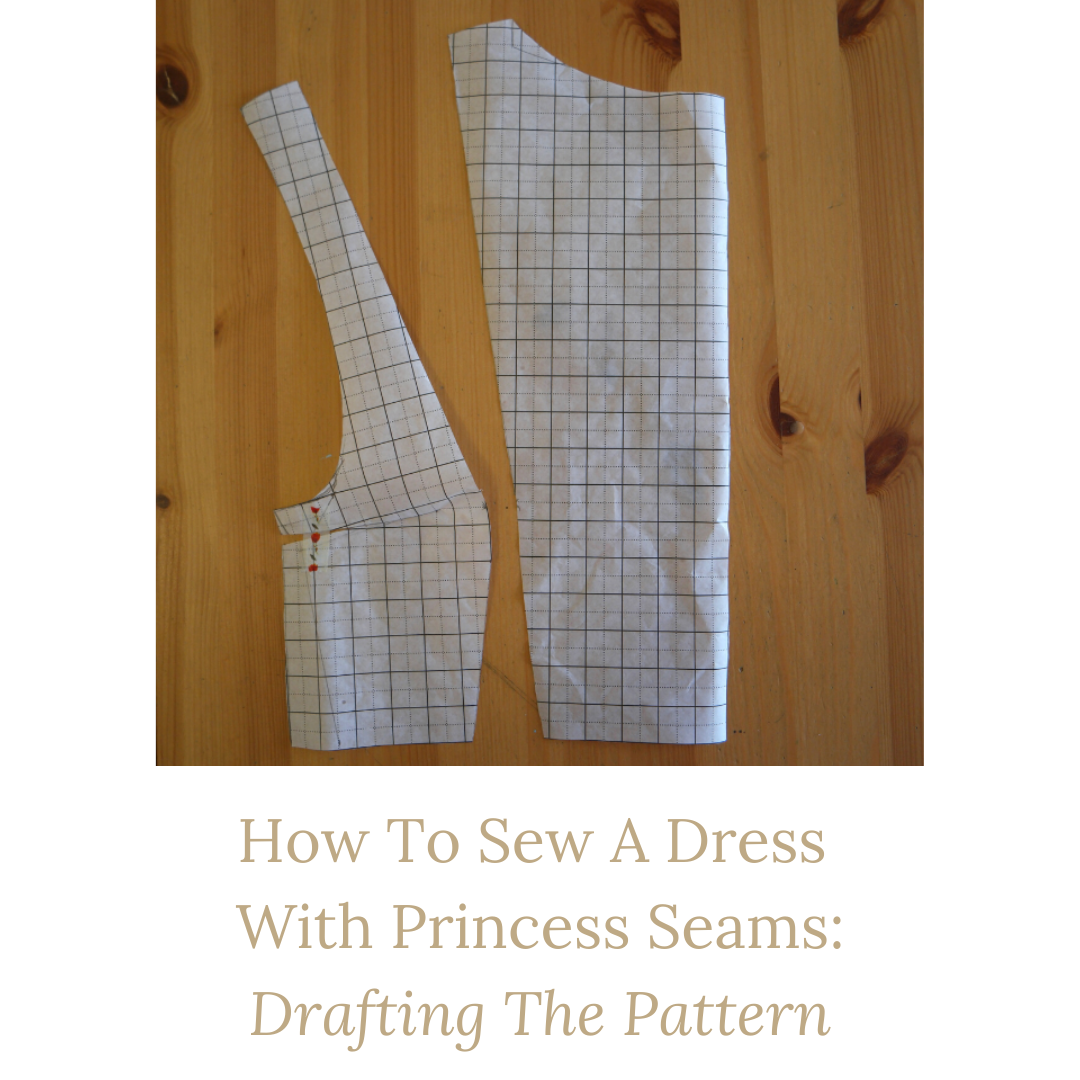
How to Sew a Dress With Princess Seams: Drafting the Pattern
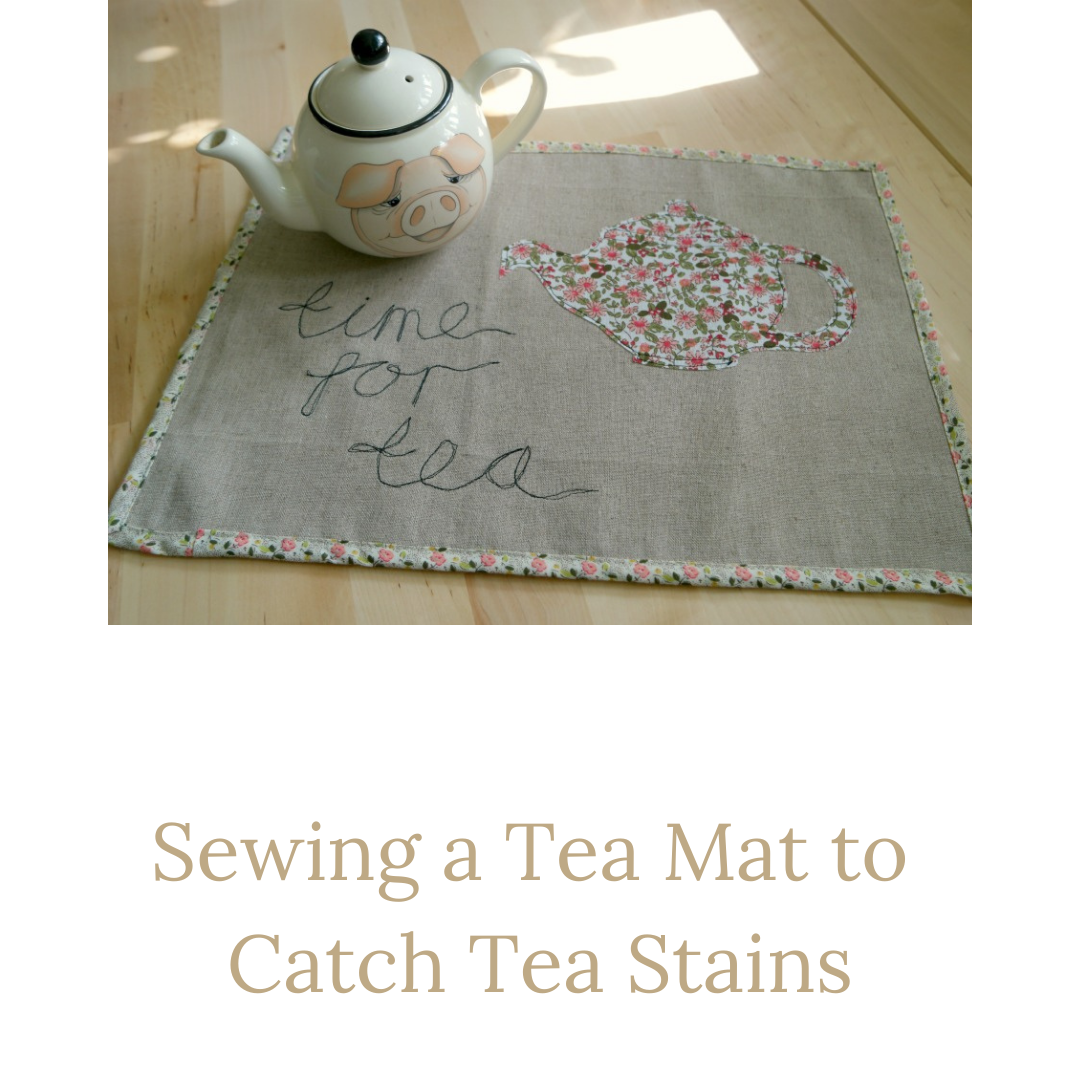
Sewing a Tea Mat To Catch Tea Stains
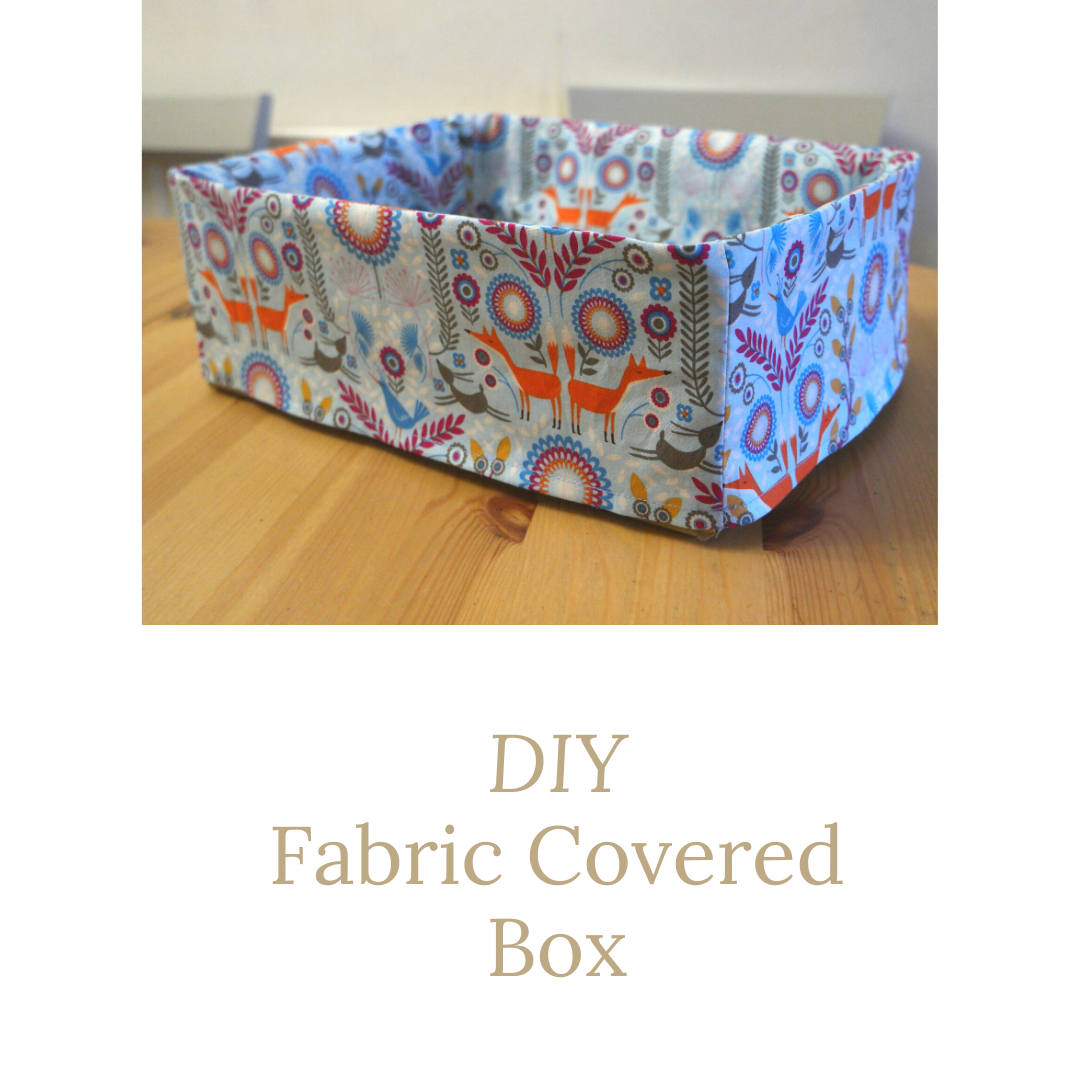
DIY Fabric Covered Box
«
Go to
Previous Page
Page
1
Page
2
Page
3
Page
4
Page
5
Interim pages omitted
…
Page
26
Go to
Next Page »
We use cookies to ensure that we give you the best experience on our website. If you continue to use this site we will assume that you are happy with it.
Ok
No