Top
Skip to main content
Skip to footer
Home
About
Contact
Ebooks and Printables
Etsy
Login
Search this website
Tea and a Sewing Machine
Sewing Projects
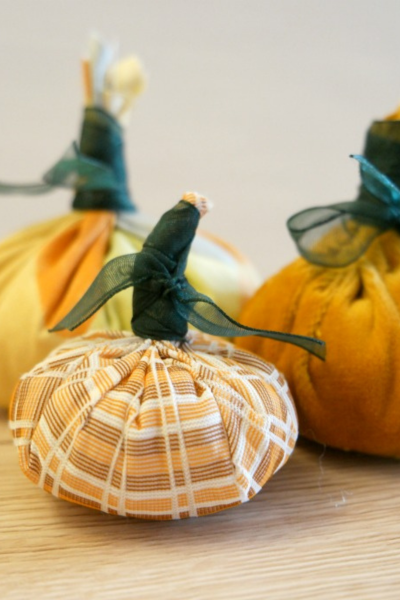
DIY Pumpkins From Fabric Scraps
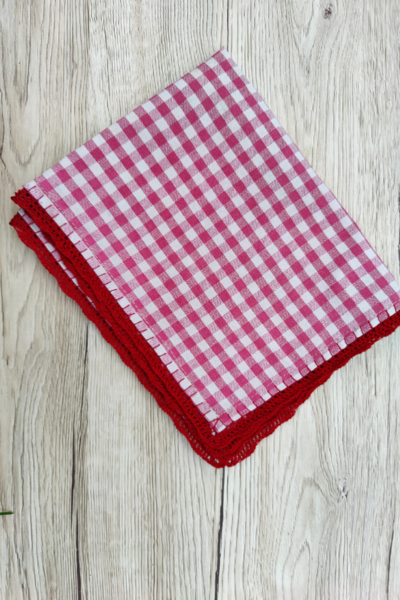
Giving New Life to Old Tea Towels
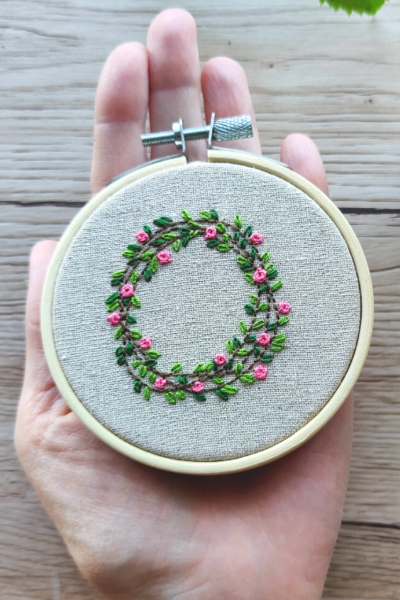
Embroidered Summer Wreath in an Embroidery Hoop
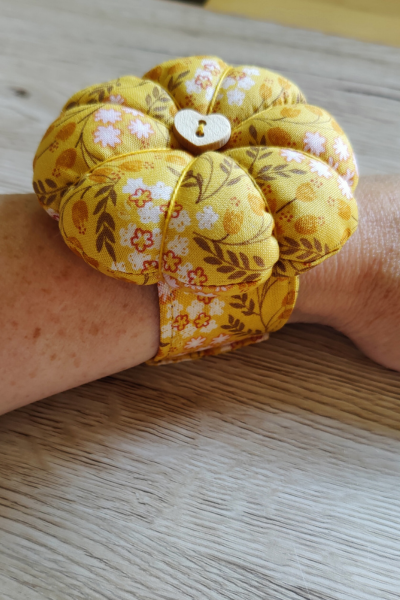
How To Make A Wrist Pincushion Revisited
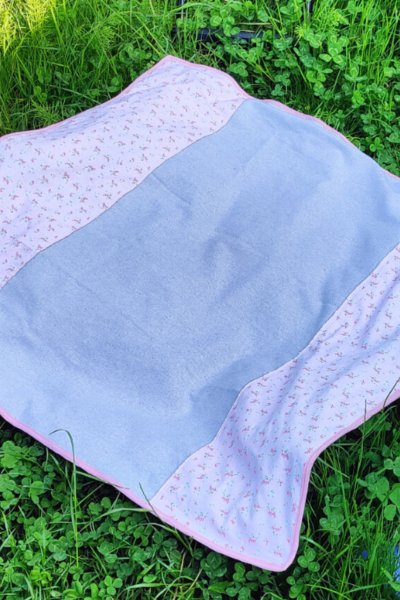
How to Make a Waterproof Picnic Blanket
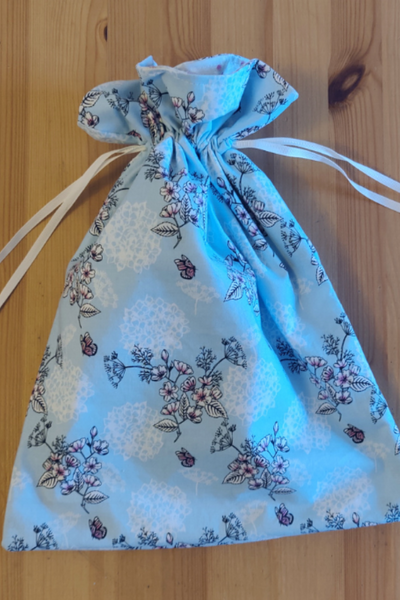
How To Make a Waterproof Drawstring Bag
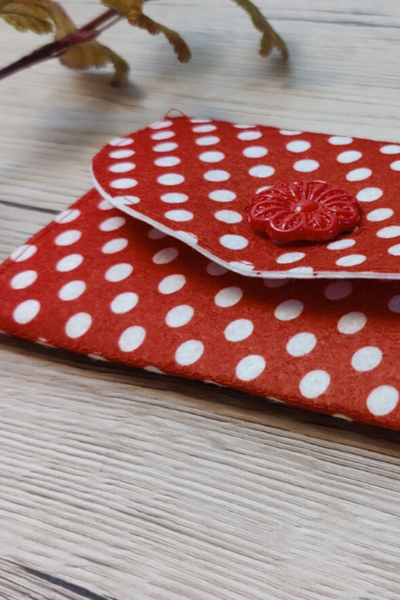
Polka Dot Purse Tutorial
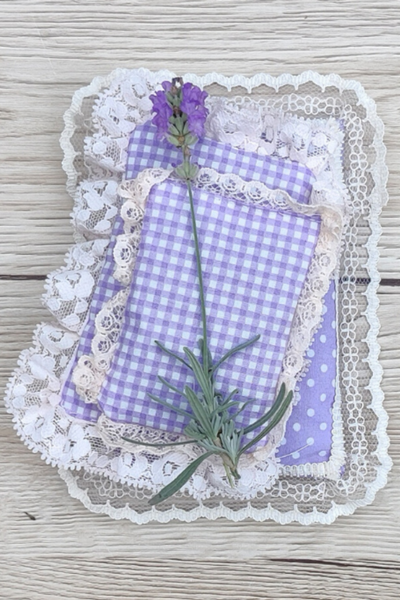
How to Make Lavender Bags
How to Make a DIY Tie Dyed Dress
Page
1
Page
2
Page
3
Interim pages omitted
…
Page
26
Go to
Next Page »
We use cookies to ensure that we give you the best experience on our website. If you continue to use this site we will assume that you are happy with it.
Ok
No