How to Finish a Buttonhole
Making buttonholes that look neat is one of those things that can make the difference between your finished item looking handmade and it looking homemade. In other words, you don’t want to botch it because it could spoil the look of the beautiful thing you have spent hours making.
Buttons are easy to sew on but the holes often cause more of a problem!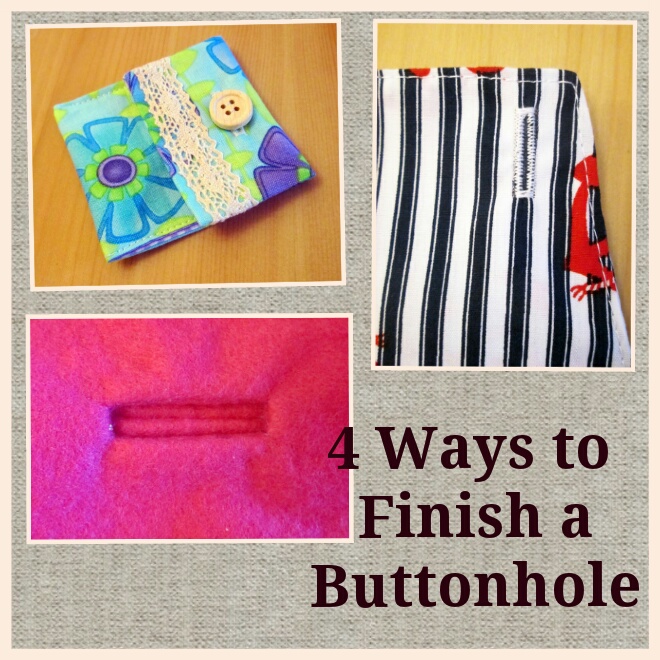
When deciding how to finish a buttonhole, there are a number of options. You could use a buttonhole attachment on your sewing machine, or you could uses zigzags, or you could make a bound buttonhole, or you could do something else entirely, like use a snap or a piece of elastic.
Making a Buttonhole With a Buttonhole Foot
This is definitely the easiest way to make a buttonhole!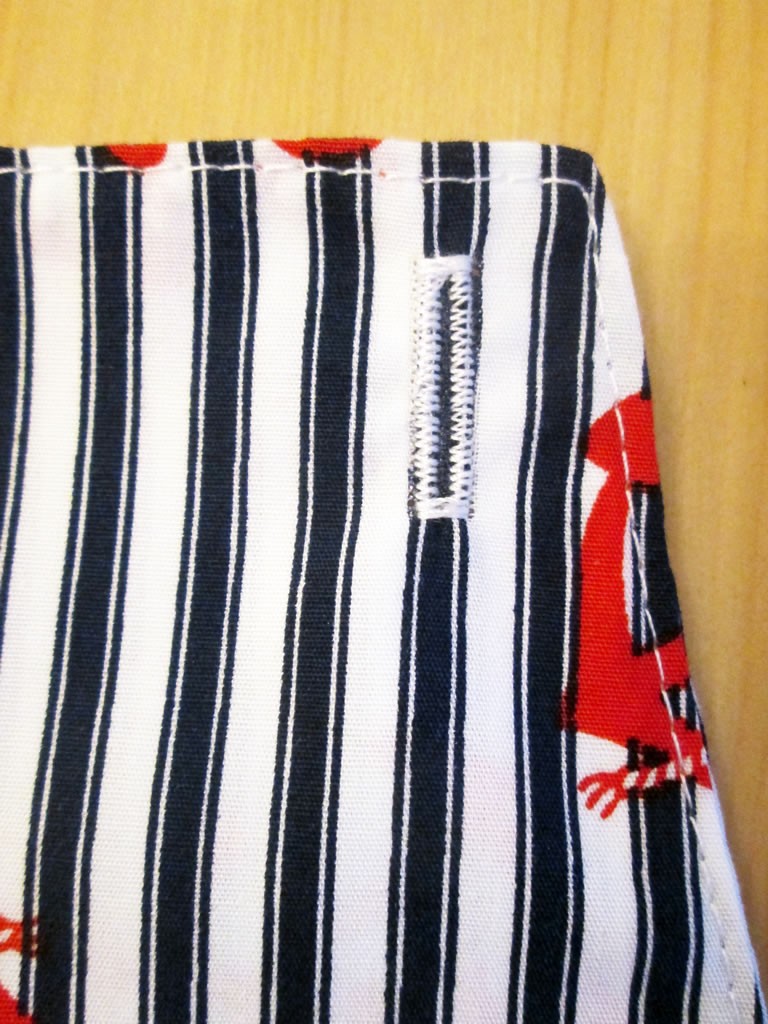
When I make a buttonhole using the foot, firstly I have to put the button in the slot at the back. This is to ensure that the finished buttonhole is the correct size. Next I attach the foot to the sewing machine. There is a thingy that comes down; that has to be pulled down and positioned in front of the sticking out bit on the foot.
Then choose the shape of the buttonhole from the stitch menu. My machine offers me several choices but there are only 2 I ever use!
The machine will sew the buttonhole backwards, so when I made toddler dungarees for Boy 4, I lined up the front end of the foot with the top edge of the dungarees.
It automatically stops when the buttonhole is complete. Then all that is left to do is cut through the centre of the button hole.
I would recommend having a practise first! I usually do just to check where the buttonhole starts in relation to the front of the foot. I have to admit to making some mistakes though and ending up with buttonholes that are off centre or in the wrong place!
Making Buttonholes Without a Buttonhole Foot
If you don’t have a buttonhole attachment, it is still possible to make a buttonhole using a sewing machine. I used to do this with my elderly Singer because it did not have buttonhole capabilities.
1. Measure the button. Draw a line where you want the buttonhole to go that is the same width as the button. Draw a box round it.
2. Using a straight stitch, sew around the box that you have drawn.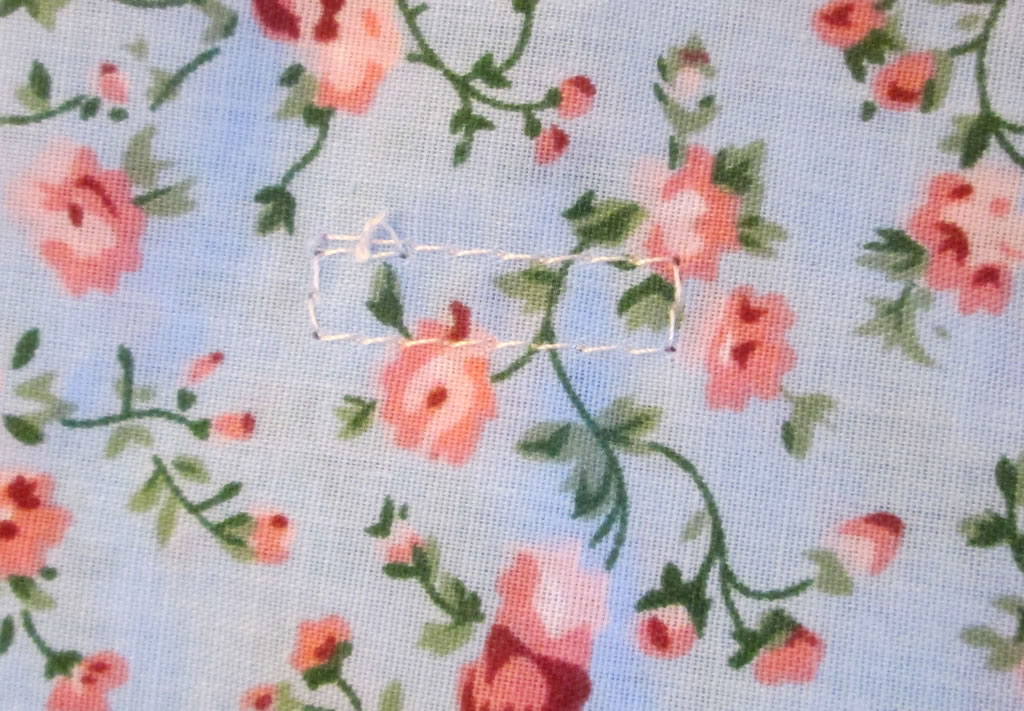
3. Change to a zigzag stitch. You will need the zigzags to be small and close together. Sew over the straight stitches with the zigzags.
4. Cut through the centre of the buttonhole.
Making Bound Buttonholes
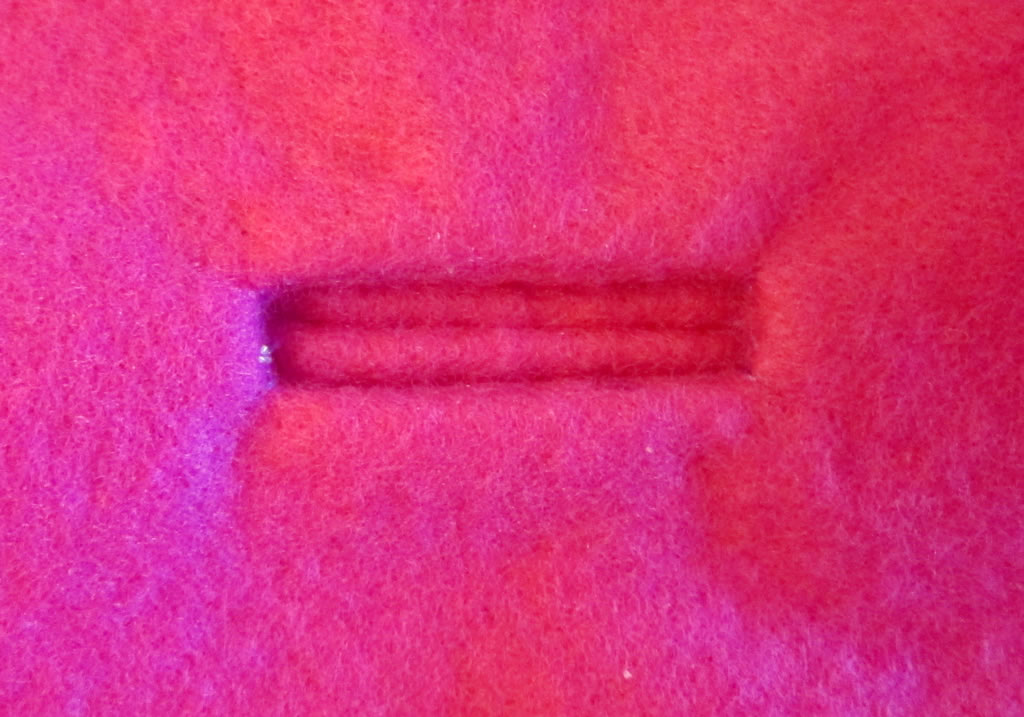
This is fiddly and probably best for coats and other items made from heavy fabrics.
1. Identify where your buttonhole needs to be. Iron some fusible interfacing to the back.
2. Measure the button and draw a line the same width as the button. Draw a box around it. Sew around the box.
3. Cut a square of fabric and draw the same box onto it. Pin the fabric onto the right side so that the boxes are aligned.
4. Sew around the box. Cut it like this so that you have triangle at each end.
5. Push the fabric square through the buttonhole. Fold up one side so that it covers half of the hole. Pin in place. 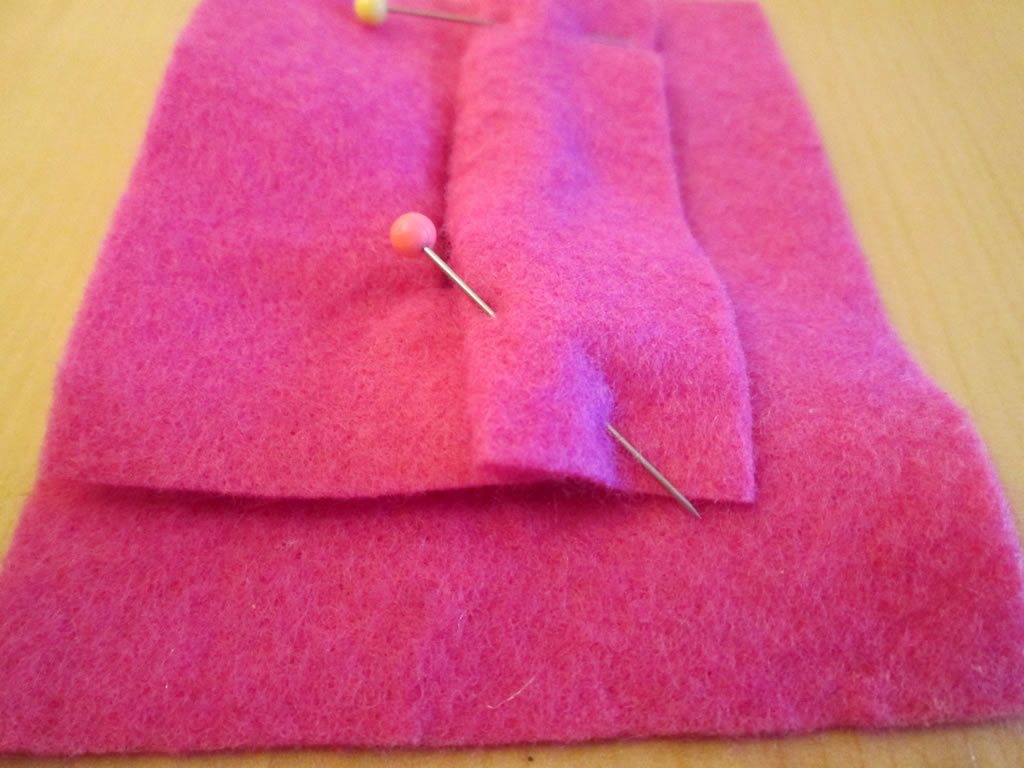 Repeat for the other half.
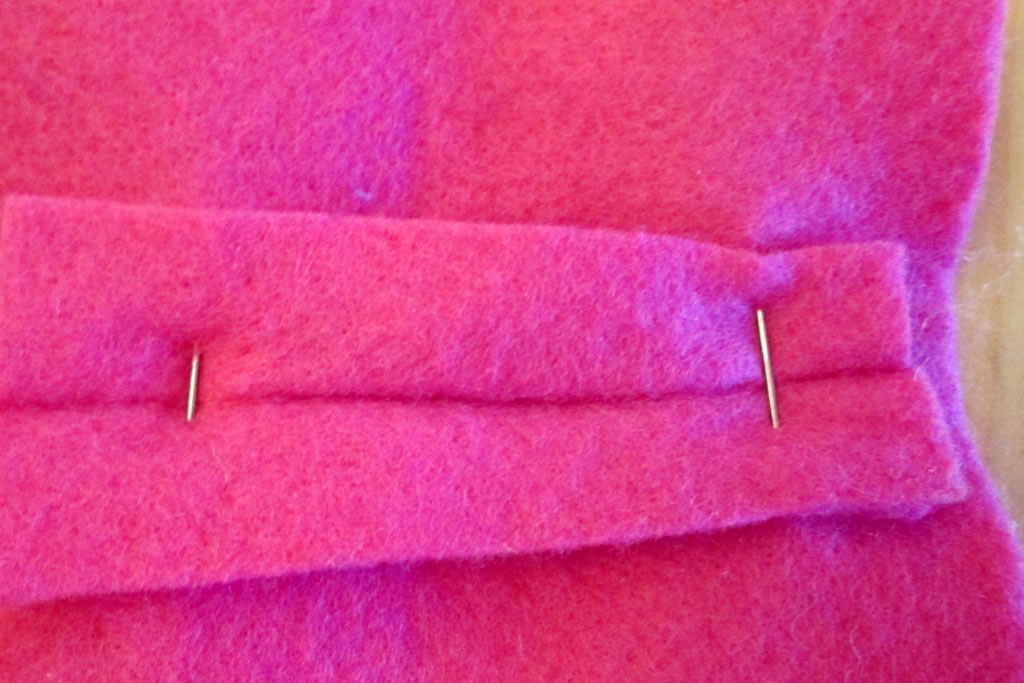
6. Taking care not to sew the coat, sew the folds into the square of fabric. If you use a zip foot, you will be able to get good and close. If you don’t have one it doesn’t matter, it will still be fine.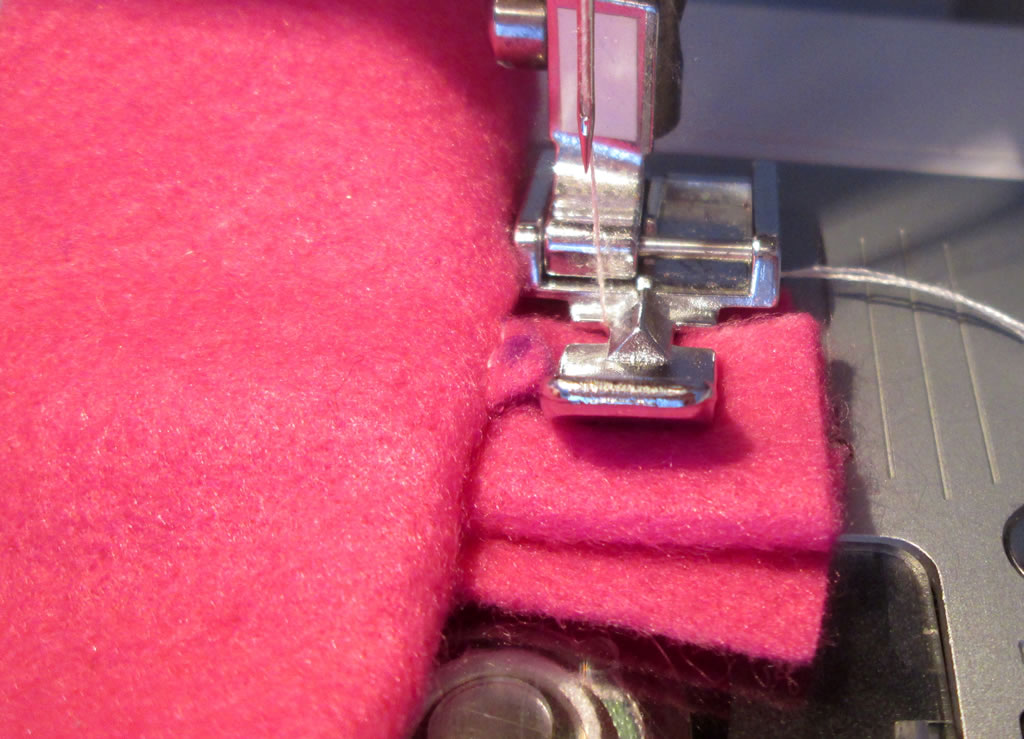
7. Trim the fabric square.
Alternatives to Making a Buttonhole.
If you find making a buttonhole a fiddly pain in the neck and you can’t be bothered don’t want to, there are some alternatives.
1. Use elastic instead. I have done this on dungarees I have made for Boy 4. All it requires is a small piece of elastic caught between the lining and the main fabric. Another similar option would be to crochet strong thread or double thickness of cotton into chains and use that as a loop for a button.
2. Use a snap. If you specifically want a button because of how it looks, you could sew a button over the top.
3. Use velcro. You could sew a button over this too.
What is your favourite way to finish a buttonhole?