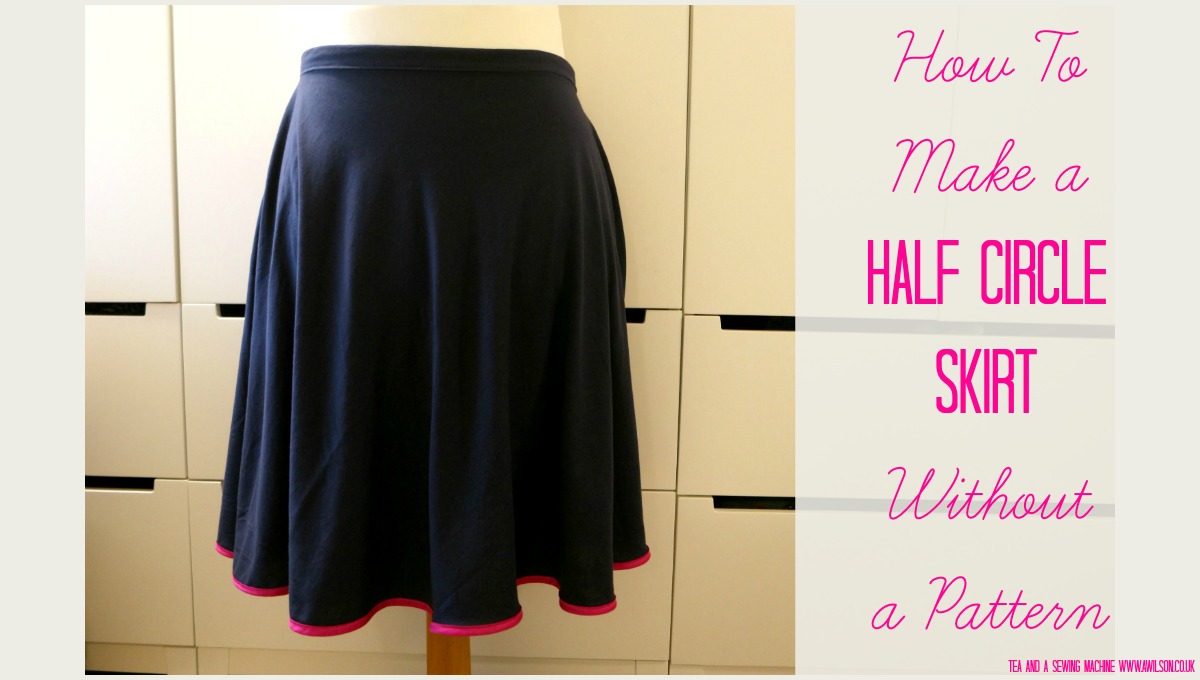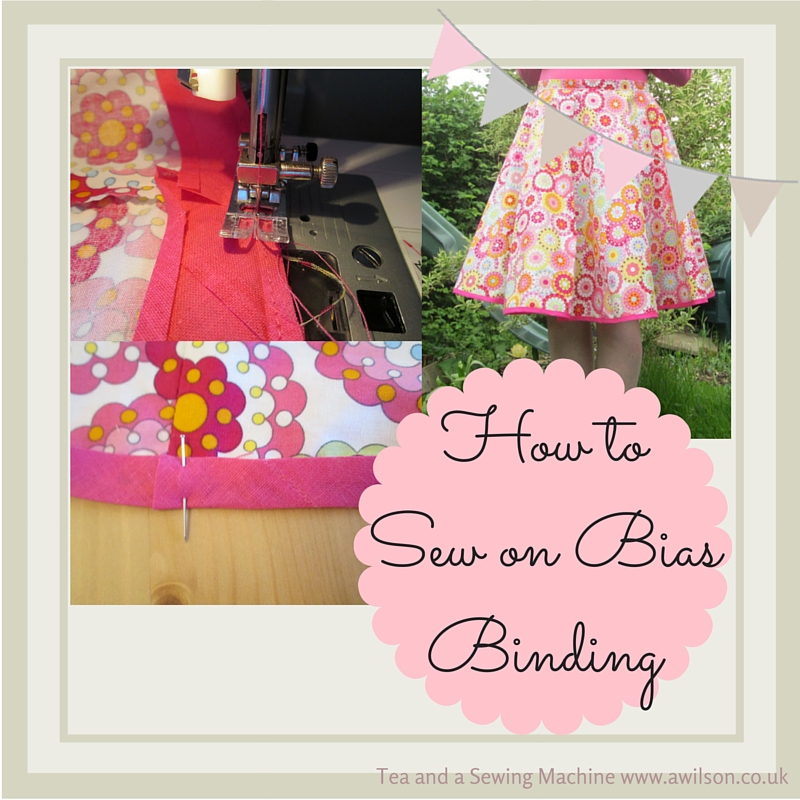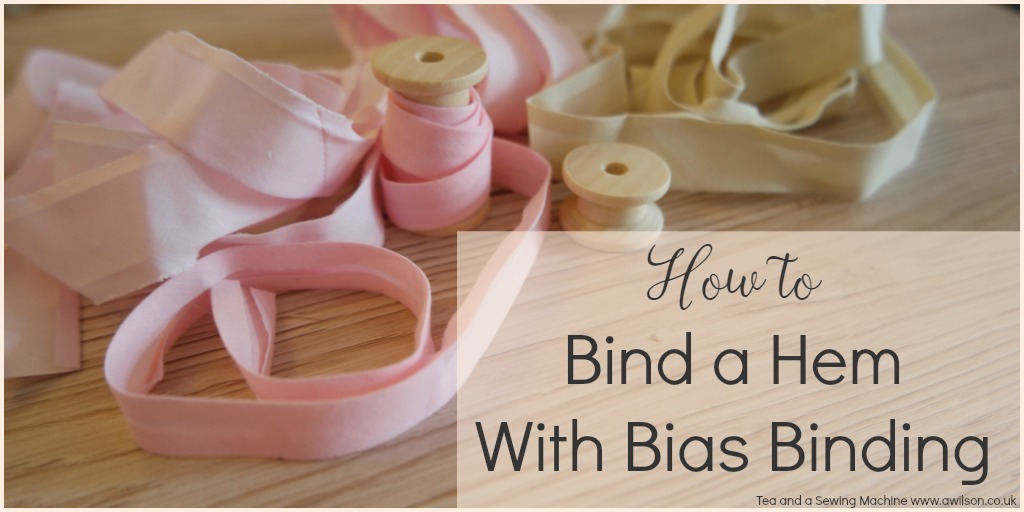
How to Sew a Hem With Bias Binding
How to Sew a Hem With Bias Binding Whenever I make something with a curved hem, my favourite way to finish it is to sew the hem with bias binding. As bias binding stretches with the curved edge, it’s perfect for finishing a hem on a circle or half…