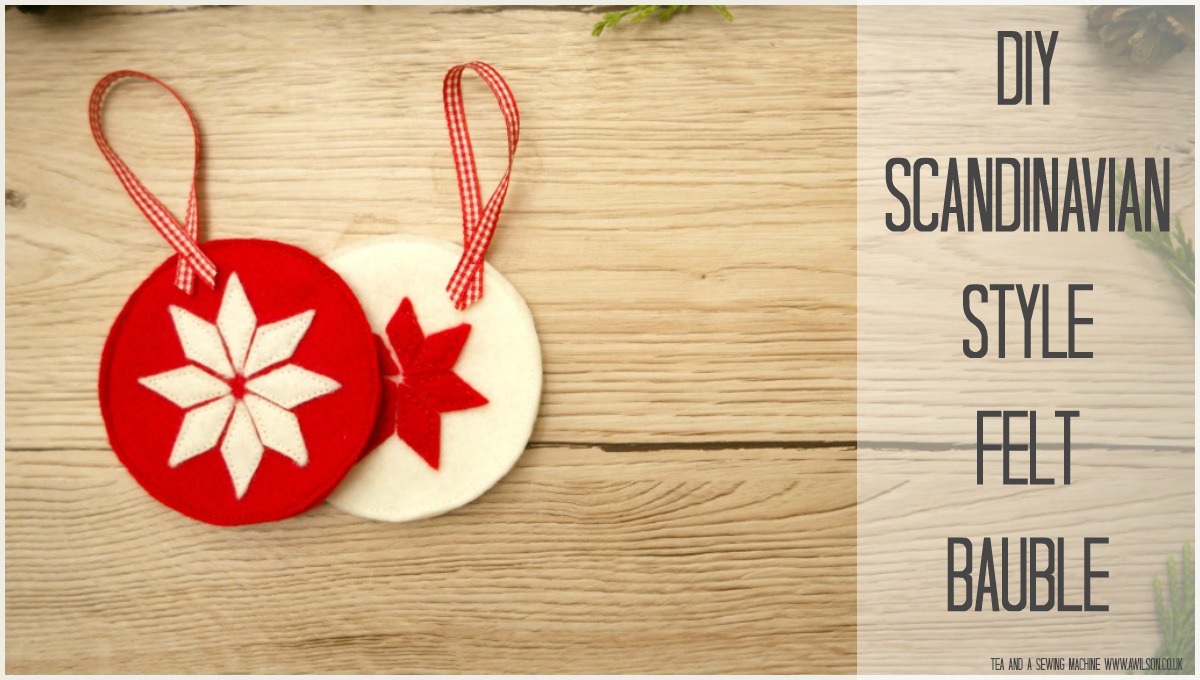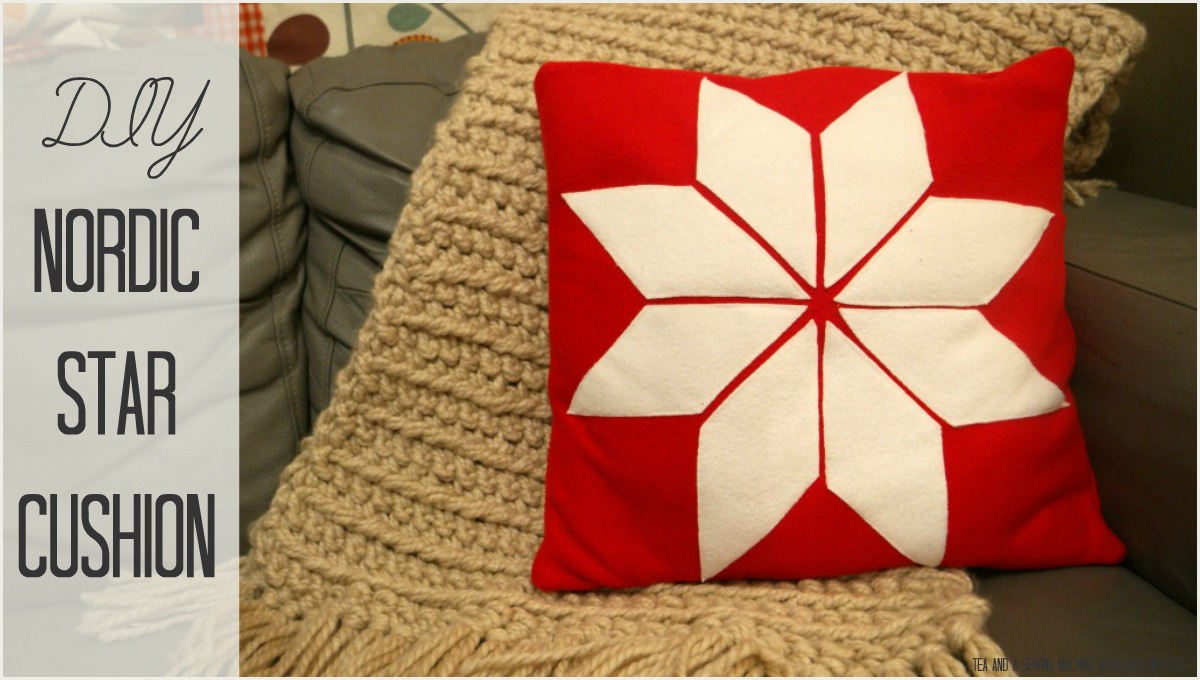
Nordic Star Cushion Tutorial
Nordic Star Cushion Tutorial Decorating for Christmas is a lot of fun, but there’s no need to stop at Christmas trees and fairy lights! Changing your cushions is an easy way to add a little bit of the current season to your home, and Christmas is no exception. You…