
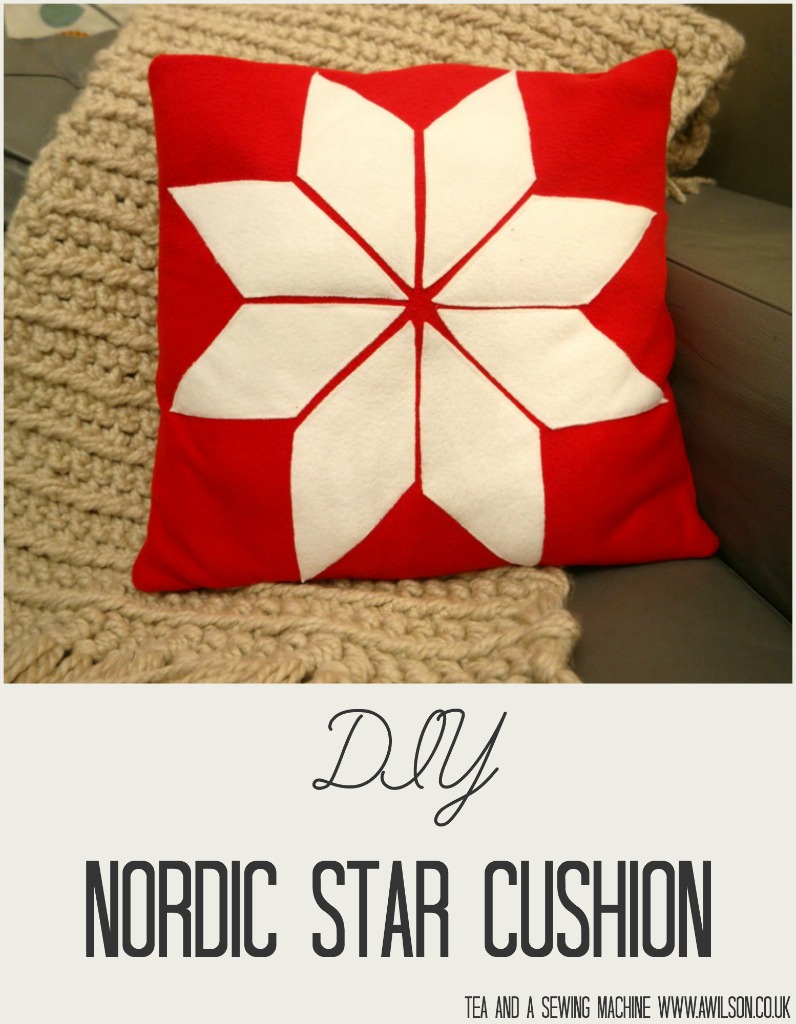
Nordic Star Cushion Tutorial
Nordic Star Cushion Tutorial
Decorating for Christmas is a lot of fun, but there’s no need to stop at Christmas trees and fairy lights!
Changing your cushions is an easy way to add a little bit of the current season to your home, and Christmas is no exception. You don’t even need to buy new cushion pads. Just slip the new covers onto your existing cushions!
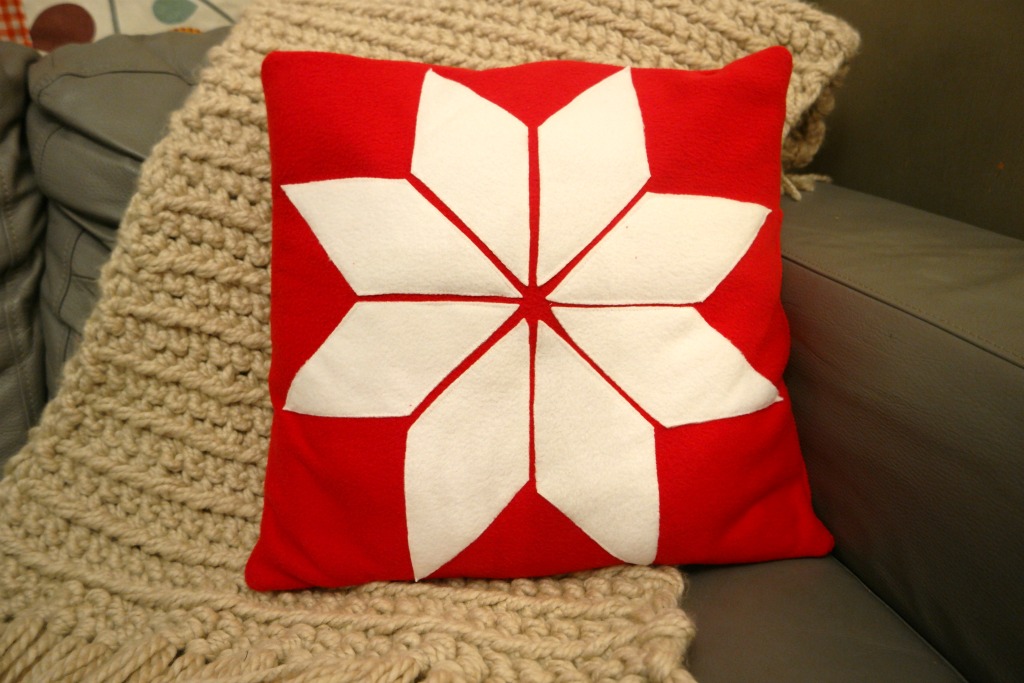
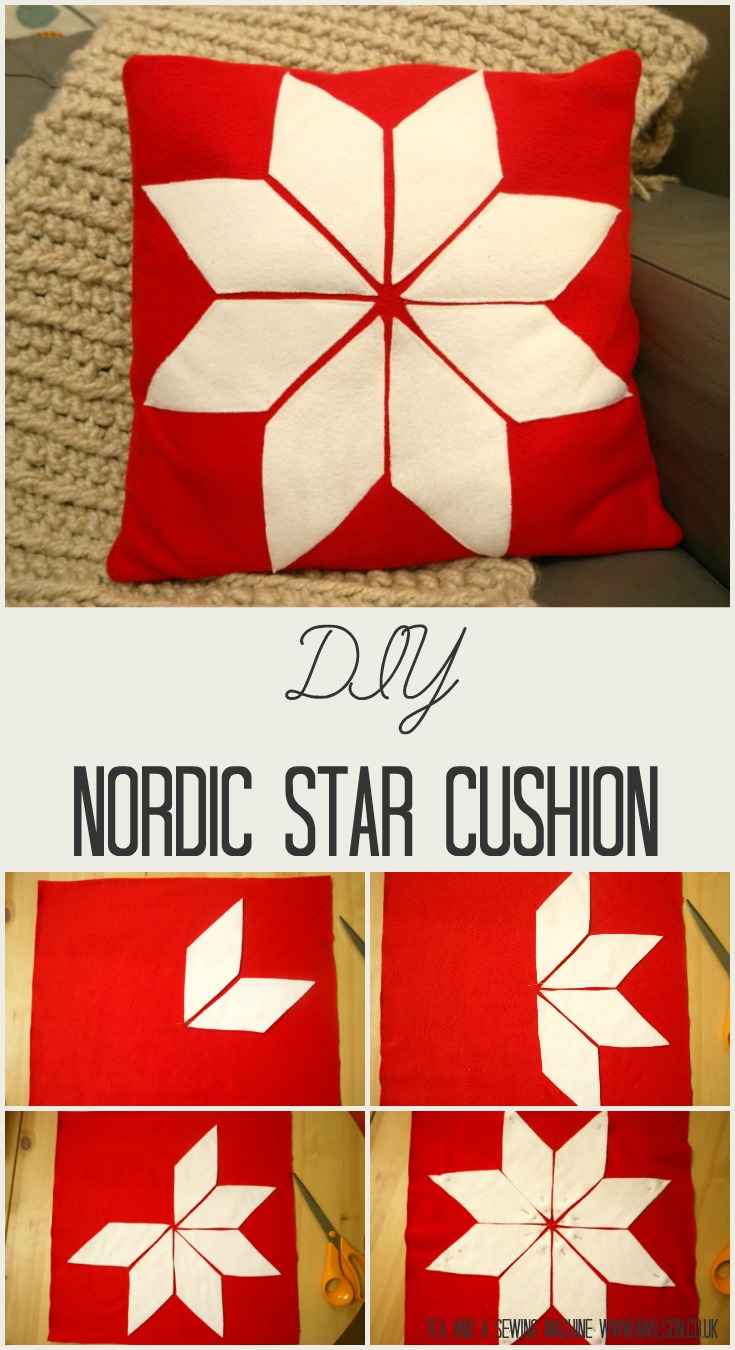
This Nordic star cushion tutorial shows how to make a simple, envelope back cushion with a Scandinavian style star appliqued to the front. The star is made from 8 diamond shapes, and you can download the template for this here.
 I used fleece fabric in red and white as I love the warm snuggliness of fleece. It’s easy to sew and doesn’t fray. The hems can just be folded over and the appliqued pieces don’t need to backing with interfacing.
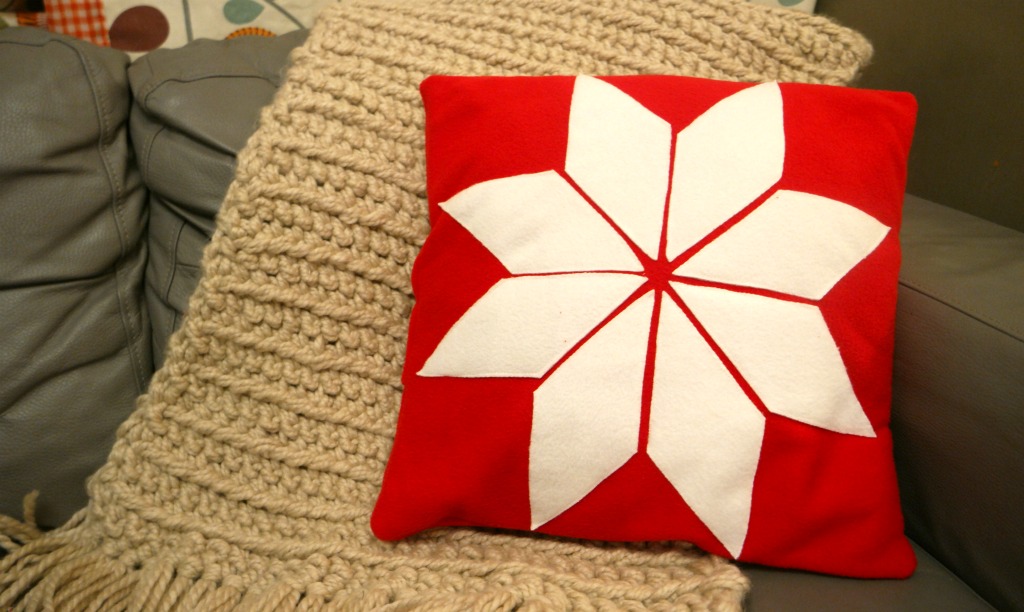
You could make the cushion in red and white, as I did, or you could use other colour combinations like grey and white or blue and white.
The cushion cover should fit a standard sized cushion pad. A 1 cm seam allowance is included in the measurements.
How to Make a Nordic Star Cushion
Cutting Out
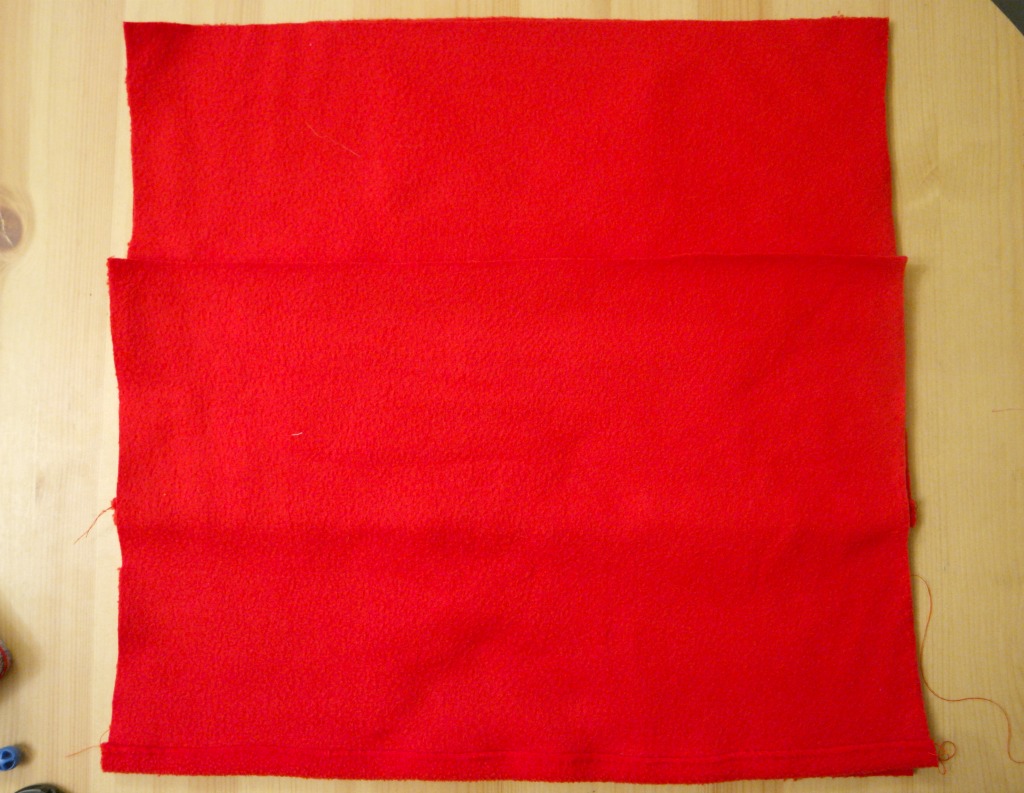
From red fleece, cut 1 square 42 cm x 42 cm and 2 rectangles 42 cm x 30 cm.
From white fleece, cut 8 diamonds (you can download the template here).
Sewing Up
1. Take one of the red rectangles and hem along one of the long edges. Repeat for the other rectangle. Put them to one side.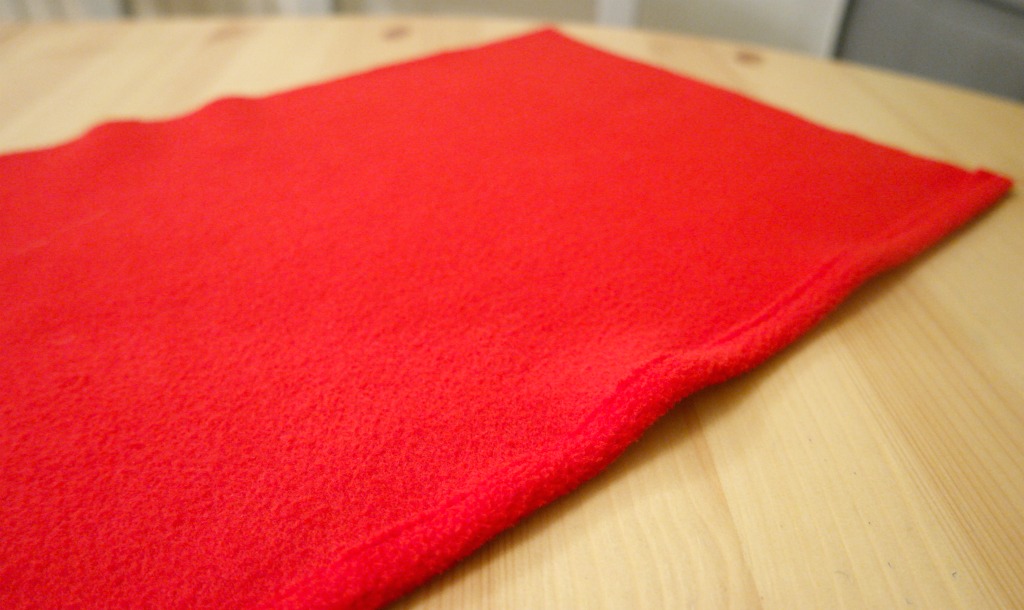
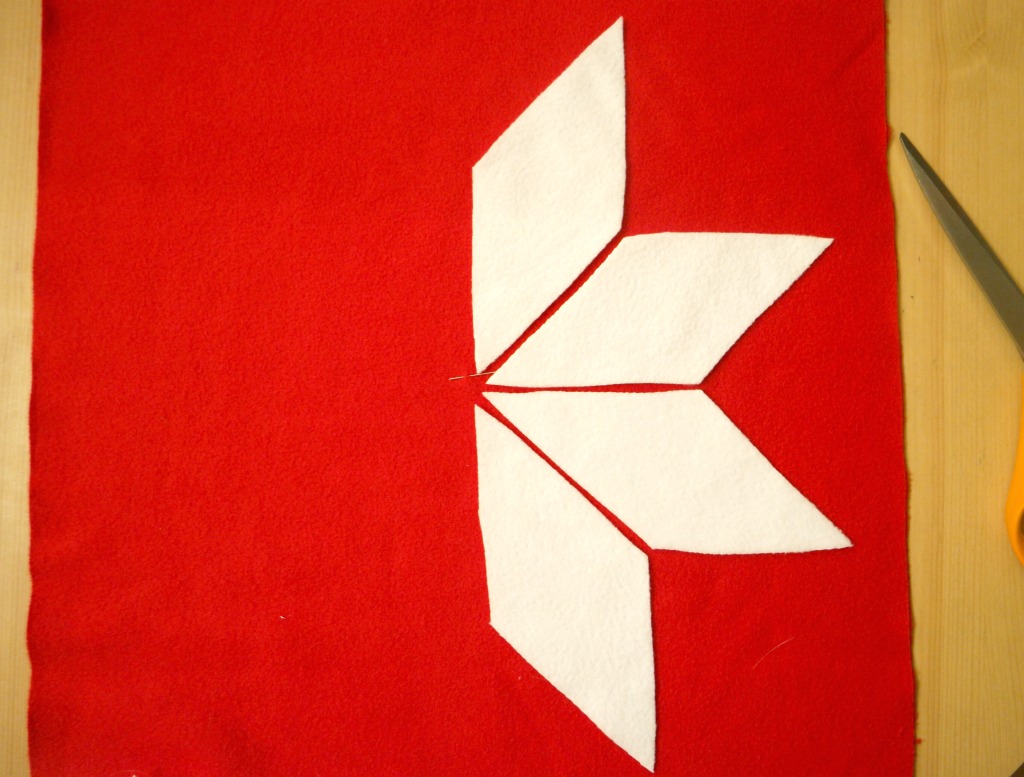
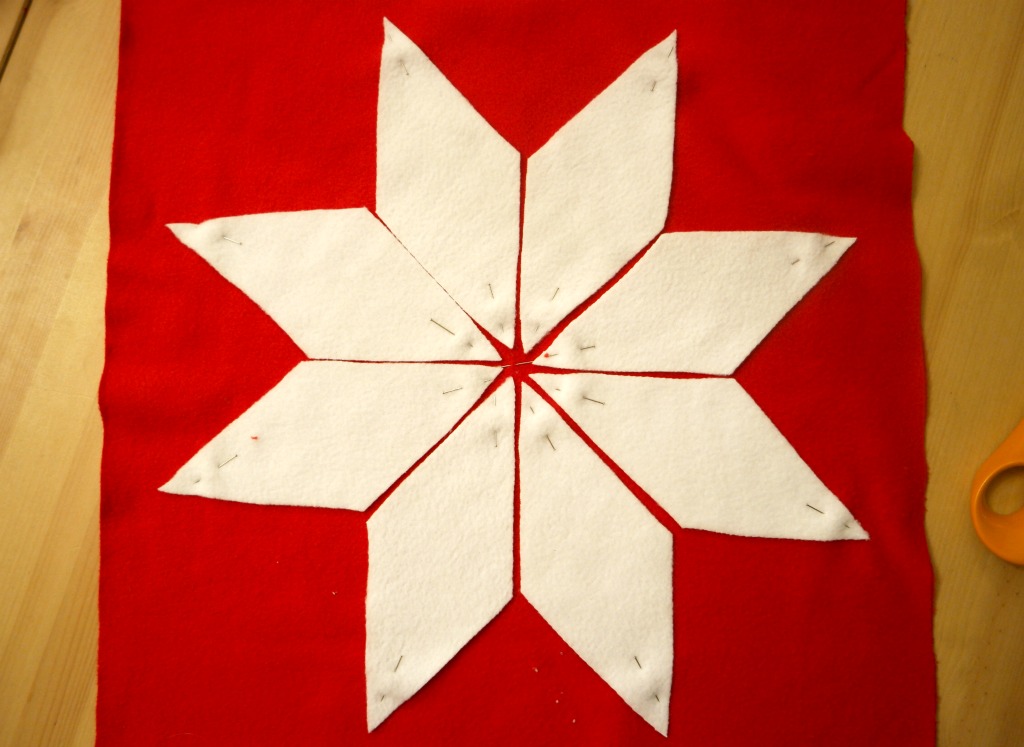
2. Take the red square and position the white diamonds onto it as in the pictures below. Pin them in place.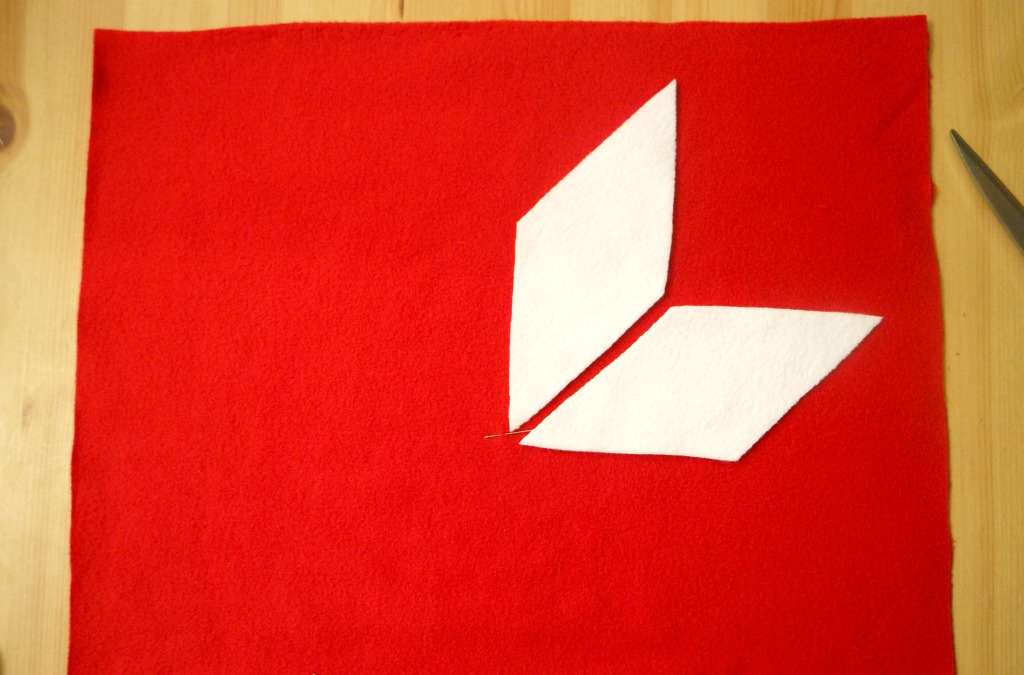
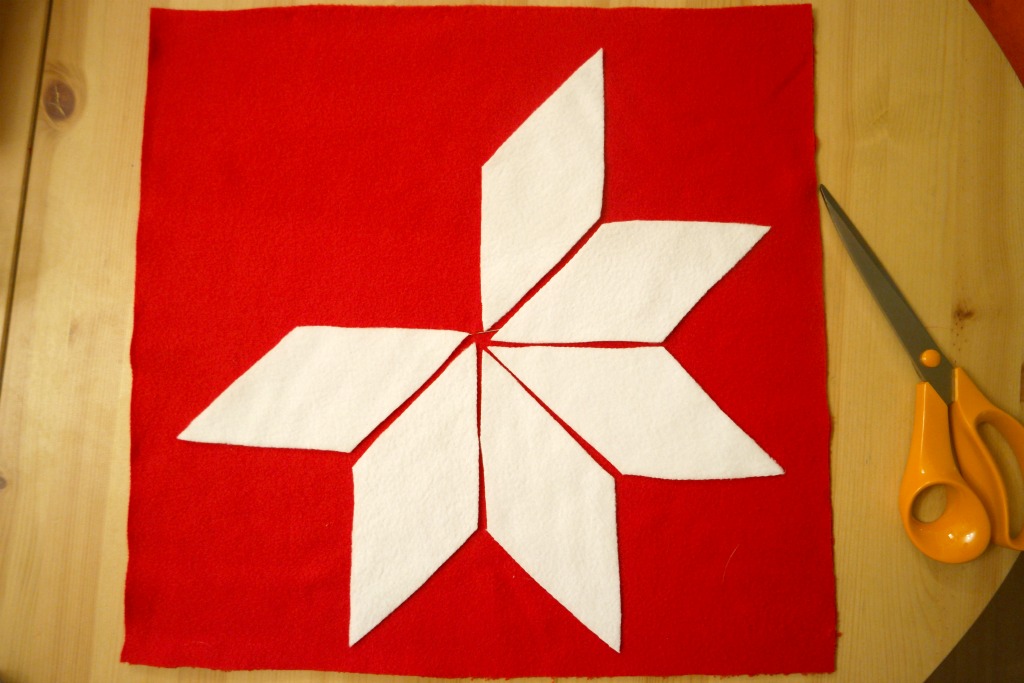
Don’t be tempted to skip this step! You’ll not get them all in, then you’ll have to spend lots of quality time with the unpicker. I’ve been there!
3. Using a long, straight stitch, applique the diamonds to the cushion front.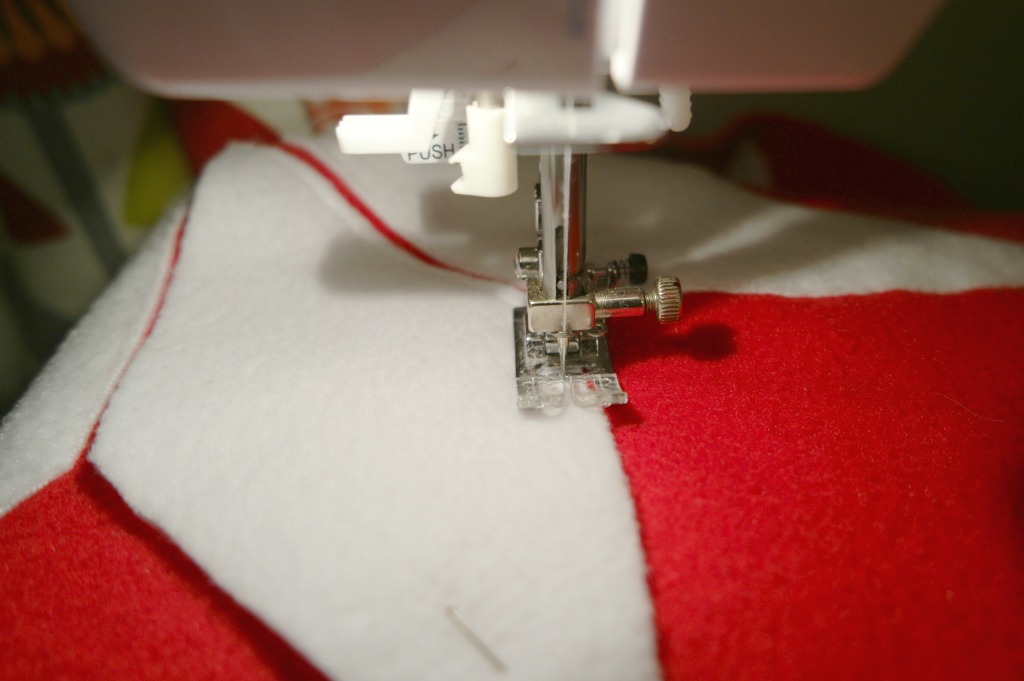
4. Take one of the rectangles and place it top of the cushion front with the right sides together. The top edges need to be aligned and the hemmed edge should run across the middle of the cushion.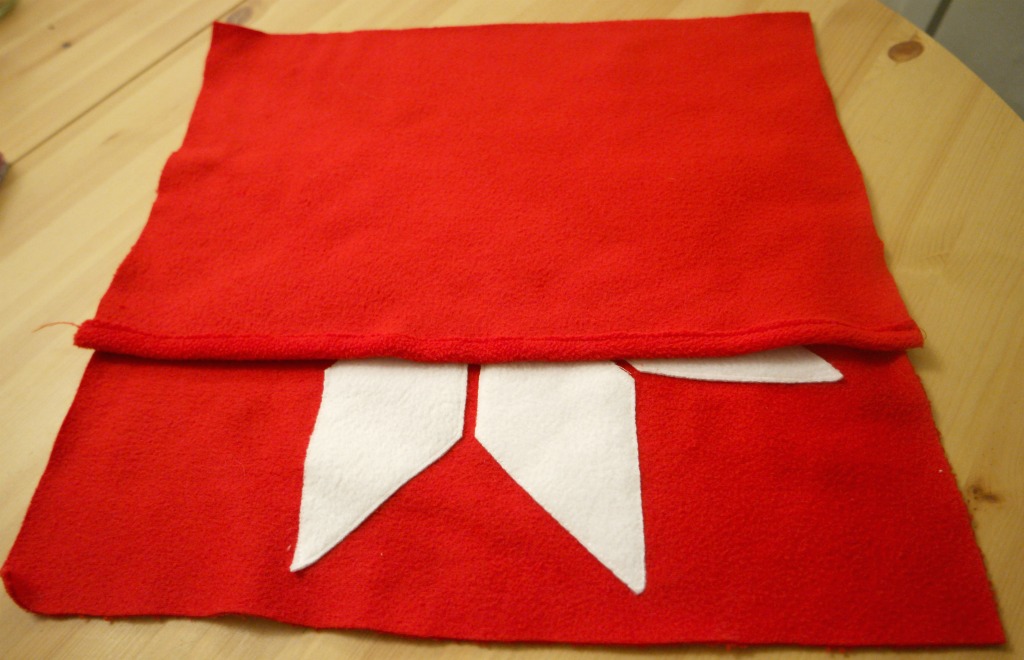
5. Take the other rectangle and place it on top of the other pieces. This time the bottom edges should be aligned.
Pin the pieces together, then sew around the outside of the cushion cover. I turned it over before sewing, just to be sure that I wouldn’t sew over the points of the star.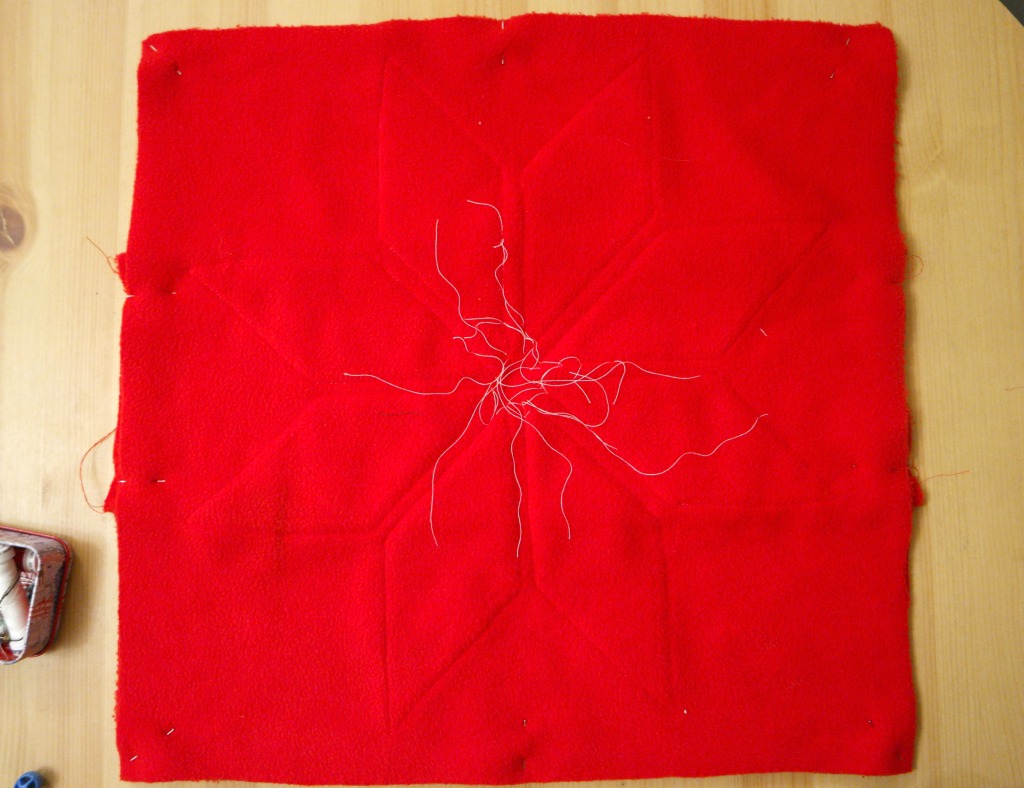
6. Trim the seams and turn the cushion out. Pop a cushion pad inside.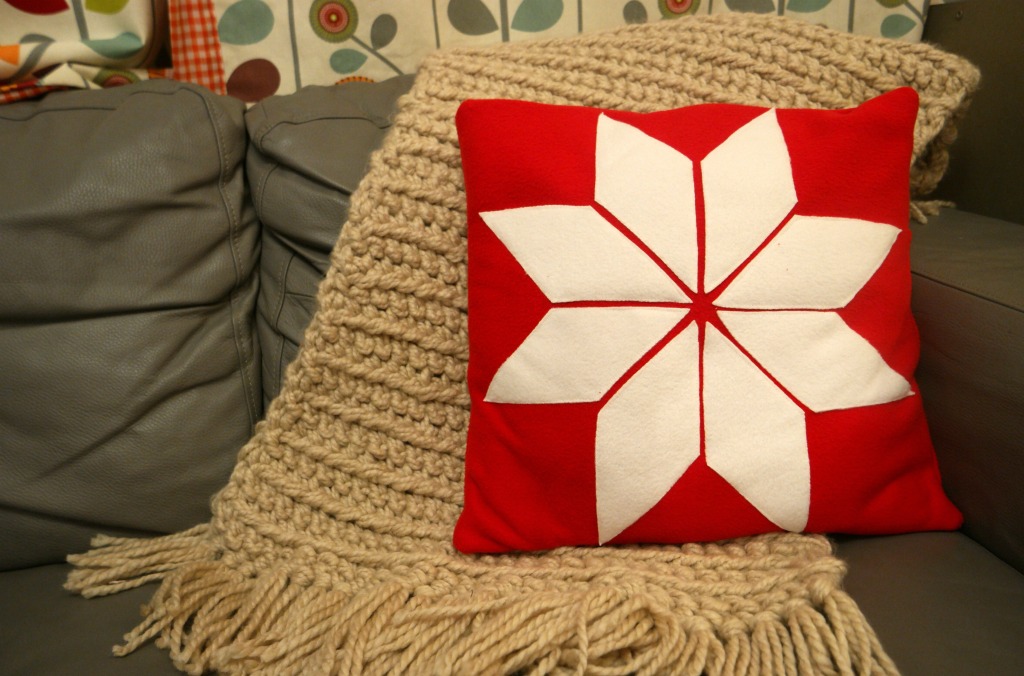
Now you might like to make a reindeer cushion or two to go with your new nordic star cushion!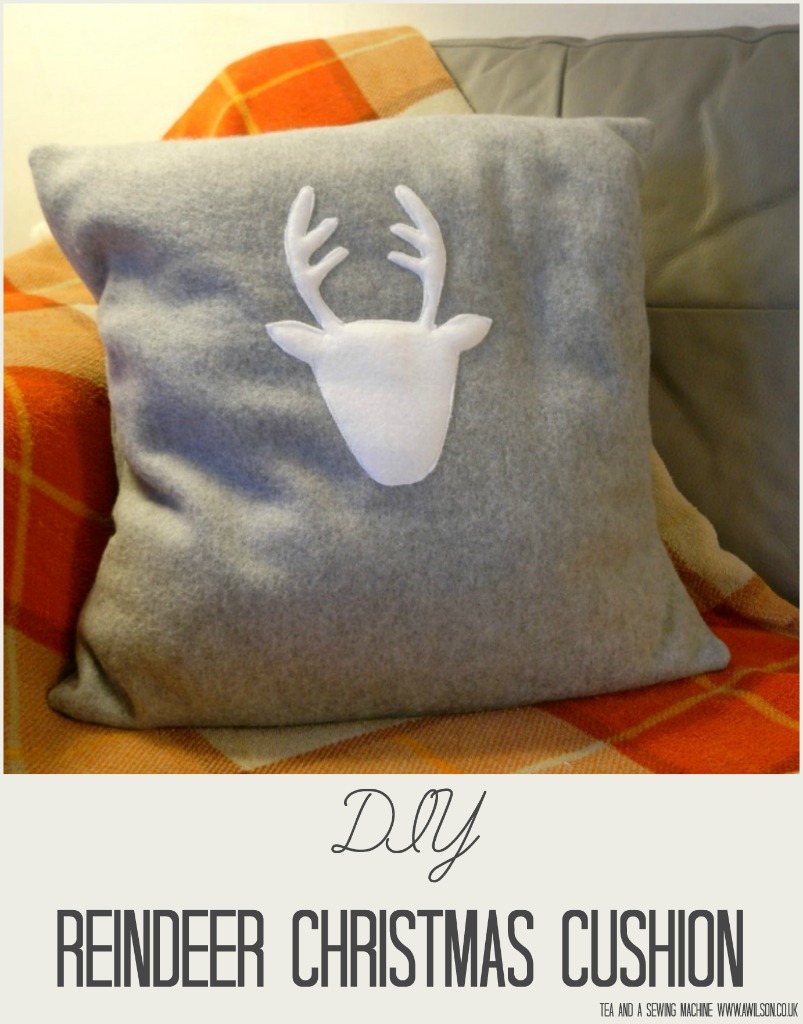
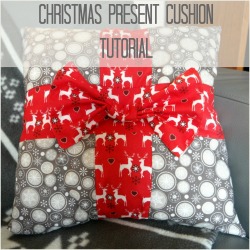
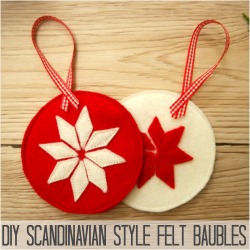
If you liked this Nordic star cushion tutorial, you might also like these tutorials:

Another gorgeous cushion Anna! And I love how simple it is!
Pretty!! I’ve got a Craft Gossip post scheduled for tomorrow afternoon that features your tutorial:
–Anne
Anne recently posted…Tutorial: Little fabric boxes
Thank you!