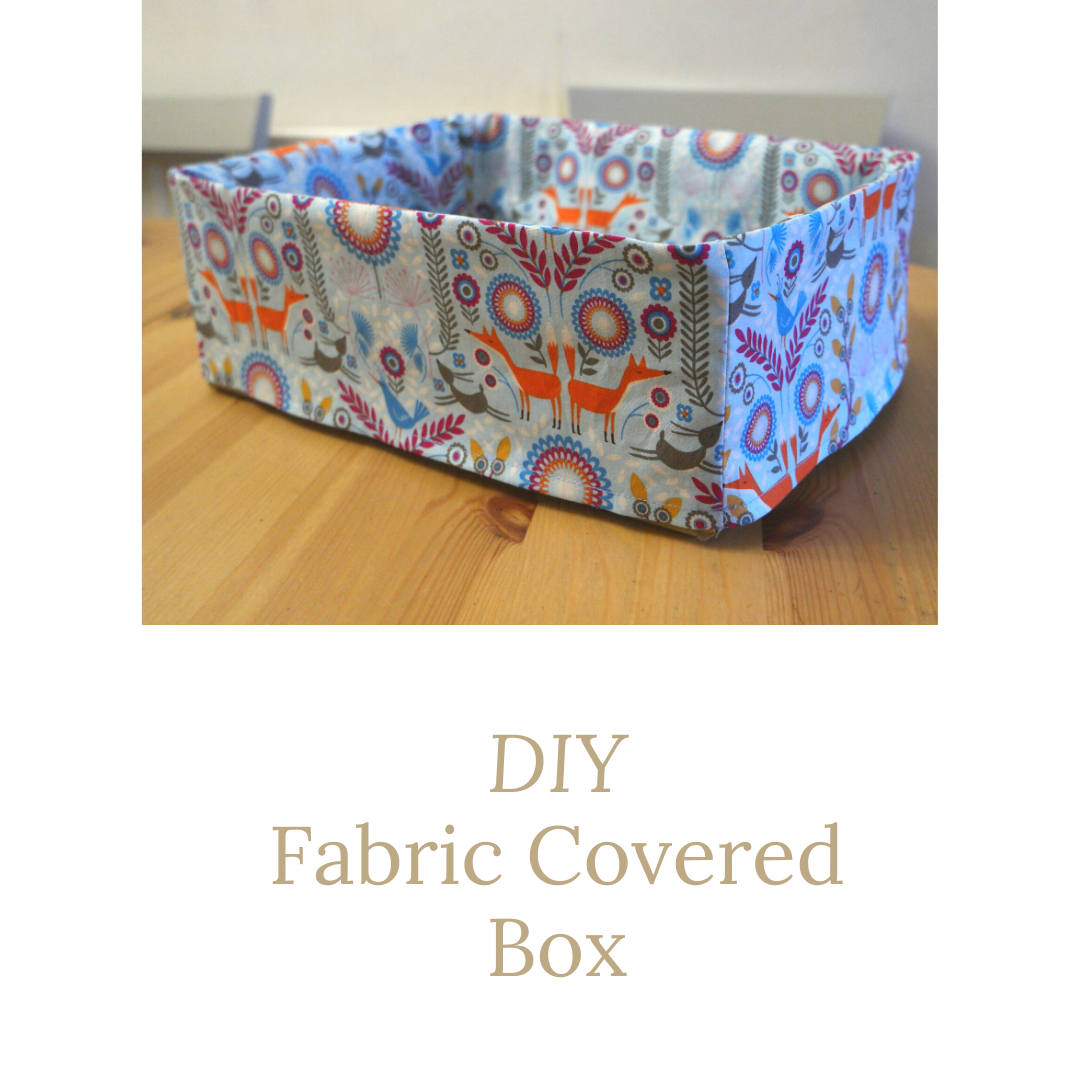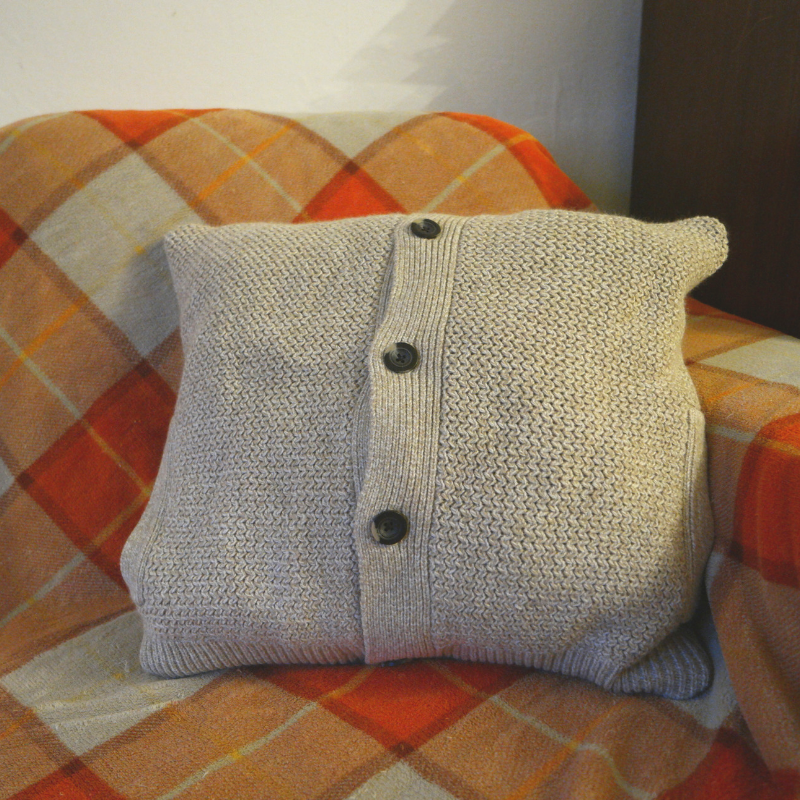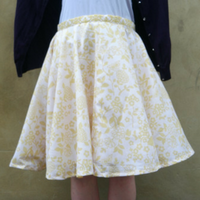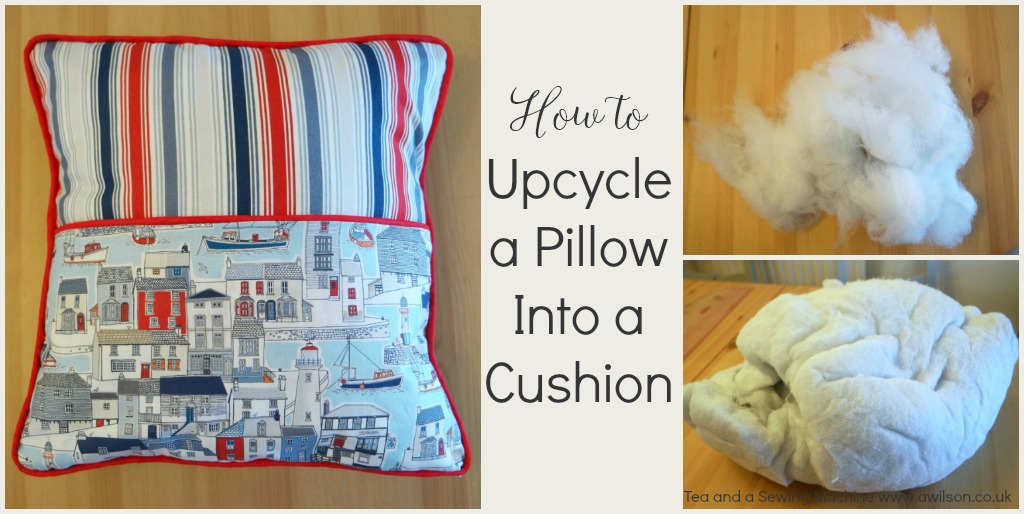
Thoughts on Throwing Things Away
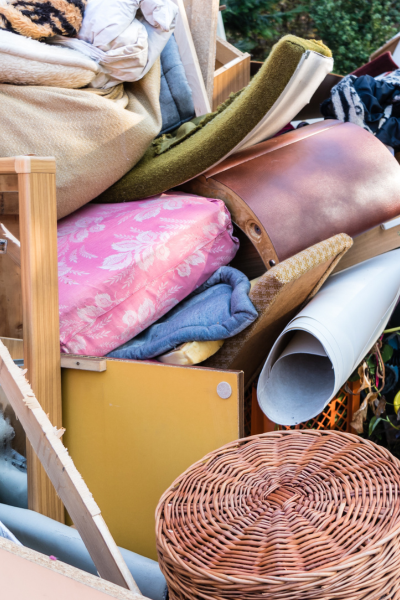
Lots of us have an uneasy relationship with throwing things away. We all know that we need to try to generate less waste. Fast fashion is an environmental nightmare, supermarkets still sell pasta in plastic bags that can’t be recycled, we have electronics we no longer use and…