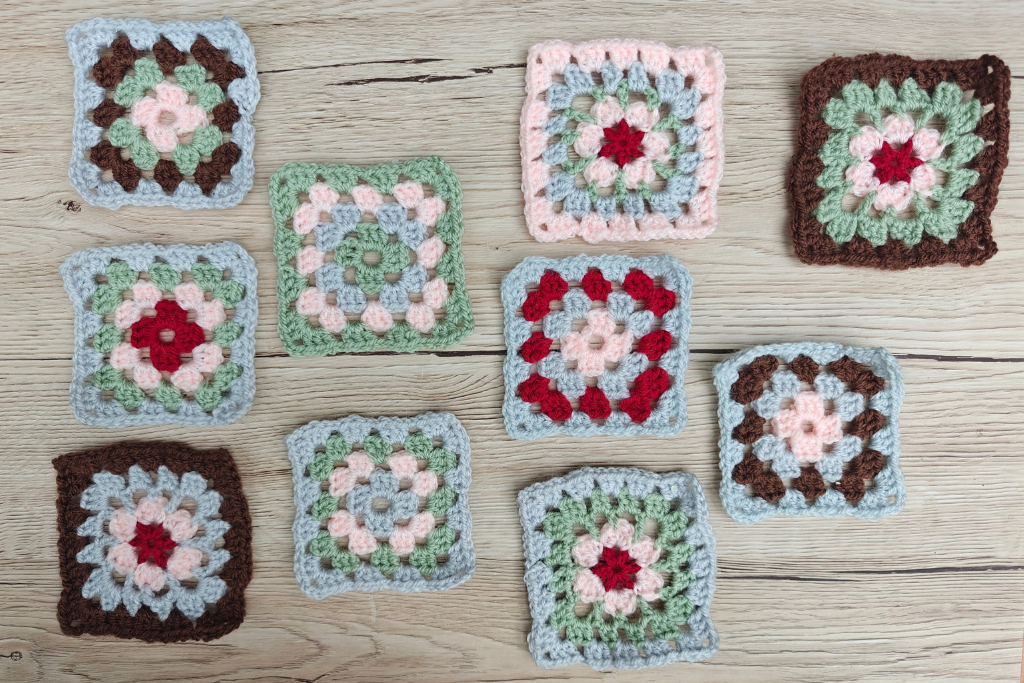
Crafted Colours: Creating Colour Schemes From Photos
Join the email list and I’ll send you the free mini course Crafted Colours: Creating Colour Schemes From Photos. Find out more here.
Post Categories
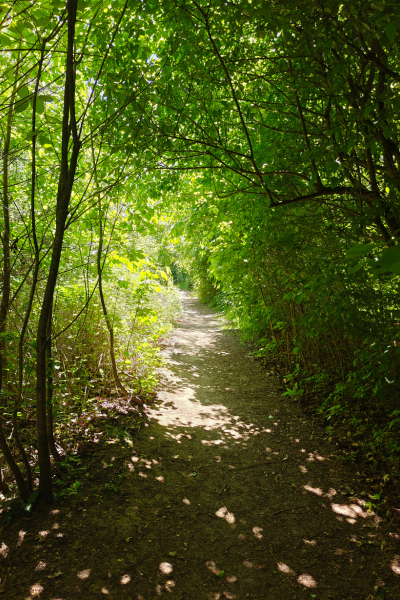
July Thoughts
Here in my little bit of Norfolk, we’ve so far had quite a nice summer. By nice, I mean warm and sunny. There have been years, like last year, when I was still wearing tights and a coat in early July! But this year, I’m already used to…

Creativity and Using All Our Senses
Years ago, when I was a teacher, I remember that people beginning to talk about children as being different kinds of learners. Some children were auditory learners, which meant they learnt through listening, others were visual learners, which meant they found it easier if there was a diagram…
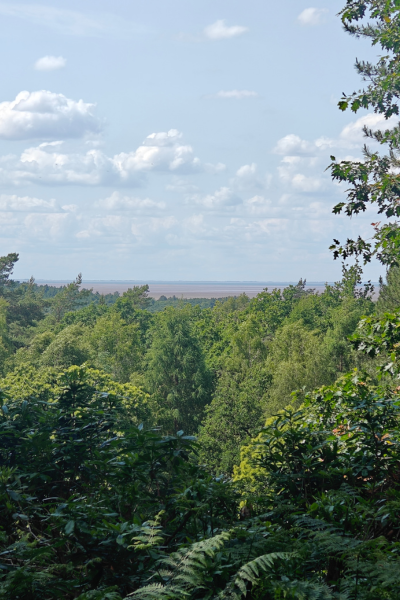
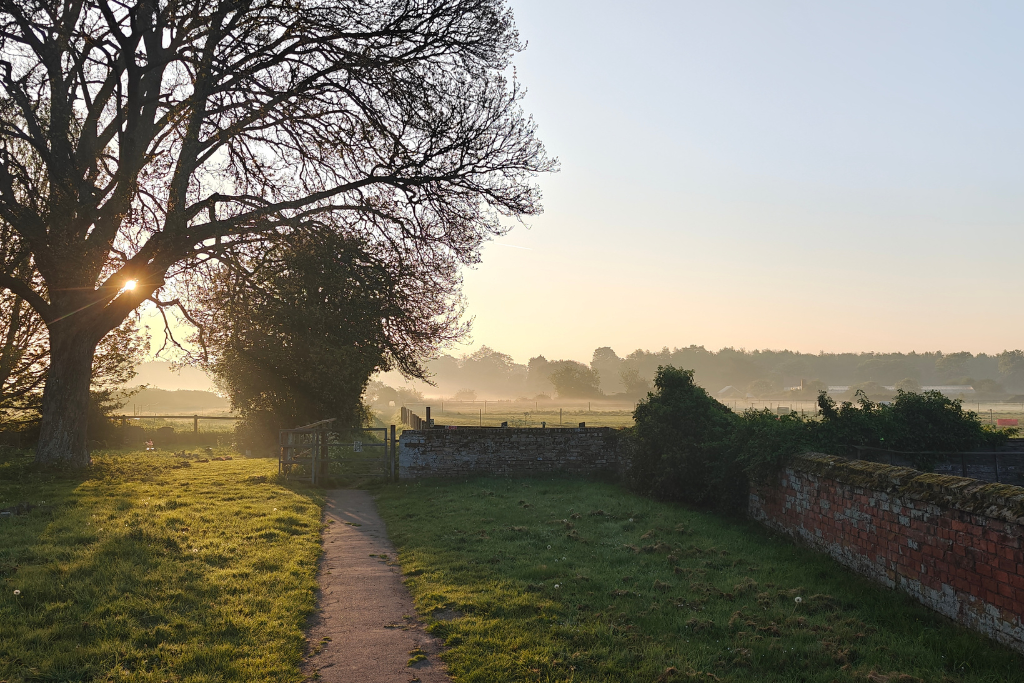
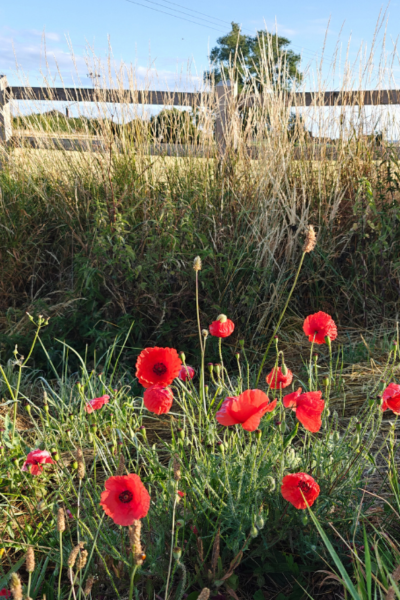
Thoughts on Noticing Stripes
I’ve been noticing stripes in the landscape around where I live for a long time. It might be because this bit of Norfolk near the Wash is so flat. Being flat the lines are straighter. It makes it easy to see the stripes of fields, one behind another,…
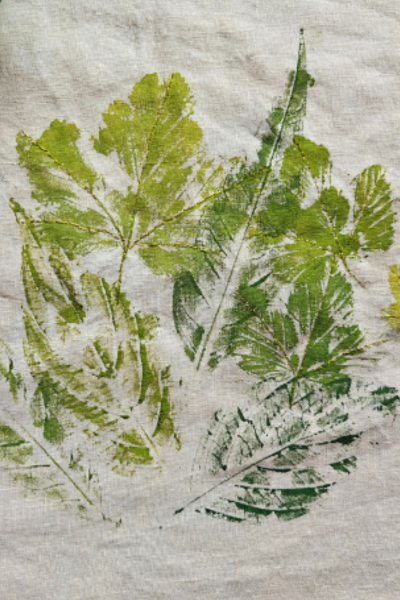
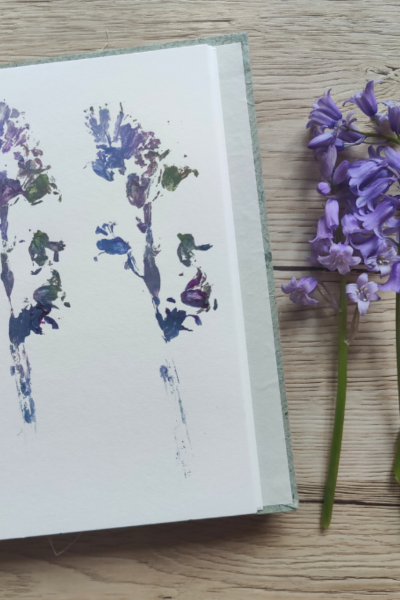
Printing With Leaves
At this time of year, in late spring and early summer before the summer solstice, everything is so beautifully green. The leaves are lovely in the autumn, and earlier in the spring there is blossom, but this time of year is wonderful too. As I’ve said before, it’s…
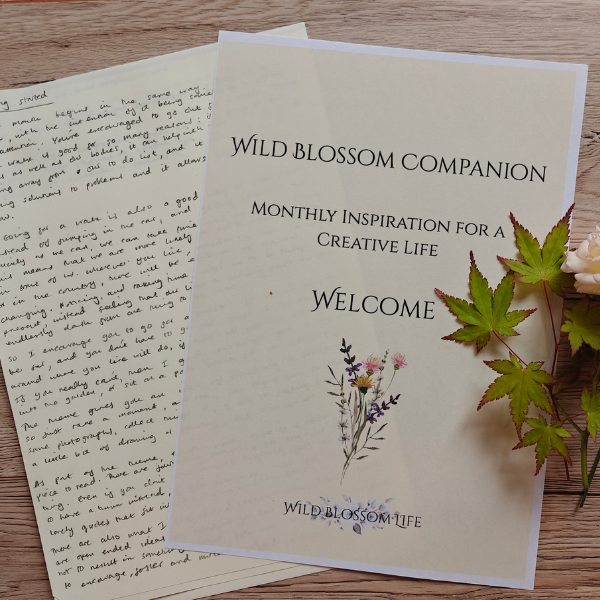
Welcome
I'm so happy you're here! You are so welcome to join me in this exploration of what it means to be a creative person.