
Crocheted Picot Edging
Crocheted Picot Edging is the second post in a little series of 4 posts about crocheted edgings. If you haven’t already, you might like to take a look at the first one, which shows how to crochet a shell or scalloped edging. And if you stick around for the last one, there will be a free printable of the four edgings plus 2 extra ones!
Picot edging is a very simple way of adding decoration to the edge of a piece of knitting or crochet. It is not as large or as fancy as some other edgings like the shells, which makes it perfect where you want a pretty edging that is more understated and less fancy.
Here are instructions for crocheting picot edging and 2 variations!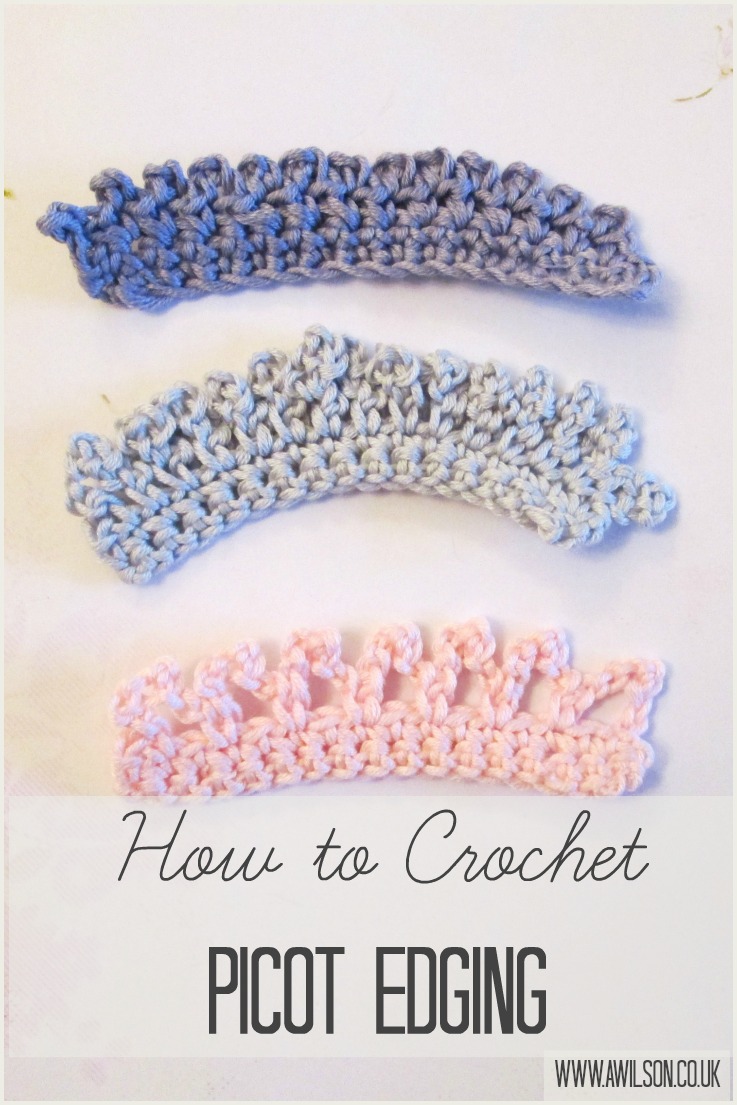
How to Crochet Picot Edging
Please be aware that as I am English, I have used British crocheting terms!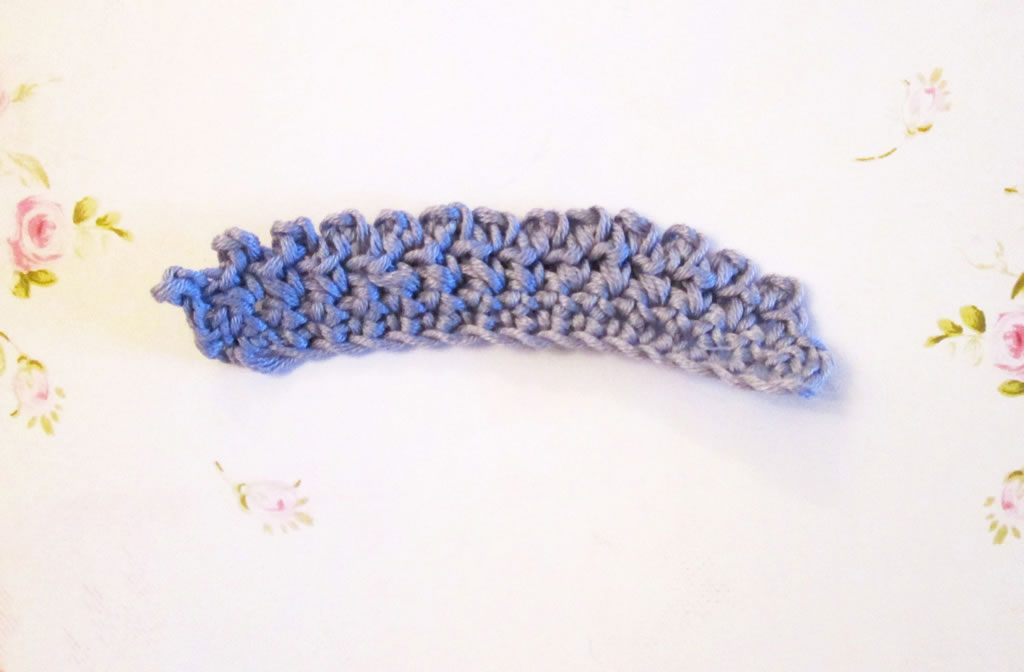
You will need an odd number of stitches to work your edging into.
1. Make 1 ch, miss 1 stitch, dc into next stitch.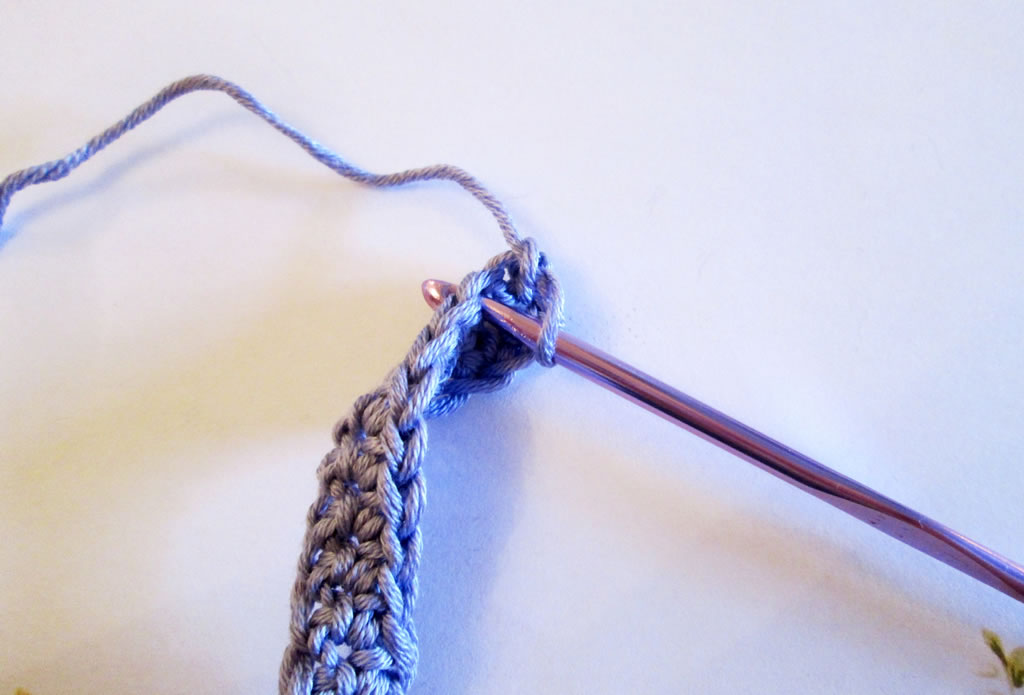
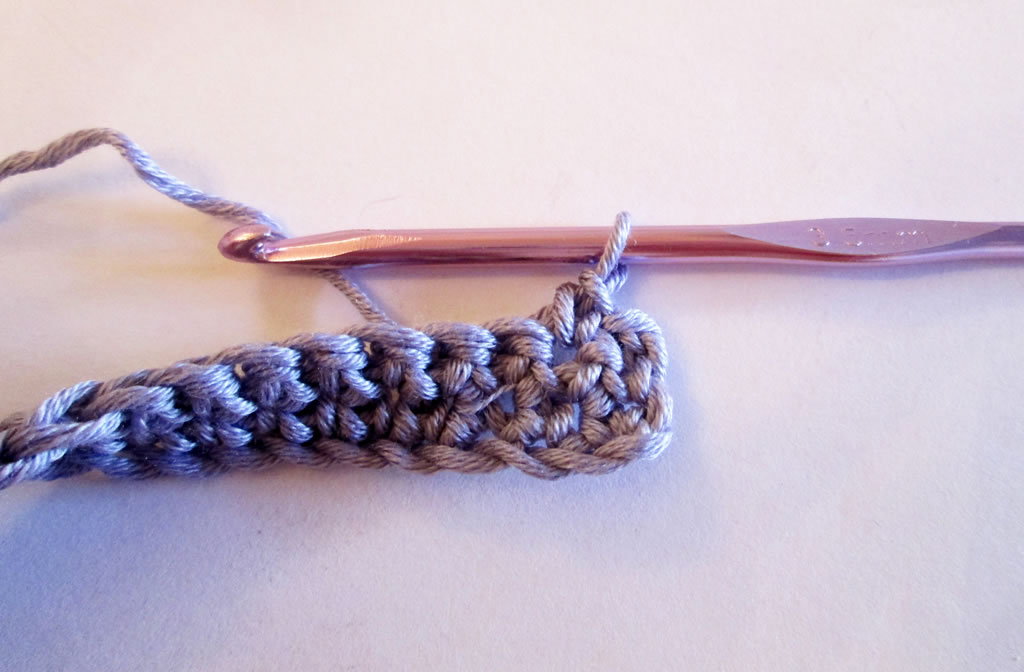
2. 3 ch, ss into 3rd ch from hook.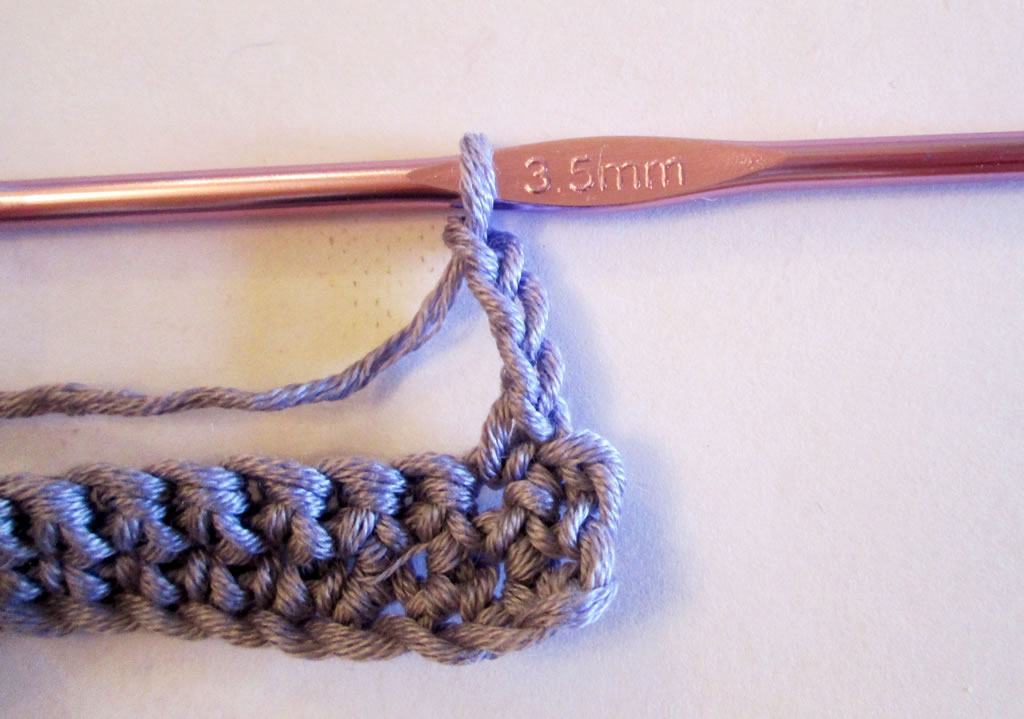
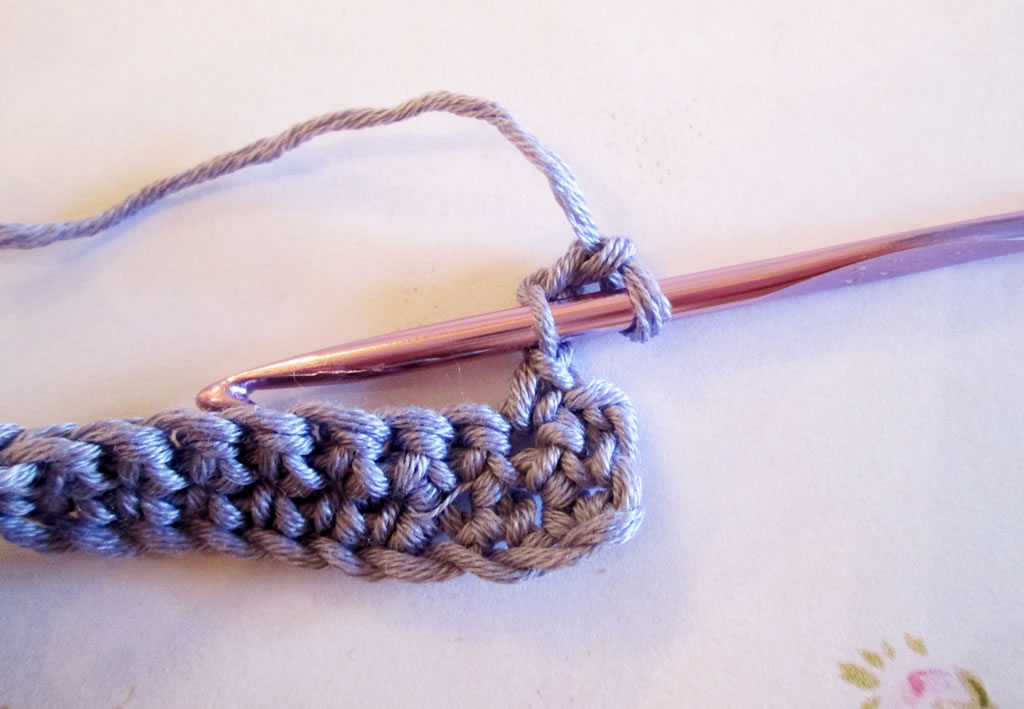

3. Dc into next stitch.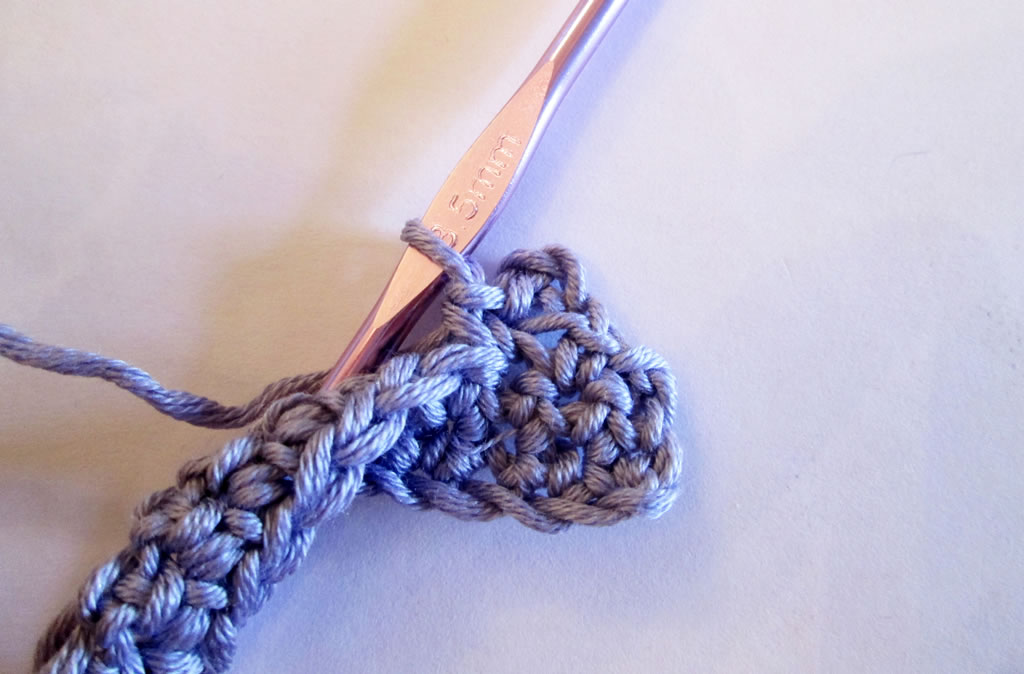
4. 3 ch, ss into 1st ch.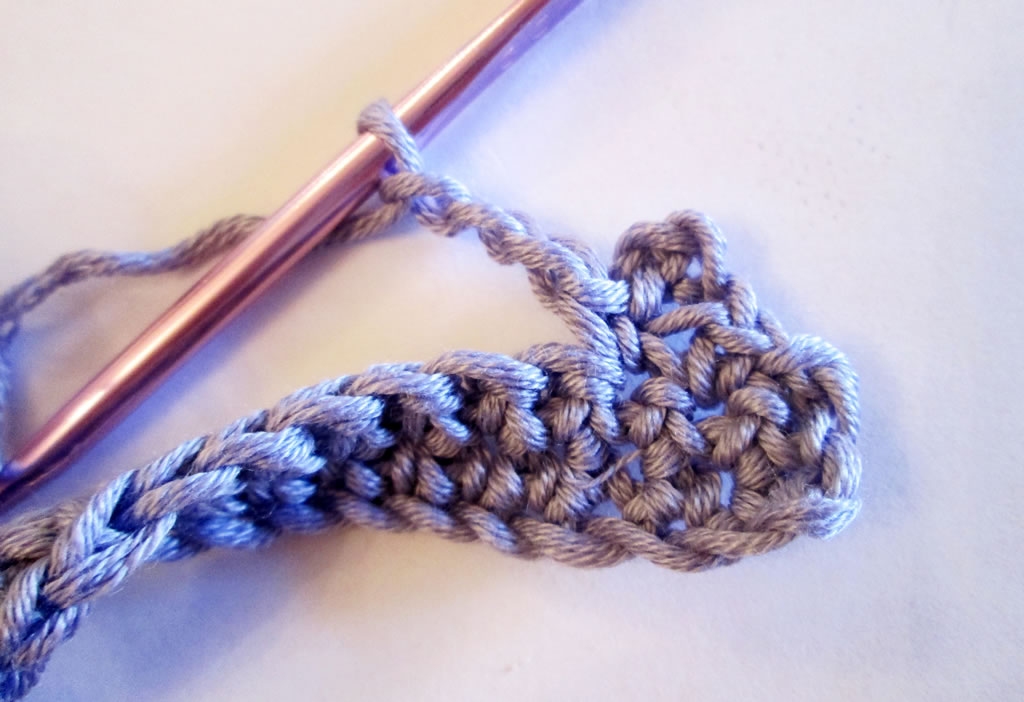
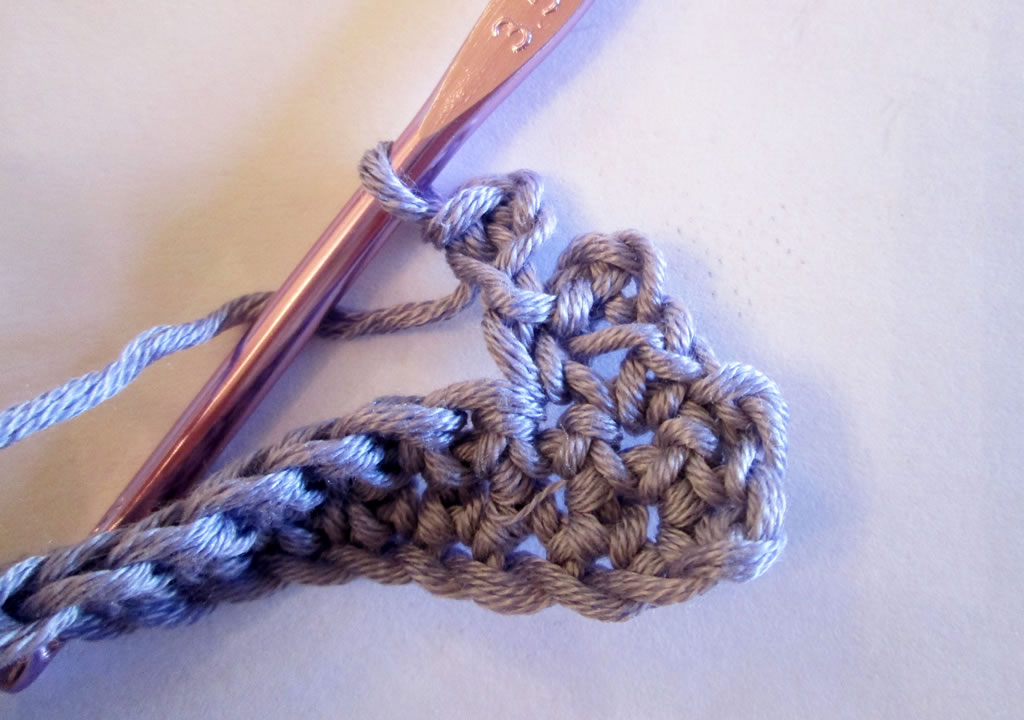
5. Dc into next stitch.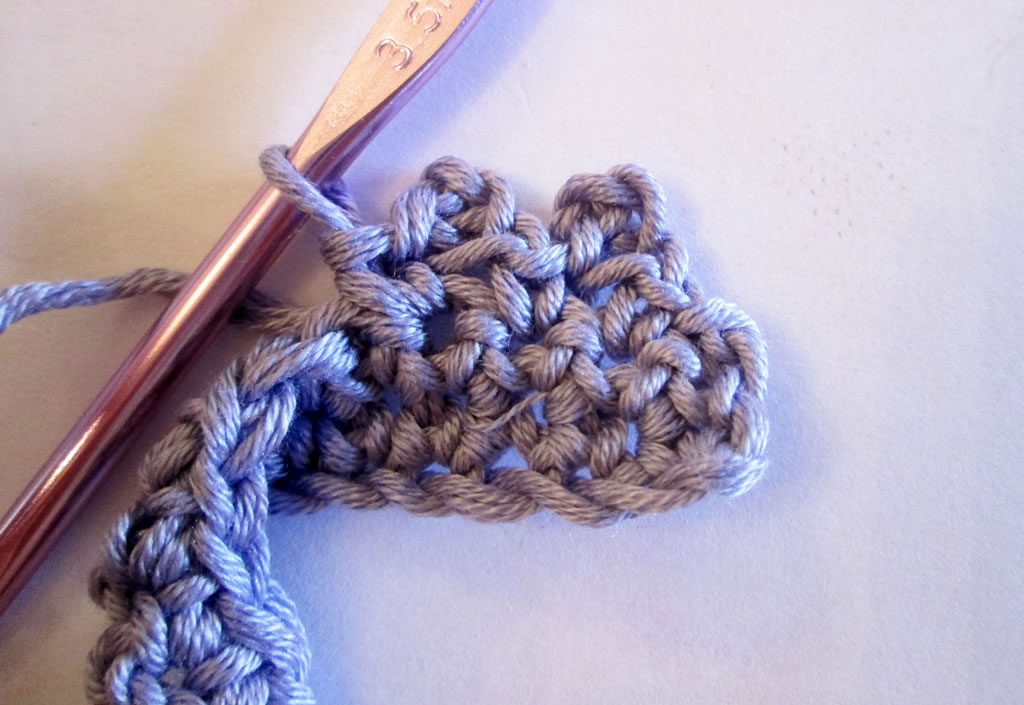
Keep going in this way until you have reached the end of the row or gone all the way round.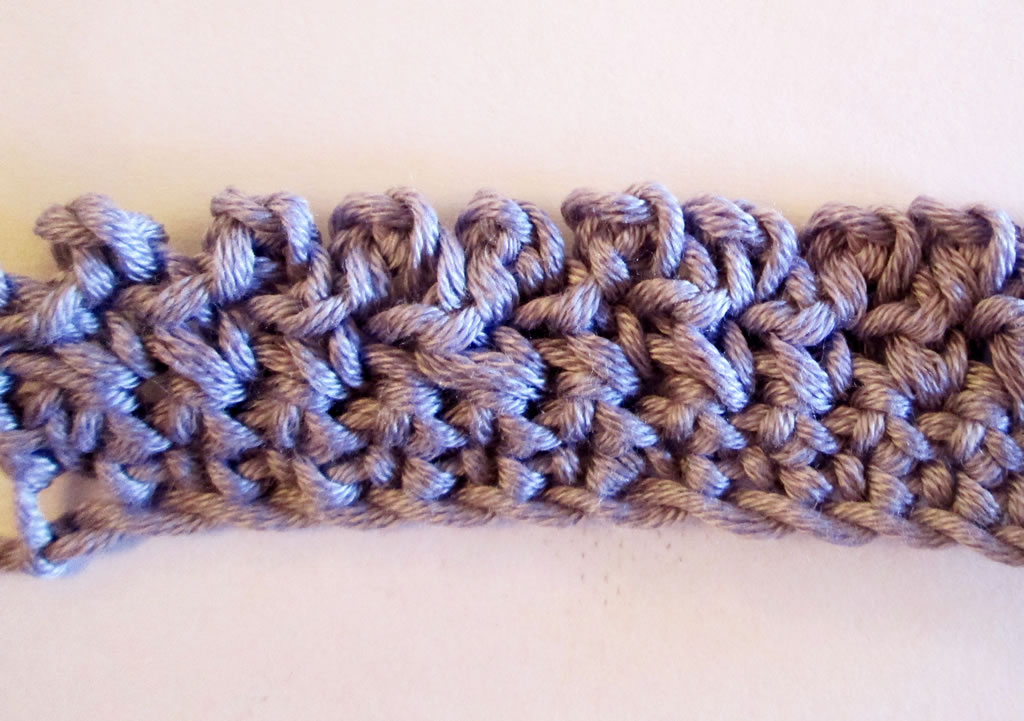
The thing to remember with this edging is that apart from at the beginning, you don’t miss out any stitches.
Variation 1
This is very similar to the version above, it just turns out a bit bigger.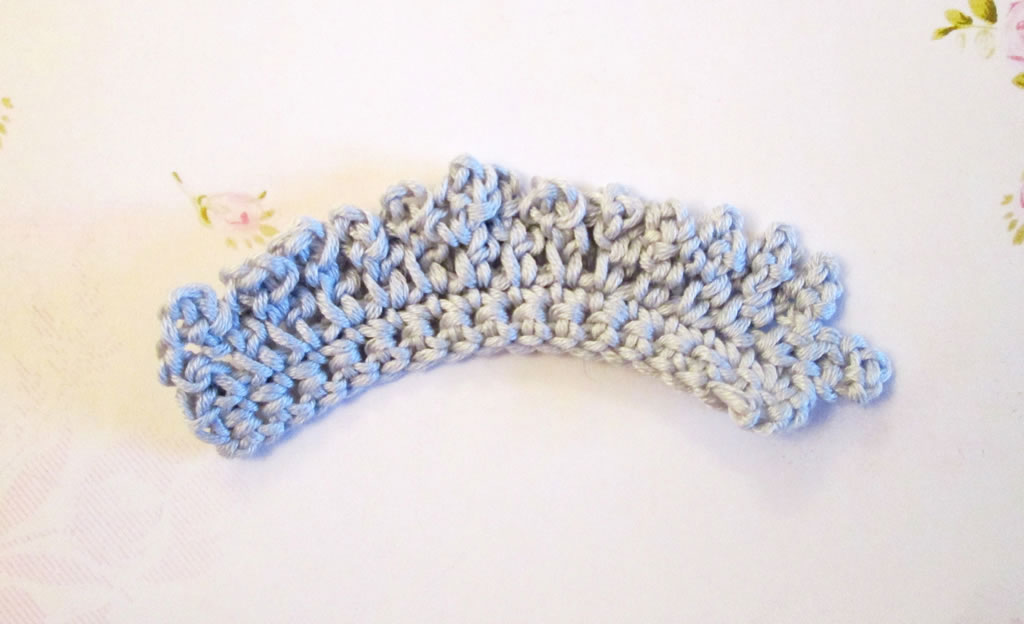
1. 1 ch, miss one stitch, dc into next stitch.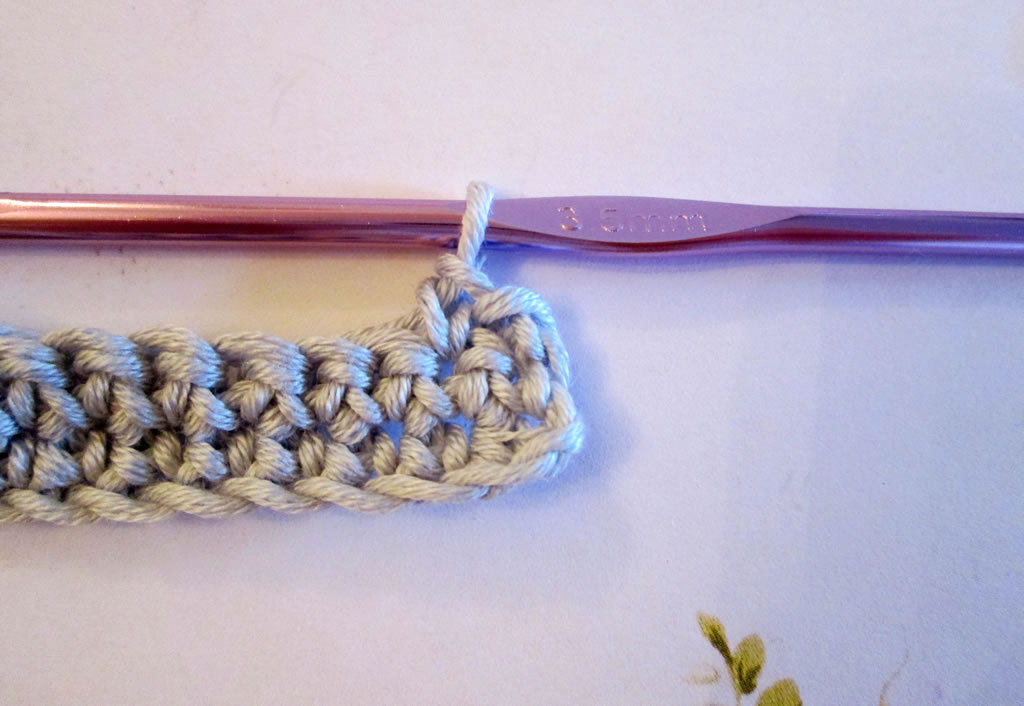
2. 5 ch, ss into 4th ch from hook, 1 ch.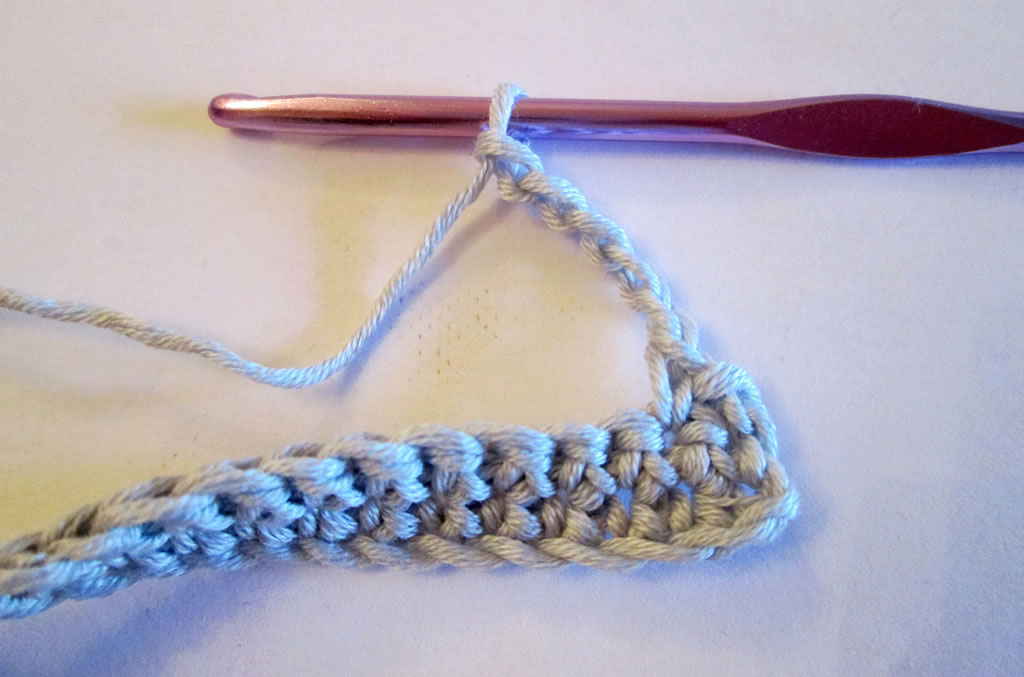

3. Dc into next stitch.
Repeat steps 2 and 3.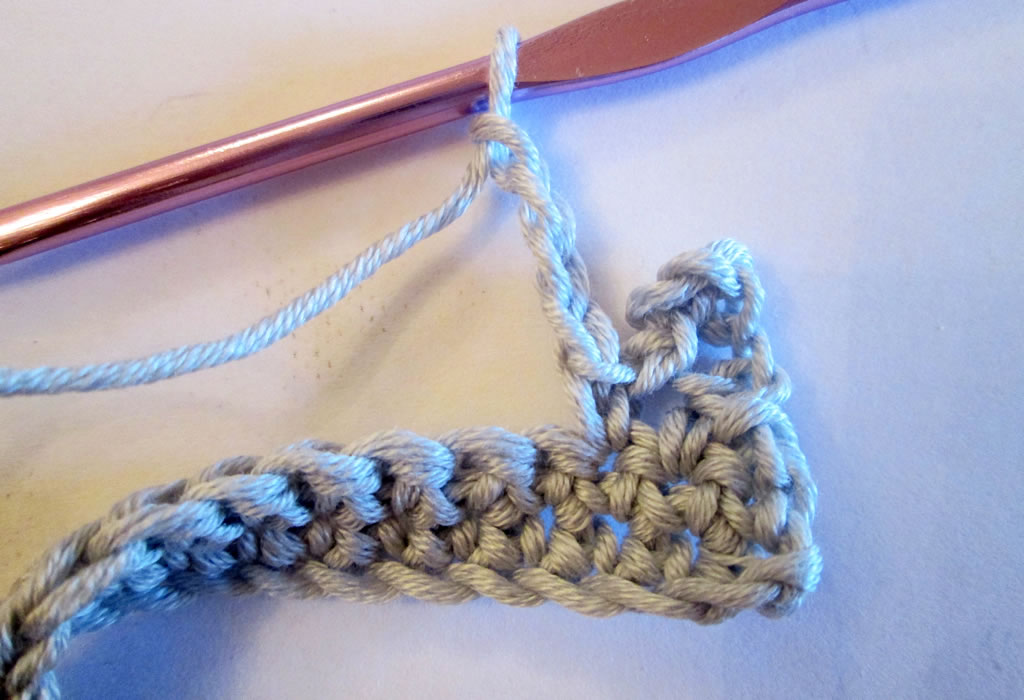
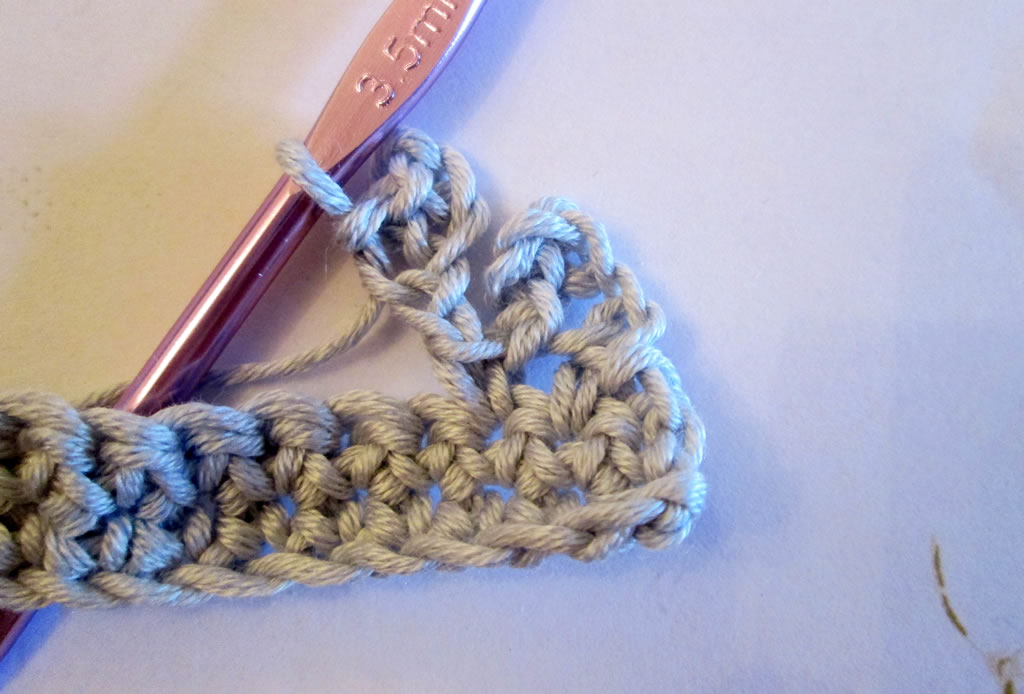

Variation 2
With this variation, you do miss out a stitch when working the chains. This gives a triangular effect.
1. 1 chain, miss out 1 stitch, dc into next stitch.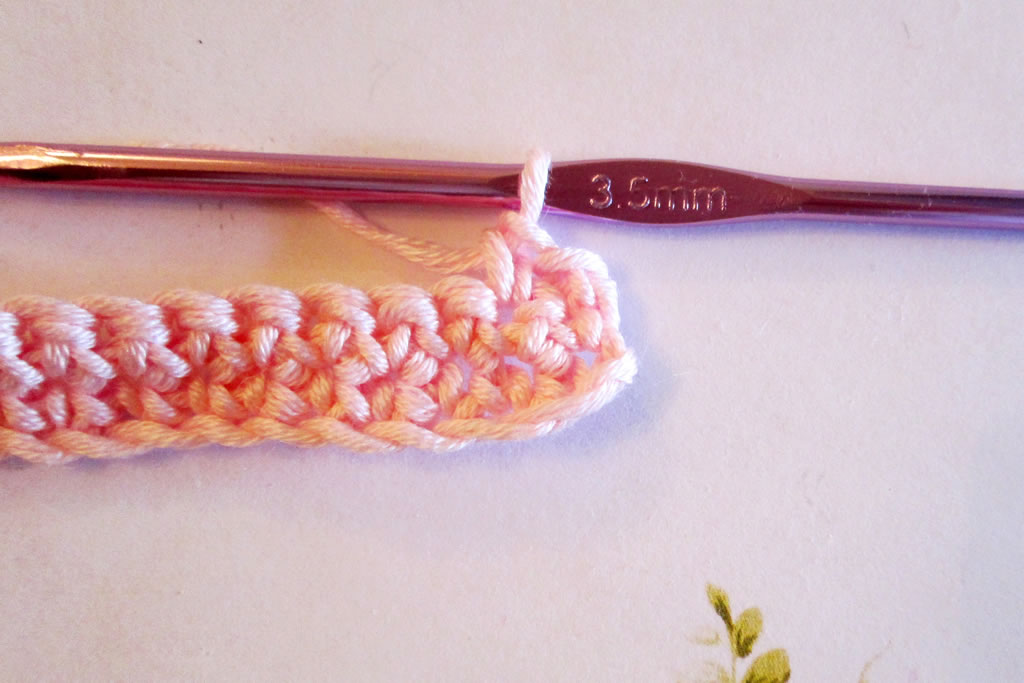
2. 4 ch, ss into 2nd ch from hook, 2 ch.
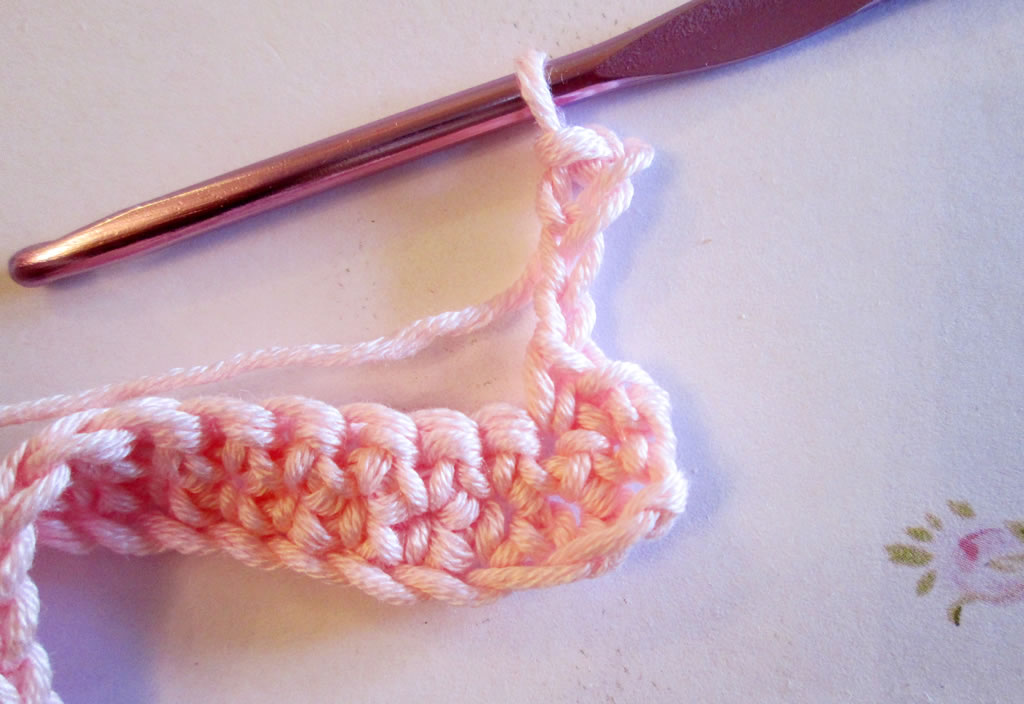
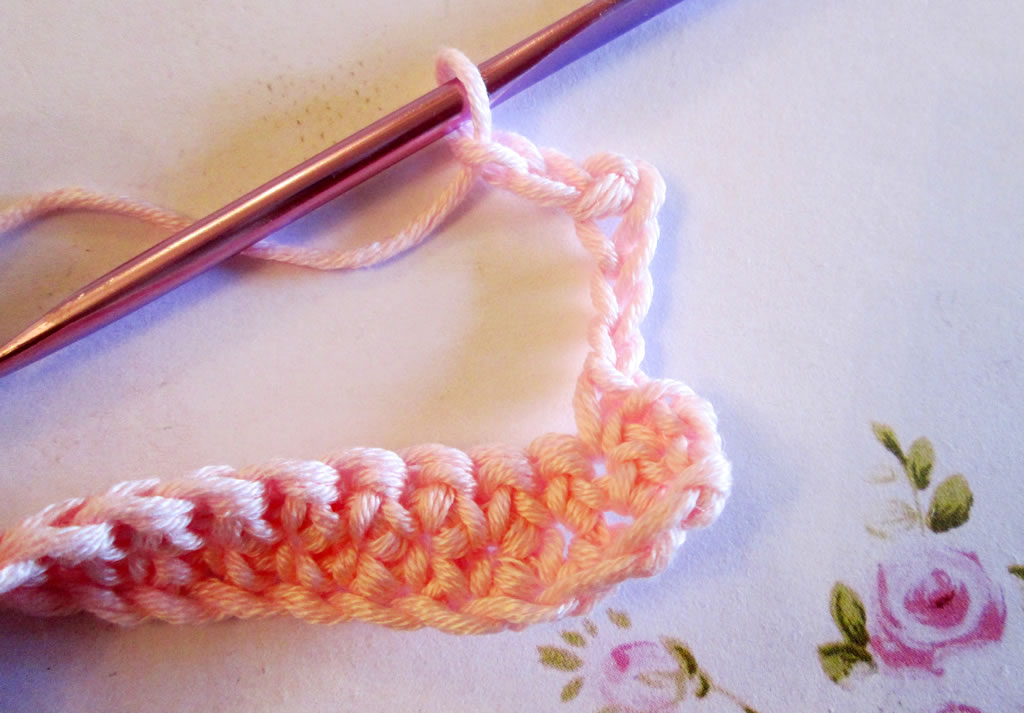
3.Miss out 1 stitch, dc into next stitch.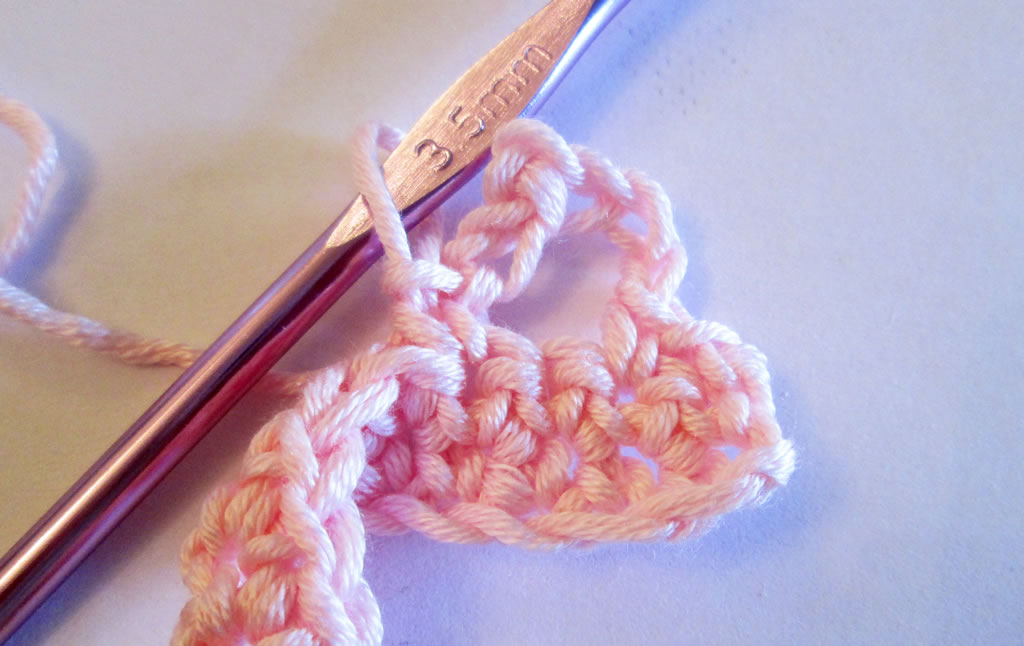
Repeat steps 2 and 3 to the end.

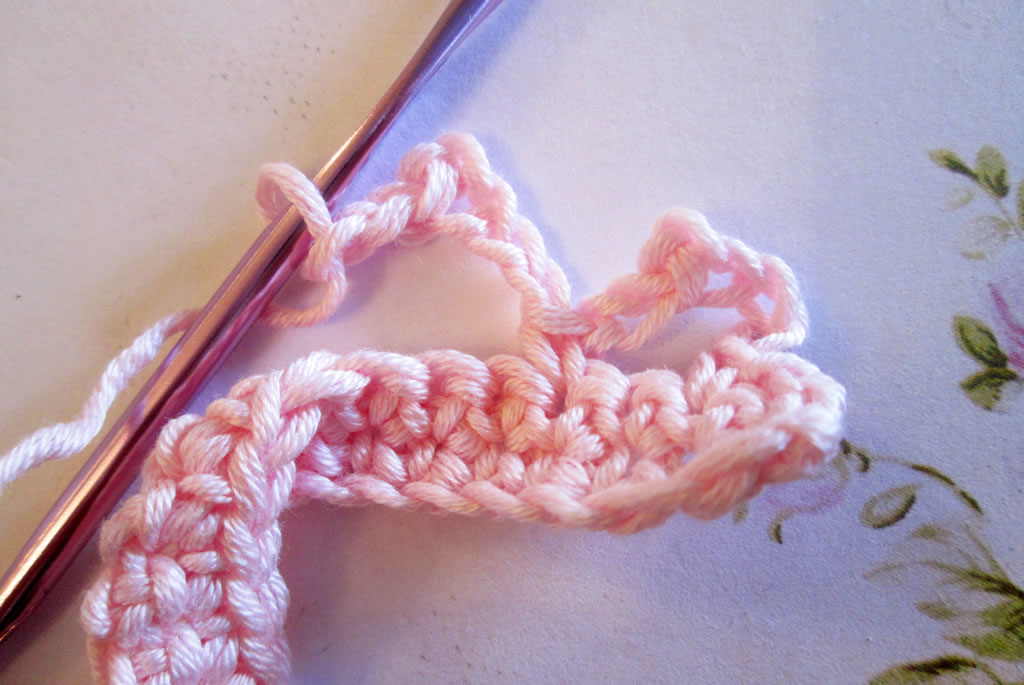
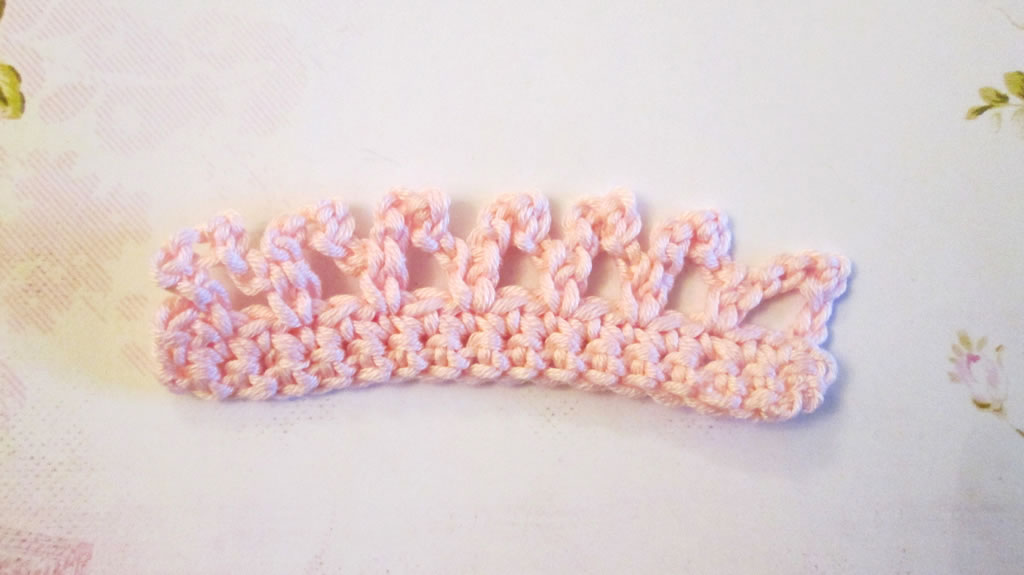
There are other ways of varying picot edging. It can even be added to other edgings! Here I added a picot edging to shell edging.
How do you like to use crocheted edgings?


Lovely must try these out
I’d love to see if you do!
Picot edging is so pretty, thank you for the tutorial
Thanks!
Another fabulously detailed tutorial, I love how many pictures you use (great for me as I’m a very visual person)
Marilyn Davis liked this on Facebook.
#new Crocheted Picot Edging https://t.co/lC4iWTe9iT https://t.co/kJDUEnGzyl
RT › How to crochet picot edging with 2 easy variations https://t.co/4nhASXZpQt | https://t.co/EAsOfFyU8c