
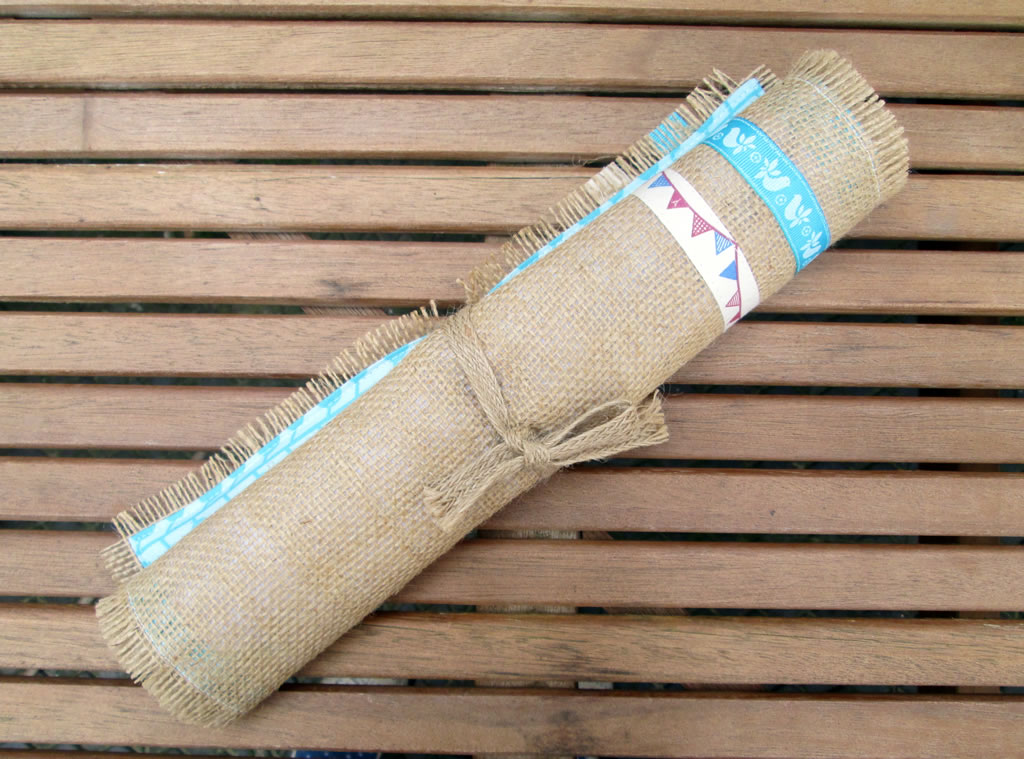
Picnic Placemat
How to Make a Picnic Place Mat
When the weather is nice, my boys and I love to eat outside.
Sometimes we like to go to a park, or to the beach. Sometimes we just sit at our picnic table in the back garden.
A little problem with doing this however is the toilet habits of the wildlife. Nobody wants to eat the lunch at a table where there is bird poop.
Sometimes there is no bird poop but the table looks grubby.
Even if we are sitting on grass or sand, it’s nice to have a little picnic place mat all of your own to put your lunch! So here’s a tutorial showing how to make a picnic placemat!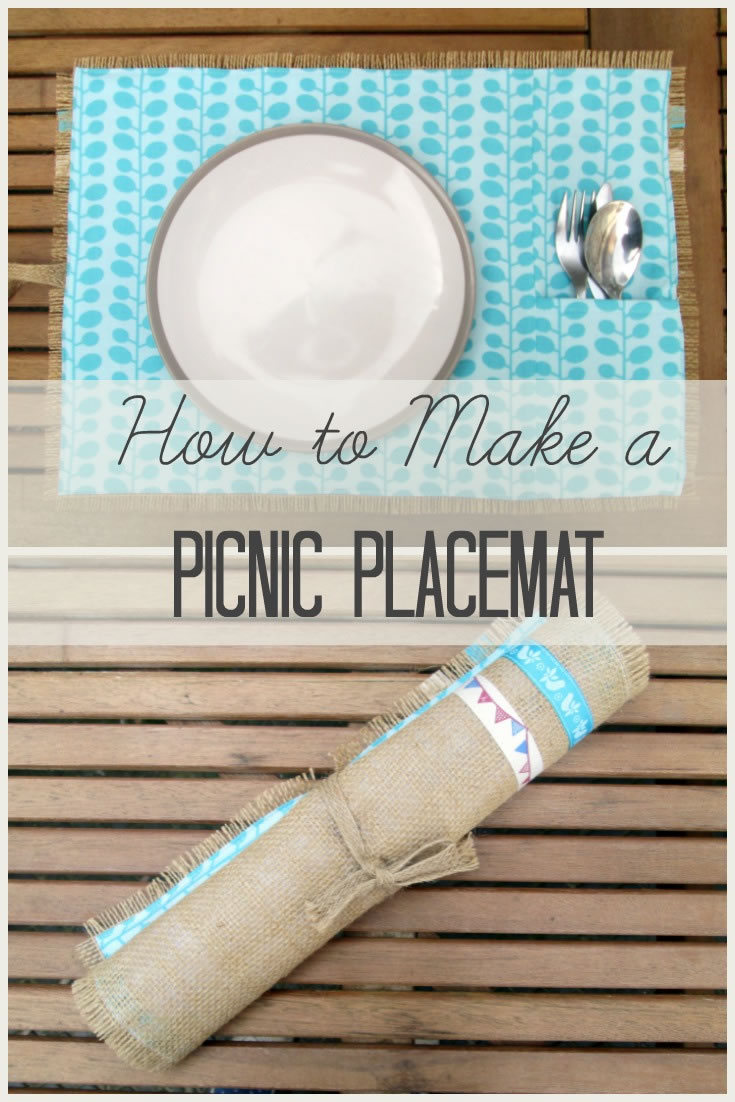
Instructions for Making a Picnic Placemat
You Will Need:
Burlap or hessian (I used the coarser stuff, affiliate link here Minerva Crafts), cotton fabric, sew in interfacing, (another affiliate link here Minerva Crafts), lace or ribbon , usual sewing supplies. You you could use fusible interfacing if you don’t have any of the sew in kind.
Cutting Out
Cut 1 rectangle from the burlap 46 cm x 33 cm. This will be the size of your picnic place mat.
From the cotton fabric, cut 1 rectangle 30 cm x 33 cm and a second rectangle 17 cm x 33 cm. Sewn together they will be the same size as the burlap.
For the pocket, cut 1 piece of cotton fabric 13 cm x 16 cm.
From the interfacing, cut 1 rectangle the same size as the burlap less 1 cm all the way round, and one piece the same size as the pocket less 1 cm at the the top.
Sewing Up
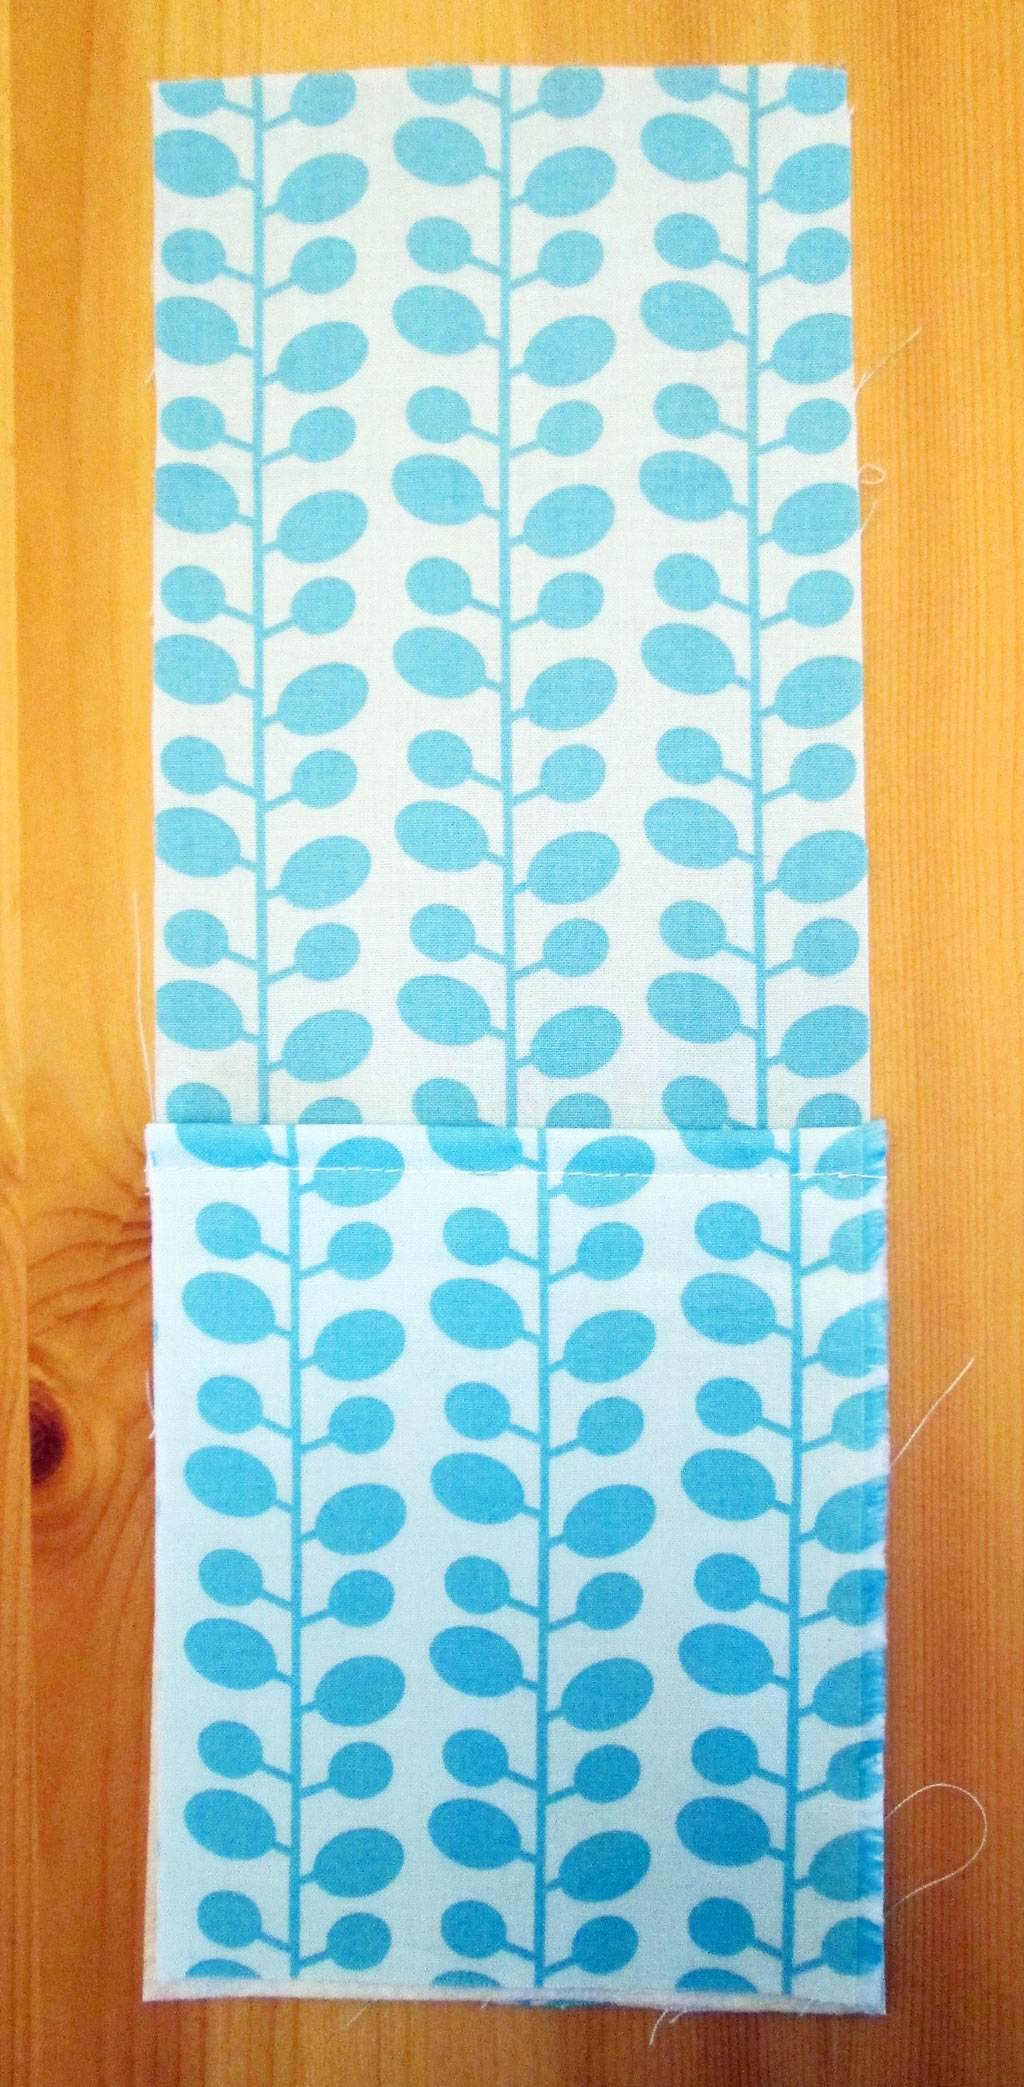
- Take the pocket pieces. Fold the top over the interfacing. Pin, then sew.

- Pin the pocket to the smaller rectangle, making sure that the bottom edges are together.
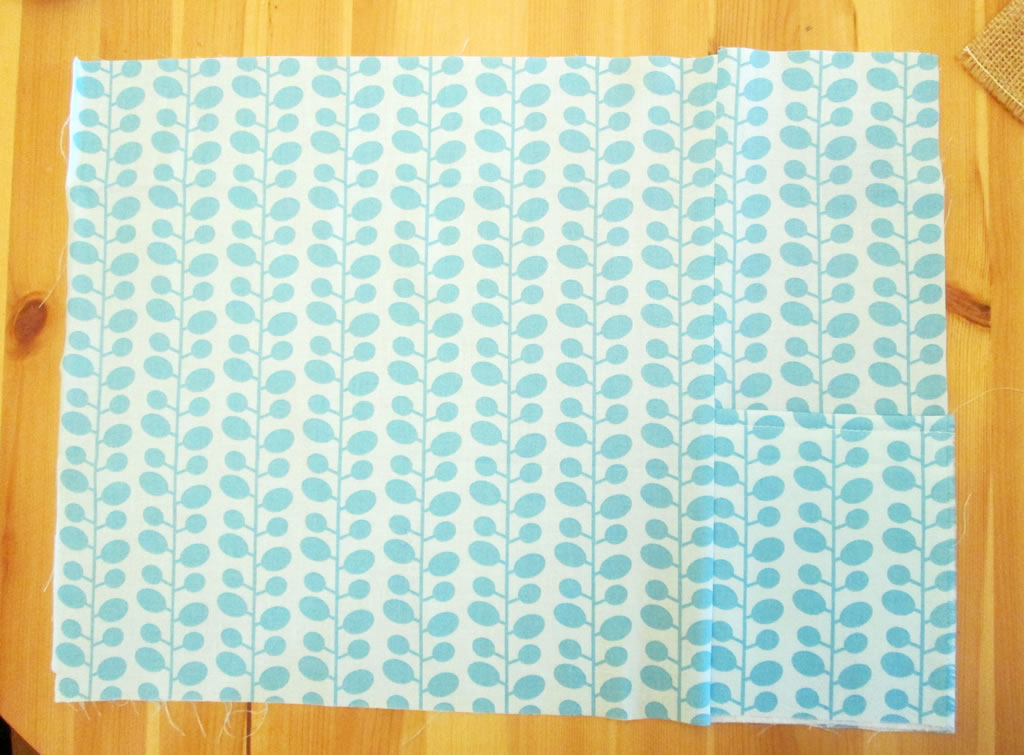
- Sew the 2 rectangles together.
- On the wrong side, place the interfacing in the centre of the rectangle. Fold the edges over and pin on the right side. If you pin on the wrong side, you might end up with pins inside your picnic placemat that you can’t get out!
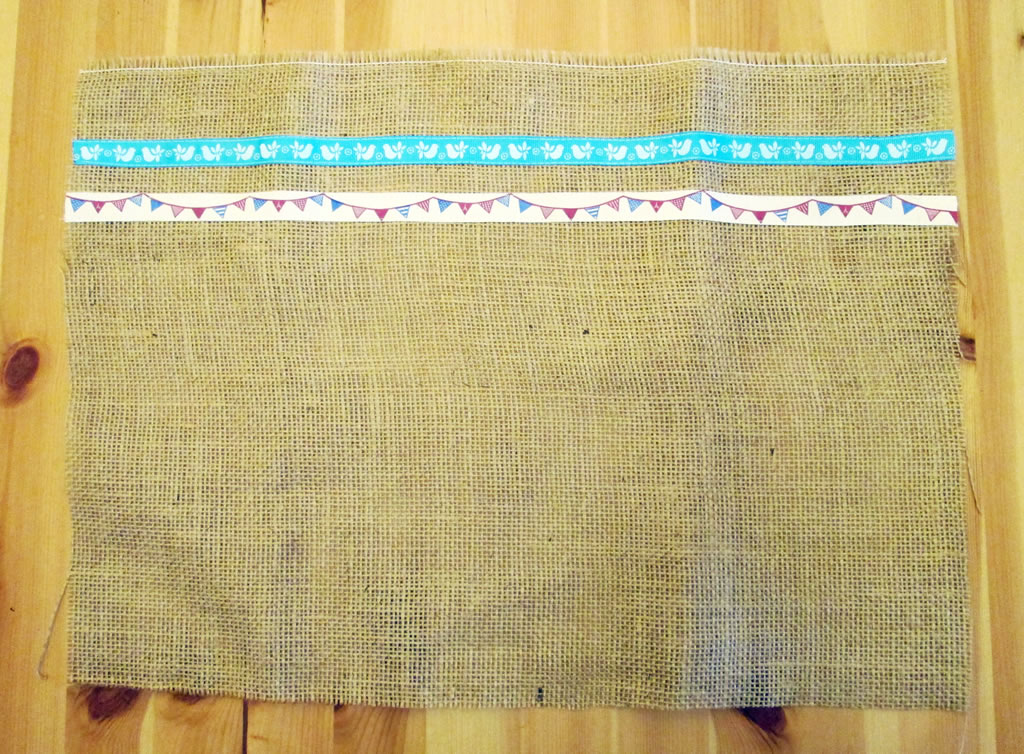
- If you want to add ribbon or lace to the burlap, do it now!
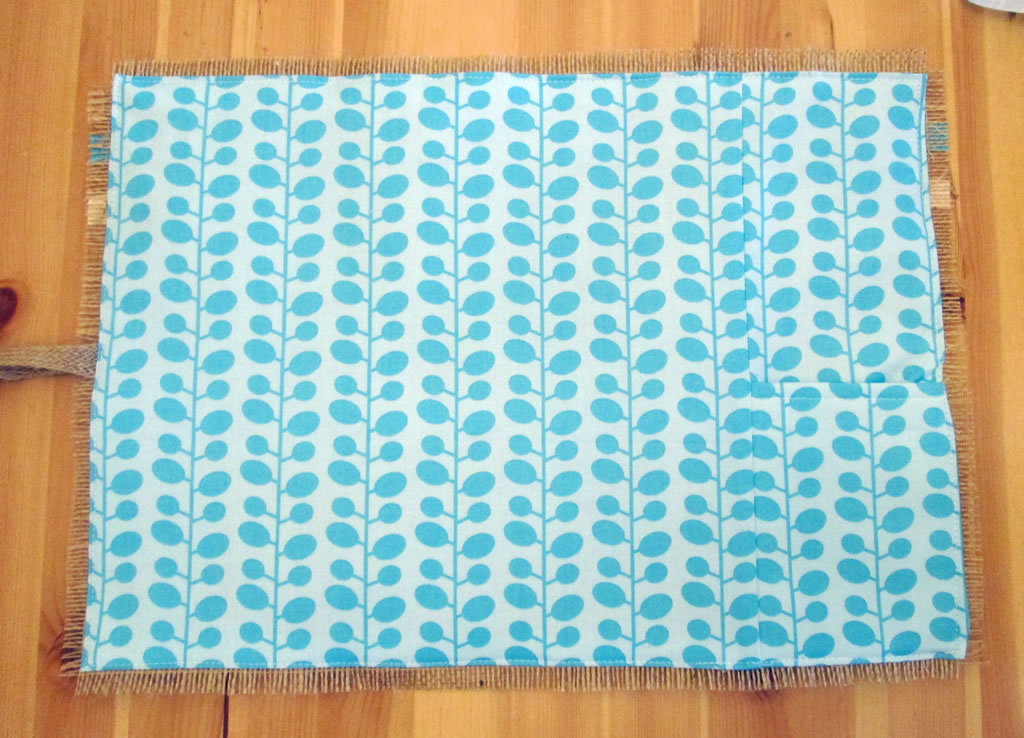
- Pin the inside of the place mat to the burlap. Fold a length of ribbon in half and tuck the folded end in between the burlap and the lining on the left side.
- Sew all the way around the outside edge of the lining. You might want to sew over the ties again just to be sure of them holding.

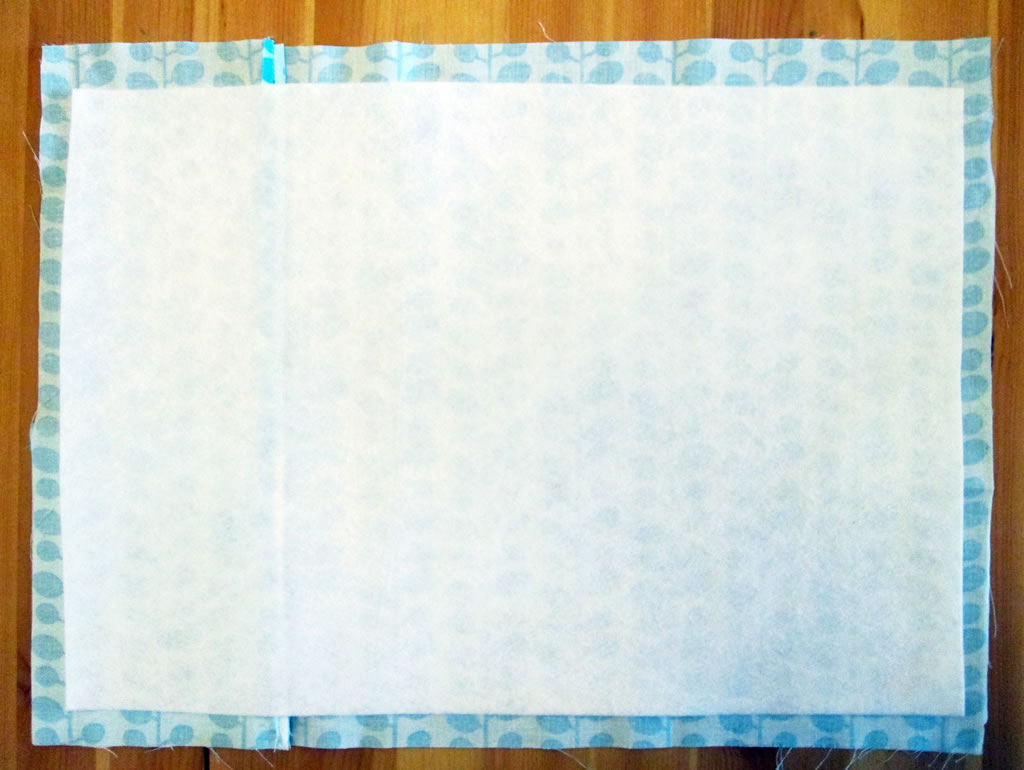 Fold the edges over and pin on the right side. If you pin on the wrong side, you might end up with pins inside your picnic placemat that you can’t get out!
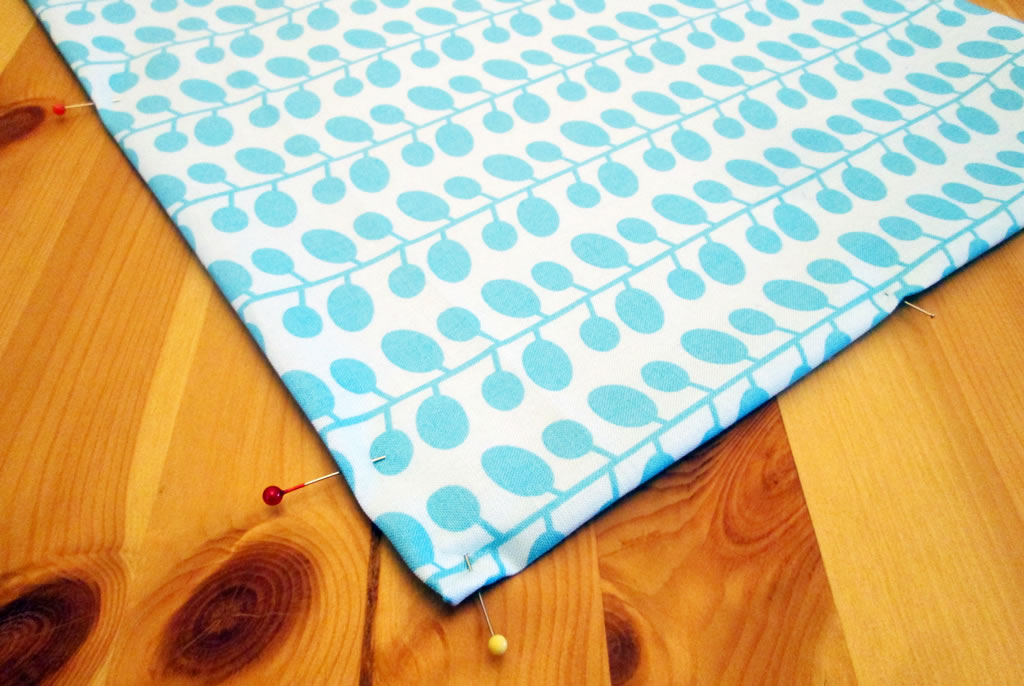

Now you have a picnic place mat for your lunch, with a pocket for your cutlery!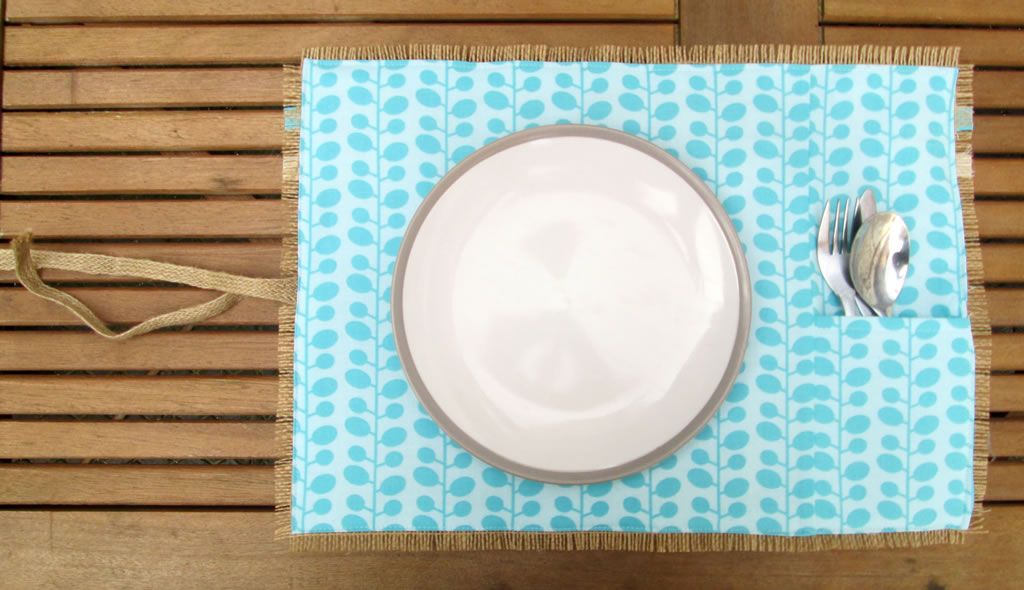
Tips
- For a left handed person, you could put the cutlery pocket on the left side instead of on the right.
- I actually find the burlap quite difficult to sew as it didn’t keep its shape well. If you have difficulties, some lightweight interfacing will help to stabilise it.
Linking up here.

That is such a cute placemat!! Love the burlap underneath! I just pinned it as I pin all your entries! Thank you so much for sharing at my craft party on Thursday! Would love to see your newest posts this week, which starts at 7pm EST.
Thank you 🙂
love it and great fabric choice! thanks for sharing on craft schooling sunday!
creativejewishmom/sara recently posted…Make Fun Beach Toys From Recycled Bottles
Thank you!
This is a great idea, I’m doing some sewing with denim this week so I may give this a go. 🙂
Jan @ Handcrafted by Picto recently posted…New Outdoor Plaques for Garden Sheds
Ooh yes, they’ll be lovely in denim 🙂
I love that you can tie the placemat up. Perfect for a picnic basket. Thanks for sharing at the #InspirationSpotlight party. Pinned & shared.
Theresa @DearCreatives recently posted…Sandwich Ideas: Guacamole Veggie Sandwich
Thank you xx
Excellent tutorial, I’m bookmarking this because we love a good picnic and I hate the grubby tables! Thanks Anna
It’s manky isn’t it 🙂