Easy DIY Tulle Skirt With a Hanky Hem
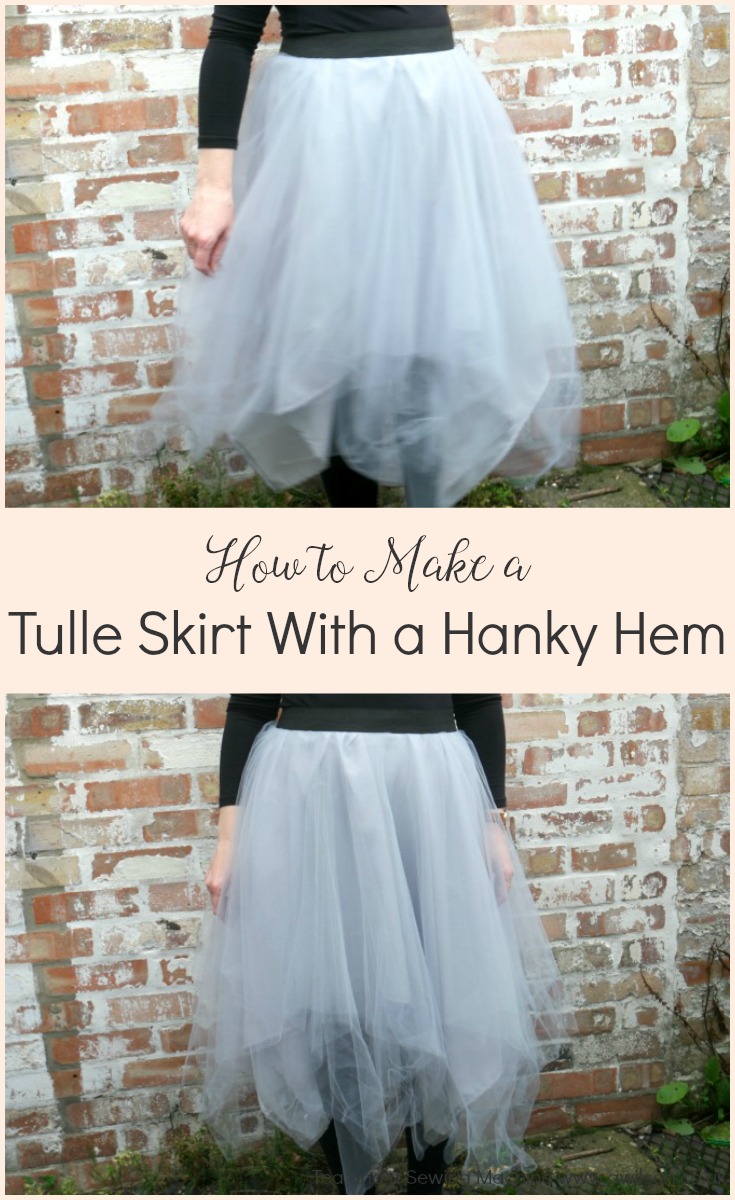
DIY Tulle Skirt With a Hanky Hem
I’d been considering making or buying a tulle skirt for a while.
The thing that was putting me off was the idea that I am perhaps a little on the old side to go galumphing through the Norfolk countryside like an overgrown, overweight fairy.
I’ve since decided that life is too short to let what other people might or might not be thinking dictate what you want to do, and if somebody wants to go about dressed in a tulle skirt like an unconvincing ballerina, well, why not?
Nothing gets done in my world withoutl consulting Google first, so I googled wearing a tulle skirt over 40 and found some pictures of people looking amazing. I also found some of people who looked silly, but I’m choosing to ignore those!
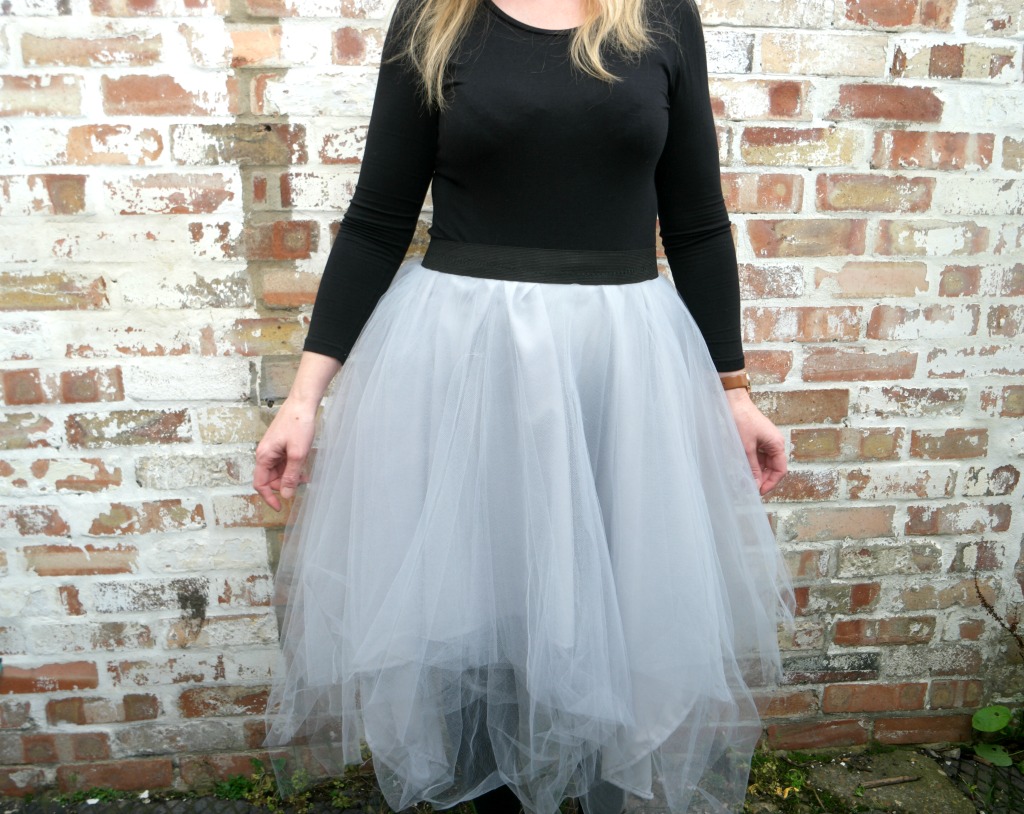
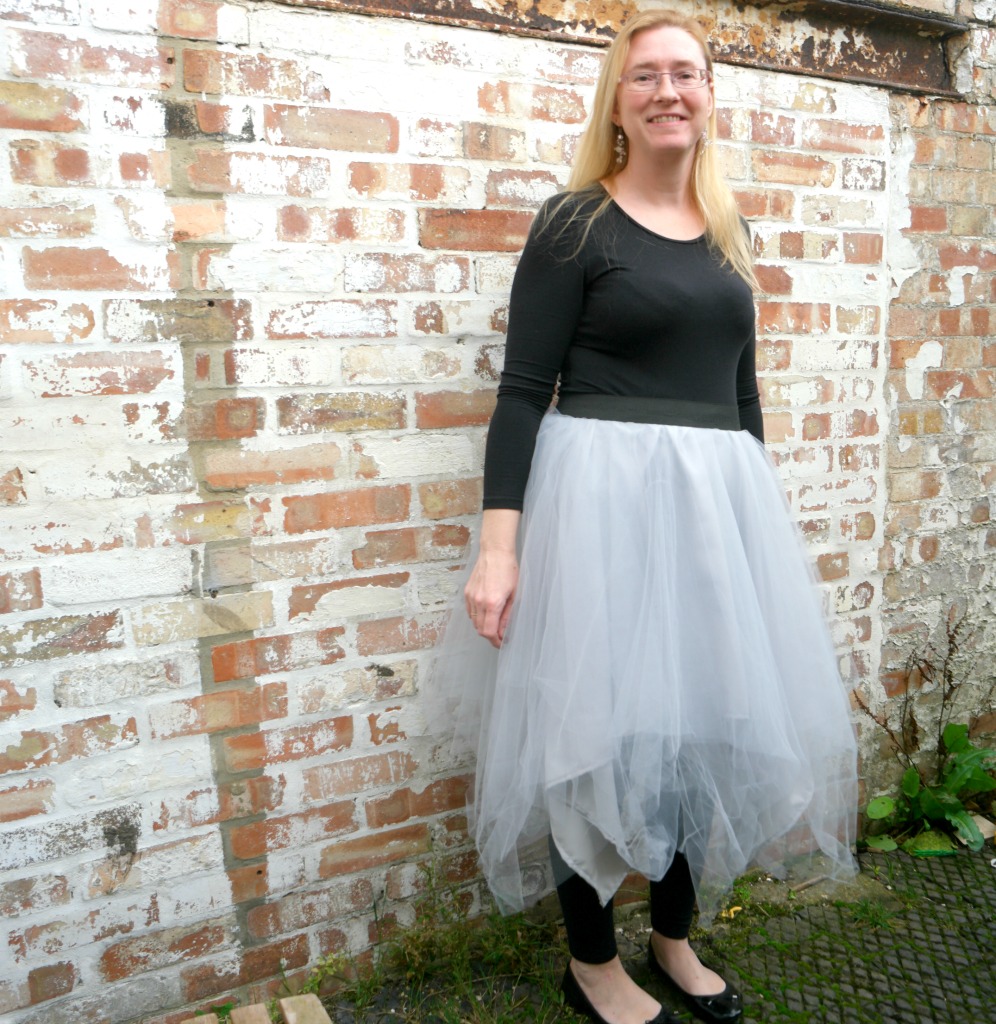
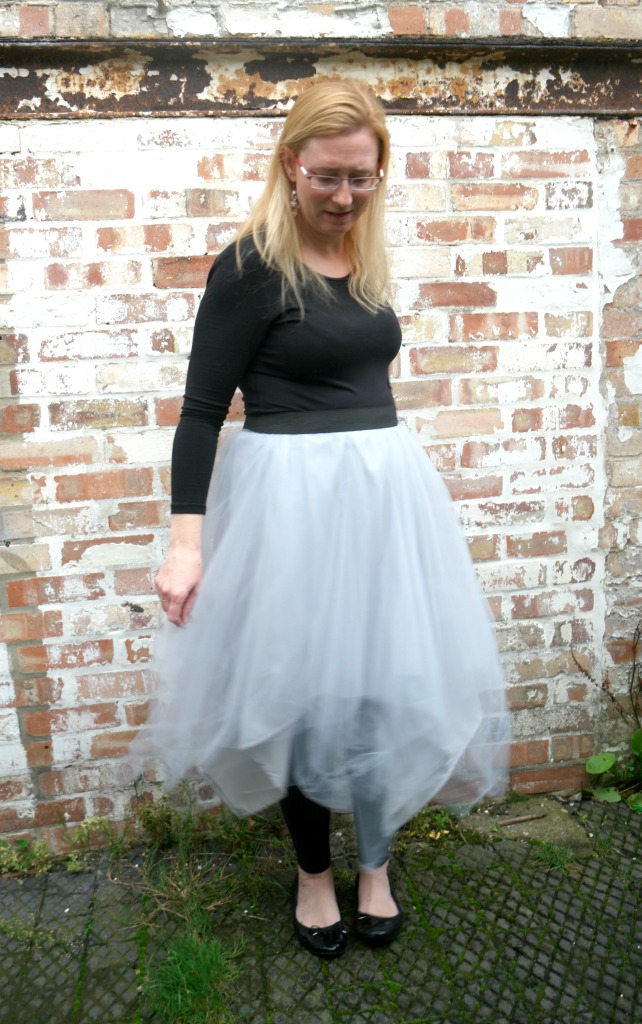
So I bought myself some tulle and some elastic and here are the results!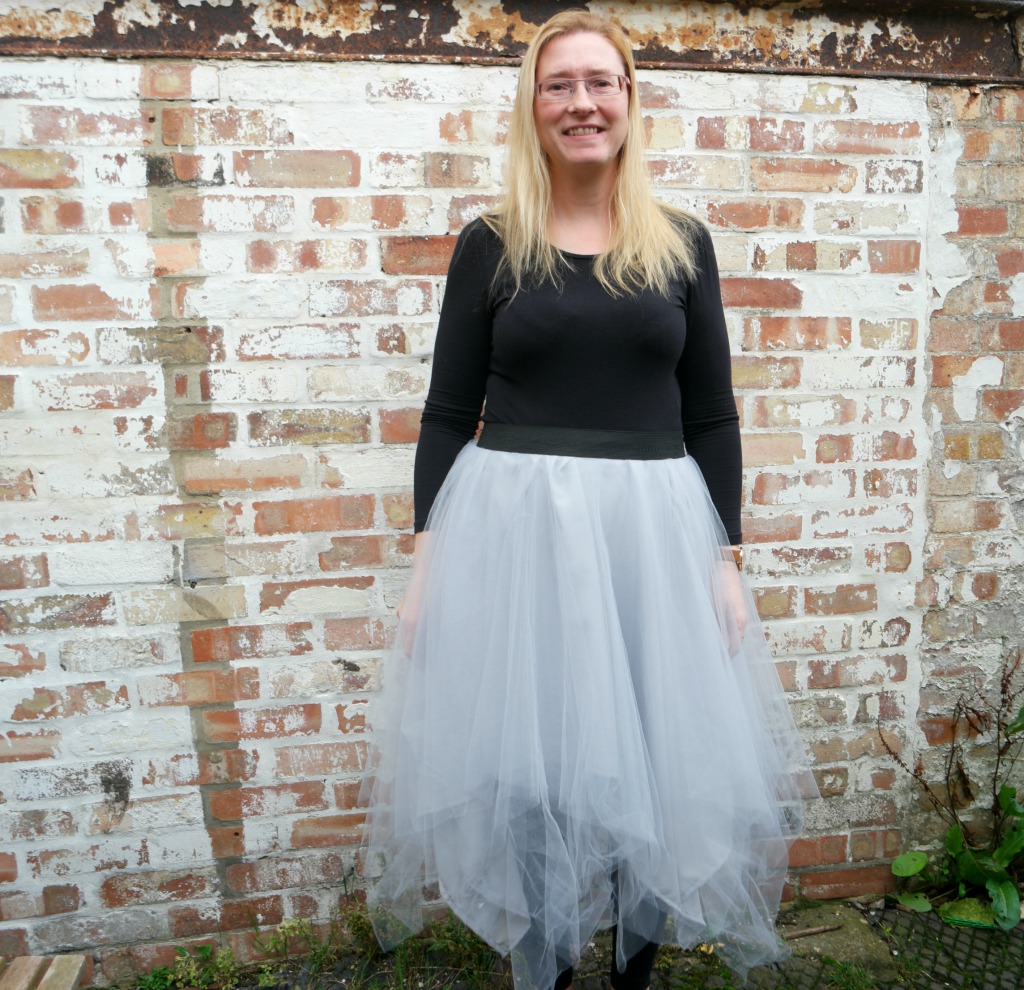
Making the skirt was very similar to making to a circle skirt, except that the pieces are square. It’s gathered a little bit at the waist, then sewn to a piece of waistband elastic.
As the tulle didn’t need hemming, it was very quick to make!
I used 6 layers of tulle. Initially I wasn’t going to line it, but as the tulle was quite fine it was not completely opaque. I’m only ever going to wear it over leggings, but I decided it did need lining after all. I’d already completed the skirt, so I made the lining and just sewed it in under the tulle.
One little thing: make sure that you buy tulle and not dress net! Dress net is stiffer. Tulle is drapey and soft. I’ve seen dress net described as tulle but they’re not the same!
Instructions For Making a Tulle Skirt With a Hanky Hem
You Will Need
Several metres of tulle. I used 4.5 m of tulle that’s 280 cm wide. This gave me 6 pieces roughly 140 cm square. If I was making a circle skirt, this would result in quite a short skirt, but as the bits are square, it was fine.
You’ll also need waistband elastic (enough to go round your middle plus a bit extra), tape measure, calculator (there’s probably a calculator on your phone if you don’t have one), pencil and paper and a needle and thread.
If you want to line it, you’ll need enough fabric to make a square about the same size as the tulle squares. I used anti static lining fabric, but you could use cotton or polycotton.
Working Out the Measurements
As the points of the squares will be quite a lot longer than the straight edges, you can get away with the straight edges being shorter than you’d want the hem of a circle skirt to be.
1. Measure your waist, then around your hips. Jot both of these measurements down.
2. Take your waist measurement and divide it by pi.
If you don’t know what this is, don’t panic!
Pi is the relationship between the distance around the outside edge of a circle (ie your waist) and the distance across the circle passing through the centre. The distance around the circle is about 3 times the distance across it. The actual number is more exact, which is why you need pi, otherwise people would have to remember a number with lots of decimal places.
So divide your waist measurement by pi.
As we only need to know the distance from the edge of the circle to the centre, not all the way across it, divide this answer by 2.
The answer you get here will tell you how far down the fabric to measure when you’re cutting the hole for your waist.
Cutting Out
1. Cut your tulle into squares. The fabric I used was 280 cm wide, so I cut it in half, then into squares. This gave me pieces that were 140 cm x 140 cm.
2. Take one of the squares and fold it into 4. Identify the corner that is the centre of the square. Find the number you got when you divided your hip measurement by pi and then by 2. Measure down from the corner along one side by this much and mark with a pin.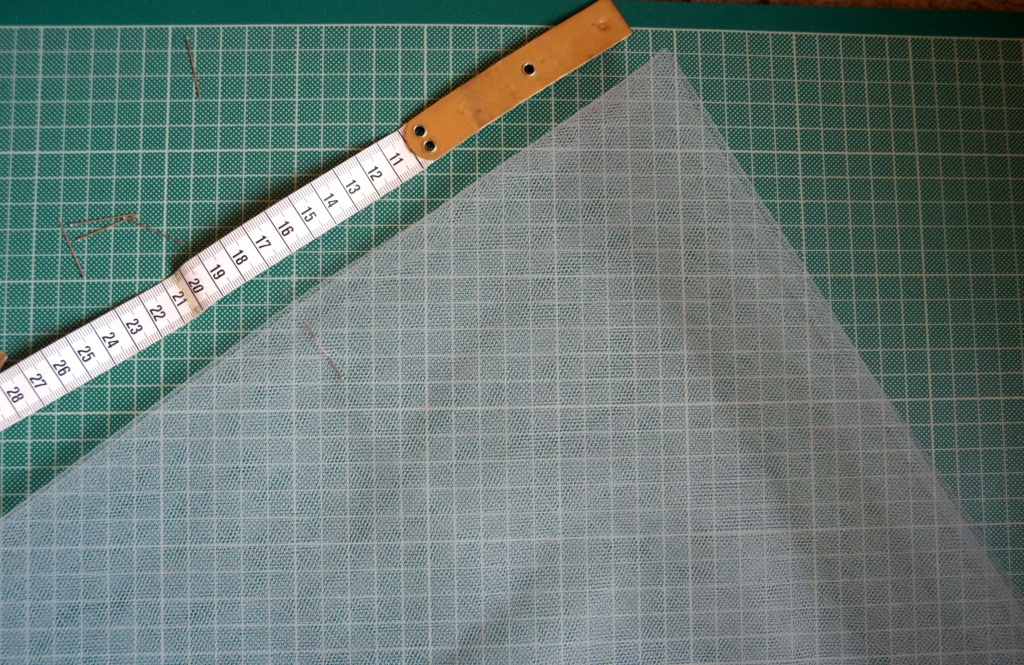
3. Do the same on the other side, then measure all the way across.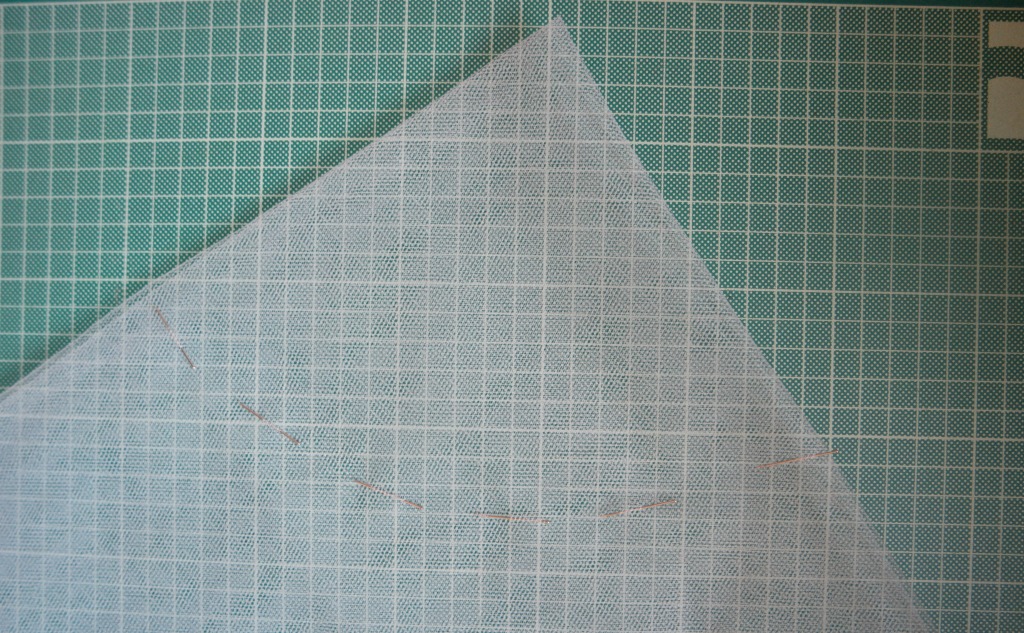
4. Cut out the circle. Now you can use this is as a template to cut out the other pieces.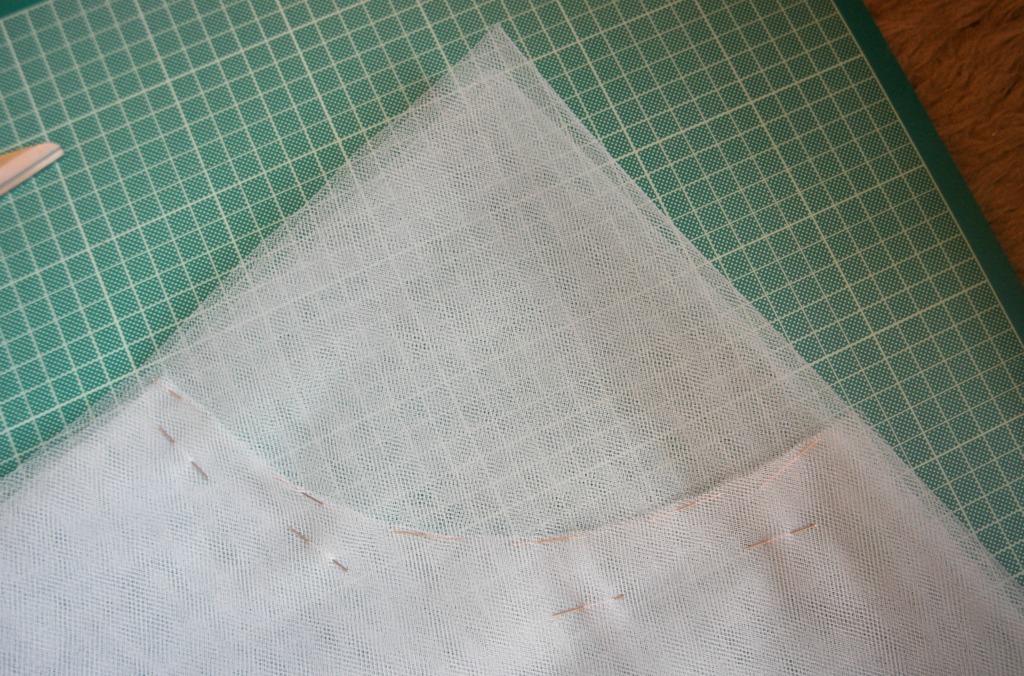
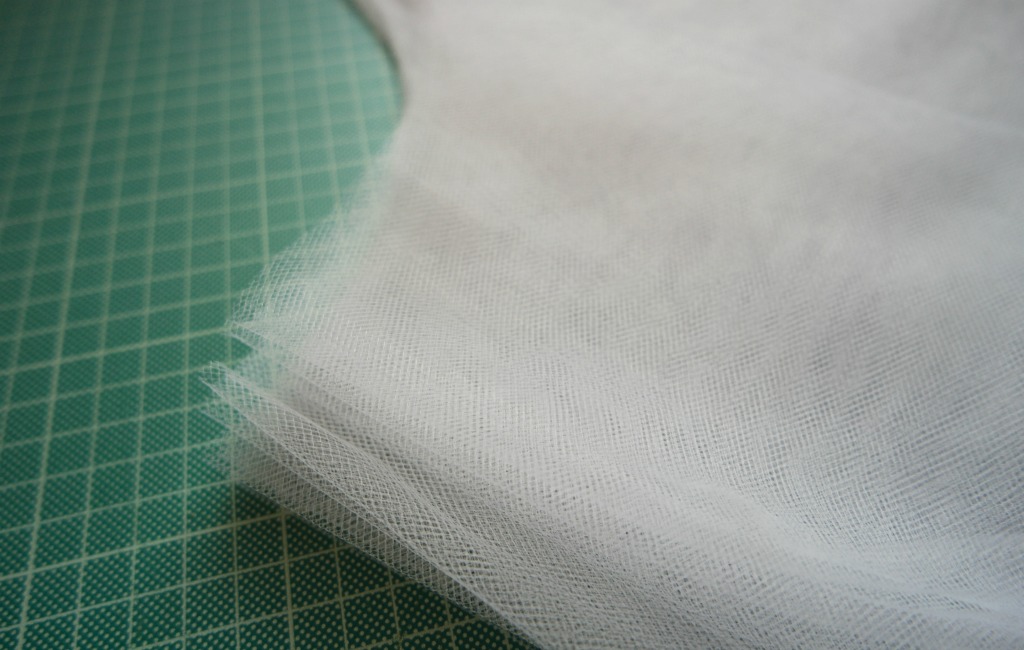 If you want to line your skirt, cut a square of your lining fabric an the same way. You might have to join 2 pieces together to get it the right size, but don’t worry if it’s a bit smaller.
5. Cut a piece of waistband elastic the same as your waist measurement, plus 4 extra cm.
Making Up the Skirt
1. You’ll need some space to do this! Lay out one of the squares flat so that one of the straight edges is facing you.
Take a 2nd square and put it on top of the 1st one, on the wonk, so that the corner is facing you. In other words, you have one piece square, then the second piece diamond.
Layer the squares up in this way, so the odd numbered layers are all square, and the even numbered layers are all on the wonk.
2. Using strong thread or normal sewing thread doubled, hand sew all the layers together around the waist line. 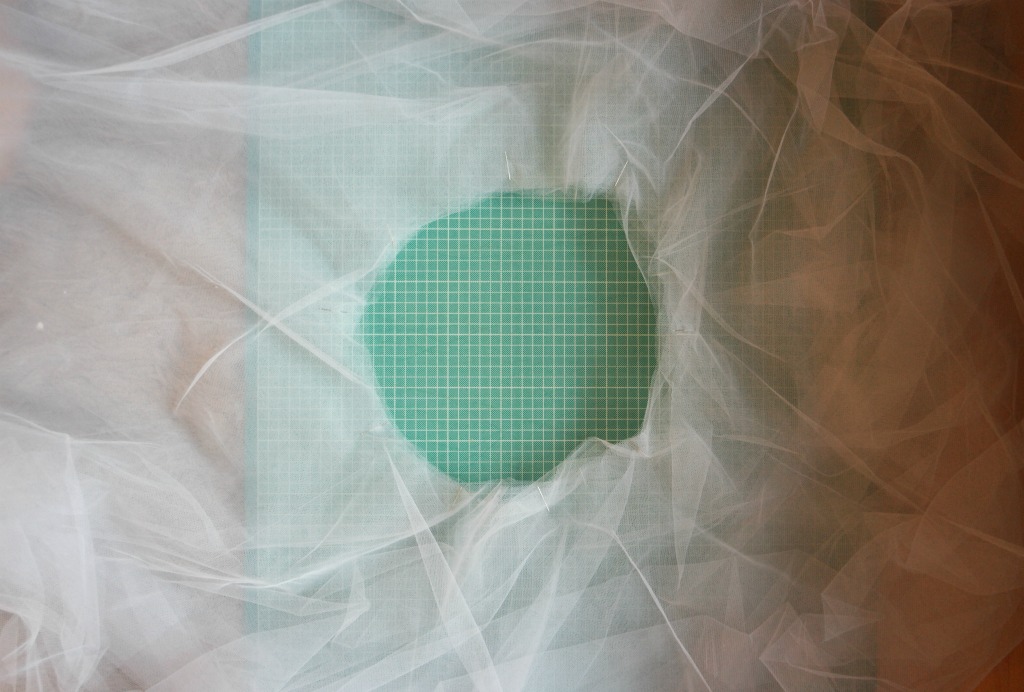
Pull the thread to gather the waist so that it is 5-10 cm larger than your waist. This is to allow for some stretch so you can get the skirt on and off!
3. Mark halfway round the skirt, then mark the quarters. Do the same on the elastic, leaving a couple of extra cm at each end.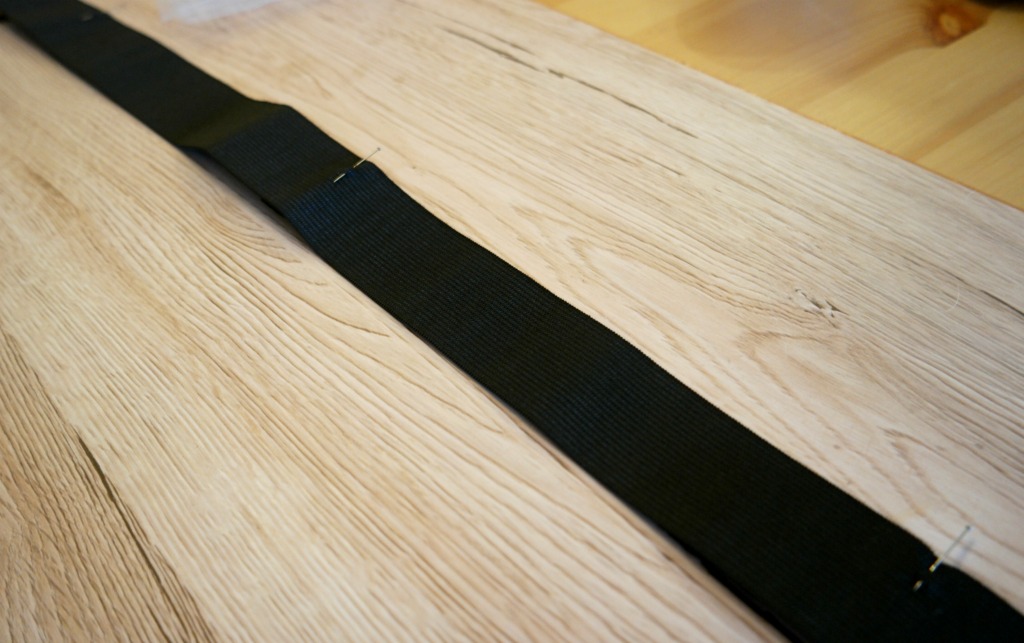
4. Now sew the elastic to the skirt. Start a couple of cm from the end of the elastic. As you sew, pull the elastic gently. Try to match where you marked the quarters on the elastic to where you marked them on the waist of the skirt.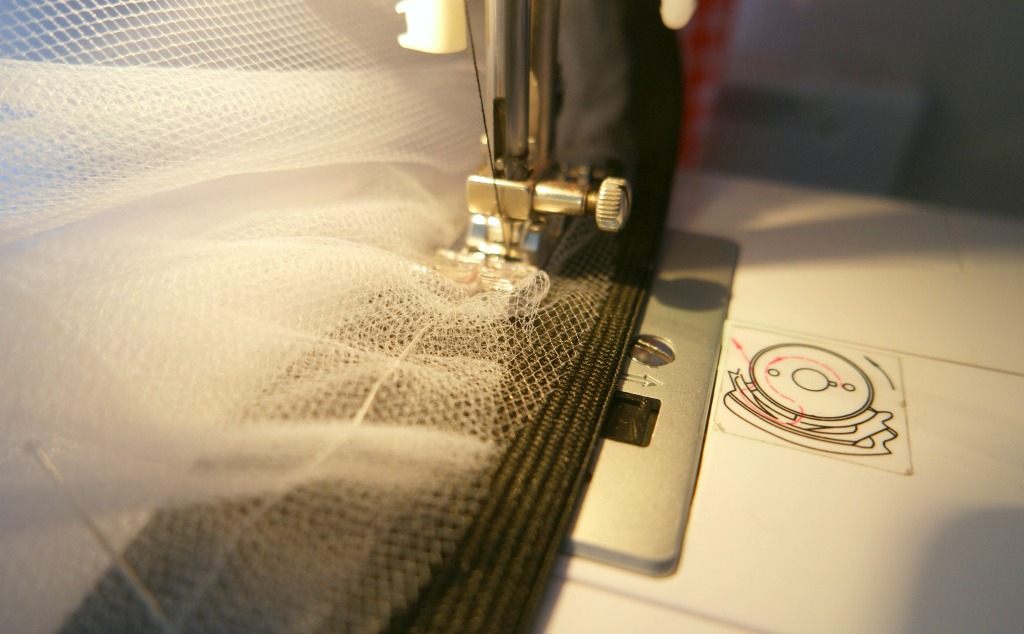
5. Fold the ends of the elastic over and sew.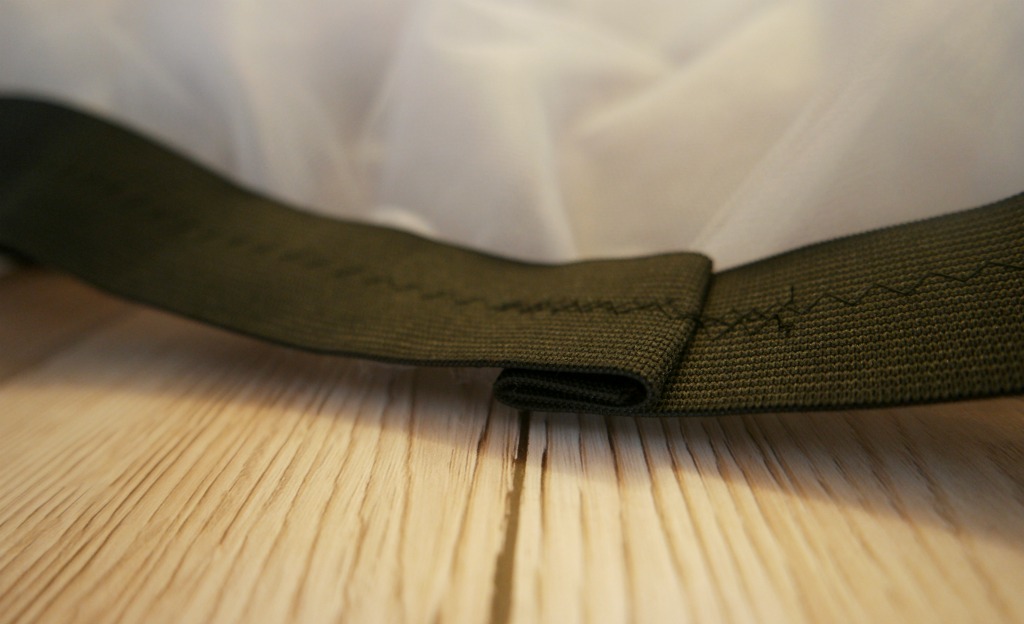

Hello! I’m currently making this skirt for my fairy dress for the renaissance fair!
I love the pattern! I’m wondering what you mean by wonk?
Thanks!
Hi Jessica, I mean that the grain is on the diagonal instead of up and down.
This is perfect for a project I want to do! Thank you so much, Anna!
I have one quick question before I begin. In working out the measurements, you say to divide your waist measurement by pi then by 2. In cutting out, you say to use your hip measurement divided by pi and then by 2. I’m betting the hip measurement calculation is the one to use for cutting the skirt, and the waist measurement (plus a bit) without the extra math for the elastic. Could you clarify for me?
This is an absolutely Brilliant How-To!! I can’t wait to get started and have my Gorgeous new Tulle Skirt!! Thank you again!!
Yes that’s right. Using the hip measurement for the tulle means that the elastic will be able to stretch when you get in and out of the skirt x
Well done Anna and your skirt looks lovely.
I took the bull by the horns last year and bought myself a tulle 60’s petticoat, sadly I didn’t get any further than hiding it in my wardrobe 🙁
However inspired by your post I’ve just ordered some beautiful remnant fabric in palest pink with origami style reindeer in brown and cream. I’m going to make the simplest skirt possible to go over my fluffy petticoat and I’m going to wear it for my Adult Ed pre Christmas Lunch/Get Together.
For the record I’m 60, overweight and in a wheelchair and I shall raise a glass of Winter Spice Cup to you when I wear it 🙂
I hope you enjoy wearing it 🙂 foofy petticoats are fab with a circle skirt and they’re easy to make 🙂