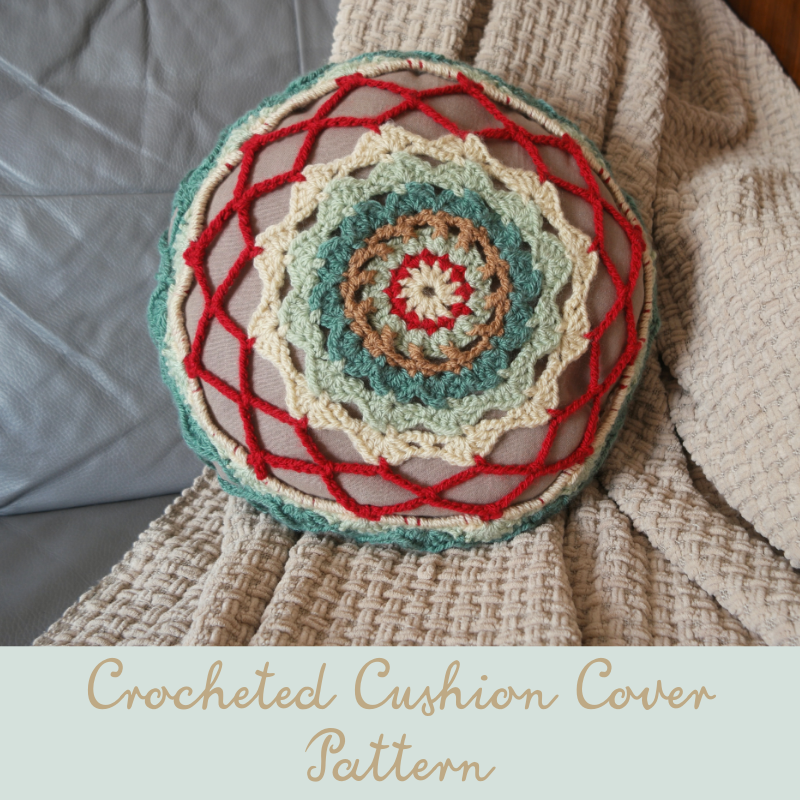
Crocheted Cushion Cover Pattern
Crocheted Cushion Cover Pattern Having spent a little while not feeling very inspired, it’s so nice to actually have ideas again of things I want to make! A few weeks ago I made the decision to go back to what I used to do when I started Tea…