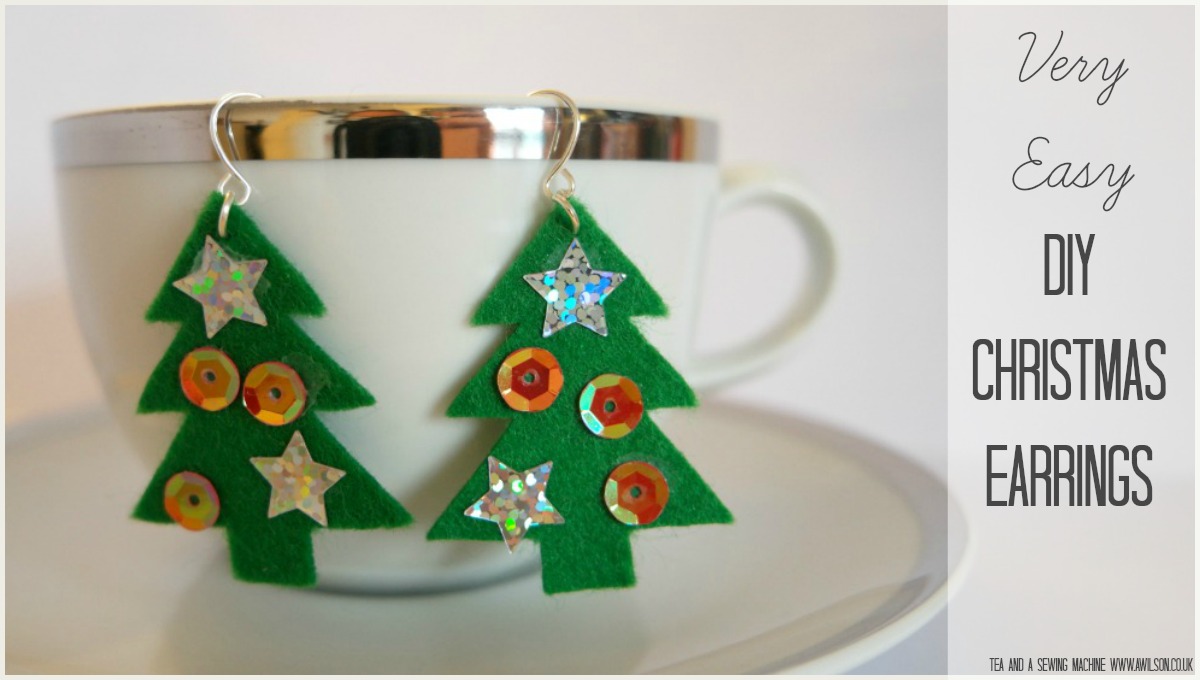
Very Easy DIY Christmas Earrings
Very Easy DIY Christmas Earrings It’s nice to have something to wear at Christmas. However, buying new clothes can be expensive, and it doesn’t always seem worth it to buy something just for Christmas. And as any of you who have kids will know, going clothes shopping with…