
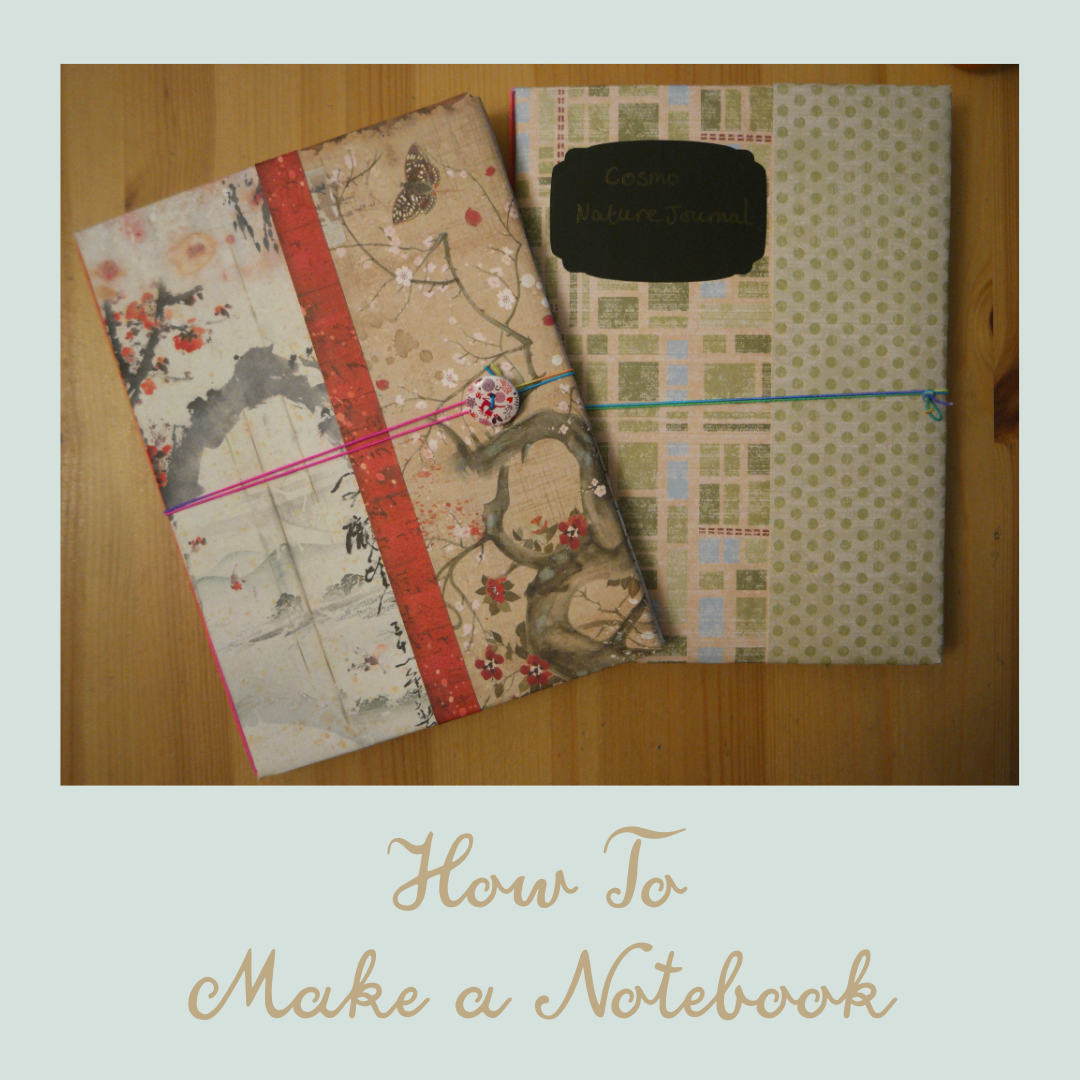
Easiest Notebook Ever! How To Make a Notebook
Easiest Notebook Ever! How To Make a Notebook This post contains affiliate links. It doesn’t cost you anything but if you click on a link and make purchase, you’ll help to support Tea and a Sewing Machine. Oh my goodness, who doesn’t love stationery?? Pretty notebooks, matching pens,…