How to Make a Fabric Diary Cover
Even though I have called this post How to Make a Fabric Diary Cover, you could make one to cover a journal or to pretty up a plain notebook.
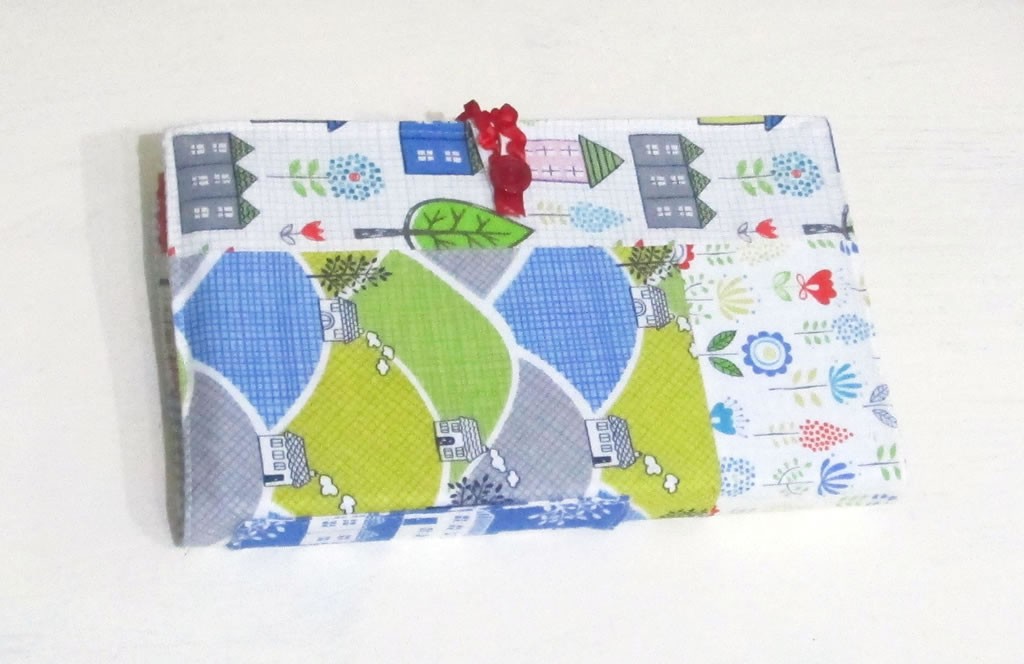
I made this fabric for my Moleskine diary. The diary itself is fine, lots of space to write my lists, but it’s not pretty. It’s not hideous, it’s completely inoffensive! It’s just a bit plain.
Having sorted out my fabric hoard the other week, I found scraps of fabric that I’d forgotten about, including these lovelies left over from a project I made for Sewing World.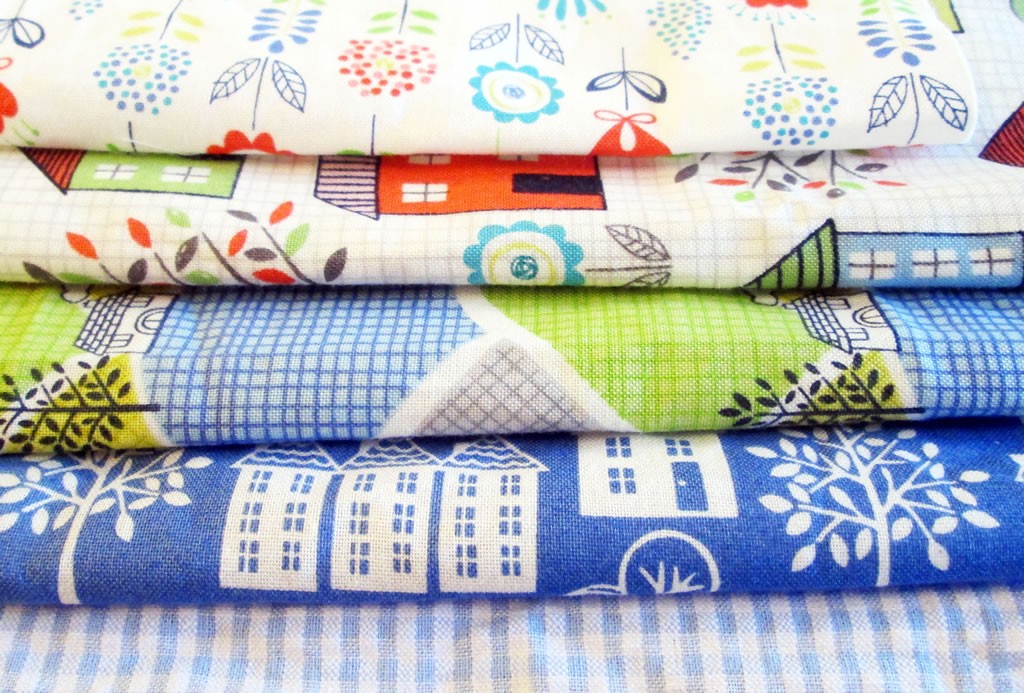
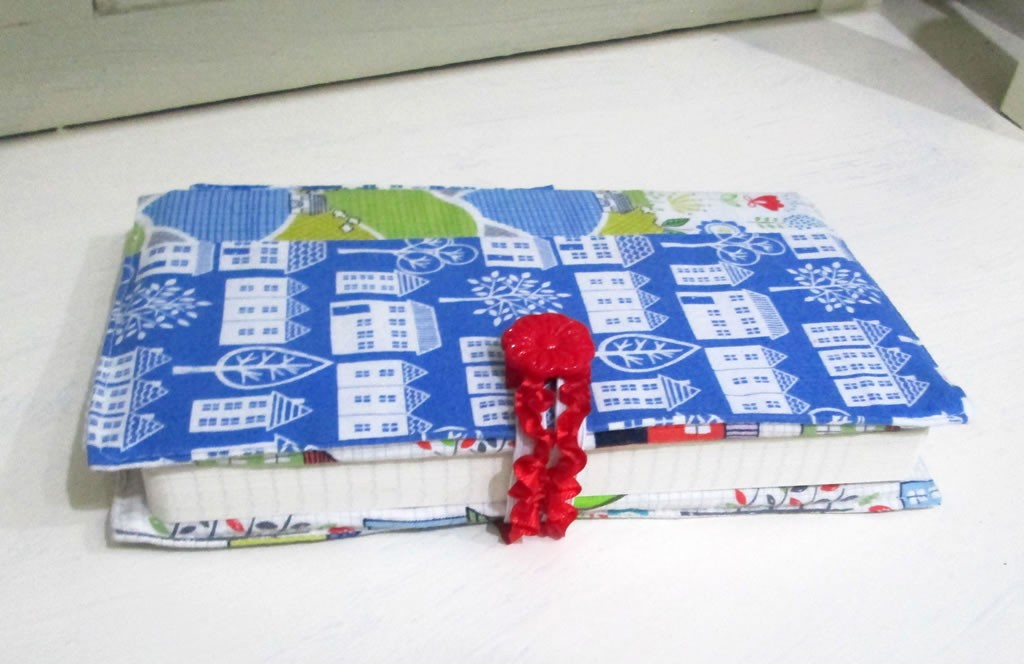
I didn’t enough of any one sort to make a whole fabric diary cover, so I made a bit of a patchwork instead. The cover is lined and there are pockets to slide the cover into. I originally had plans to do something with elastic but I realised (in time, thankfully!) that pockets would be an easier option.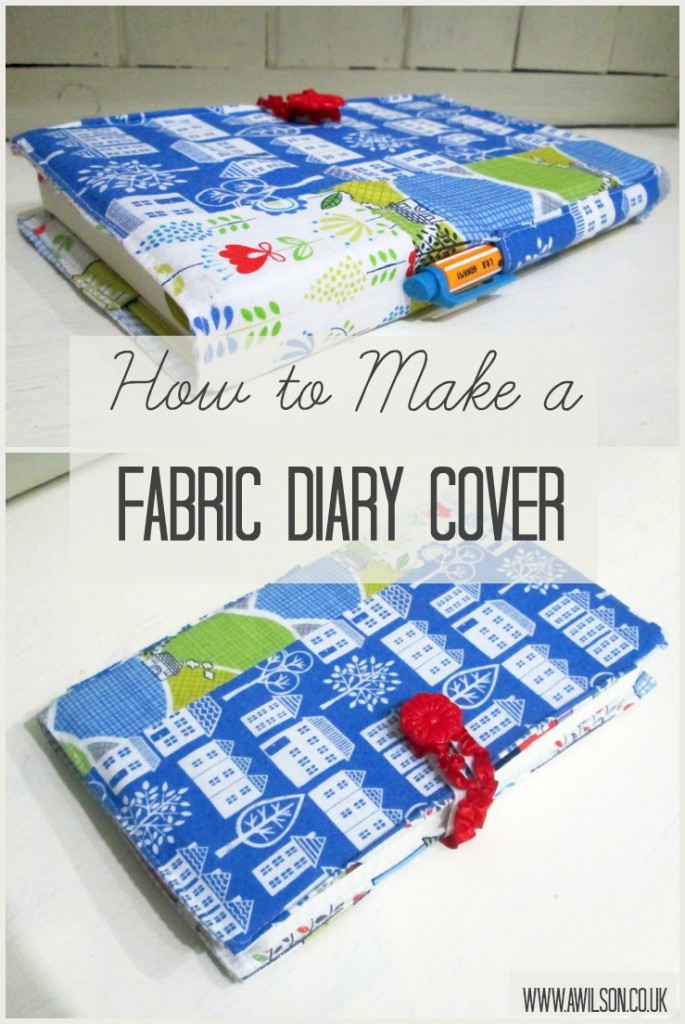
How to Make a Fabric Diary Cover
1. Even if you are making your fabric diary cover from scraps of fabric, it’s easiest if the lining is one piece. Using your diary as a guide, cut a rectangle from the lining fabric. It will need to cover the diary and overhang the cover by about 1.5 cm all the way round (1 cm is the seam allowance, the rest is just extra).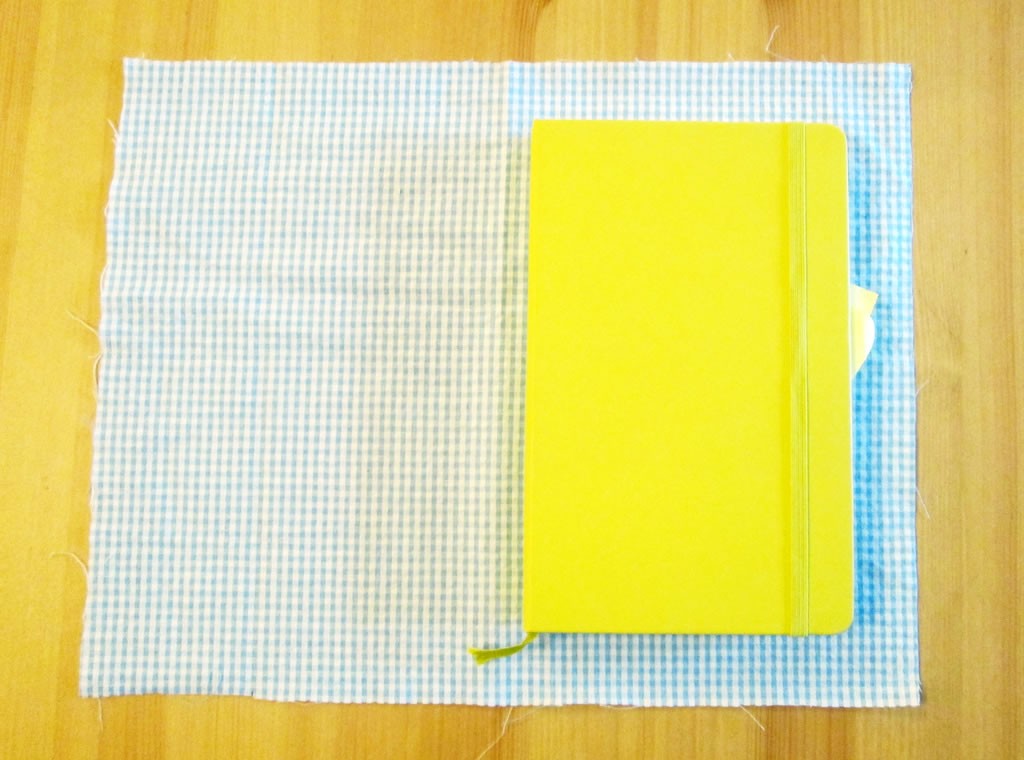
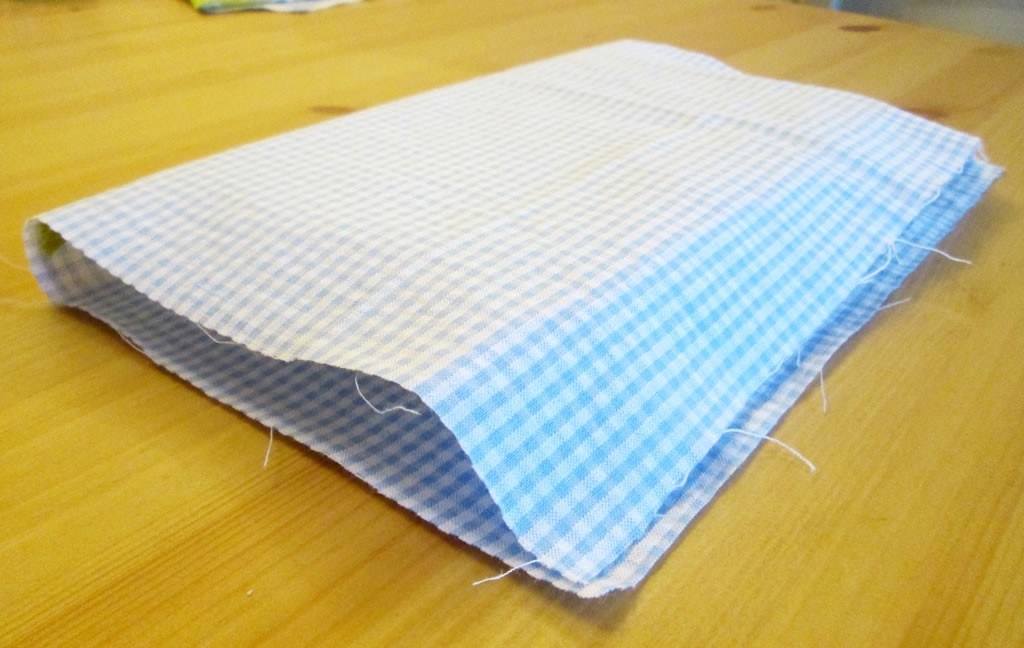
2. Using the lining as a guide, arrange the pieces for the outer and cut them out. Remember to include a seam allowance!
3. Sew the pieces together. Trim the seams and press them open as you go. Check that the outer is the same size as the lining.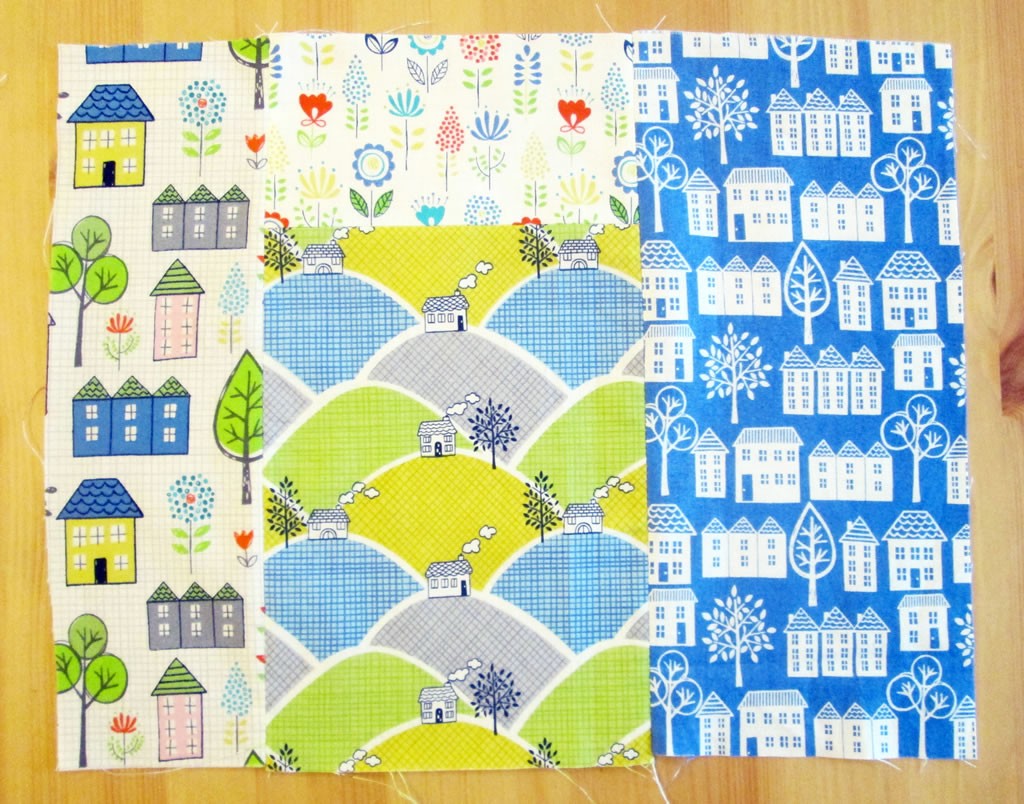
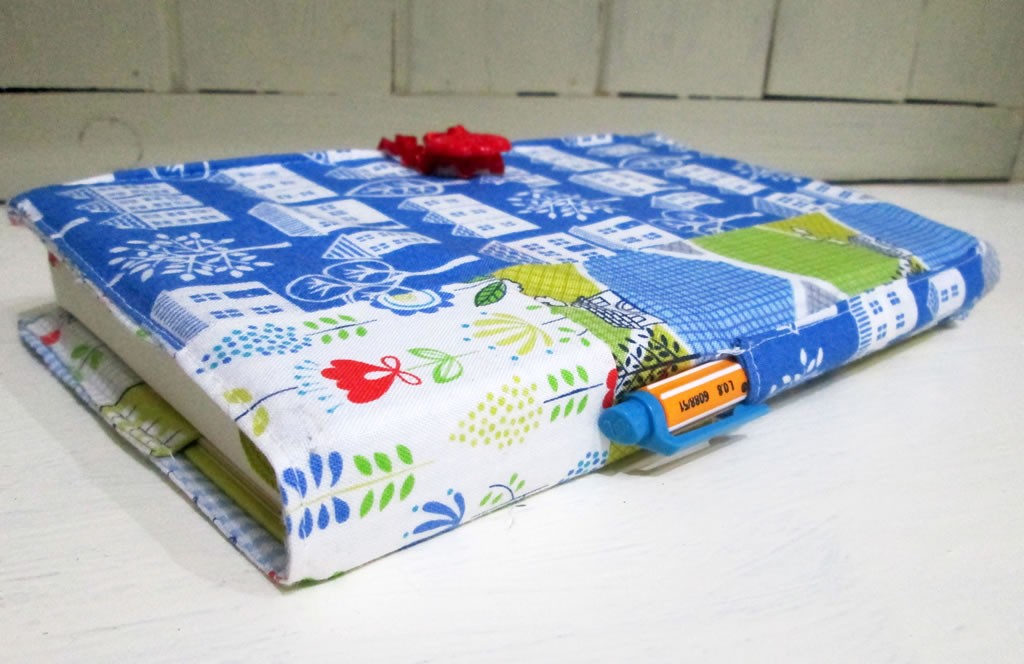
4. To make the pen pocket, cut 2 pieces of fabric about the same width as the spine and long enough for a pen. If you are not using a directional print, you could cut one piece twice as long as you need and fold it in half.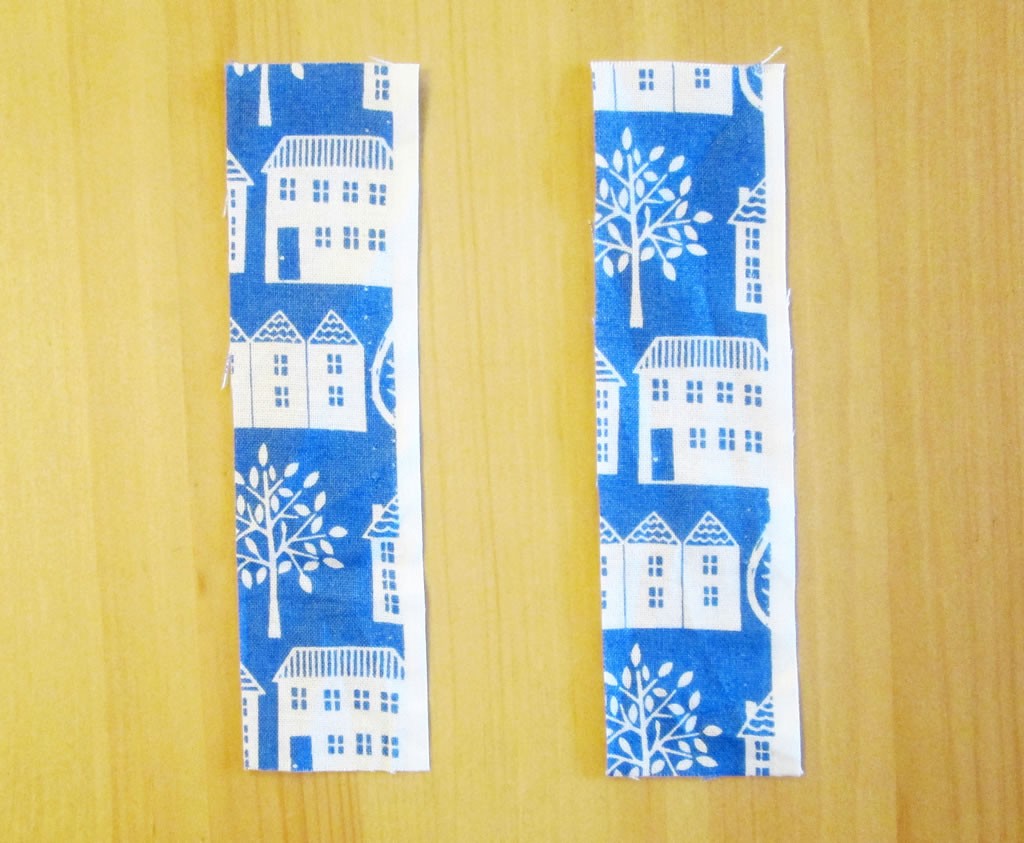
5. With the wrong sides together, sew around the sides and bottom. Trim the seams and turn out.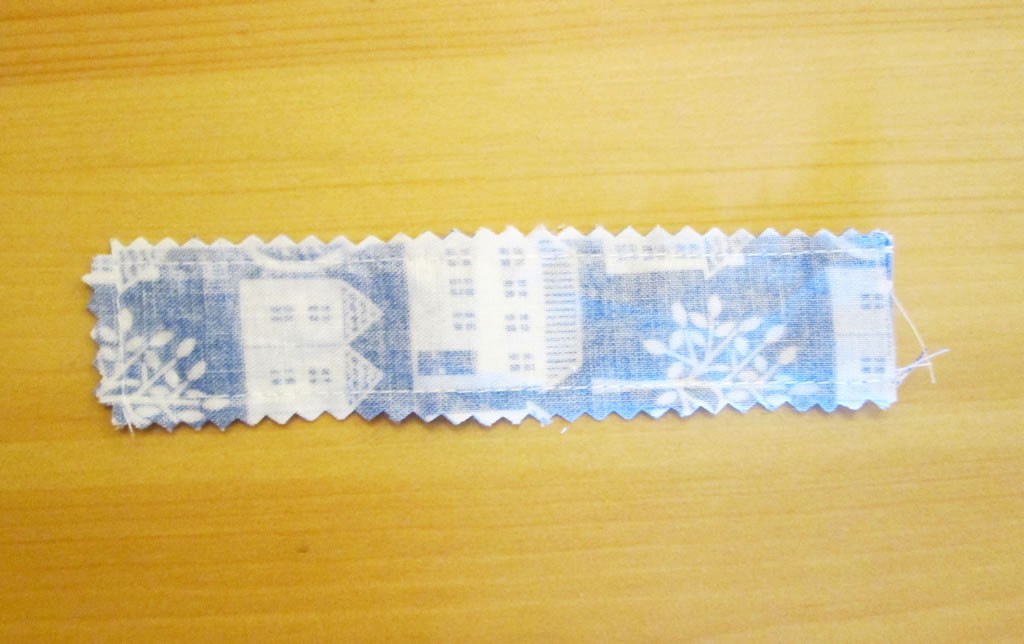
6. Tuck the raw edges inwards and top stitch. This will be the top of the pocket.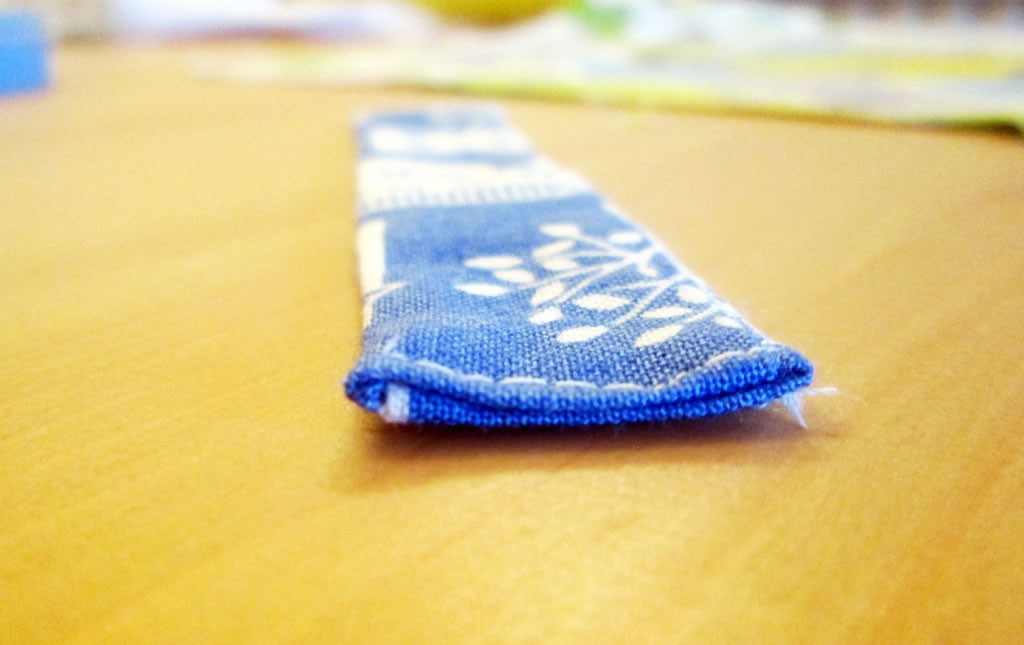
7. Pin the pocket to the outer where the spine will be. Sew around the sides and bottom of the pocket.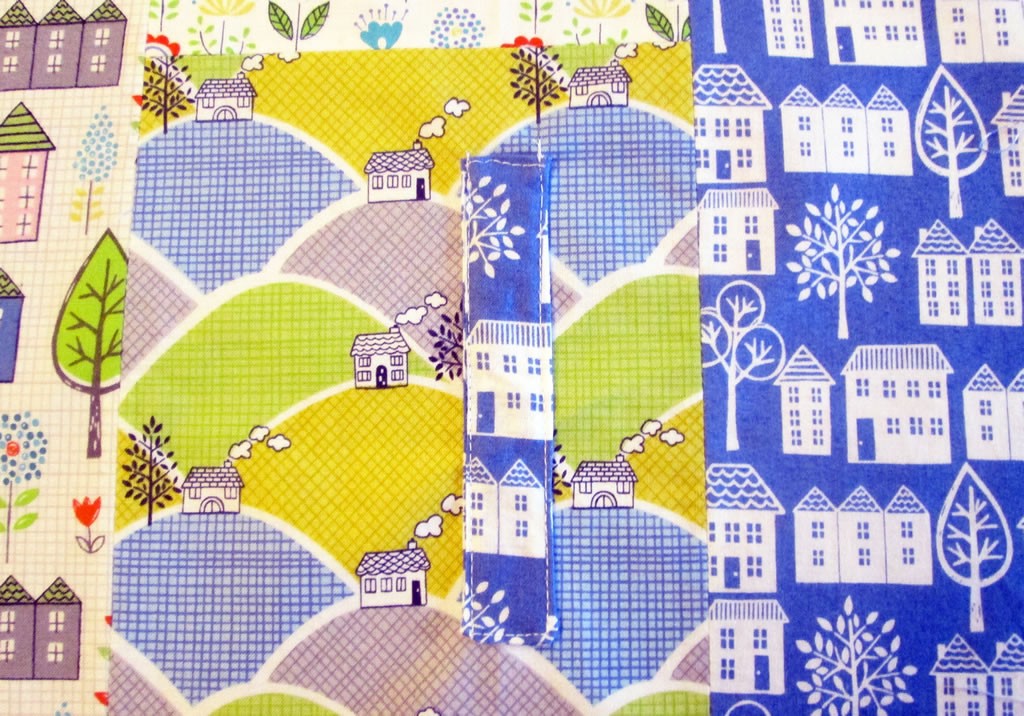
8. Cut the pieces for the pockets to slide the cover into. They will need to be the same height as the lining and outer. Each pocket needs to be about half the width of each half of the cover.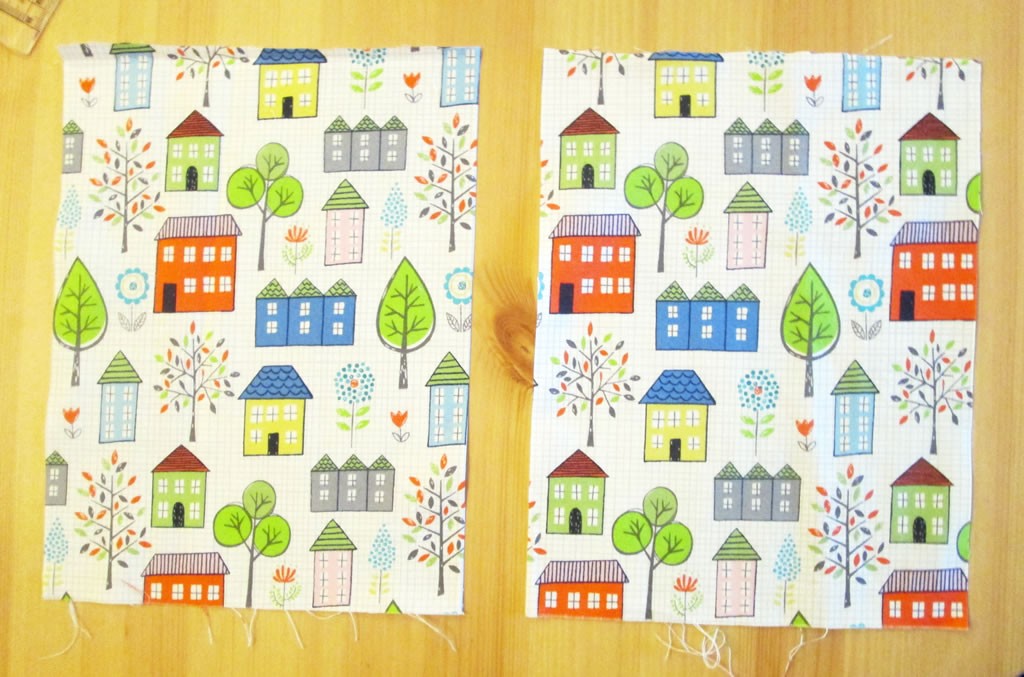
9. With the wrong sides together, sew one edge of the pocket to the edge of the outer. Repeat for the other pocket.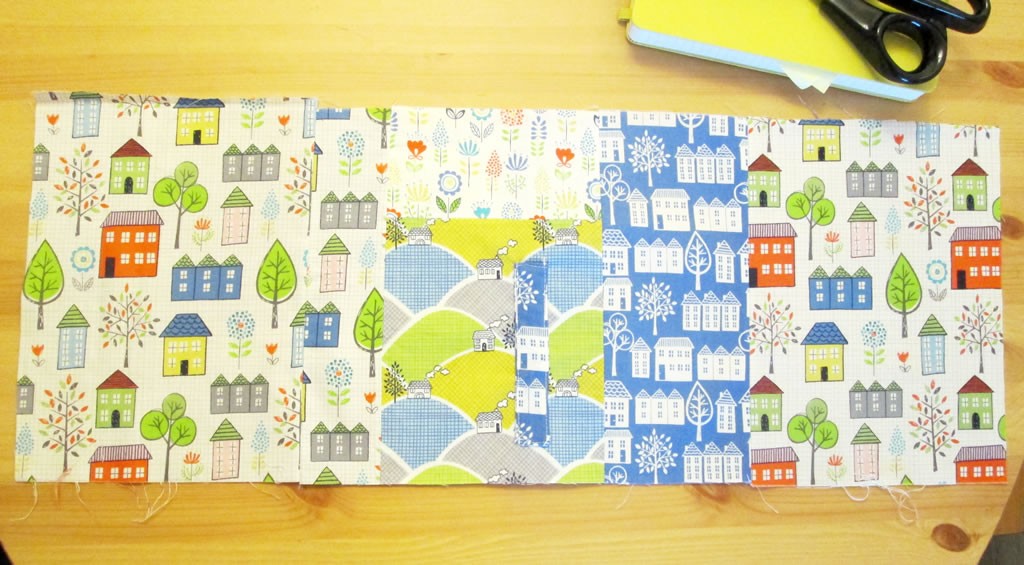
10. Sew the other short edge of the pocket pieces to the lining. Trim the seams and press them open.
11. Fold the pocket sections in half. Match the seams where the pockets join the outer and lining and pin.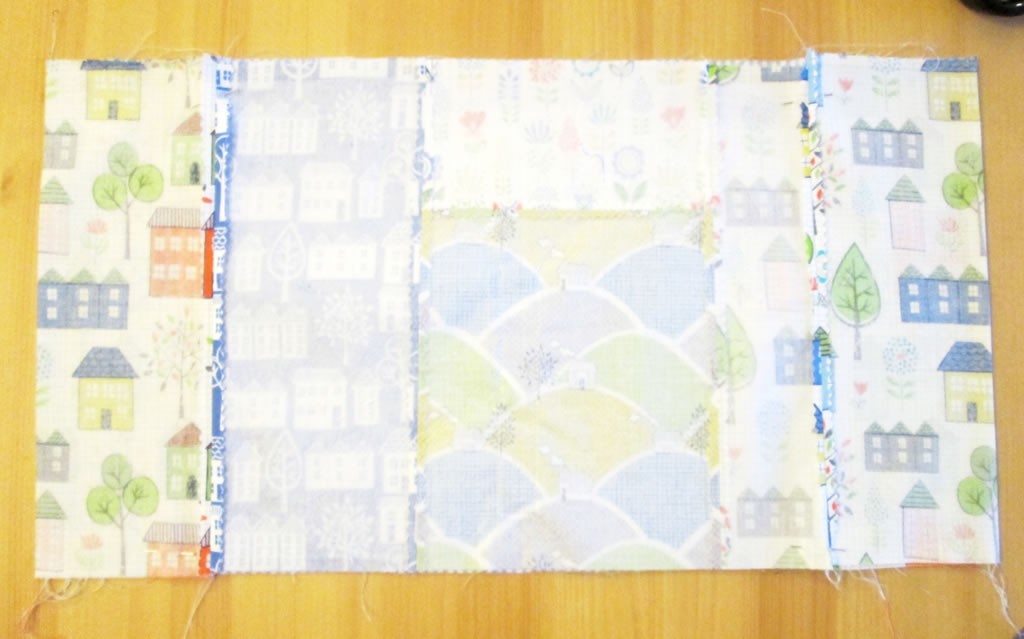
12. Sew along the top and bottom, leaving a gap at the bottom. Trim the seams and turn out. Pin the opening.
13. Fold the pockets inwards along the seams and pin. Top stitch all the way round.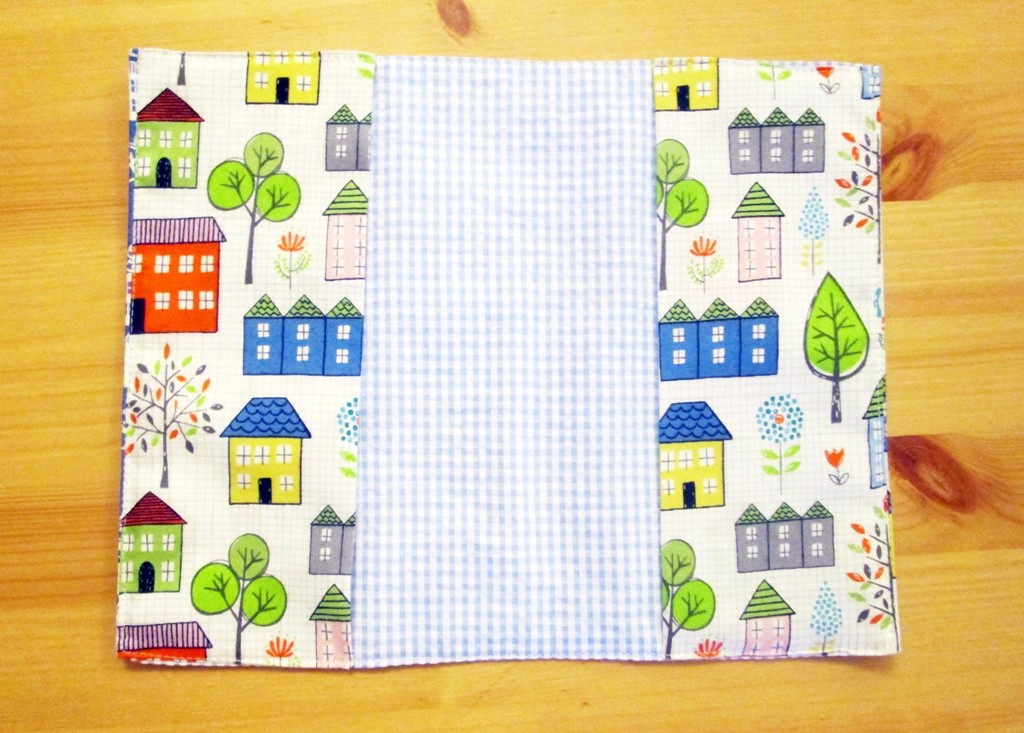
14. Sew a button onto the front of the fabric diary cover.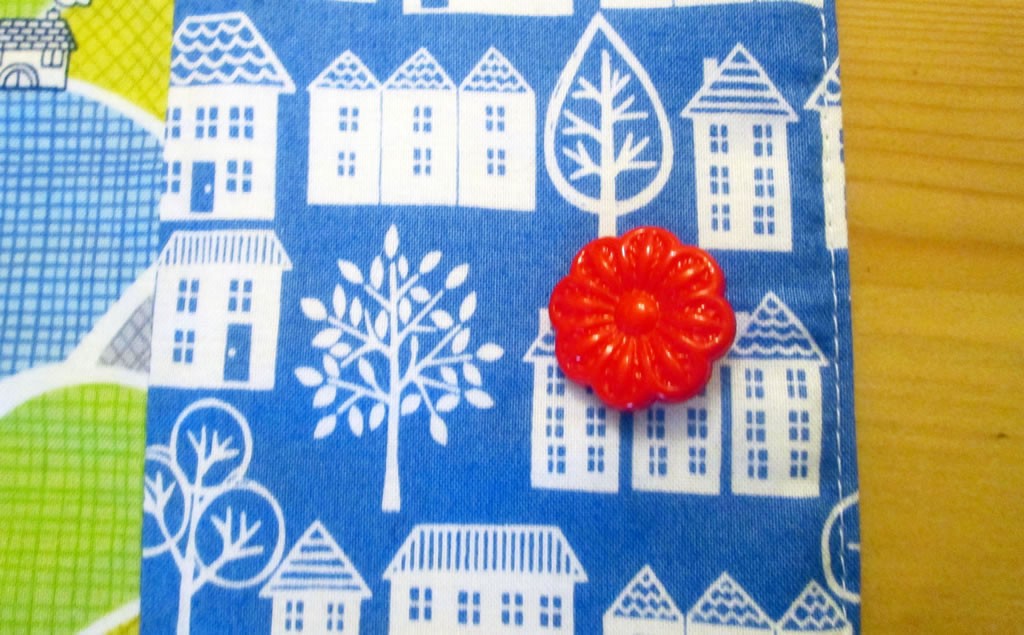
15. Using ribbon or a piece of elastic, make a loop and fix it to the back. I couldn’t decide! Ribbon looks nicer but elastic is stretchy. I used them both by stretching the elastic as I sewed the ribbon to it.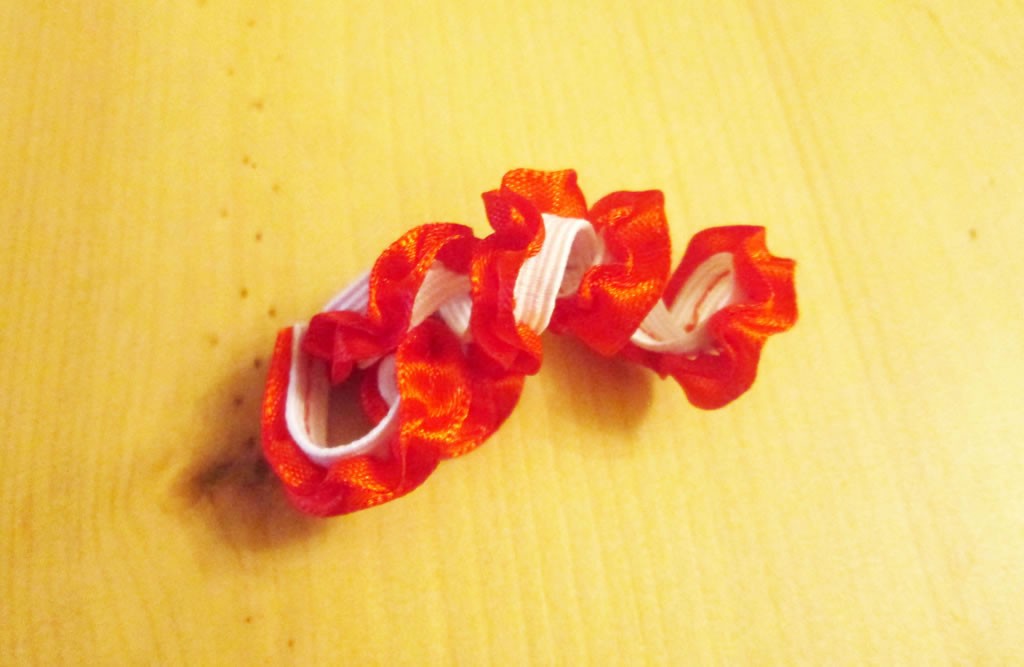
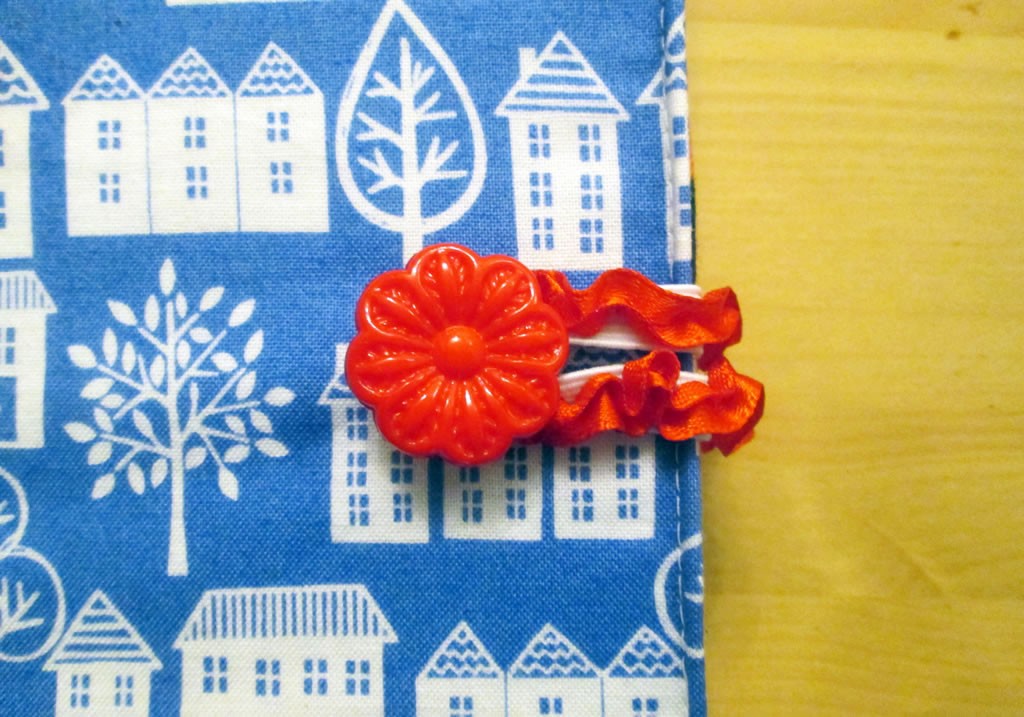
You could make a bow or use another button to hide the ends.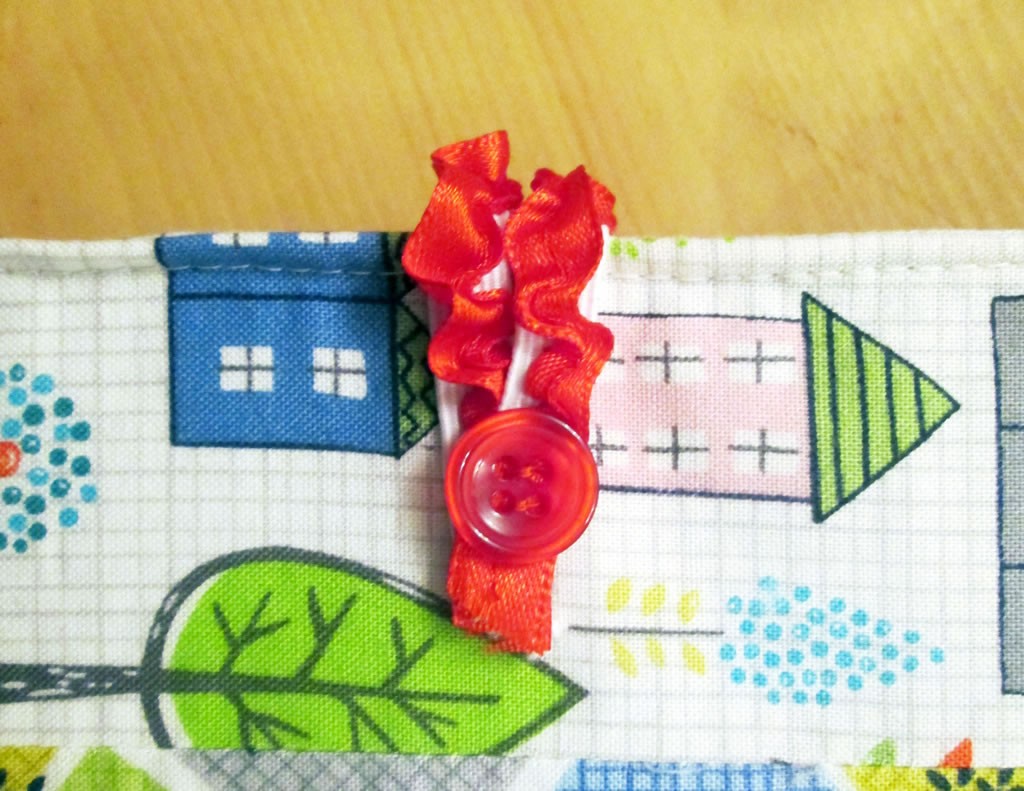
I just have to remember to actually use my diary now!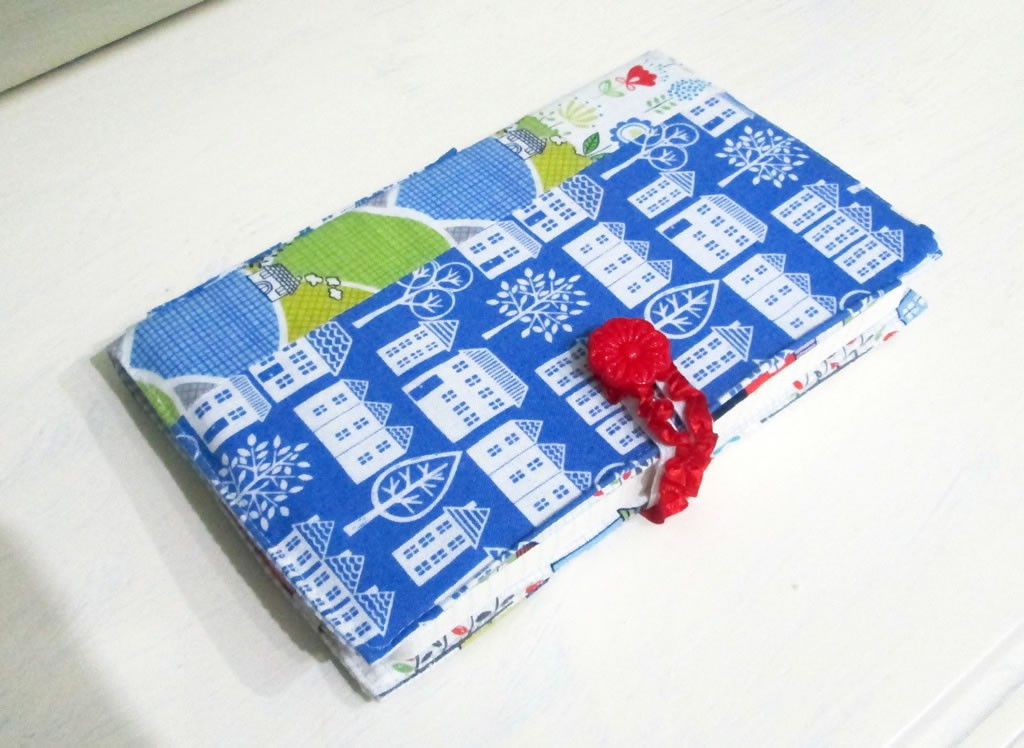
You might also like these posts:



This would make a lovely gift, Anna. Great idea to add the pen pocket on the spine.
Pam @Threading My Way recently posted…Handmade Christmas Tags ~ Sew Your Own with Paper
A very pretty cover and a fantastic tutorial too.
Thank you, I was aiming for pretty!
So cute! PInned & shared. Thanks for joining the inspiration Spotlight party. Hope to see you again soon.
Thanks 🙂
So cute! Love the fabrics too! Thank you for sharing at The Really Crafty Link Party this week. Pinned!
Thank you 🙂
Love it, and that pocket is perfect! Thanks for sharing on craft schooling Sunday!
Thank you, it saves hunting in my bag for a pen!
This is just too adorable and it makes such a great personalized gift for anyone. I am definitely pinning this. You are taking it to another level here Anna. Love it.
Thank you 😀
This is a great idea. I was thinking today I need to recover my diary as it looks boring. I was thinking paper, but this is perfect!! Thanks for sharing at the weekend blog hop, off to pin now 🙂
It should wear a bit better than paper 🙂
How To Make A Fabric Diary Cover by @peacockinapear https://t.co/nhaBIt3aGV via #weekendbloghop
Are you bored of the diary you got for Christmas? Make a cover to jazz it up! https://t.co/3ArowC53Vf
Wow! This is so neat! I especially like the pen pocket. That is an extra bonus for me! 🙂 #Trash2Treasure
Thank you! I wanted somewhere to put a pen!
Marilyn Davis liked this on Facebook.
RT @coombemill: A step by step guide to a pretty diary cover https://t.co/xkQEGG02Ci @peacockinapear with #Trash2Treasure
A step by step guide to a pretty diary cover https://t.co/xkQEGG02Ci @peacockinapear with #Trash2Treasure
so clever and effective, this looks so much prettier than a plain cover and I love the pockets you added too. I wish I had half an idea how to use a sewing machine when I see things like this. Thank you so much for popping over and sharing with me on Trash2Treasure
Thank you xx
@peacockinapear Do join me for #Trash2Treasure, you have some great ideas like this diary cover https://t.co/tWCrSrL3rn
#new How To Make A Fabric Diary Cover https://t.co/hKsRVWGwP9 https://t.co/v8j2qOdzEU