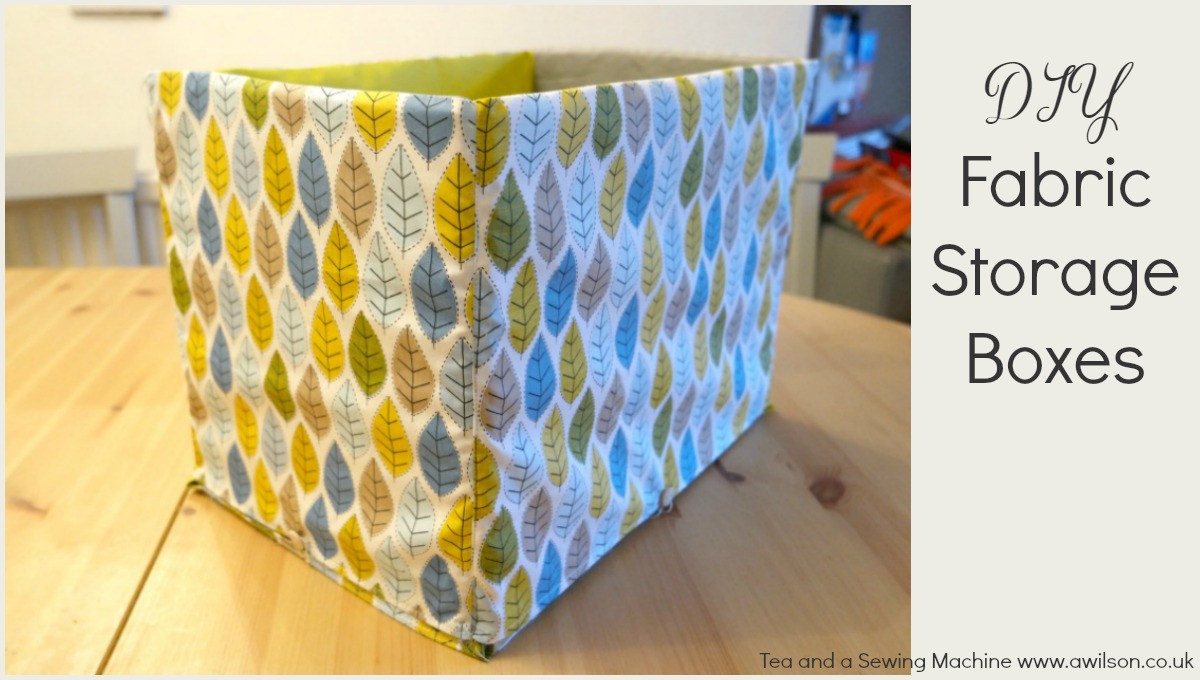
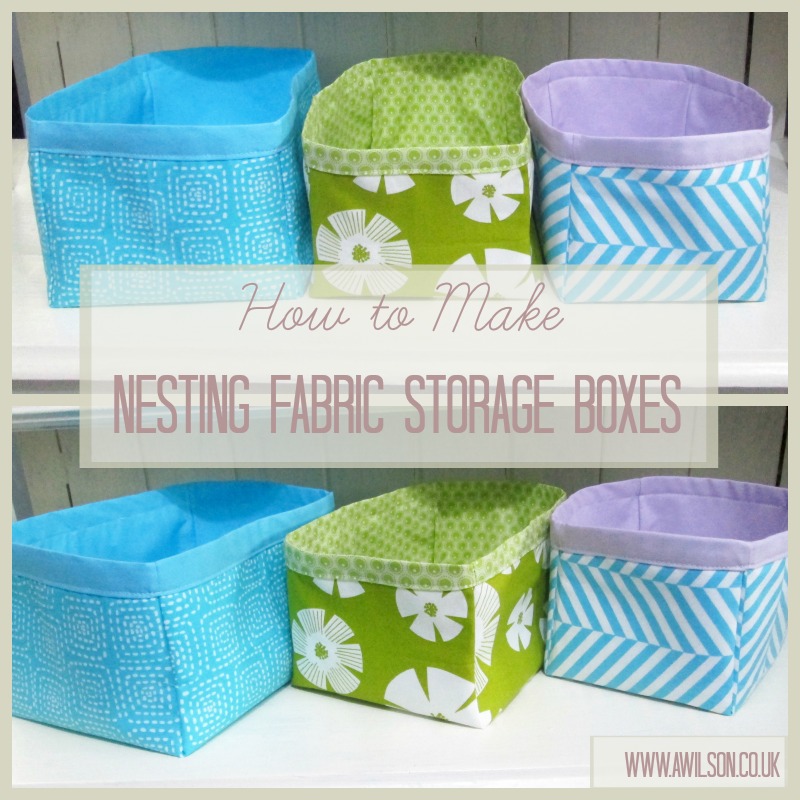
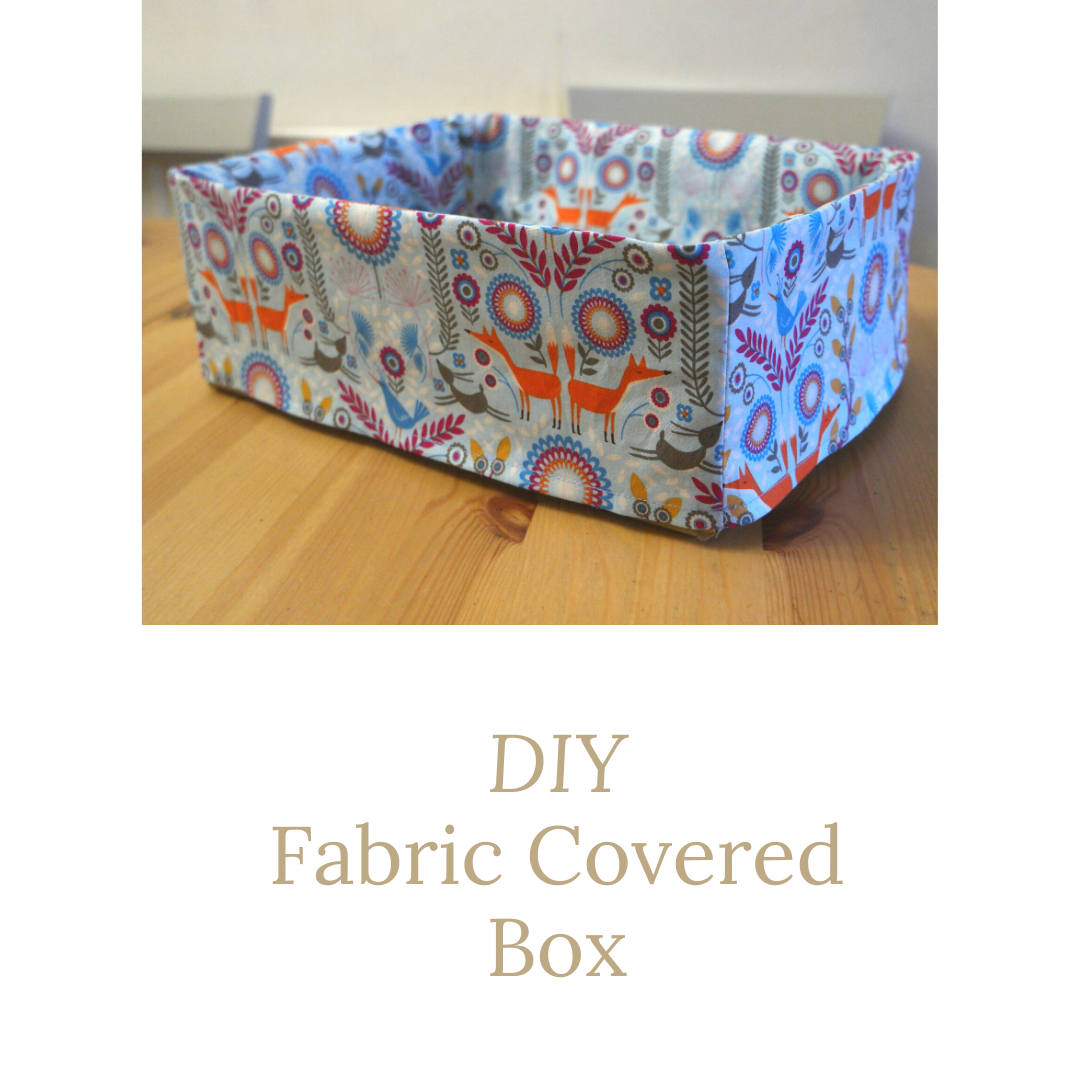
How to Sew Storage Boxes
Storage boxes are always useful.
I have made a number of fabric storage boxes over the last few years, and I have usually managed to find a use for them within a few days of making them.
They’re great for using up fat quarter packs bought on impulse, and if you don’t mind the sides being different, they can be a good way to use bits left over from other projects.
The only problem is that when you sew storage boxes from fabric, even if you use interfacing, they do tend to be a bit squashy. Squashy is fine, and it’s not too bad when the boxes are small, but if you want to sew storage boxes that are bigger, this can cause some problems.
In the past, I’ve covered cardboard boxes in fabric by gluing it on. These boxes retained their sturdiness, but the glue stank and it wasn’t sewing!
Another option is to sew in cardboard inserts, but it would involve unpicking seams if the cardboard needed replacing. Also you couldn’t wash it, unless you unpicked it and removed the cardboard first.
So I had an idea to sew storage boxes with pockets so that the cardboard is easy to remove.
These boxes are bigger than ones I have made in the past. I actually used an old, smallish nappy box that’s currently holding outgrown clothes as a guide!
The pockets have their openings at the bottom so that the cardboard is not visible, and a button prevents the cardboard from falling out.
I was able to use fabric I already had and cardboard from boxes containing internet shopping.
Instructions
You Will Need
Fabric (cotton or polycotton is a good choice) for the outer and the lining
Cardboard
4 buttons
Strong thread or elastic to make the button loops
Cutting Out
For the outer, cut 2 side pieces 38 cm x 28 cm, 2 end pieces 25 cm x 28 cm and a bottom piece 27 cm x 40 cm.
For the lining, cut 2 side pieces 38 cm x 28 cm, 2 end pieces 25 cm x 28 cm and a bottom piece 25 cm x 38 cm.
From strong cardboard, cut 2 side pieces 35 cm x 25 cm, 2 end pieces 22 cm x 25 cm and a bottom piece 22 cm x 35 cm.
I didn’t bother with interfacing as the the cardboard would give it all the sturdiness it needed. However if you are using fabric that frays a lot, you might want to use some fusible interfacing.
Sewing Up
1. Take one of the outer side pieces and one of the lining side pieces. With the right sides together, sew them together along one of the short edges. If you are using a directional print, you will need to make sure that you are joining along the top edges. Press the seams open.
Repeat for the other side pieces and the end pieces.
2. Join the side and end pieces to the bottom lining piece with the right sides together. When sewing each seam, leave about a cm at each end. This will make sewing the sides much easier!
3. Take the bottom outer piece and hem it all the way round.
4. Pin the bottom piece to the bottom section of the lining, on the wrong side so that it covers the seam. Sew around three of the edges, keeping close to the edge.
4. Sew up the sides. In order to ensure that the seams along the top edge of the basket match, start at the seam where the lining joins the outer (the seam you sewed first). Sew downwards to join the lining sections, then go back to where you started to sew together the outer sections.
5. Hem the raw edge all the way round.
6. Fold the outer section over the lining. The wrong sides of the outer sides and the lining sides should be together, and it should be starting to look vaguely like a box. Pin the sides at the edges. Sew, keeping close to the side seams.
7. Make 4 loops from either elastic or strong thread. Sew the loops to the bottom outer. Try not to sew through the lining as well or you’ll have issues in a minute with your cardboard inserts!
8. Sew a button onto each side outer, at the bottom and in the middle, next to where you sewed the loops.
9. Insert the cardboard and button it up.
If the cardboard gets damaged, or if you need to wash your box, you can just remove the cardboard!
If you like to sew storage boxes, you’ll probably like these tutorials too.