
How to Make a Storage Bag With Pockets
How to Make a Storage Bag With Pockets is the 3rd in a series of posts I’m writing about easy storage ideas you can make yourself.
All of these projects I have made using fabric I had already, so as well as being useful, they didn’t cost anything to make and my fabric pile has gone down a little bit!
If you haven’t already, you might like to take a look at the 2 earlier posts in this series.
How to Make a Drawstring Bag from a Pillowcase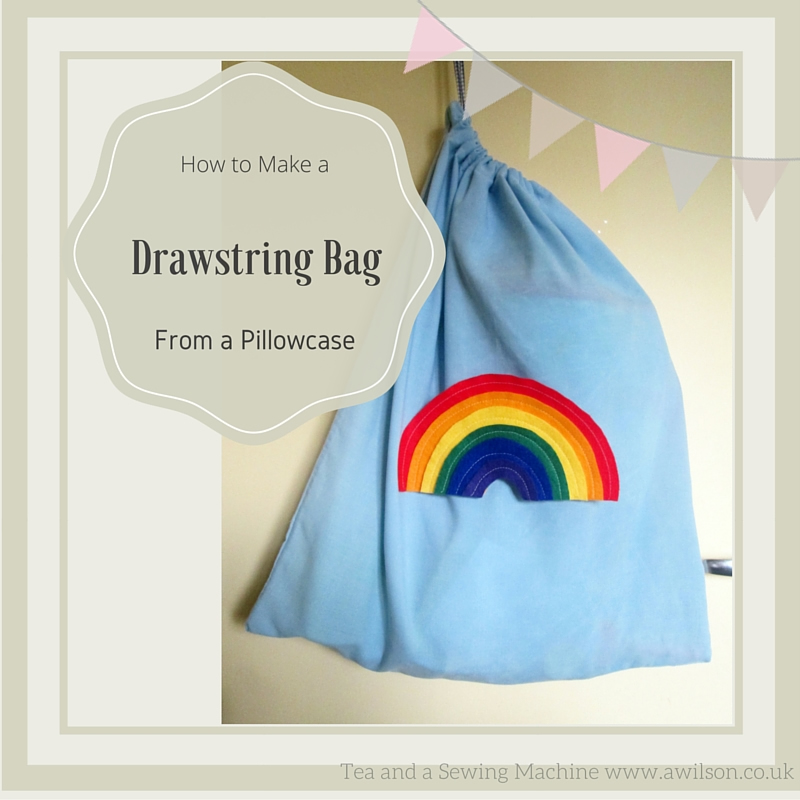
How to Make Nesting Fabric Storage Boxes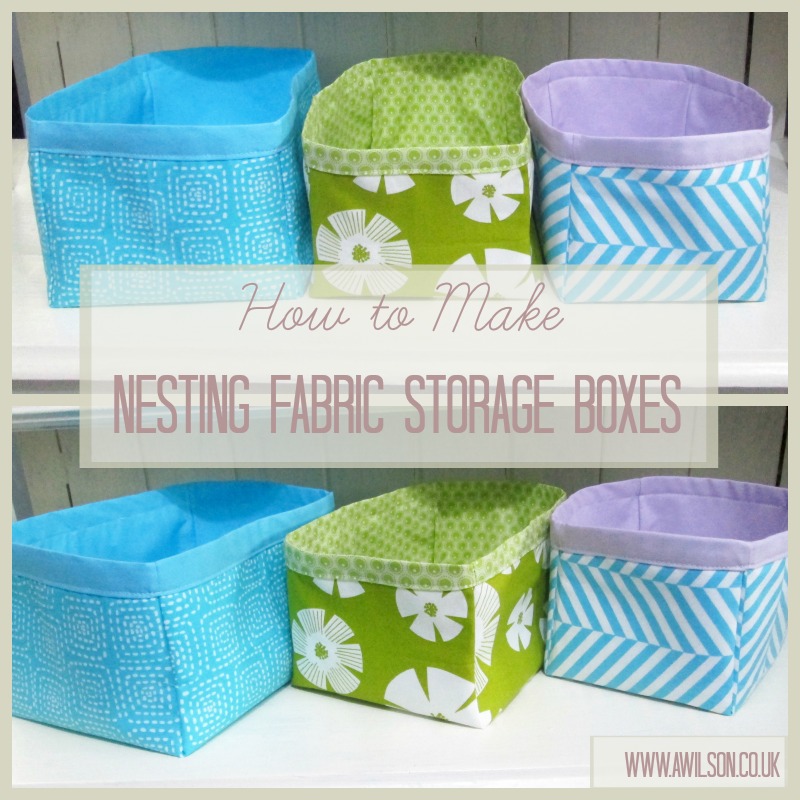
I have been using the new storage I’ve made to house new toys the boys got for Christmas. This storage bag with pockets I made specifically for Boy 2’s electronics kit.
To make the storage bag, I used my standard shopping bag tutorial. The bag is lined because I wanted to add 2 pockets on the inside. One is a standard pocket, for his instruction booklet, and the other is an elasticated number for all his bits of wire.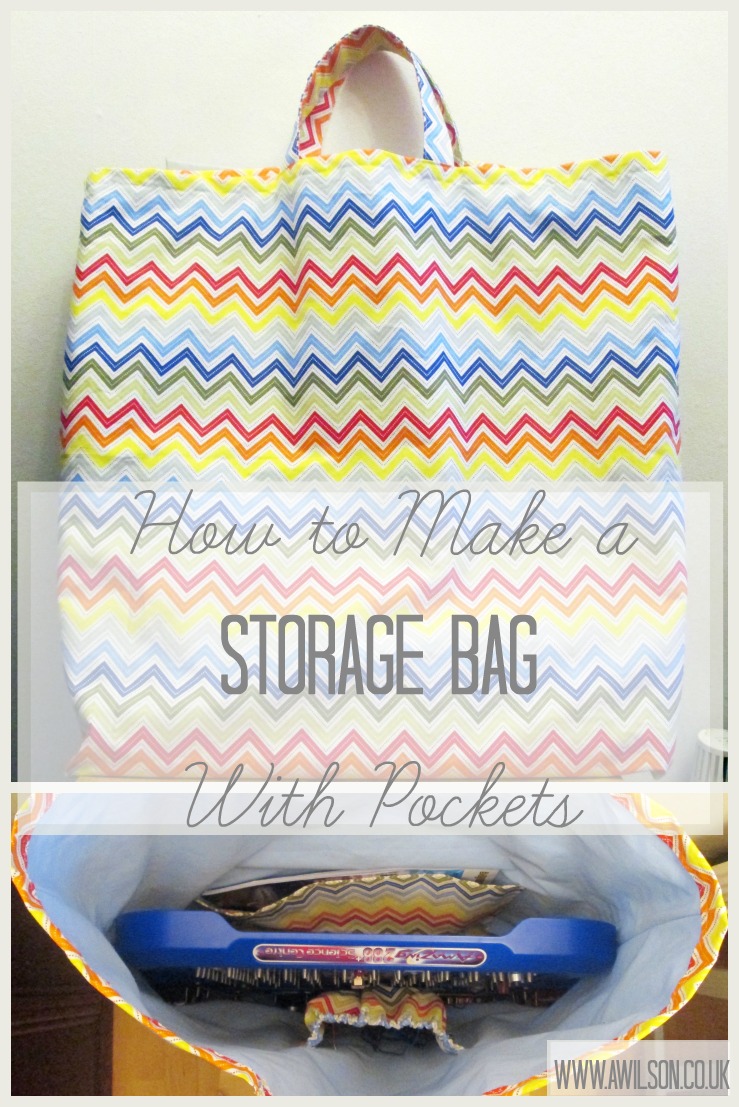
You can change up the size and pockets, inside or outside, depending on what your bag will be storing!
How to Make a Storage Bag With Pockets
You will need: fabric for outer, lining, pockets and handles, interfacing (optional), elastic, safety pin, usual sewing supplies.
1. If you are making the storage bag for something in particular, be guided by its size. Make sure you allow enough for the sides and bottom of the bag as well. Remember it’s much easier to make something smaller than to make it bigger!
From your main fabric, cut either a long rectangle, which will be folded in half widthways with the fold at the bottom, or cut 2 rectangles and sew them together. You will need to cut 2 rectangles if you are using fabric with a directional print. Allow enough for seams and hemming at the top.
Do the same with your lining. I made my lining a couple of cm shorter so that I could hem the top by folding the outer over to make it less fiddly!
2. Sew the side seams of the outer and the bottom seam if you need to. Trim the seams.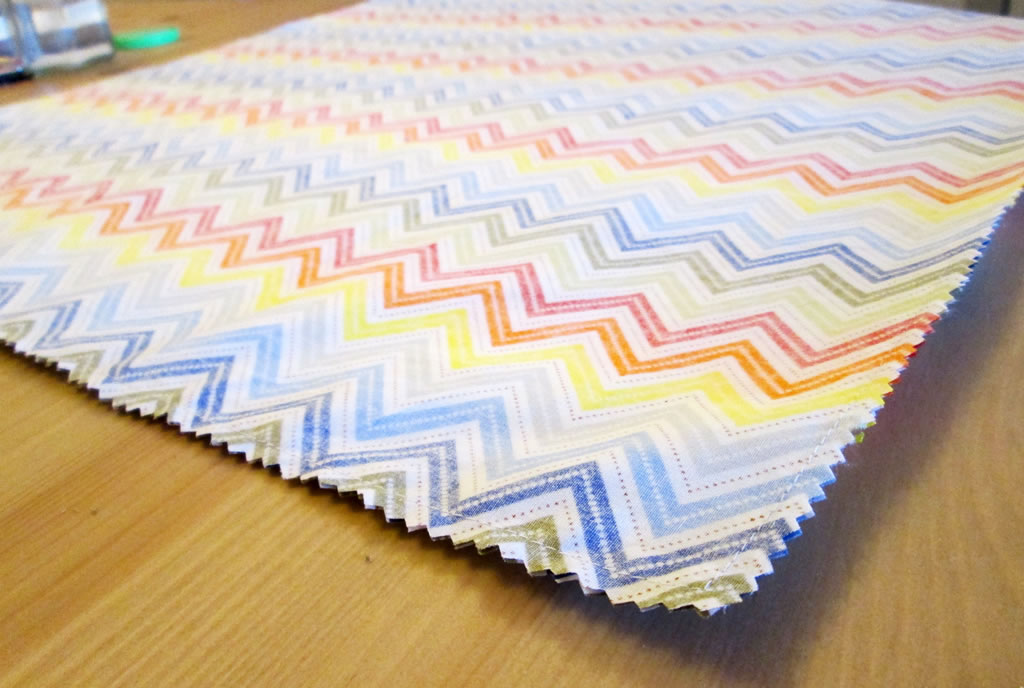
3. Make the boxed corners. To do this, you will need to squash each corner flat so that the side and bottom seams are together. Measure up from the bottom corner (I measured 5 cm, but it will depend on the depth of the thing you are making the bag for) and pin. 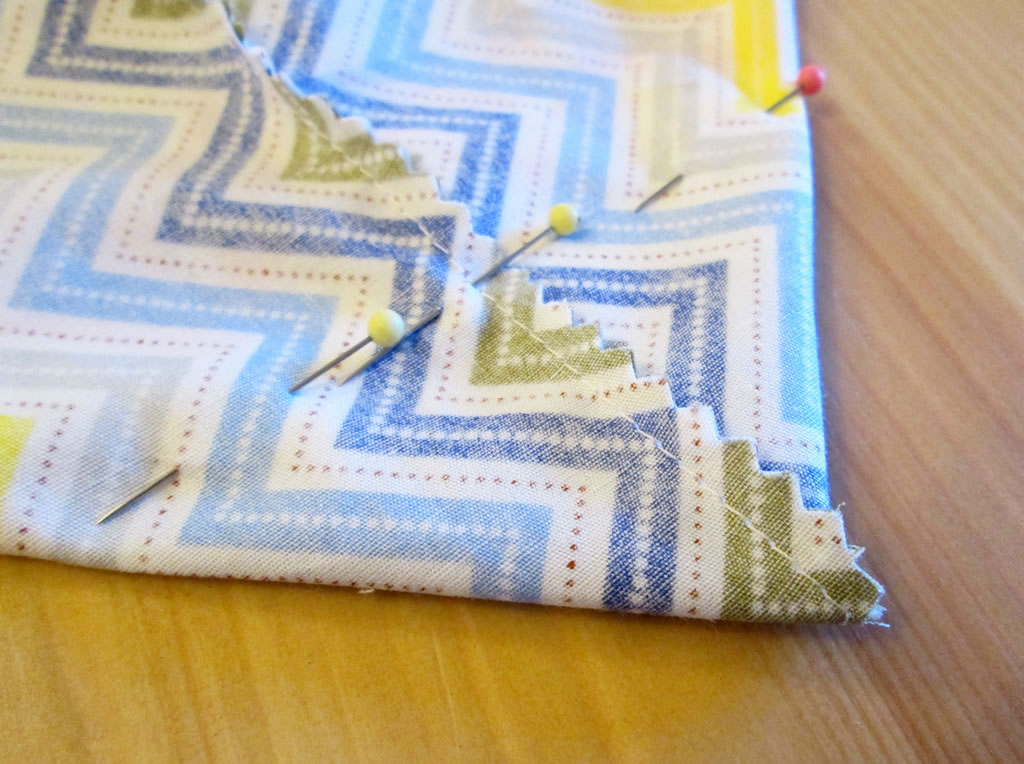 Sew at right angles to the seam.
 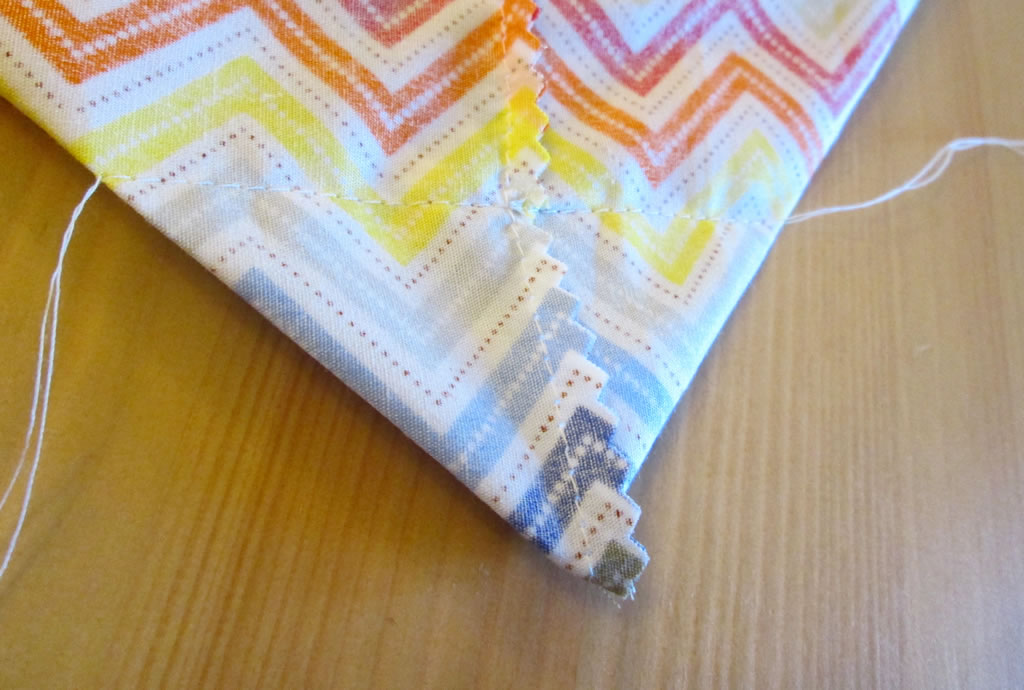 Cut the corner off.
 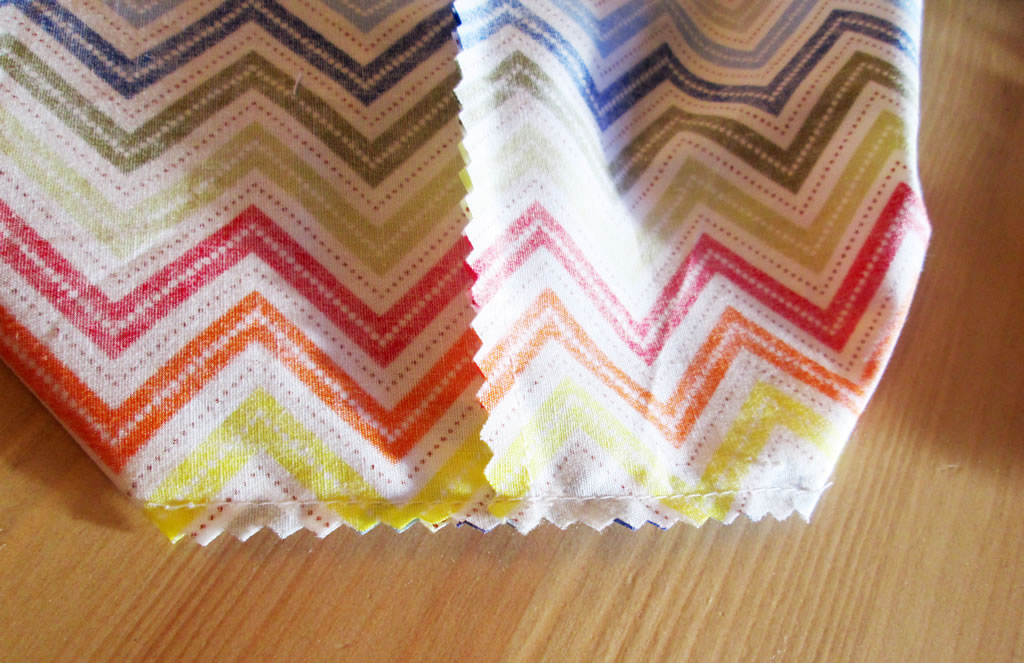 If you would like more detailed instructions for how to do this, you’ll find this tutorial useful. Put the outer to one side.
4. Grab your lining rectangle and decide where you want to put the pockets and what kind you need them to be.
Flat Pocket
Decide how large you need the pocket to be. Cut a piece of fabric twice the size and fold it in half OR cut 2 rectangles of fabric the size you need for the pocket.  With the right sides together, sew the top and side seams. Trim the seams and turn it out.
 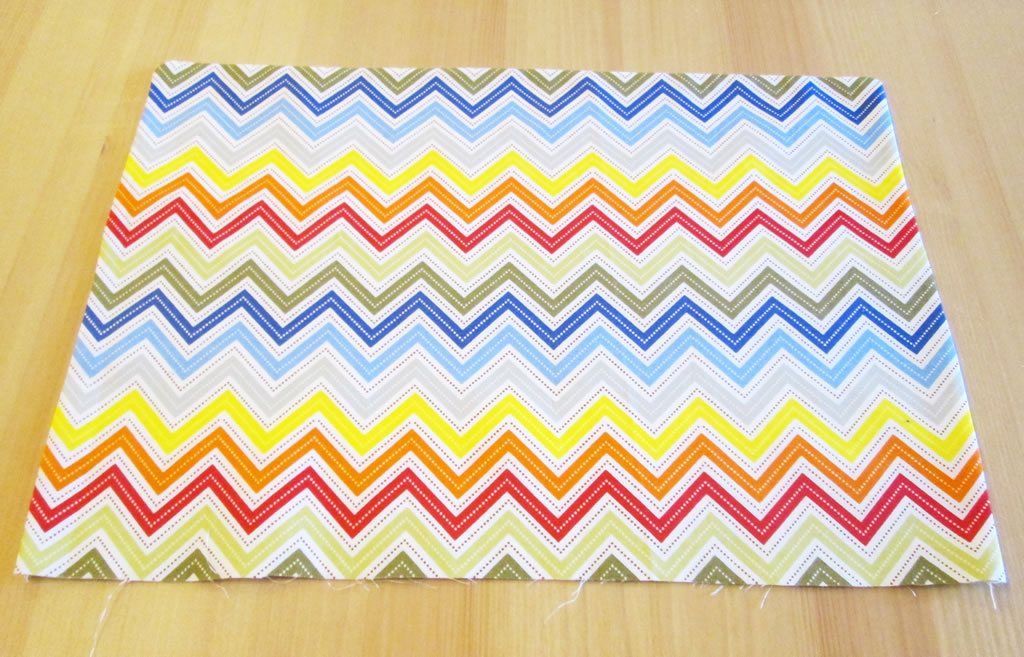 Tuck the raw edges inside and pin.
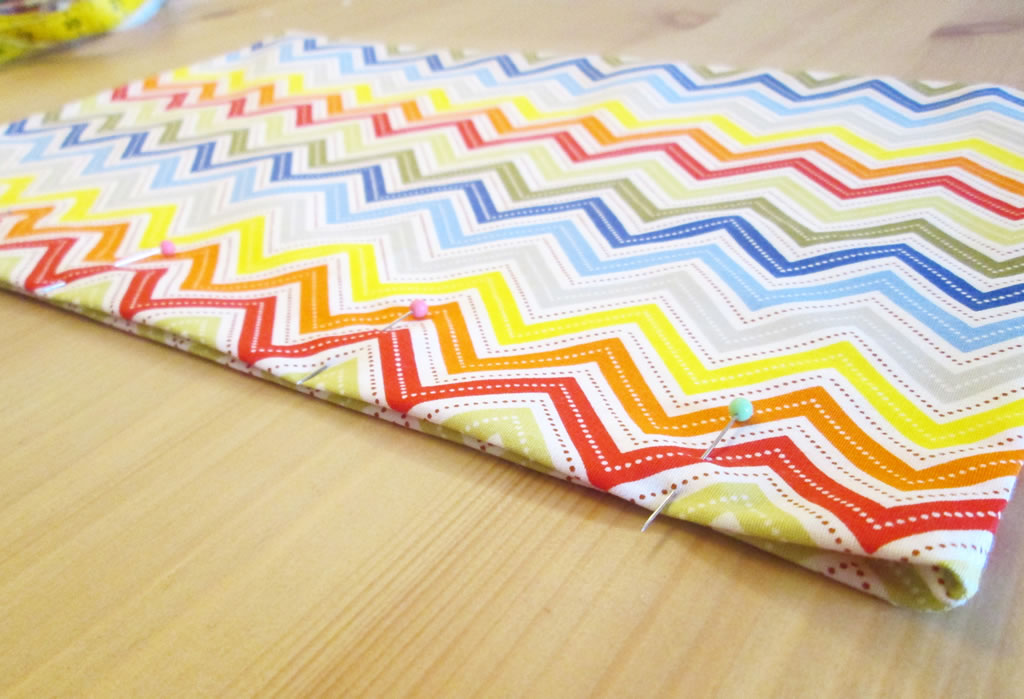
Pin the pocket to the lining on the right side and sew around the sides and the bottom.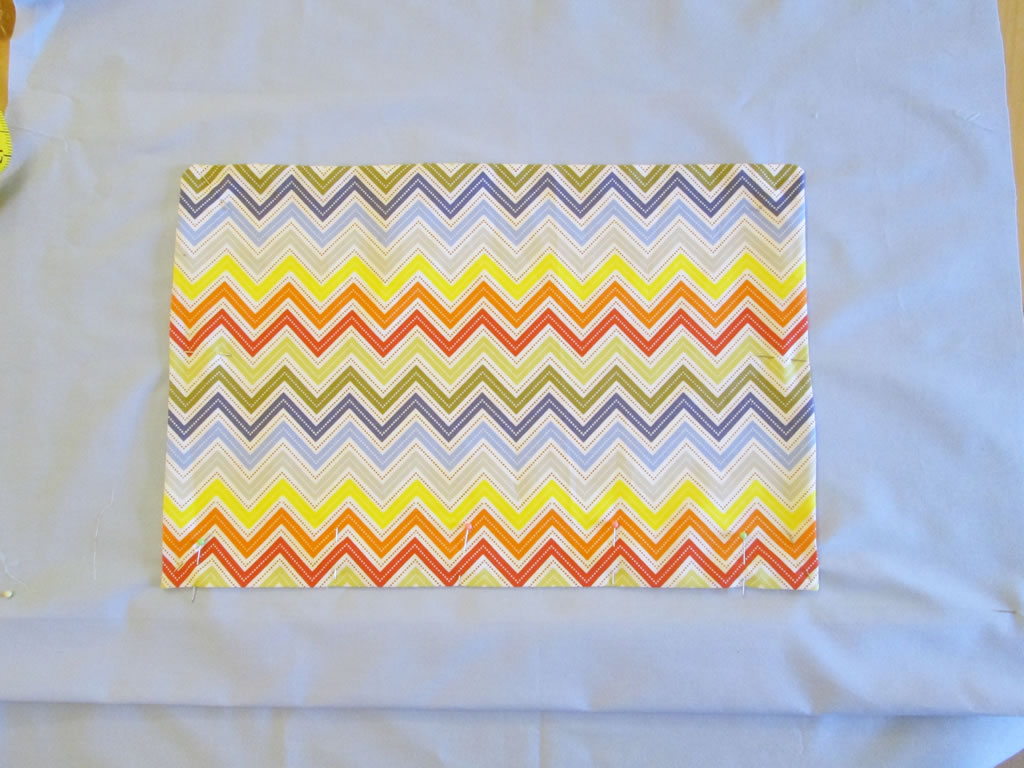
Elasticated Pocket
An elasticated pocket will have less width but more depth.
Cut 2 rectangles of fabric. The outer piece will need to be larger at the top by 2-3 cm to allow for the casing for the elastic.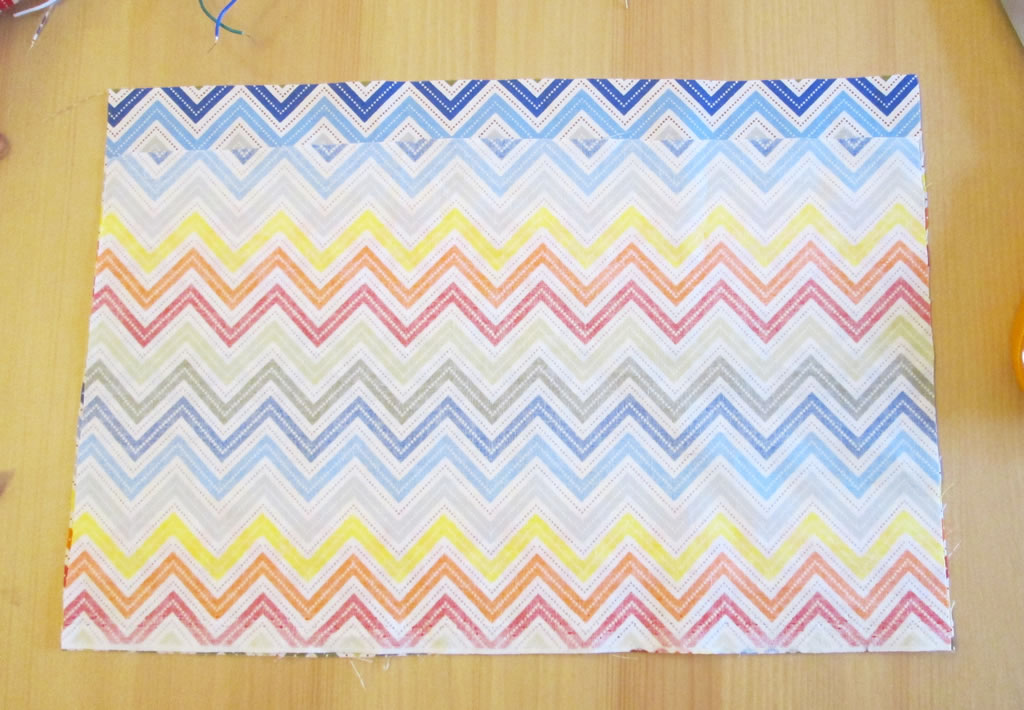
With the right sides together, sew around the sides and the bottom. Trim the seams and turn out.
Fold the top of the outer rectangle over and tuck the raw edge underneath. Pin then sew.  Along the bottom, sew 2 rows of long stitches. Knot the threads at one end and pull the other ends to gather. Tie the threads together.
 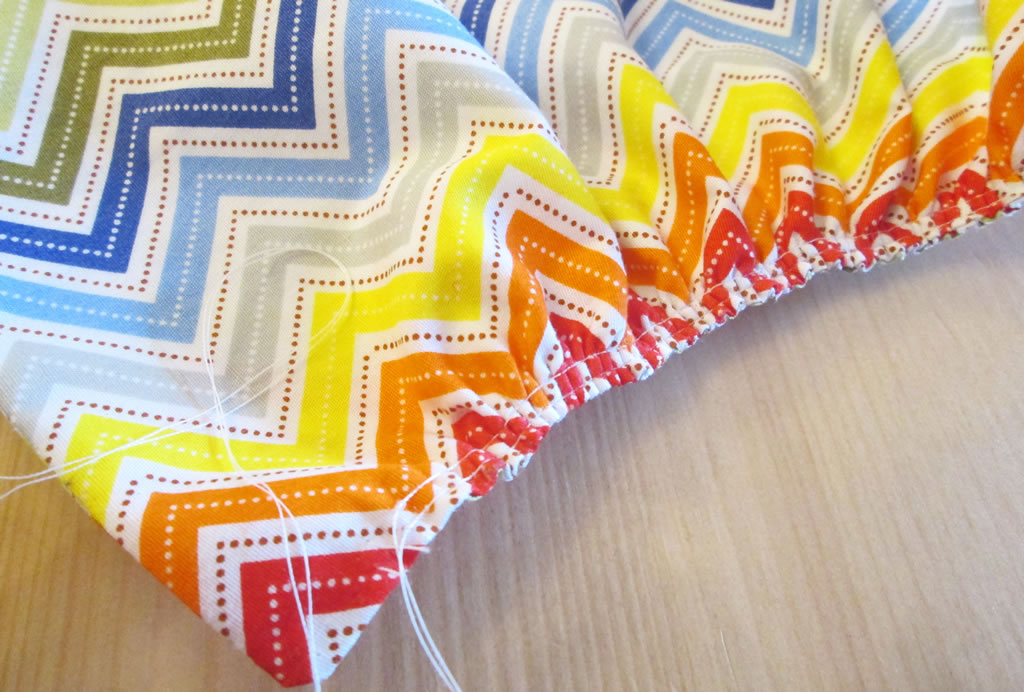 Cut a piece of elastic about half the width of the pocket. Using the safety pin, thread it through the casing.
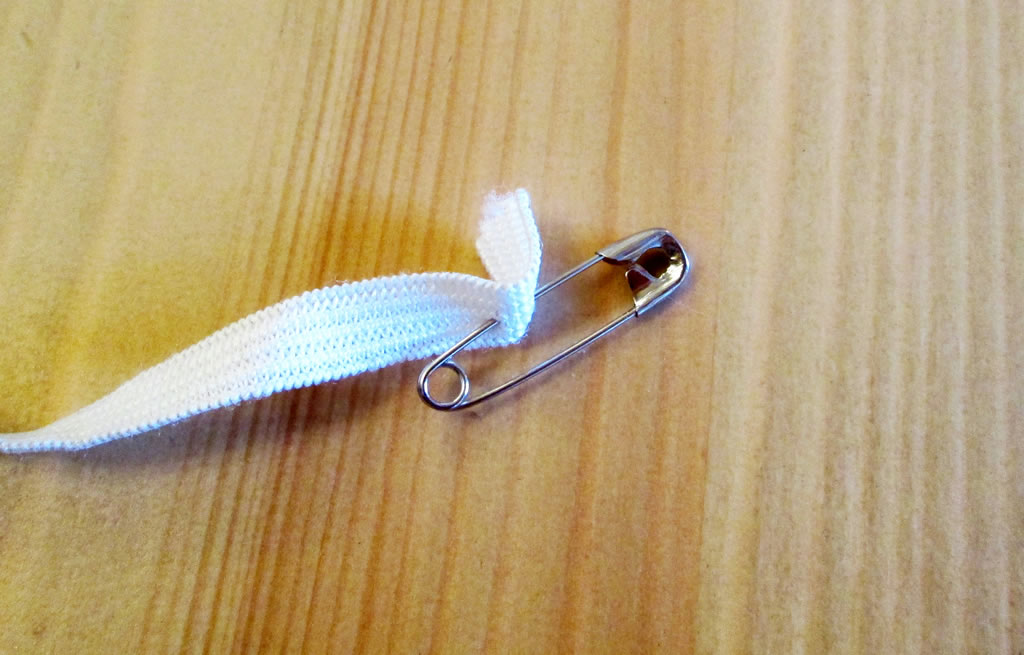 Pin the elastic at each end. Position the pocket on the right side of the lining and pin in place. Sew around the sides and the bottom.
 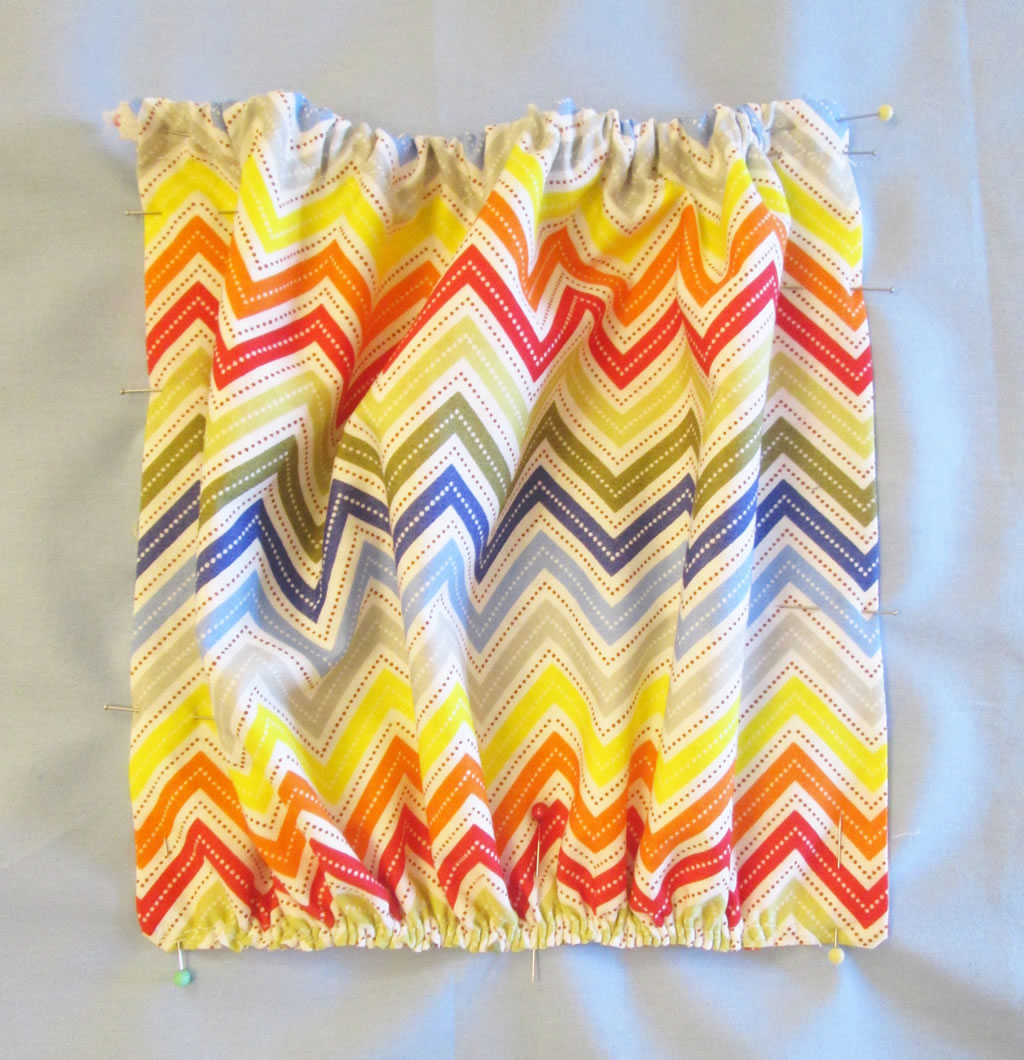 When sewing over the casing, tuck the ends of the elastic underneath before sewing over them.
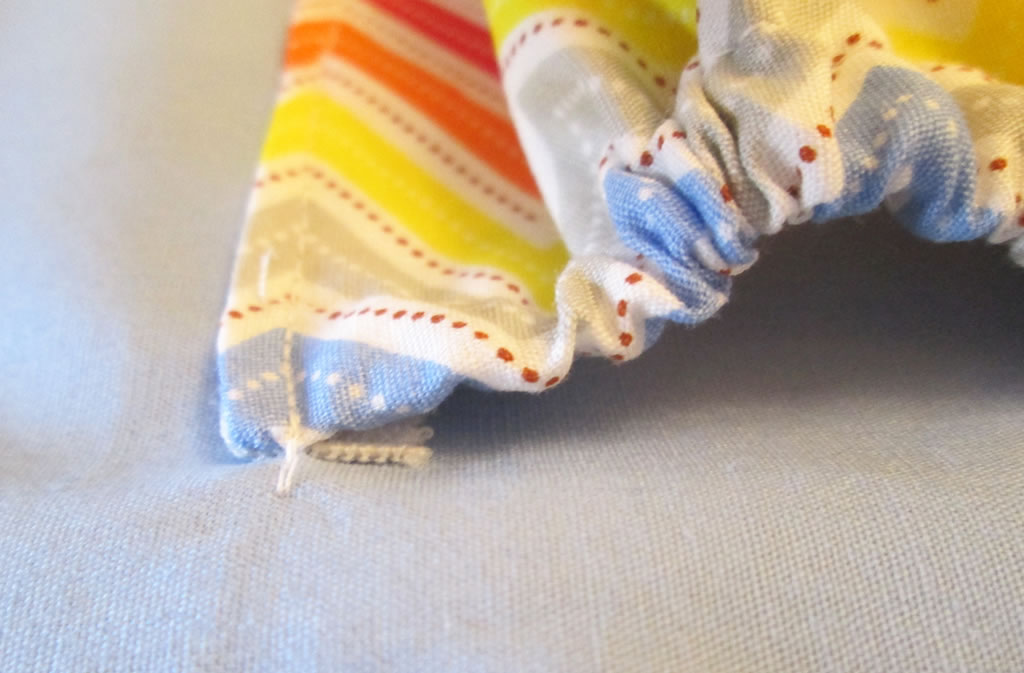
5. Sew the sides of the lining together.
6. Make the boxed corners as you did in Step 3.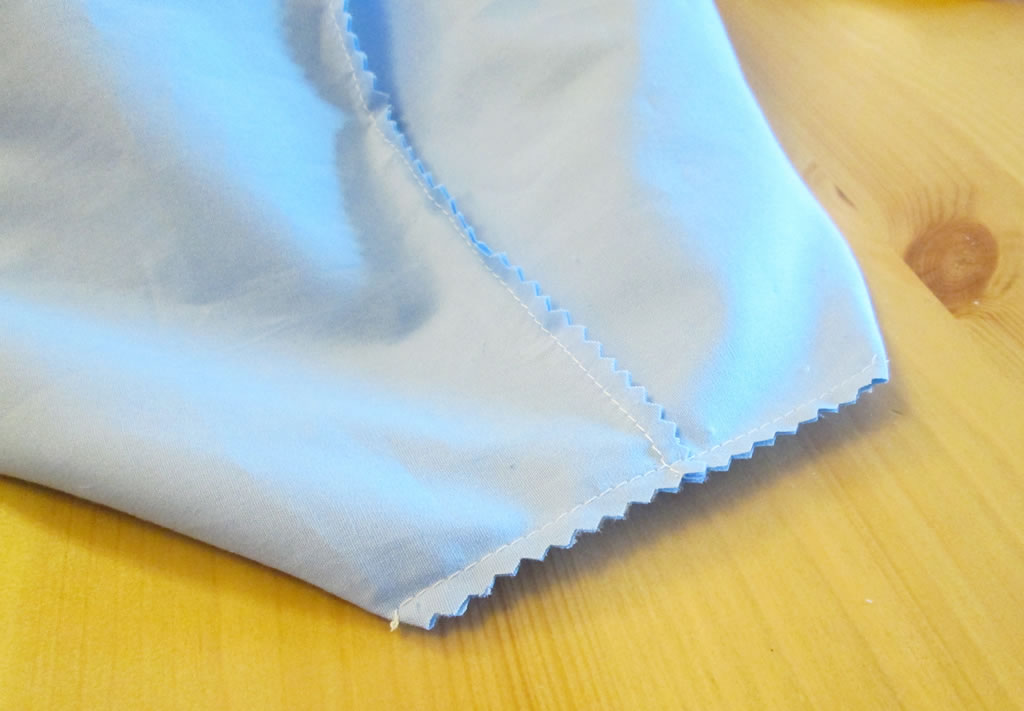
7. Pop the lining inside the outer so that the wrong sides are together. Push the corners of the lining into the corners of the outer. You might like to pin them to hold them while you sort out the top.
8. Fold the top of the bag outer over the top of the lining and tuck the raw edges underneath. Pin, then sew all the way round the top.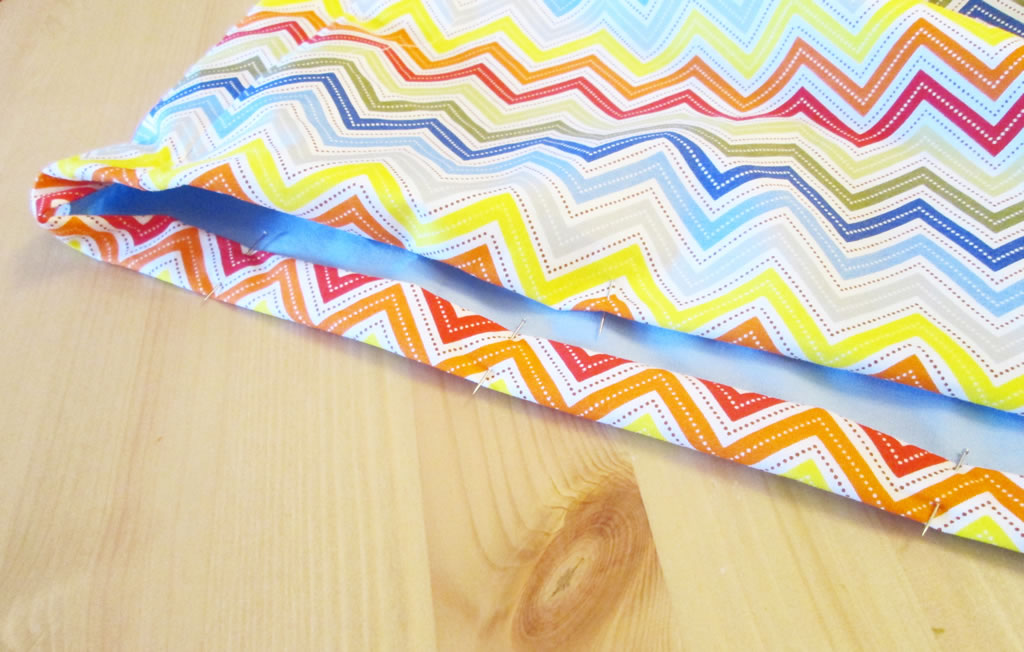
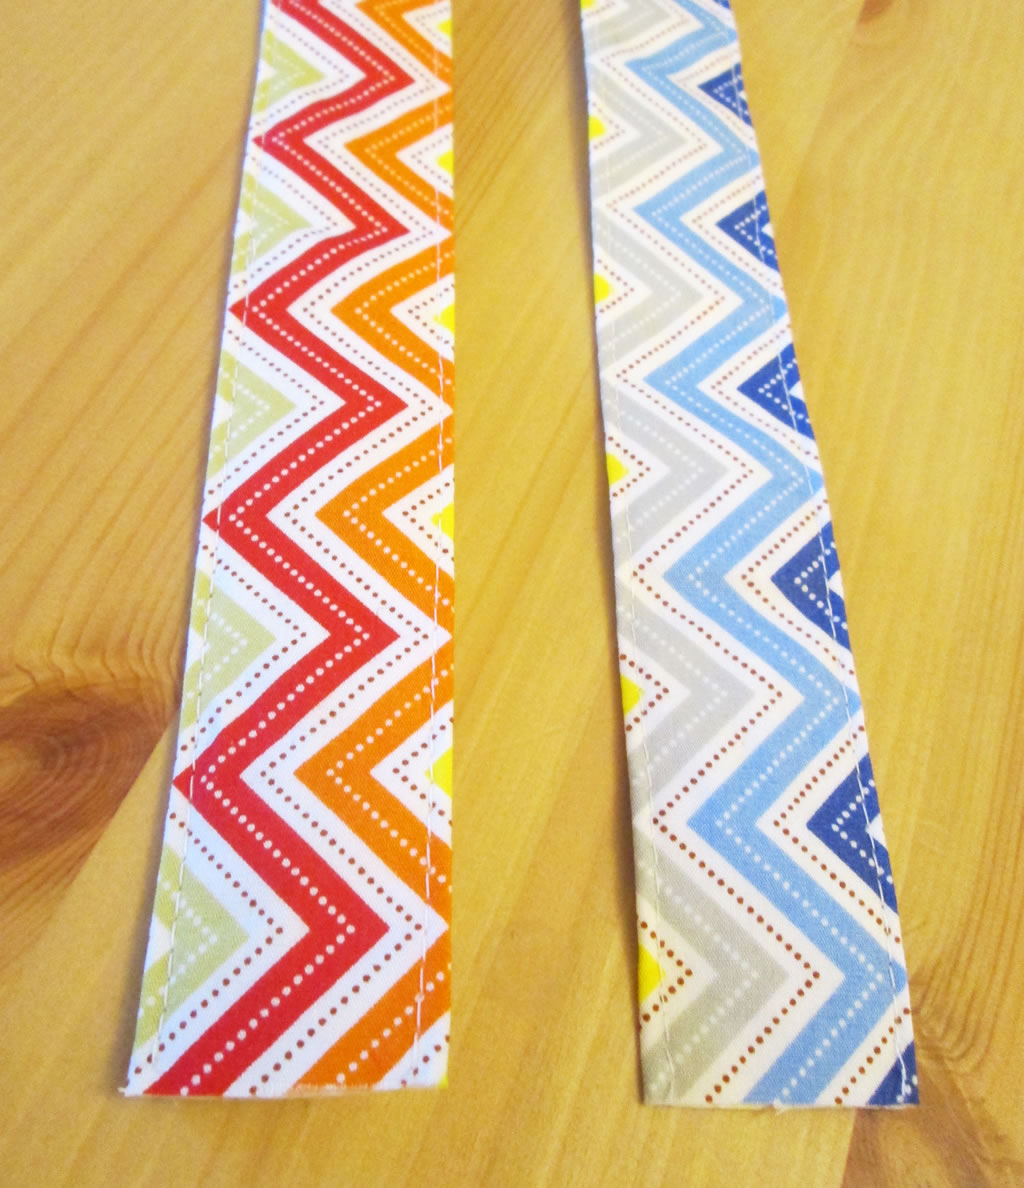
9. To make the handles, cut 2 pieces of fabric 15 cm x 9 cm. If you need longer handles, then cut the rectangles longer.
If you have some fusible interfacing, it will make the handles firmer, especially if you are using a lightweight cotton, but it doesn’t matter too much if you don’t. If you are using interfacing, cut 2 rectangles the same size as the handle pieces and fuse to the wrong side.
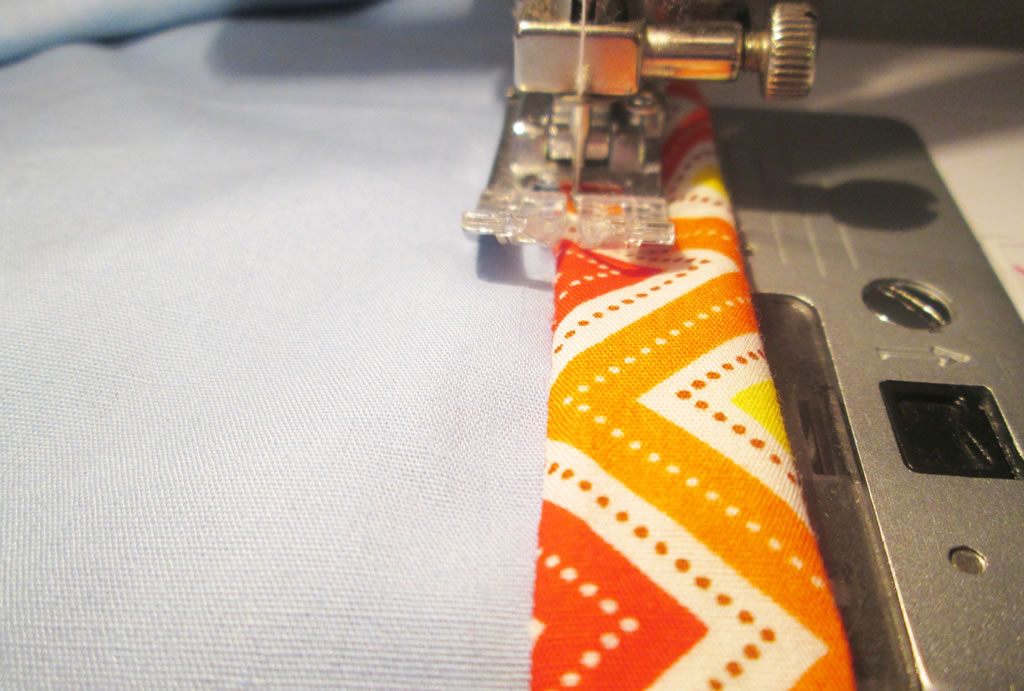
10. Take one of the rectangles and fold it in half lengthways. Open it out, then fold the raw edges in towards the middle.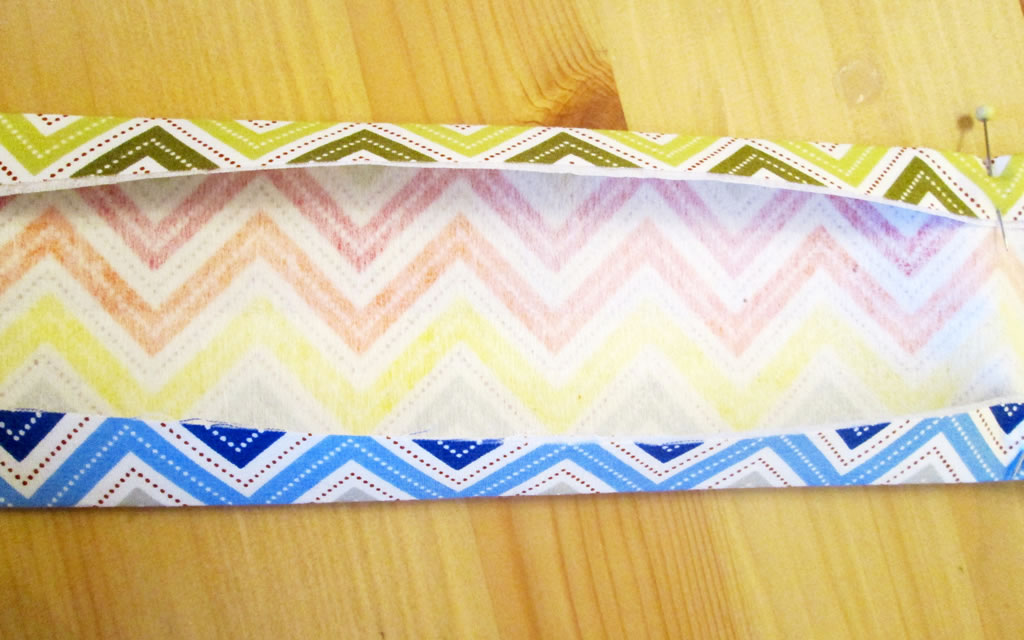 Fold in half again and pin. Sew along the open edges. I like to sew along the folded edge to so that the handles look symmetrical.
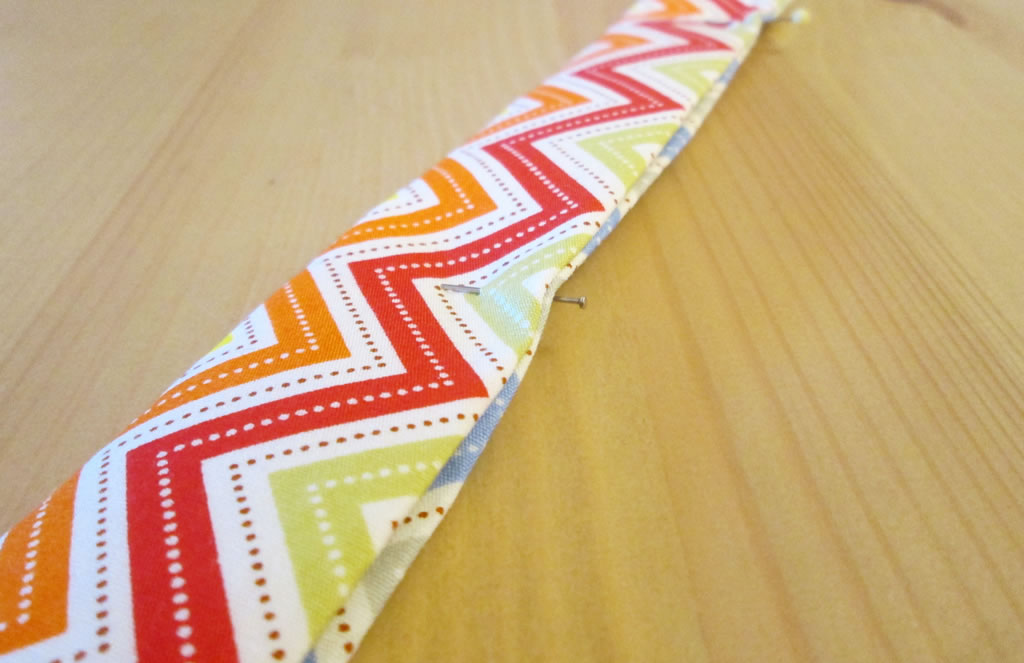
11. Pin the handles to the inside of the bag and sew in place. 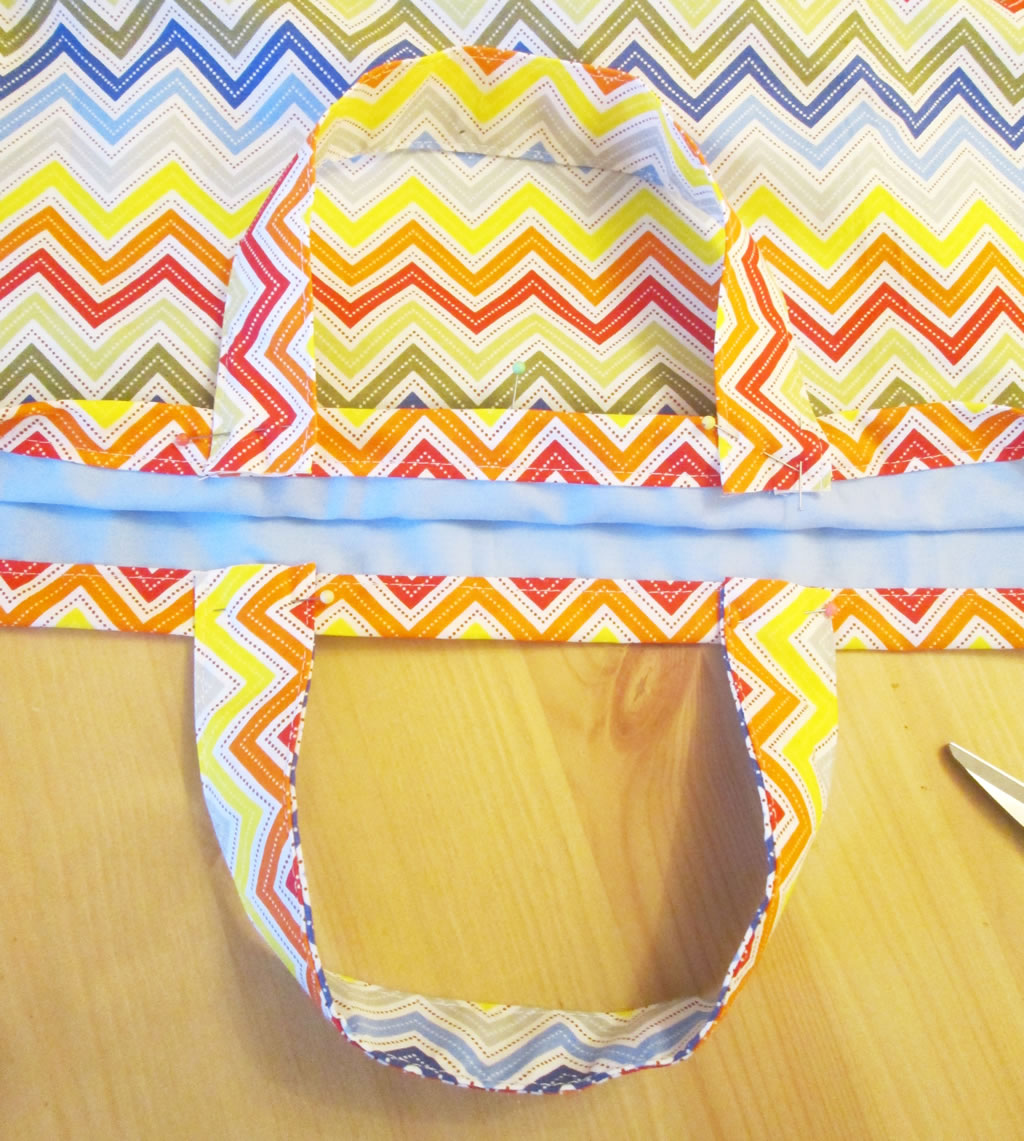 It’s probably best to sew them in a couple of places to reduce the chances of them falling off.
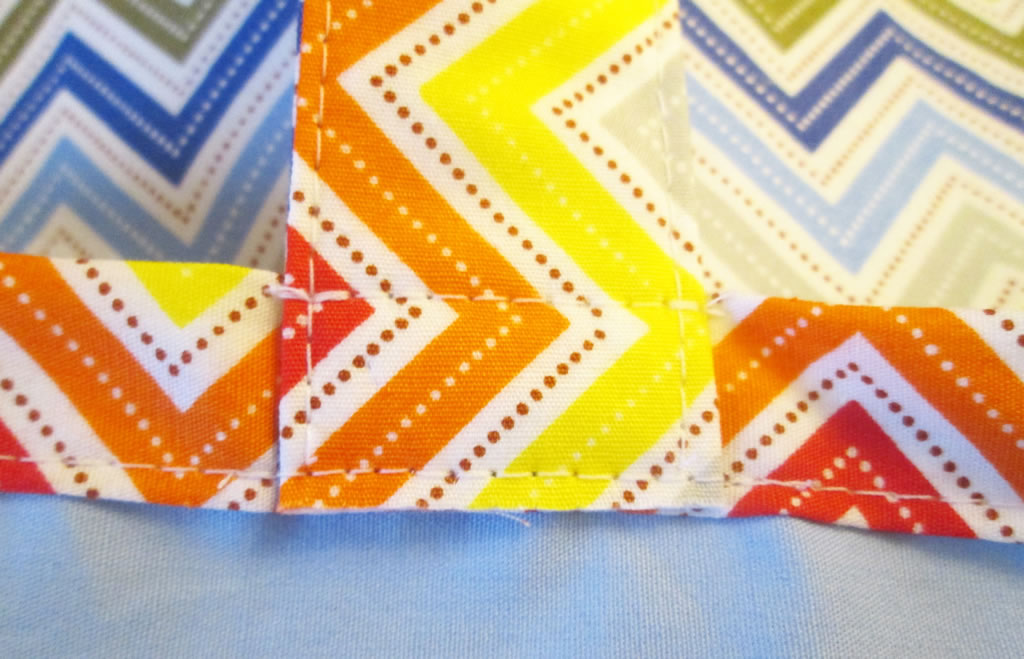
Your storage bag is now ready to accommodate post Christmas mess!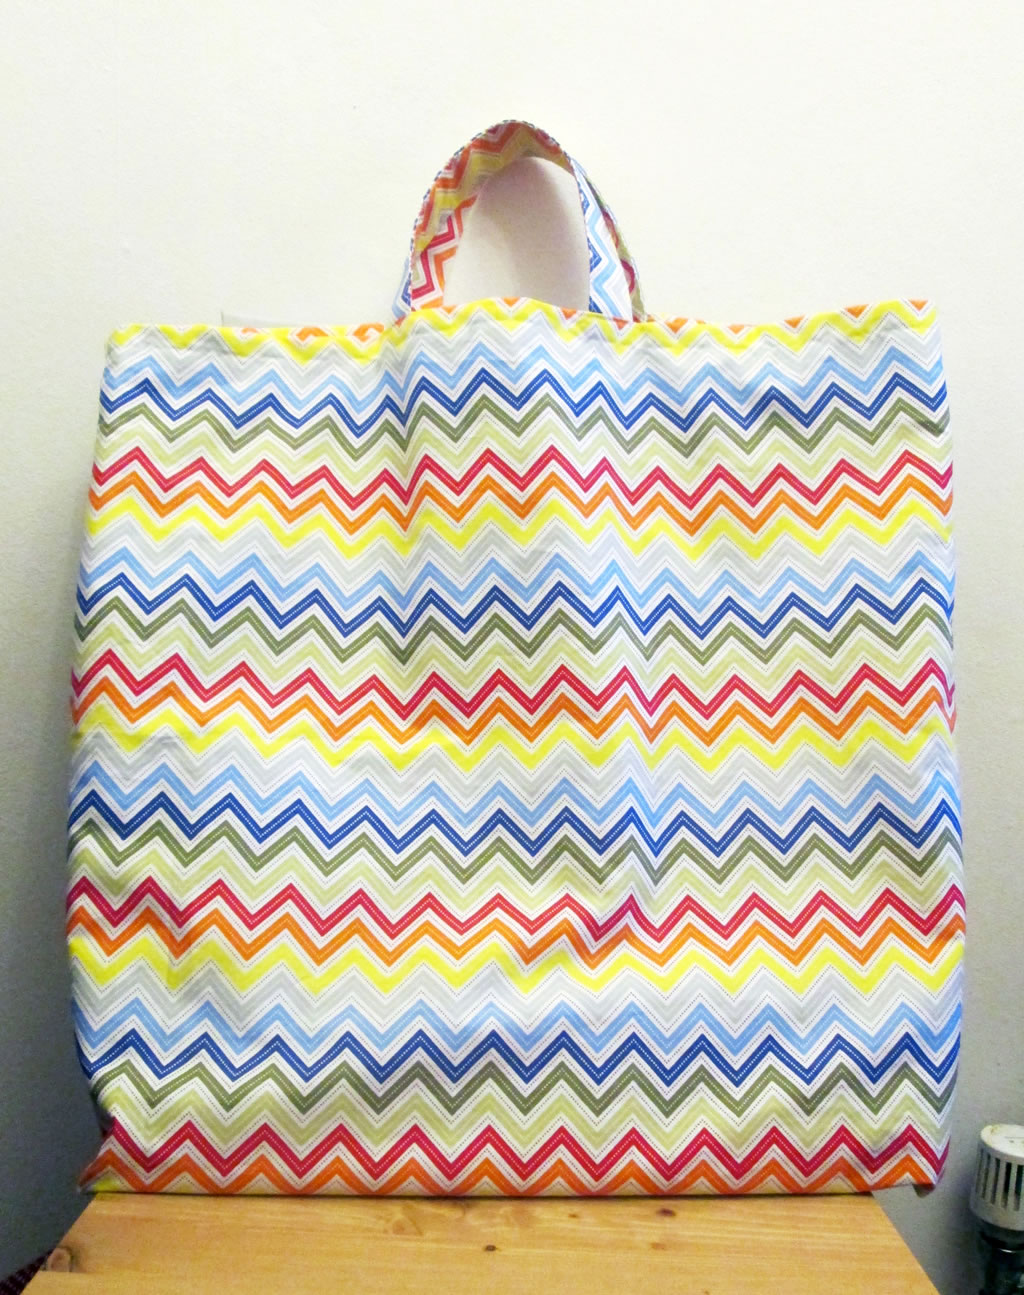

You might also like these posts.
This post contains affiliate links.

Love the storage boxes can see me making these smothered in lace and flowers, lol
Living in a house with 5 men both little and large, I can’t really get away with much flowers and lace!
These are great. I always fancy making a bag and love to have pockets in them 🙂 Thanks for linking up
Pockets are always useful!
This is a really good idea and such a beautifully photographed tutorial. I’m pinning it! x
Thank you, I’ve been working hard to improve my photography. It’s nice that someone’s noticed!
I bookmarked this page, I love the little ruched inner pocket. Thank you for sharing this. 🙂
Thank you 🙂
Thank you for the tutorial, very useful! I love the fabric too!
If you have time, I would also love for you to come and share this post over at the Really Crafty link party that is live right now! (http://keepingitrreal.blogspot.com.es/2016/01/the-really-crafty-link-party-3-is-live.html).
I will do Teresa, thank you.
Thank you for linking up! Pinned!
Thank you 🙂
I am loving all of these fabulous storage ideas and I love your easy to use tutorials.
Thank you 🙂
great tute and fab bag! so handy for everything from school, work and play! Thanks for sharing!
Thanks!
Anna, this is a beautiful bag! You make it look so simple to make. Thank you so much to link it up in the SHARE IT linky party at http://www.FineCraftGuild.com. Hugs, Rose
Thank you xx
RT @peacockinapear: #new How To Make A Storage Bag With Pockets https://t.co/x42yt5mm4E https://t.co/DJPzPSirIa
#new How To Make A Storage Bag With Pockets https://t.co/x42yt5mm4E https://t.co/DJPzPSirIa