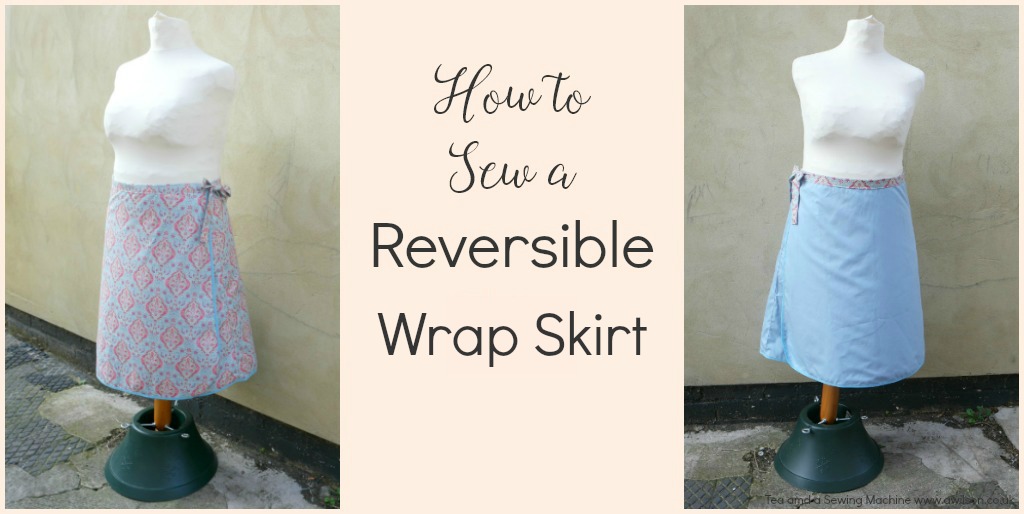
How to Sew a Reversible Wrap Skirt
How to Sew a Reversible Wrap Skirt In my quest for a neat and tidy house, I have realised that the best way to achieve this is to have less stuff. With 6 of us in a small house, this is not easy! But I know that there…