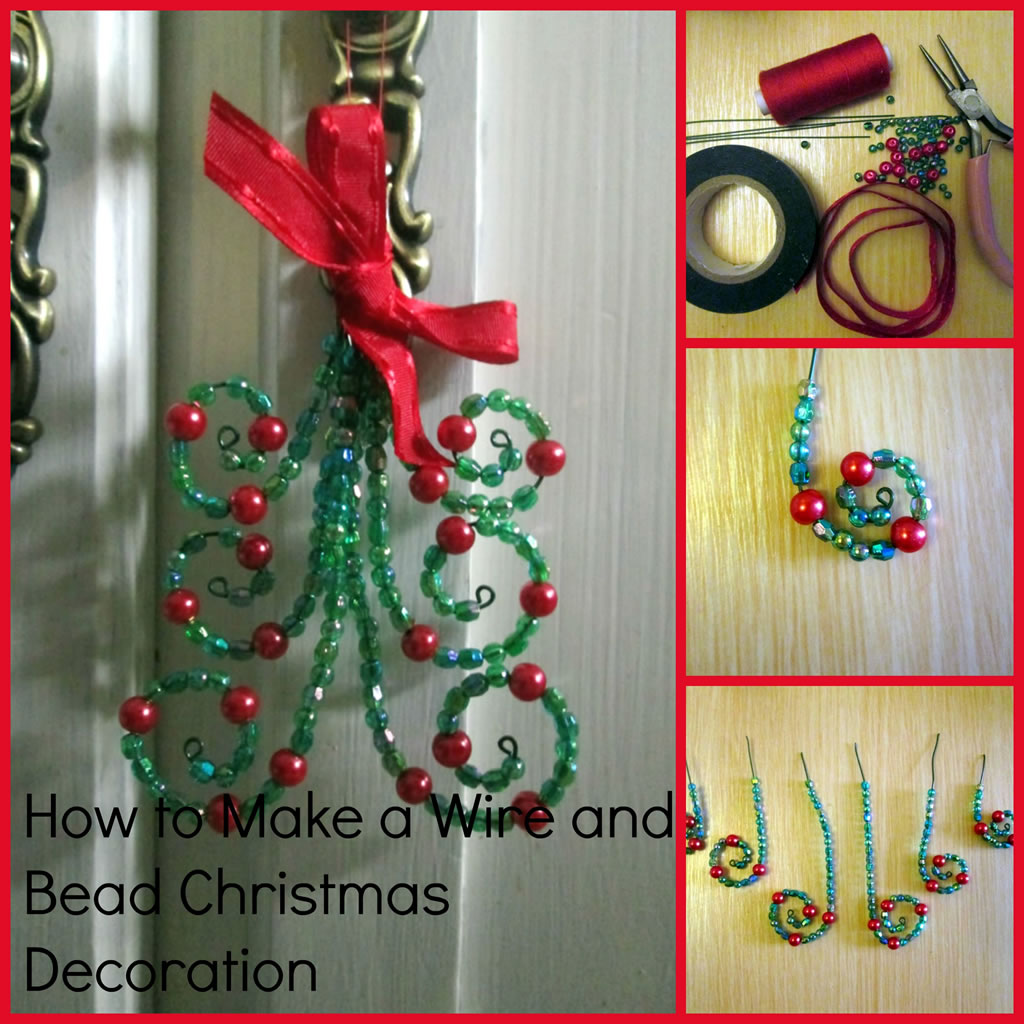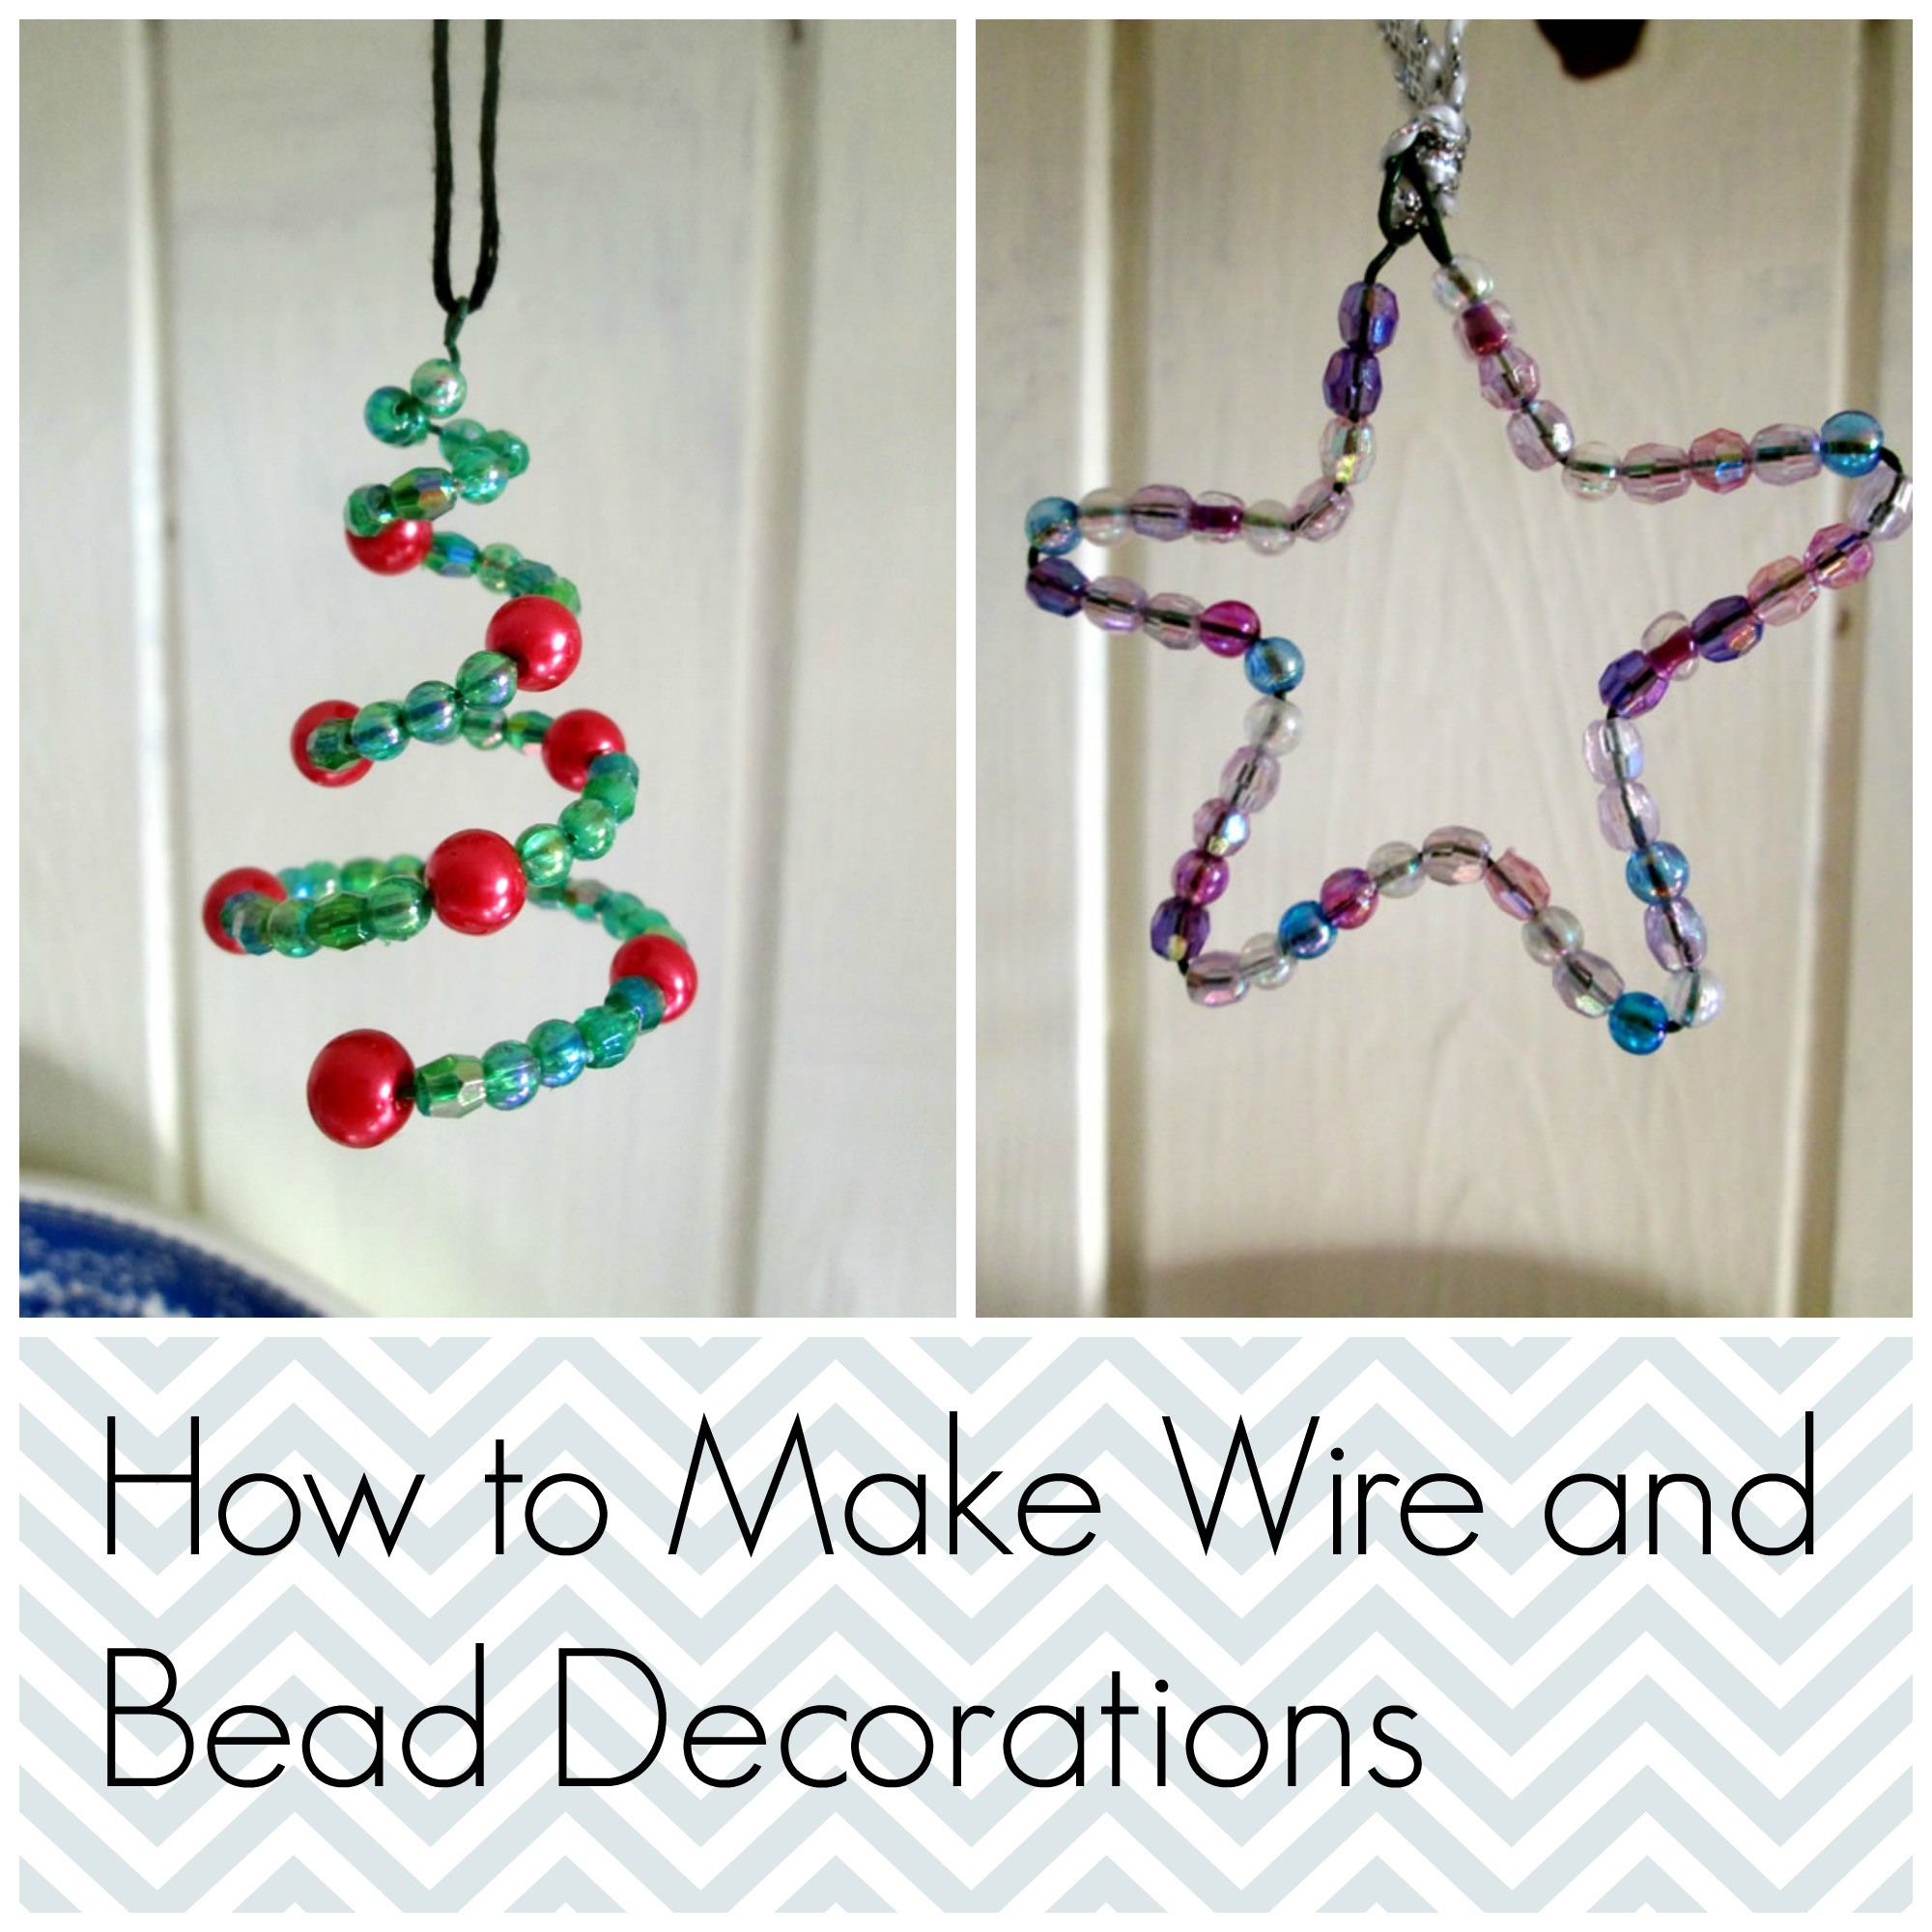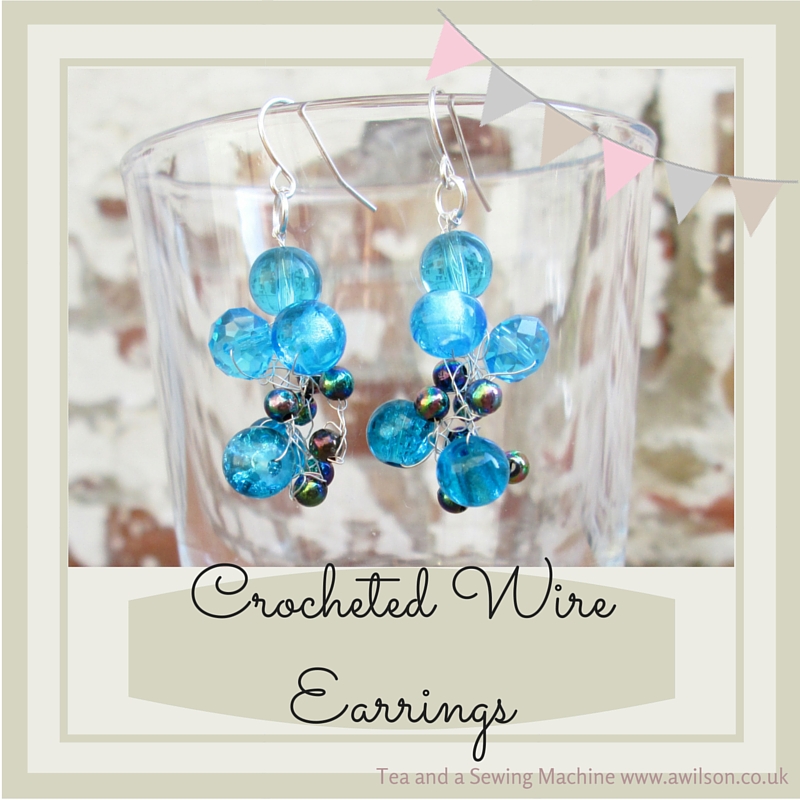
Crocheted Wire Earrings
The other day I wanted to crochet but I also needed to make some earrings. So it got me thinking: would it be possible to mash the two things together and crochet some earrings? Preferably earrings that are neither enormous or woolly looking. I had a go at…