
Cross Body Bag Tutorial
Cross Body Bag Tutorial
One of the things I find about being a parent is that I don’t really take less stuff out with us now that my boys aren’t babies any more. It’s just different stuff.
I no longer need nappies and spare clothes (although wipes are still useful). Now it’s hats and gloves, snacks and knitting or crochet so that I have something to do while they’re occupied.
I also need space for books that they no longer feel like holding, and space for rocks, sticks and feathers that they pick up while we’re out.
I have some pretty huge bags!
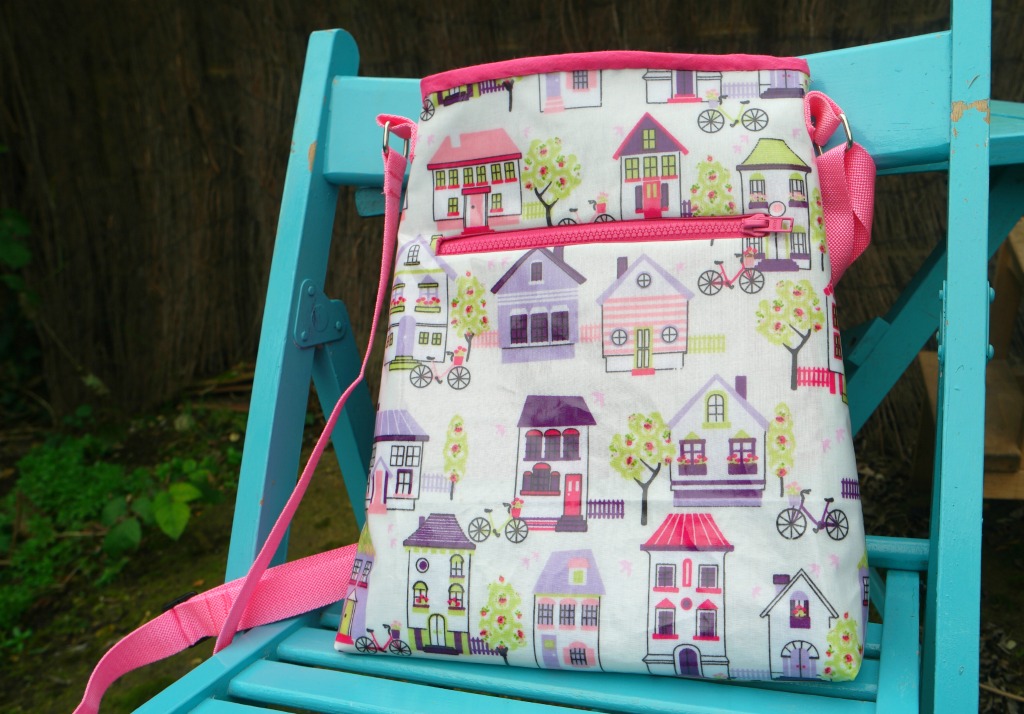
This time I wanted to make something smaller, in a different kind of shape.
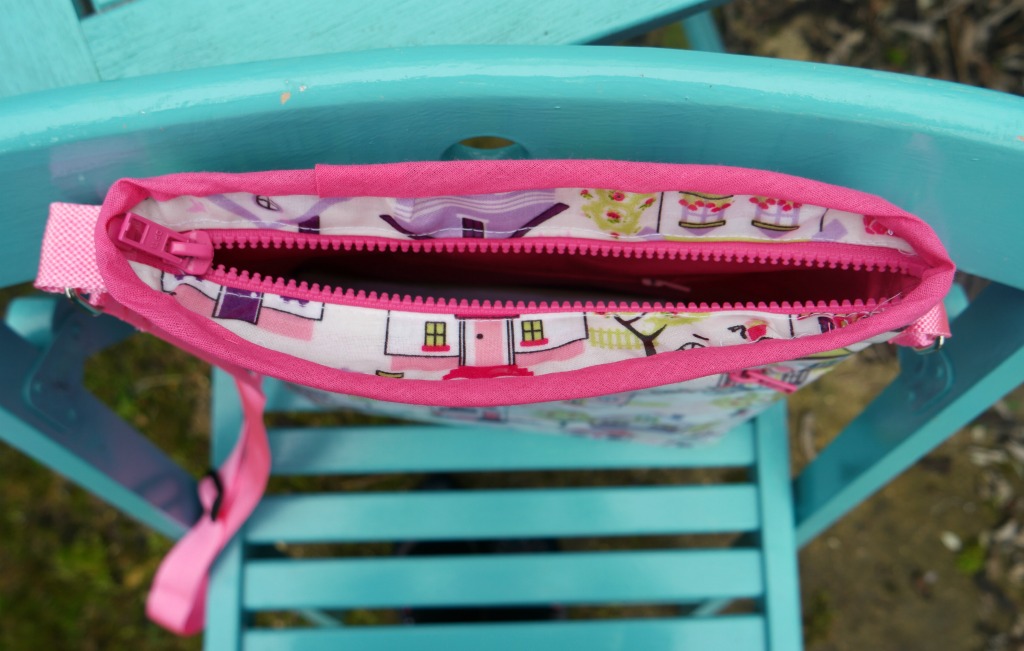
The bag is big enough for my purse and my phone (I can put that in the pocket!), my knitting and my diary. There’s space for some of the boys’ stuff too.
It has a zip closure and a pocket on the inside and on the outside.
The tutorial shows how to make the pattern yourself, but if you prefer, I have the pattern for sale here.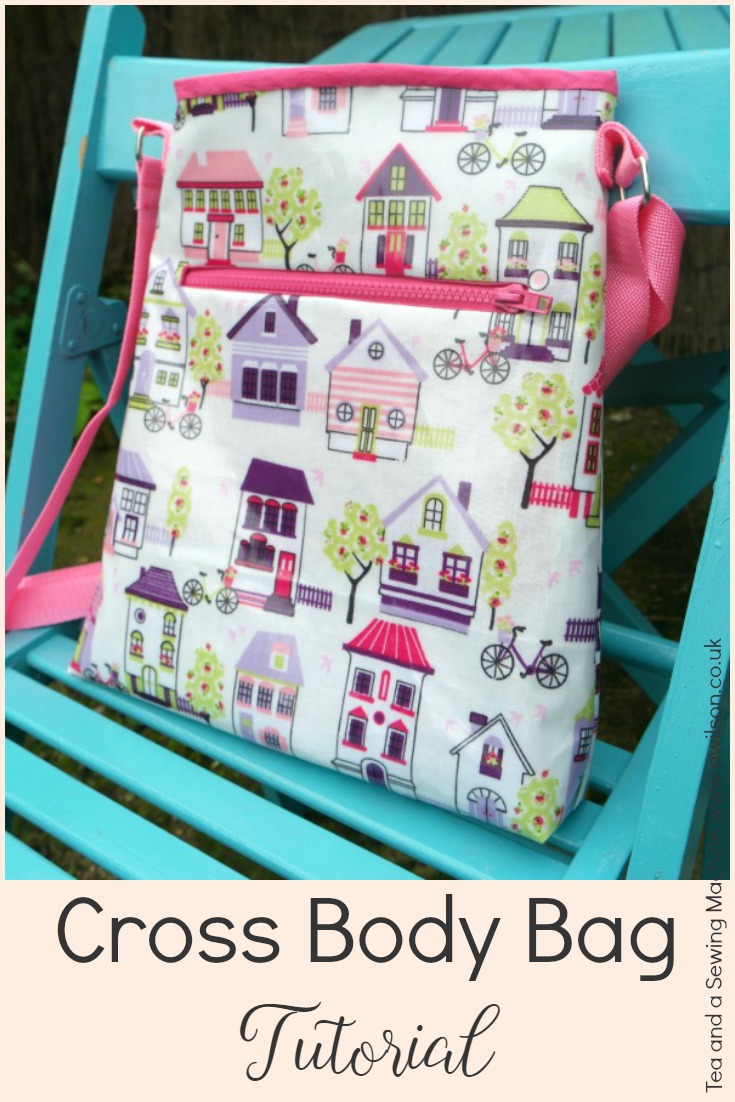
Here’s my cross body bag tutorial.
A 1 cm seam allowance is included.
How to Make a Cross Body Bag
You Will Need
Half a metre of fabric for the outer, half a metre for the lining, half a metre of sew in interfacing, 1 15 cm dress zip, 2 chunky zips, a 25 cm one and a 20 cm one (I could only find 25 cm chunky zips so I just cut a bit off the end of the pocket one), 1 metre of bias binding, 2 metres of webbing, 2 D rings, 1 buckle with 3 bars.
Making the Pattern
I have the pattern for sale if you don’t want to do this!
For the main part of the bag, draw a rectangle 27 cm x 37 cm. Extend the bottom line by 5 cm on each side. Join the ends of the bottom line to the ends of a top line so that you have a 4 sided shape that’s wider at the bottom.
For the outer pocket, draw a rectangle 24 cm x 17 cm.
For the inside pocket, draw a rectangle 15 cm x 12 cm.
For the zip pieces, draw a rectangle 27 cm x 5 cm.
Cutting Out
Using the main bag piece, cut 2 from outer fabric, 2 from the lining and 2 from interfacing.
Cut 1 outer pocket on the fold, from the lining.
Cut 1 inside pocket on the fold, from the lining.
Cut 2 zip pieces from the outer and 2 from lining.
Sewing Up
Making the Pockets
1. Take one of the bag outer pieces and one of the pocket pieces. If the fabric you are using for the pockets is quite light, you might want to use some fusible interfacing to give it a bit more weight.
Lay the pocket piece onto the outer with the right sides together. The top of the pocket will need to be 7 cm down from the top of the bag.
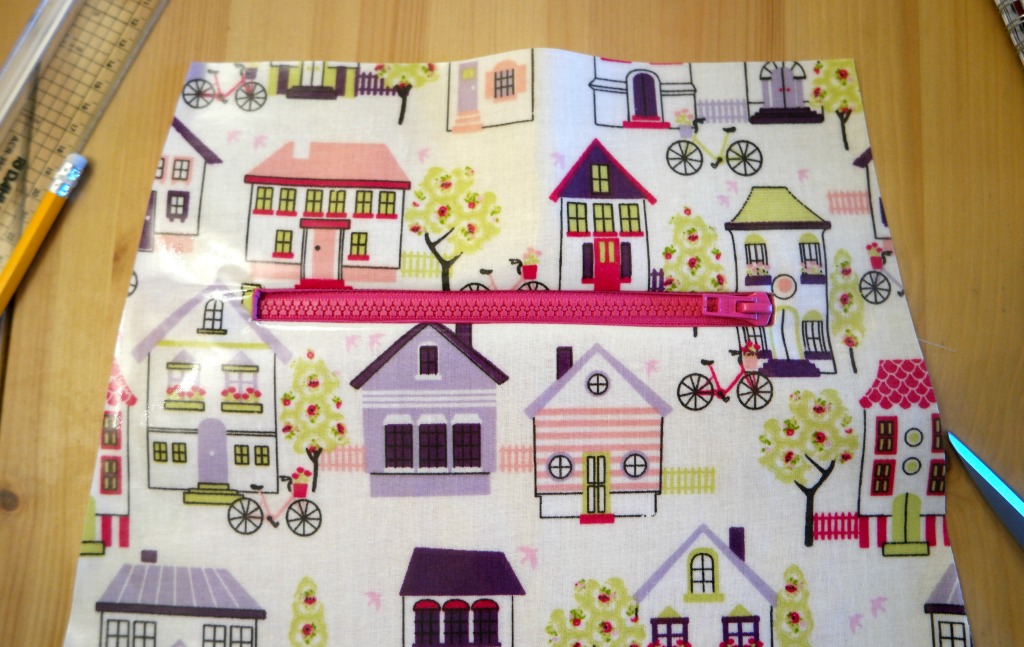
2. On the pocket piece, measure 3 cm down from the top of the pocket. Draw a horizontal line there 20 cm long. Draw a rectangle around the line so that the rectangle is about a cm wide. Draw a triangle at each end. Sew around the rectangle.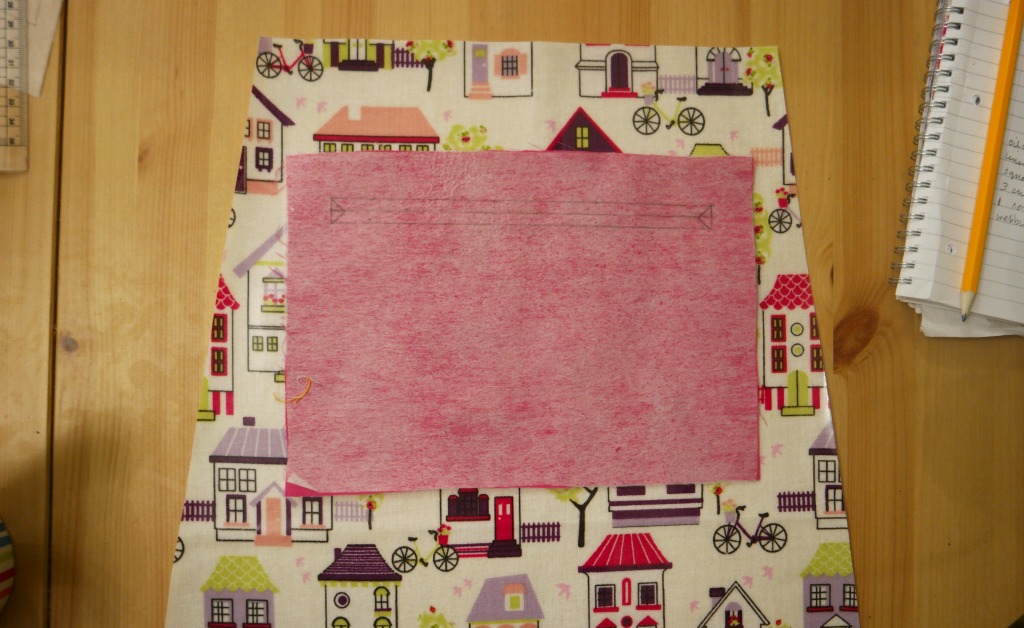
3. Cut along the line and the triangles, leaving the bottom of the triangles attached.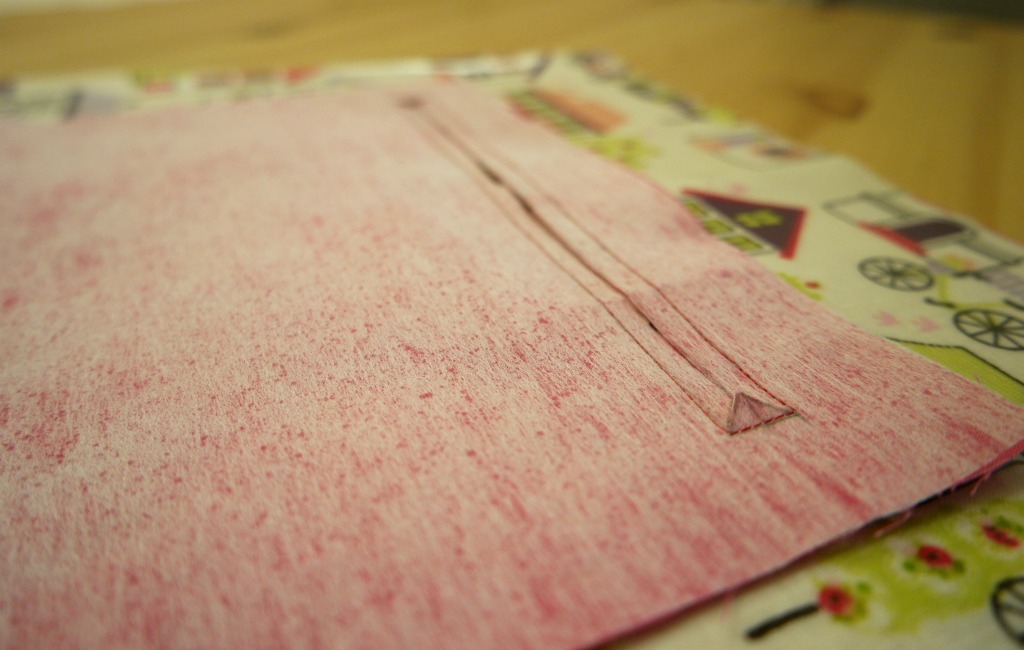
4. Push the pocket piece through. If it puckers, check that you have cut the corners of the triangles as close to the stitches as you can (without cutting the stitches!).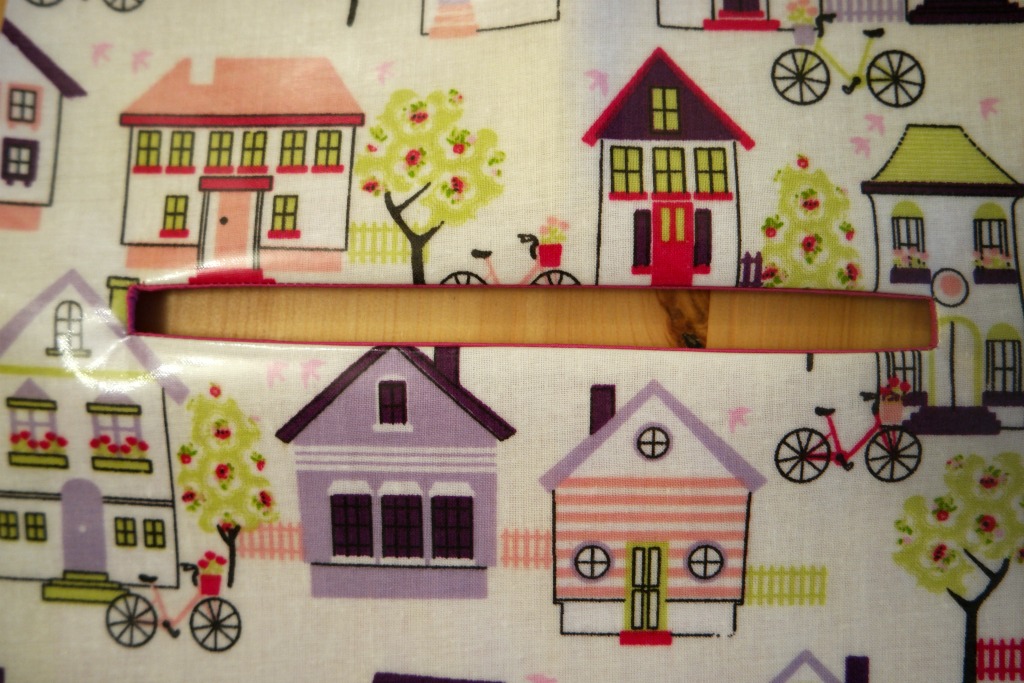
5. Pop the zip over the opening, on the wrong side. Sew the zip to the pocket piece and the folded part of the outer. Basically what you are doing is sewing the sides of the zip to sides of the rectangle that you cut in step 3. 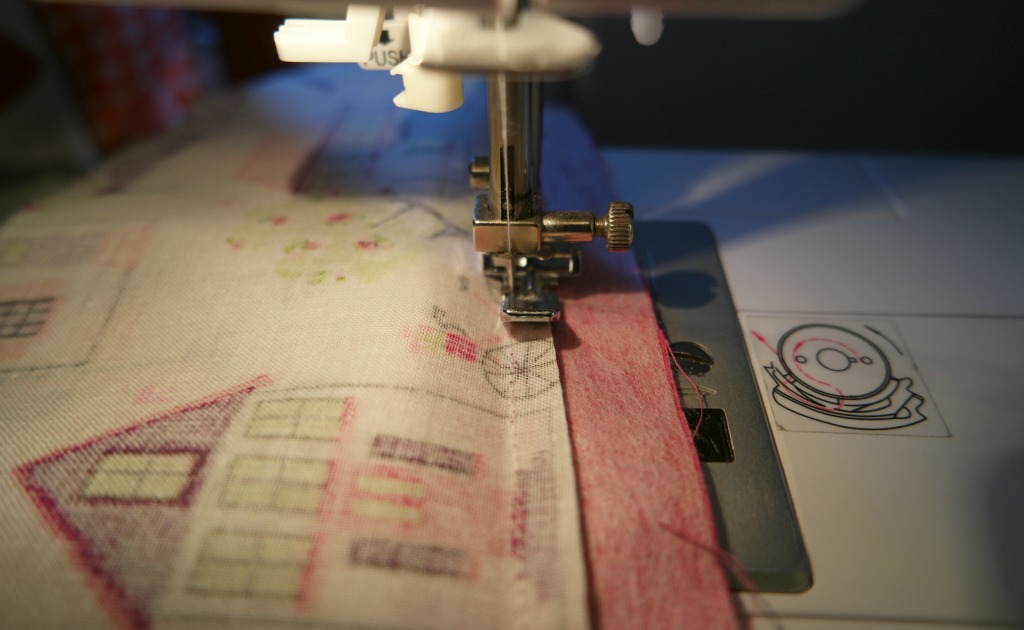
6. Take a 2nd pocket piece and lay it on top with the right sides together. Sew around the outside of the pocket.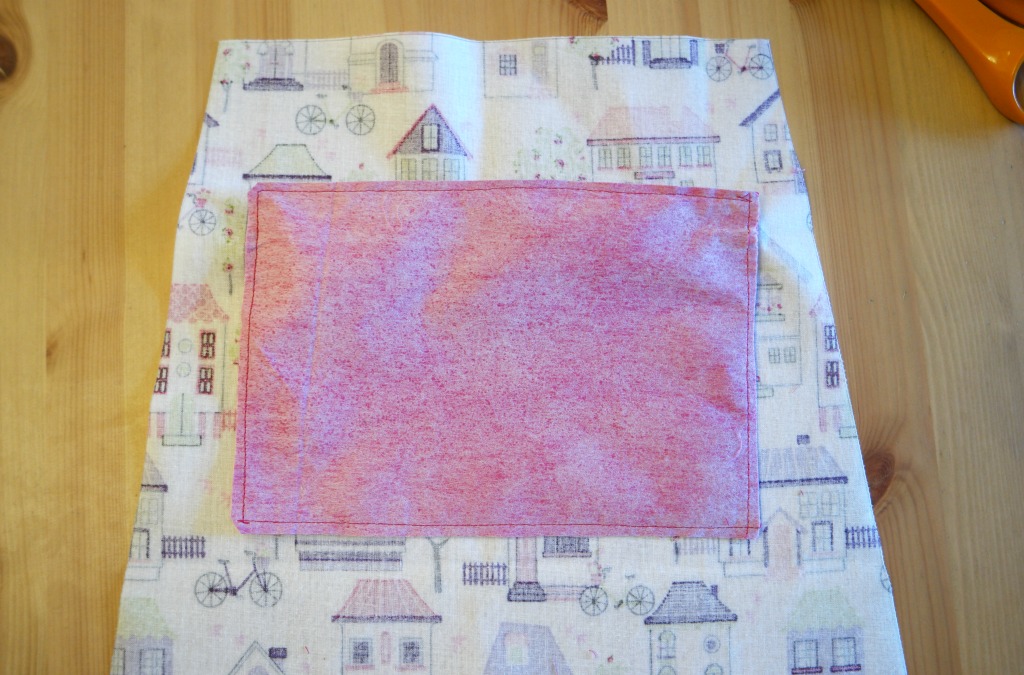
The pocket in the lining is made in the same way, except that the top of the pocket needs to be 10 cm down from the top of the bag. The line needs to be 2.5 cm down from the top of the pocket and 12 cm long.
Making the Outer
1. Take the 2 bag outer pieces. With the right sides together, pin, then sew, the sides and the bottom.
2. Take one of the corners and squish it flat so that the seams are together. Measure 4 cm up from the corner and pin. Sew where you have pinned at right angles to the seam.  Repeat for the other corner, then cut the corners off.
 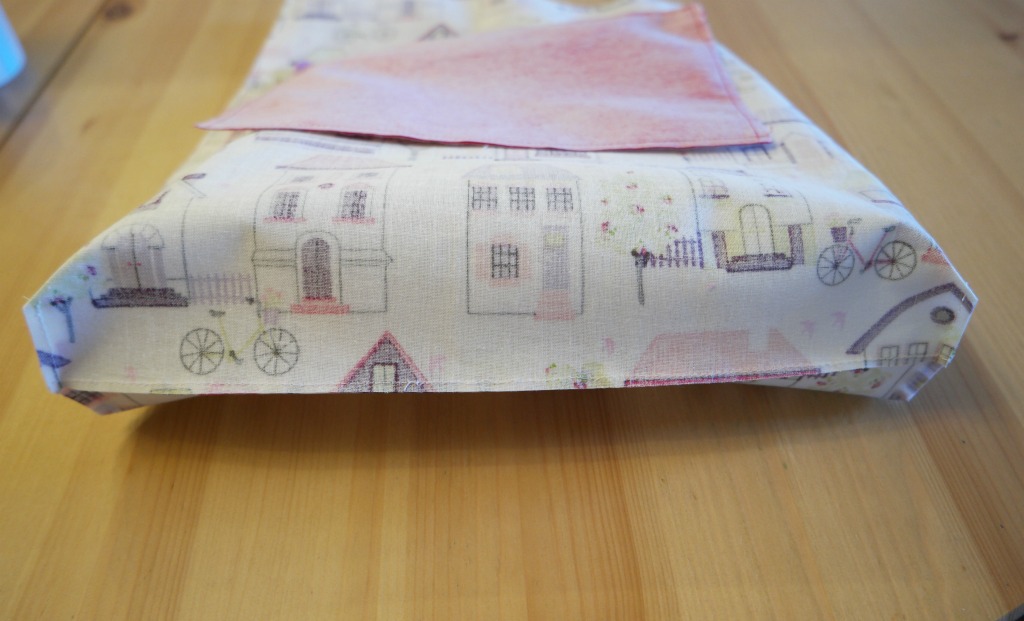 There’s a detailed tutorial showing how to sew boxed corners here if you need it.
Making the Lining
Make the lining in the same way as you did the outer, and a 3rd section in the same way from interfacing.
When you have made the outer, lining and interfacing sections, turn the outer the right way out.
Slip the interfacing, then the lining inside the outer. Check that the pockets are on opposite sides.
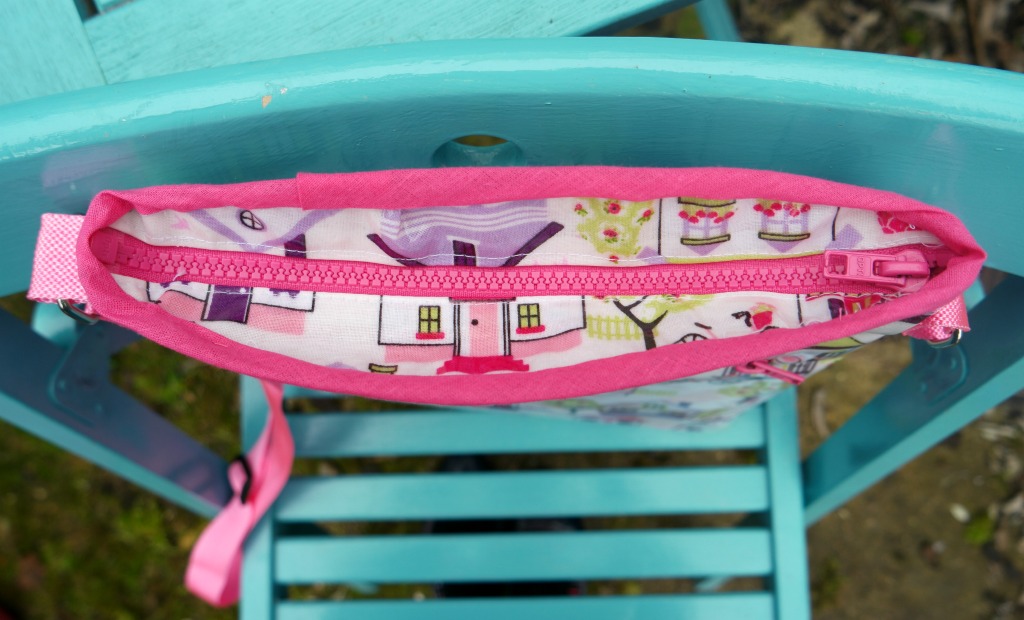
The Zip
1. Take one of the lining zip pieces and lay the zip on top of it. The lining and the zip both need to be right side up.
2. Lay the outer piece on the top, right side down. Pin together (remember to pin within the seam allowance if you’re using oilcloth), then sew. Sewing a zip is much easier with a zip foot!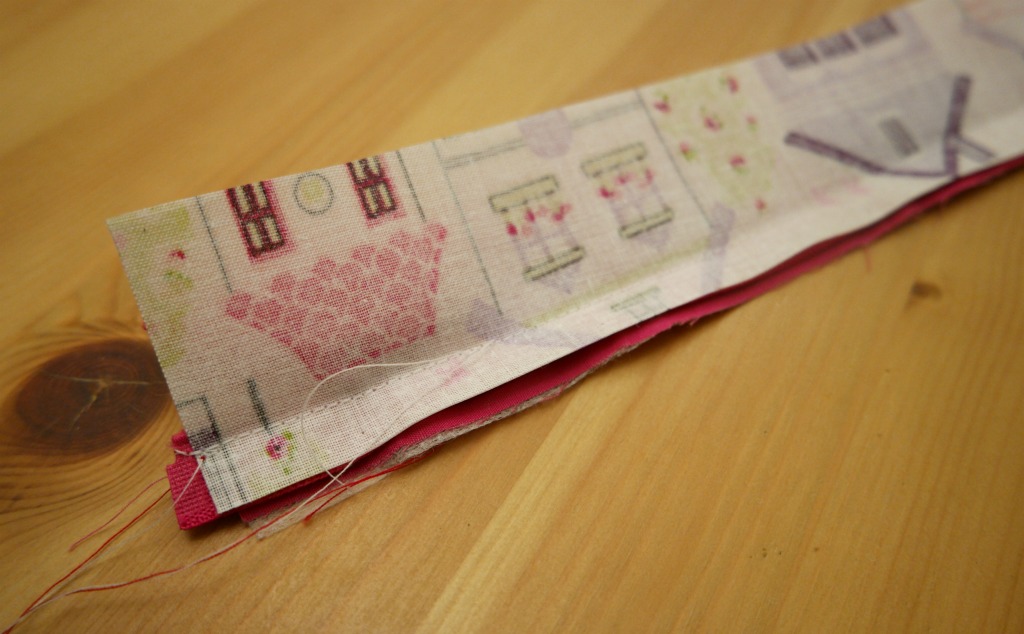
3. Pull the lining and the outer away from the zip so that the wrong sides are together. Top stitch in line with the zip.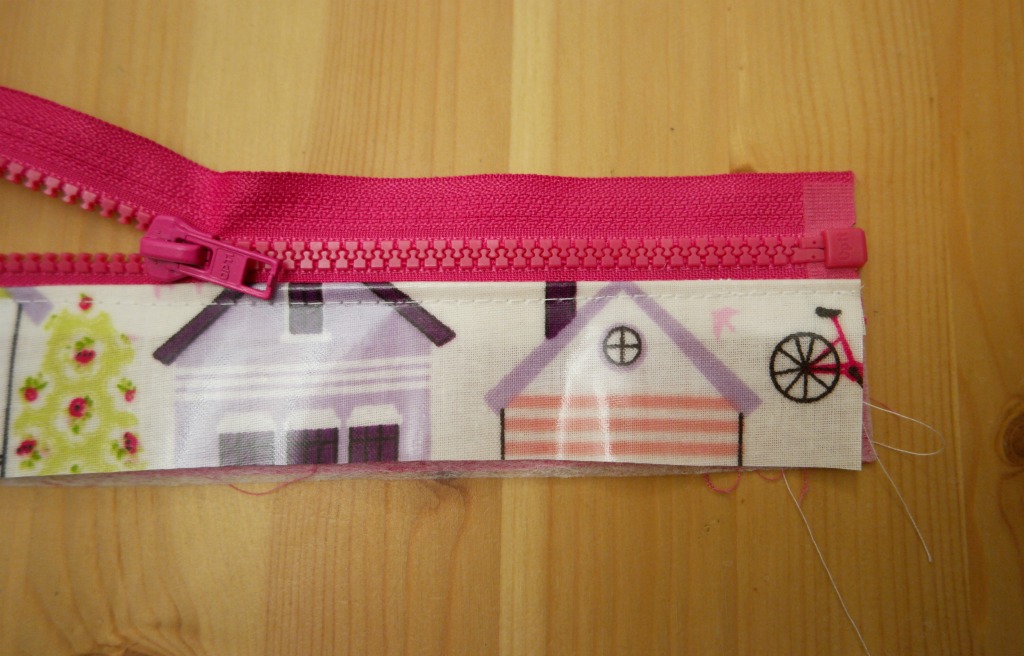
4. Repeat for the other zip pieces.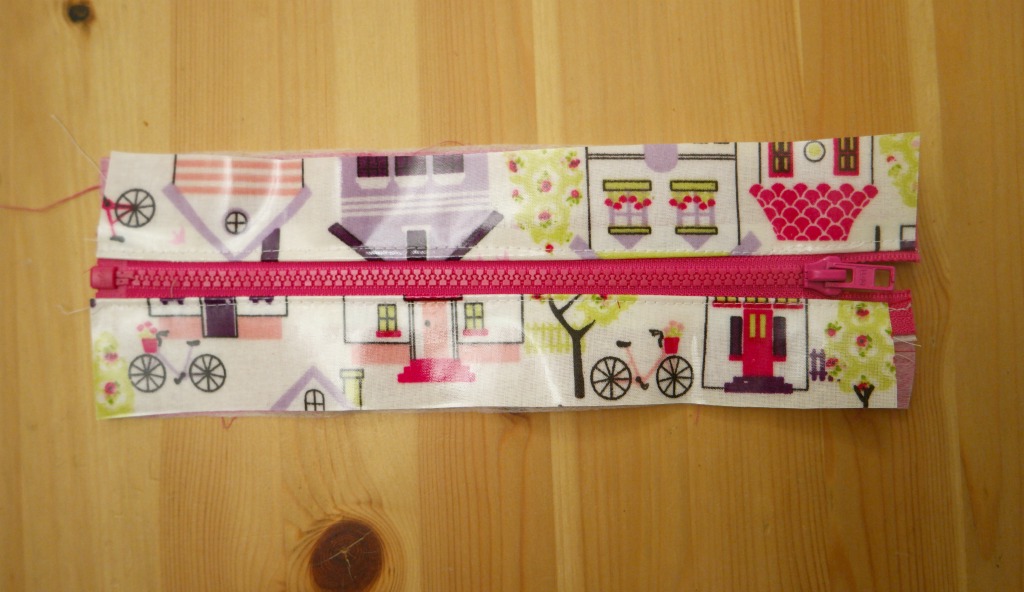
Tip The zip pull can get in the way a bit, so sew half way along, then lift the presser foot and pull the zip pull down past the foot to where you have already sewn.
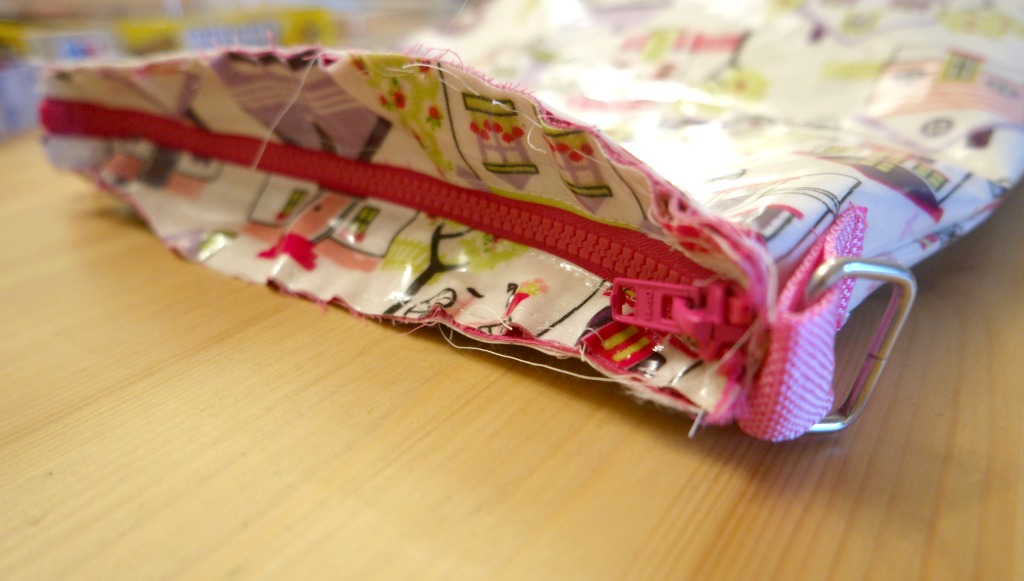
Attaching the D Rings
1. Cut 2 pieces of webbing about 8 cm long. If it’s the nylon kind, you might like to melt the ends to prevent fraying. The way to do this is to gently pass it over a candle flame, a cm or 2 away from the flame.
2. Slip a D ring onto one of the pieces of webbing. Fold the webbing over.
3. Pin the webbing with the D ring to the side of the bag, over the seam. Sew it in place.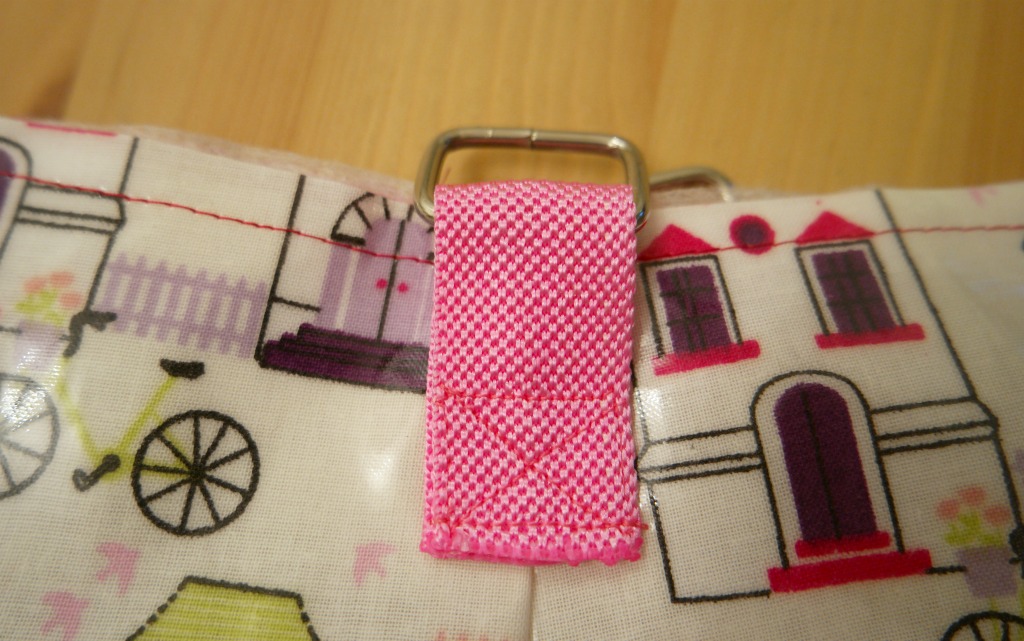
Making the Strap
1. Cut another piece of webbing 175 cm long. This was the right size for me. It might be an idea to check the length on yourself before cutting. Remember that if you’re going to use your bag in the winter, you might also be wearing a thick coat, so make sure you have allowed enough for that too.
2. Melt the ends with a candle as described above.
3. Take your buckle and sew one end of the webbing to the middle bar.
4. Take the other end and loop it through one of the D rings on your bag. Thread it through the buckle, then through the other D ring.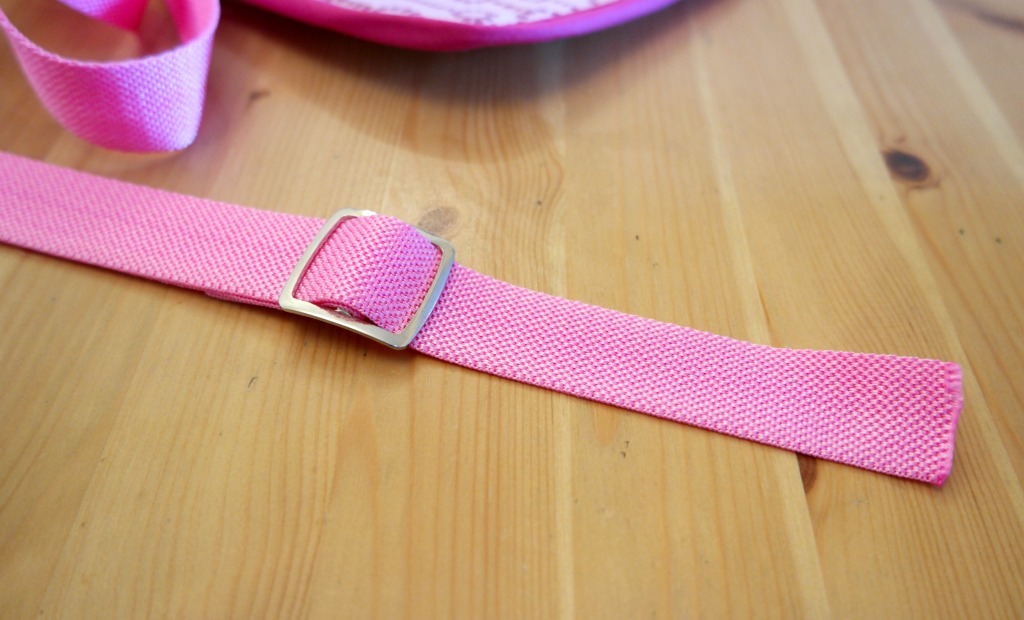 Fold the end over the D ring and sew.
Finishing Off
Attaching the zip to the top of the bag is a bit tricky. Don’t worry too much though, because any slightly messy bits will be hidden by the bias binding.
1. Pin the edges of the zip pieces to the top of the bag so that the lining sections are together.
2. Sew the zip pieces to the top of the bag.You could use the sewing machine for this, or you might prefer to sew it by hand.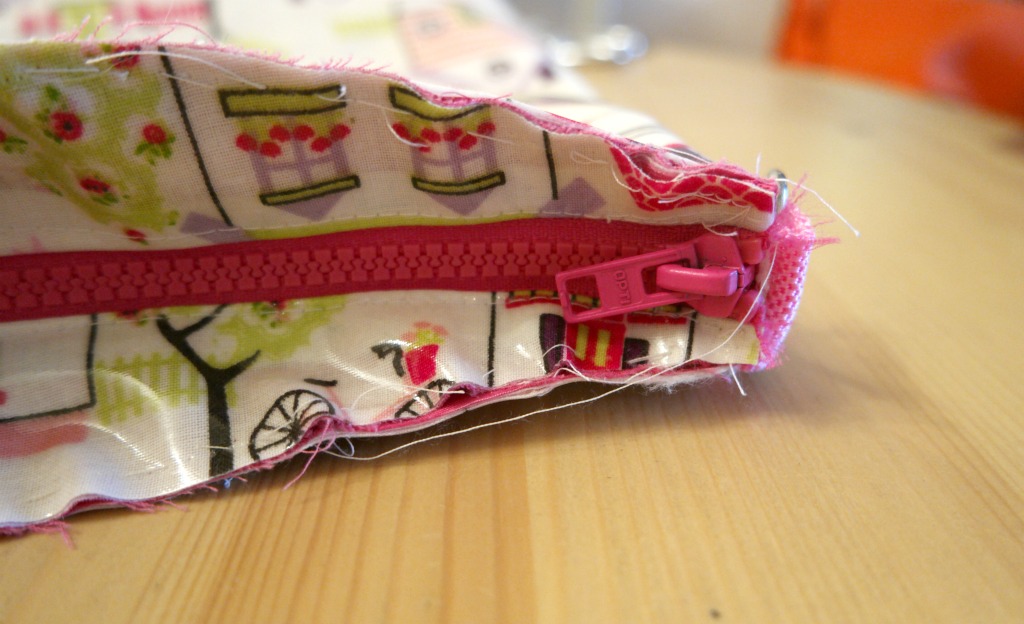
3. Starting on the inside, ie the bit with the zip, sew the bias binding to the top of the bag.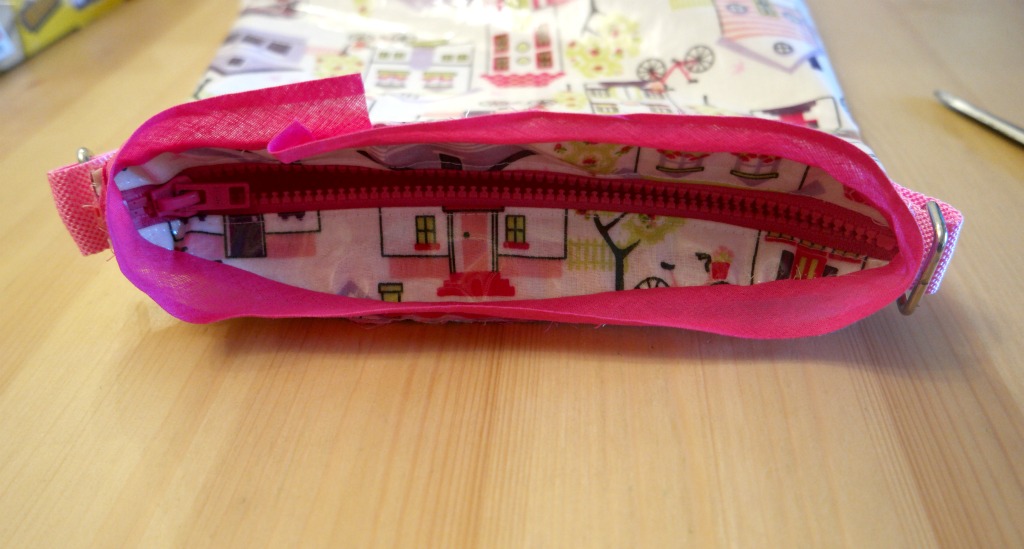
4. Fold the bias binding over and top stitch all the way round.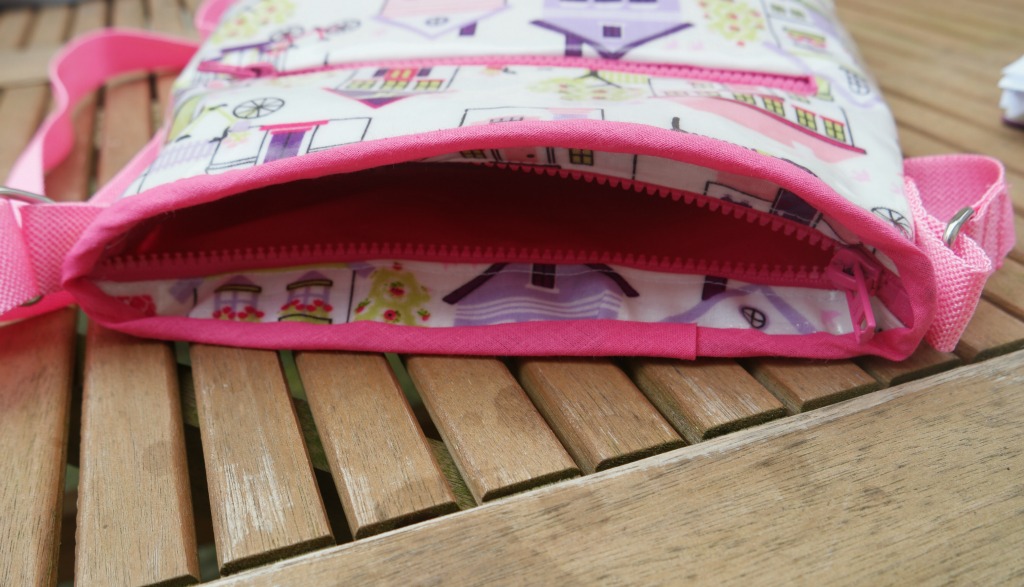
Tip My sewing machine objected to sewing over the zip and I found it hard to get it neat. So what you could try instead is to leave the ends with the zip and hand sew the bias binding to those little bits.
You could also hand sew the bias binding to the top of the bag. If you’re using oil cloth, this can be difficult as it’s quite thick. However you will have holes in it already from sewing the bias binding to the inside of the top, so you could use those holes.
Trim away any loose threads and your cross body bag is finished!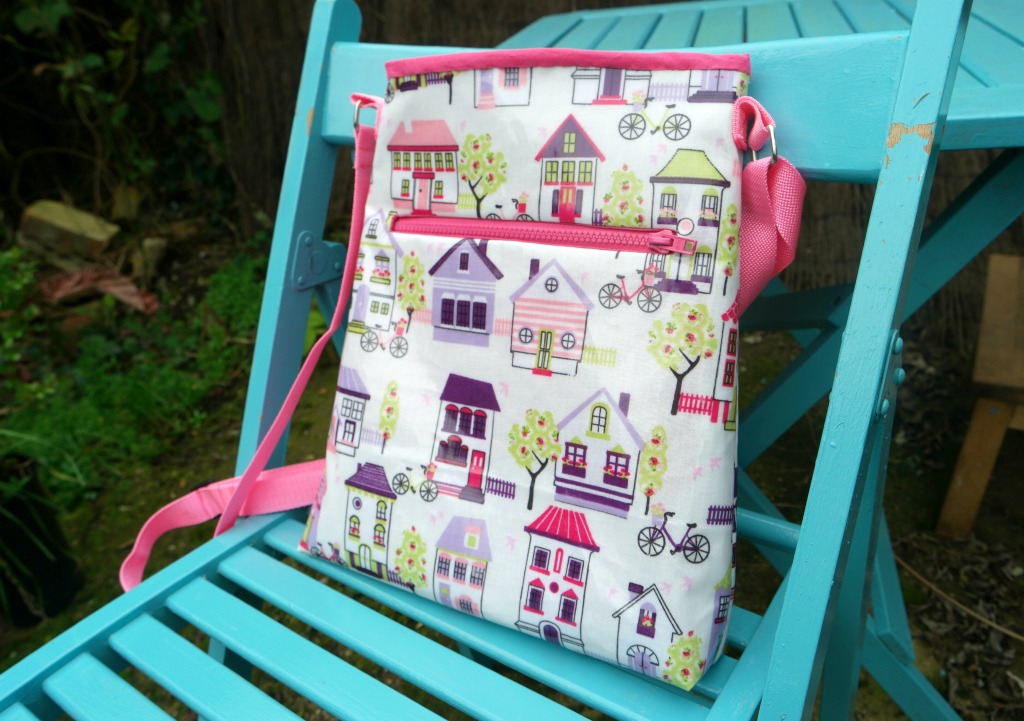
If you liked this cross body bag tutorial, you might also like these:
Linking up here.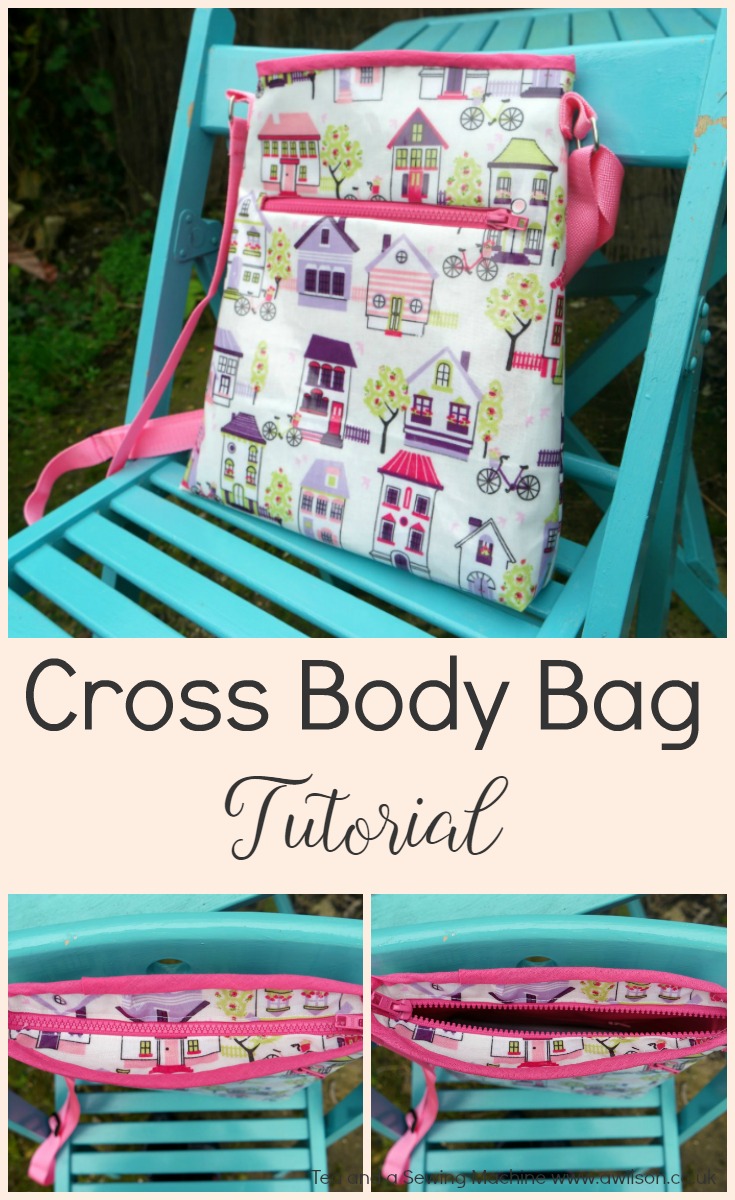


Such pretty fabric. Thank you for the tutorial. My store bought cross body is starting to look sad after many years of use. Time to start learning to make my own. I hope I can follow your instructions.
Thank you xx If you need help just ask me!
I’m a sucker for fabrics like this: fun, bold and a little whimsy in them.
I’m going to my friend’s to have a go at bag-making, she’s been putting together her own tutorial, I’ll compare notes and see who has done it better!
Lol, have fun!
Brilliant work!!! Just amazing. Wonderful tutorial. I will try to make this today. Thanks AnnaWilson for sharing this nice skill.
Beautiful bag! This is exactly what I have been looking for. Can’t wait to make one. Thank you for the wonderful tutorial!
Thank you 🙂
Hi Anna!
Just stopped by to let you know that I featured this on my Round Tuit post this week!
A Round Tuit 355
Thanks again for linking up to A Round Tuit Hope you have a great week!
Jill @ Creating my way to Success
Thanks Jill 🙂
I love a good size bag, especially for a day out. this looks perfect.
Julie recently posted…Easter Decoupage Book Bunny
Thank you 🙂
pretty bag! I’ve got a Craft Gossip post scheduled for tomorrow that features your tutorial: http://sewing.craftgossip.com/?p=92150
–Anne
Thanks Anne 🙂
I love that fabric and your tutorial was so step-by-step no one should have a problem making their own. One of the cuter cross-bodies I’ve seen, thank you for sharing and I did pin it for future reference!
Thank you Trudy 🙂
love it, great tutorial! thanks for sharing on craft schooling Sunday!
Thank you!
What a pretty and practical bag! I love the Spring colours.
Thank you 🙂
What an excellent, detailed tutorial. Your new bag looks like a really useful size and a fun print too!
Caroline J recently posted…Improvisation Quilt
Thank you 🙂 I haven’t used it yet because I don’t want to mess it up!