
DIY Diary Pen Holder Scrap Project
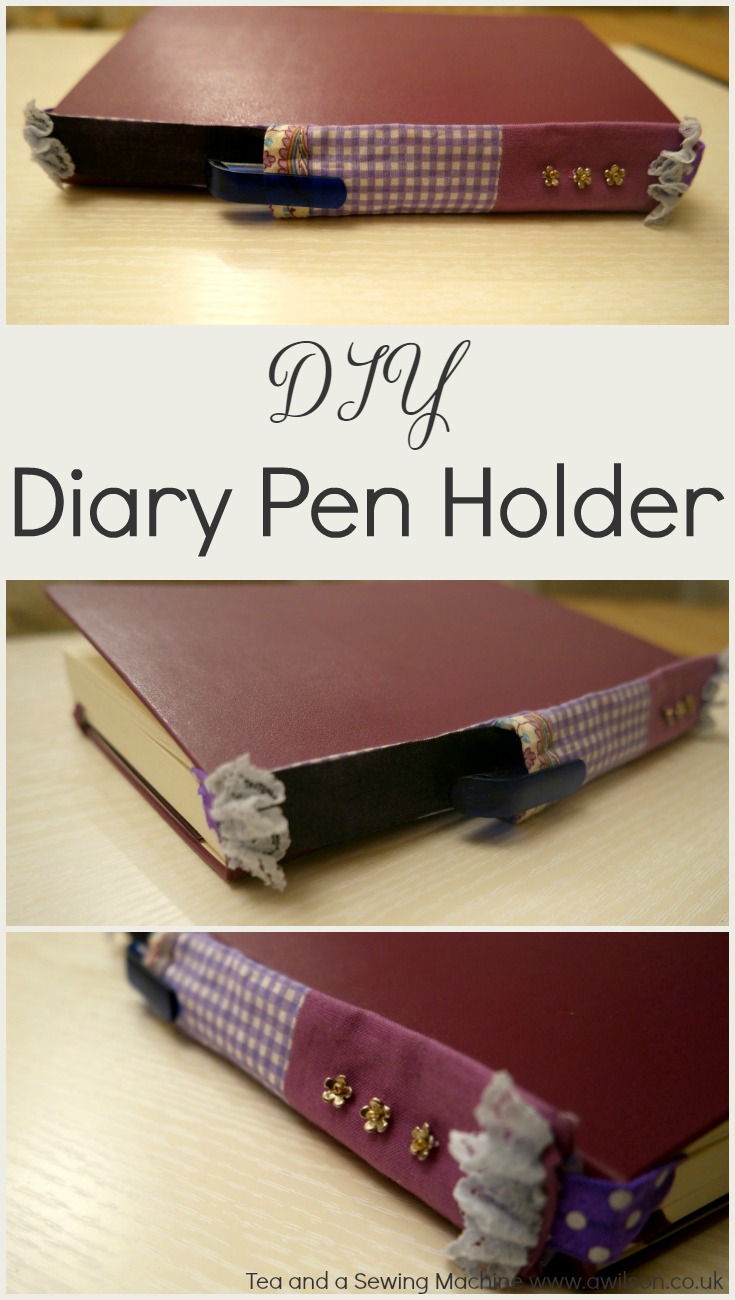
DIY Diary Pen Holder
This post contains affiliate links.
One of the things I’ve found with having 4 kids is that I’ve had to abandon all my natural inclinations to be scatty and force myself to become organised instead.
As I have a tendency to forget things, I need write everything down. The best place I’ve found to do this is in a diary.
I’ve tried various things and the best thing I have found for this is a Moleskine diary.
It’s nothing fancy. There’s not a box on each page to write down what we’re having for dinner, or different coloured areas to write down what the boys have going on in one place and what I’ve got going on in another.
What there is however is lots of space to write stuff.
I can squeeze in a nice long to do list and I can colour code things with different pens if I want to. Anything important that I’ll probably forget I write up in the space near the date.
The only problem is there’s nowhere to keep a pen!
Last year I made a cover for my diary that had a pen holder, but this year my diary is purple and I don’t want to cover it up!
So instead I made a pen holder.
Apart from the elastic, I was able to use odds and ends of things I had already.
How to Make a DIY Diary Pen Holder
You Will Need
Elastic, fabric scraps, lace, buttons, bias binding, anything else you’d like to decorate it with.
Cutting Out
You will need to cut 2 pieces of fabric the same size as the spine of your diary, plus extra for the seam allowance.
You’ll also need 2 pieces for the pocket, the same width as as the pieces above, but shorter.
For my Moleskine diary, I cut 2 pieces 4 cm x 23 cm and the pocket pieces are 6 cm x 14 cm.
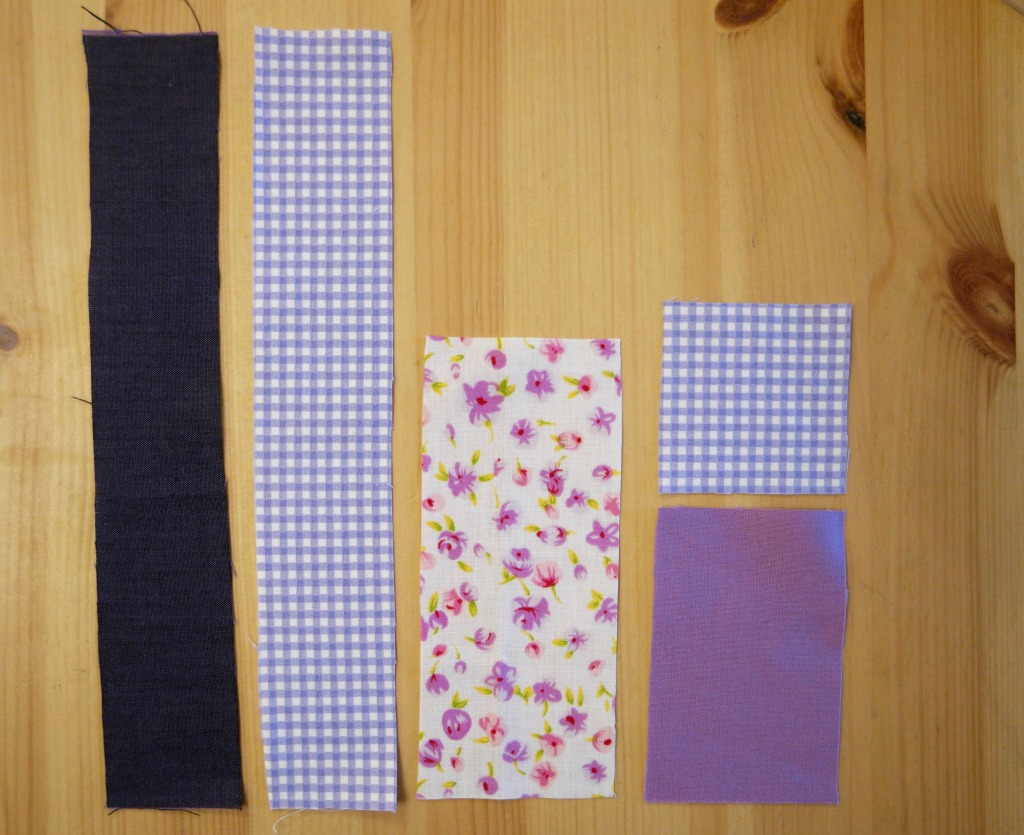
You could use little scraps and join them together so that when joined they are the right size. I sewed a piece of purple gingham to the plain purple for the pocket outer, then checked that it was the same size as the lining piece.
Sewing Up
1. Assemble your pocket pieces.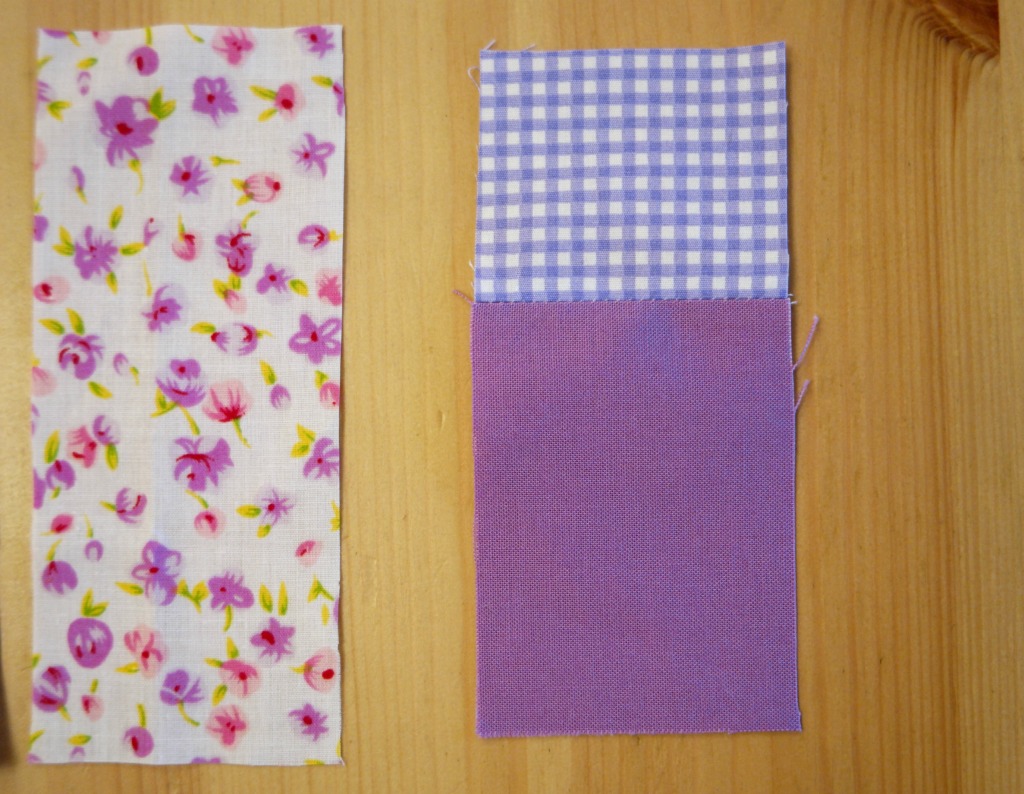
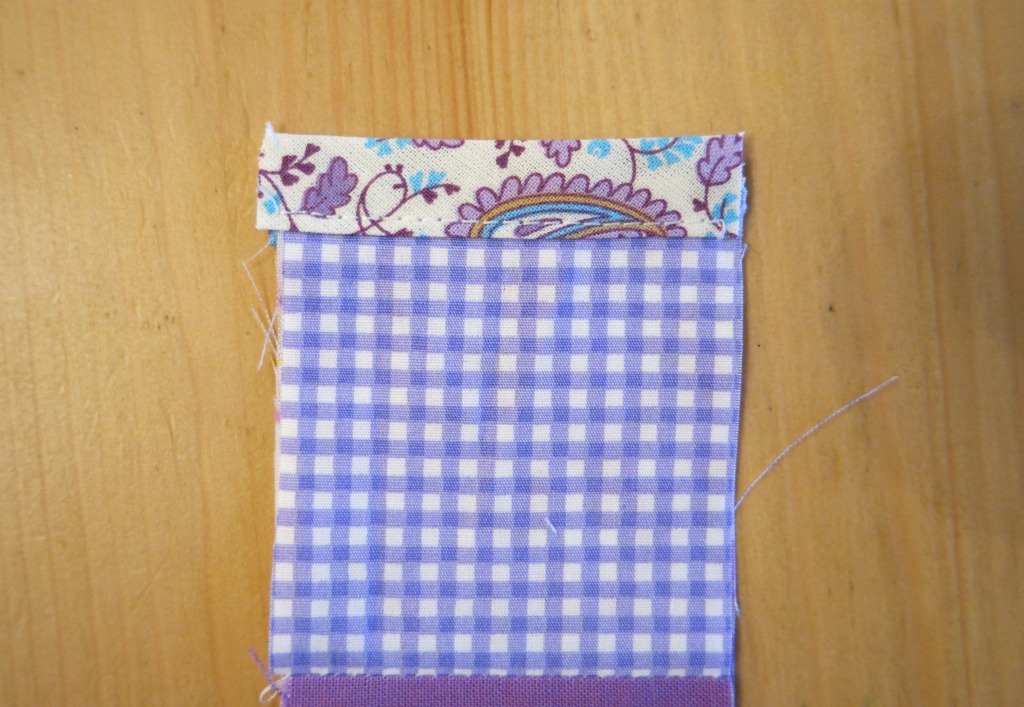
2. With the right sides together, join the top edges of the pocket with bias binding. You could use ribbon or a scrap of fabric if you prefer.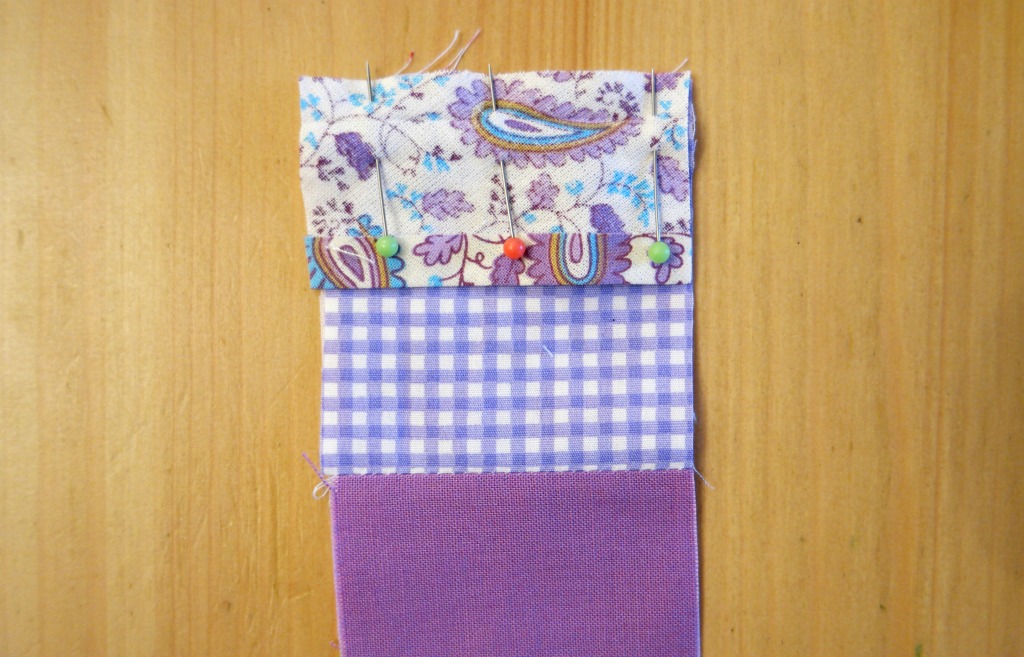
3. Using a long stitch, sew 2 rows along the bottom of the pocket and gather. You might prefer to do this by hand.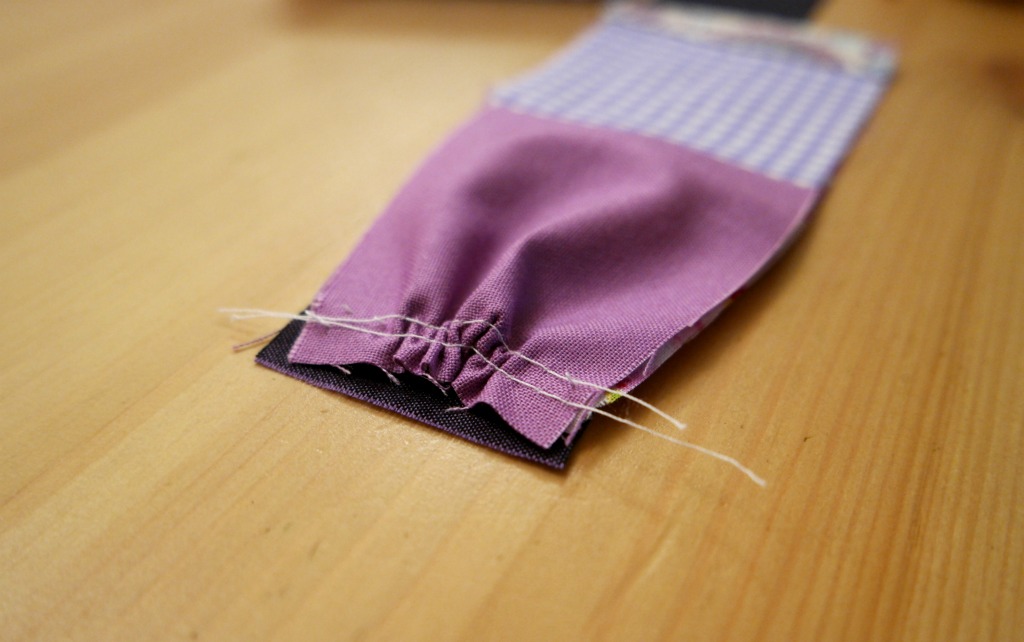
4. Thread a small piece of elastic through the bias binding on the pocket. Take the spine outer piece and place the pocket on the top so that the bottom edges are aligned. Put the other spine piece over the top face down. Pin, then sew along the long edges leaving the bottom and the top free.
5. Turn it the right way out. One way to turn a tube of fabric the right way out is to tie a piece of string to a safety pin. Attach the safety pin to one end of the tube with the string is running through the centre. Pull on the string and it will turn the right way out.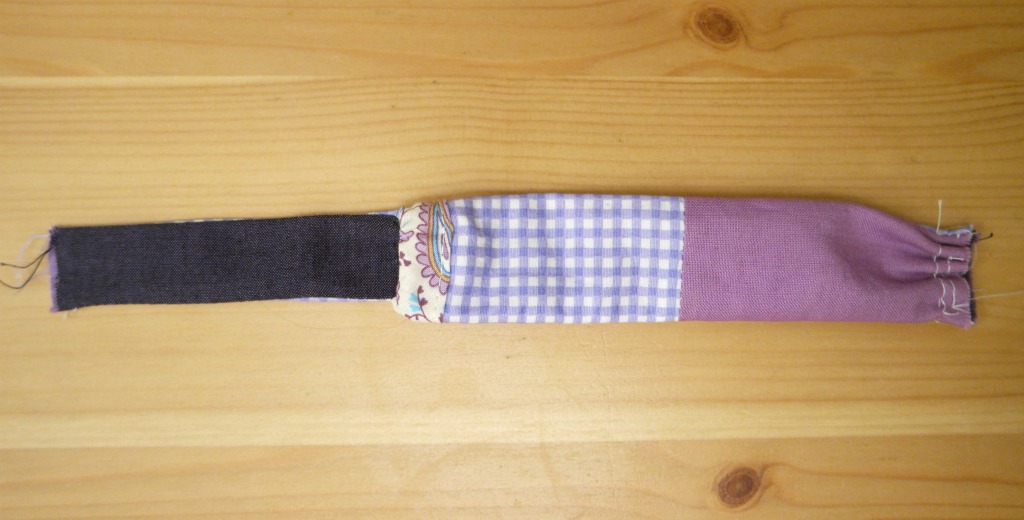
Even doing this, I found it tricky! It’s probably easiest to attach the safety pin to the pocket end.
Alternatively you could sew along one long edge, then fold the other long edges inwards and sew them together.
6. Cut a piece of elastic long enough to go round your diary from one end of the pen holder to the other. Fold one of the short edges of the diary pen holder inwards and tuck one end of the elastic inside. Pin, then sew. Do the same with the other end of the pen holder and the elastic.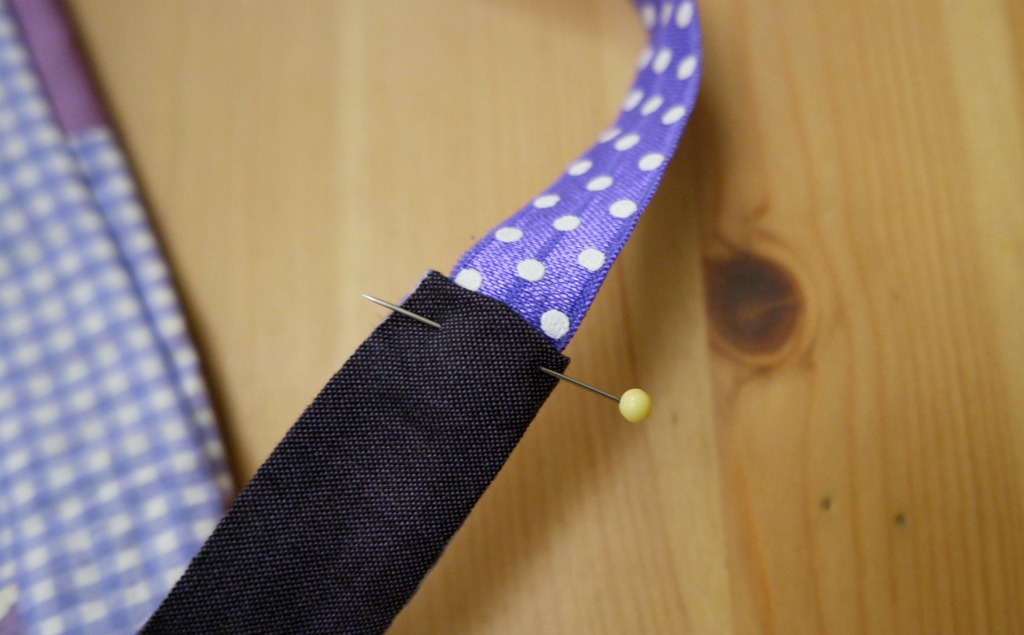
7. Decorate your diy diary pen holder with buttons, ribbon, and scraps of lace.
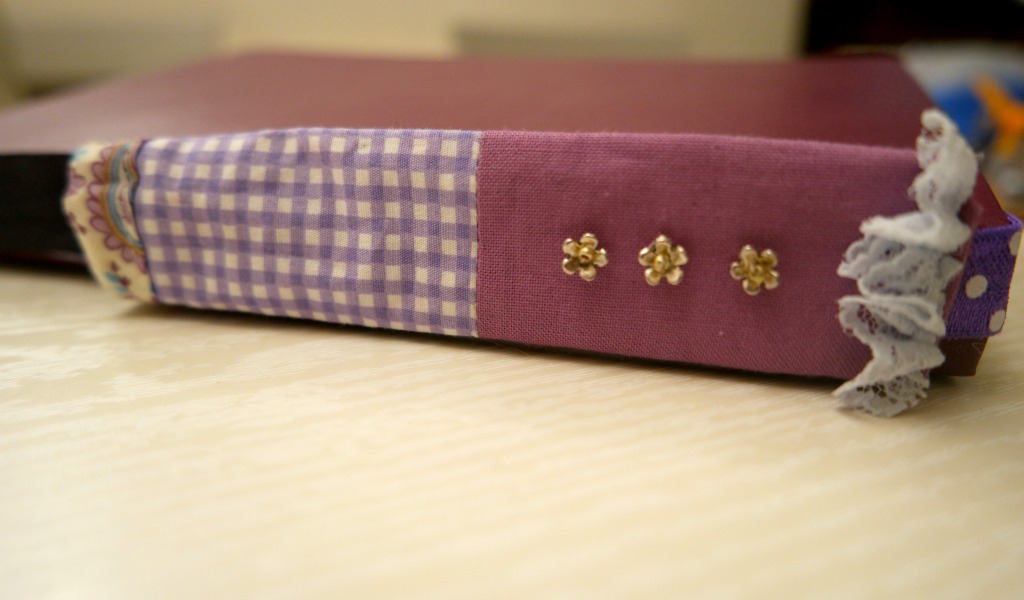
I sewed some lace to hide the join with the elastic. The little flowers were left over from some earrings I made and I sewed a tiny bead to the centre.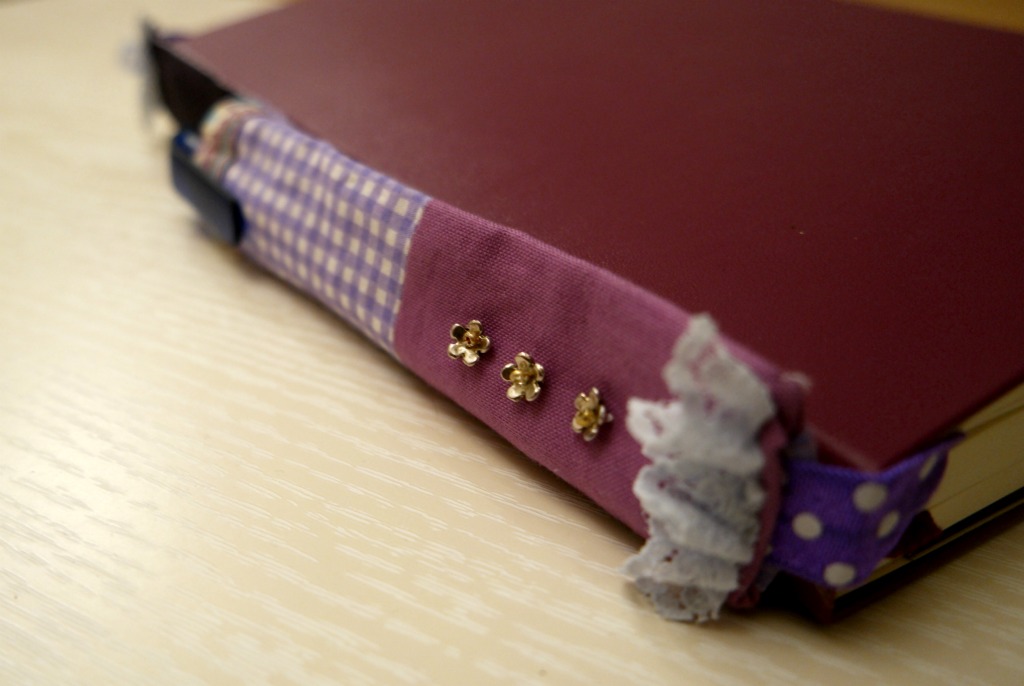
Now I’ll always have a pen!

Linking up here.

Thats such a great idea. I use a diary (one thats a page per week and the opposite page is just for notes so I can write a ton of to do’s for each week) and I like to colour code different stuff. I have one of those cute 4 colour pens but can never find it when I need it, this could solve that – thanks. #HandmadeMonday
Julie recently posted…Stitched Cushion Cover
Thanks Julie 🙂
Great idea for using those scraps! I’ve got a Craft Gossip post scheduled for this evening that features your tutorial: http://sewing.craftgossip.com/?p=91618 –Anne
Anne recently posted…Tutorial: Kids reversible book bag
Thanks Anne 🙂
Brilliant idea nd must admit I am always searching for a pen
Me too!
I totally understand not wanting to cover up a purple diary! I have a soft pink Moleskine blank journal which I love and wouldn’t want to cover up either! Great idea for a handy pen!
Thank you!