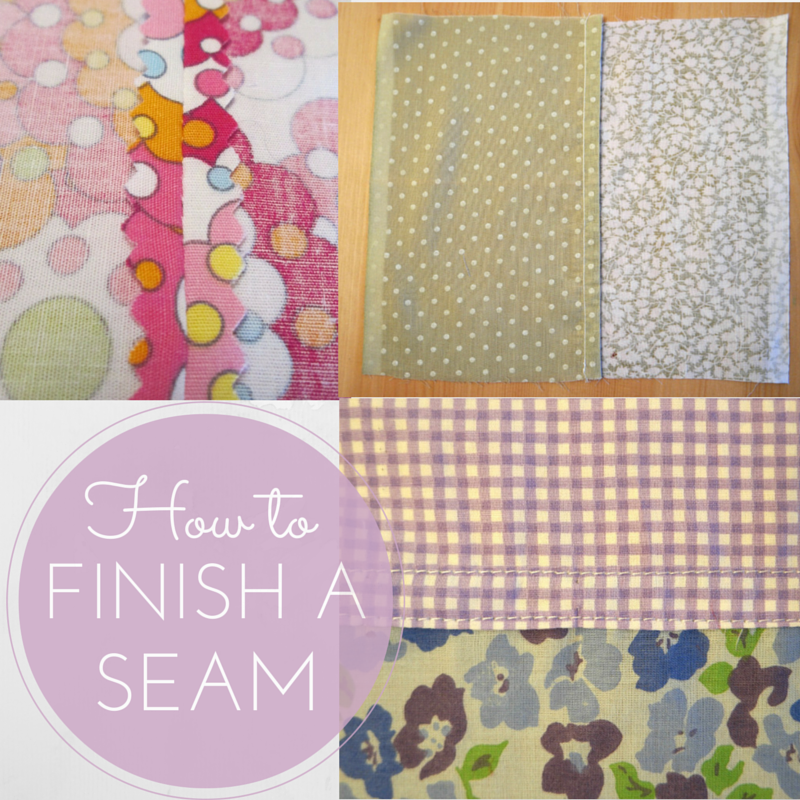
How to Finish a Neckline
Finishing a neckline can be a bit of a tricky business. Hemming it as you would a skirt or a sleeve distorts the fabric and generally makes the thing you are making look a mess.
So what do you do instead?
Here are three ways of finishing a neckline that will help the top or dress you are making to look amazing!
How to Finish a Neckline
Facings
With a commercial pattern, the neckline usually will be finished using facings. Facings are pieces of fabric that follow the shape of the neckline. They will be reinforced with fusible interfacing and the bottom edge finished with zigzags, overcasting or overlocking.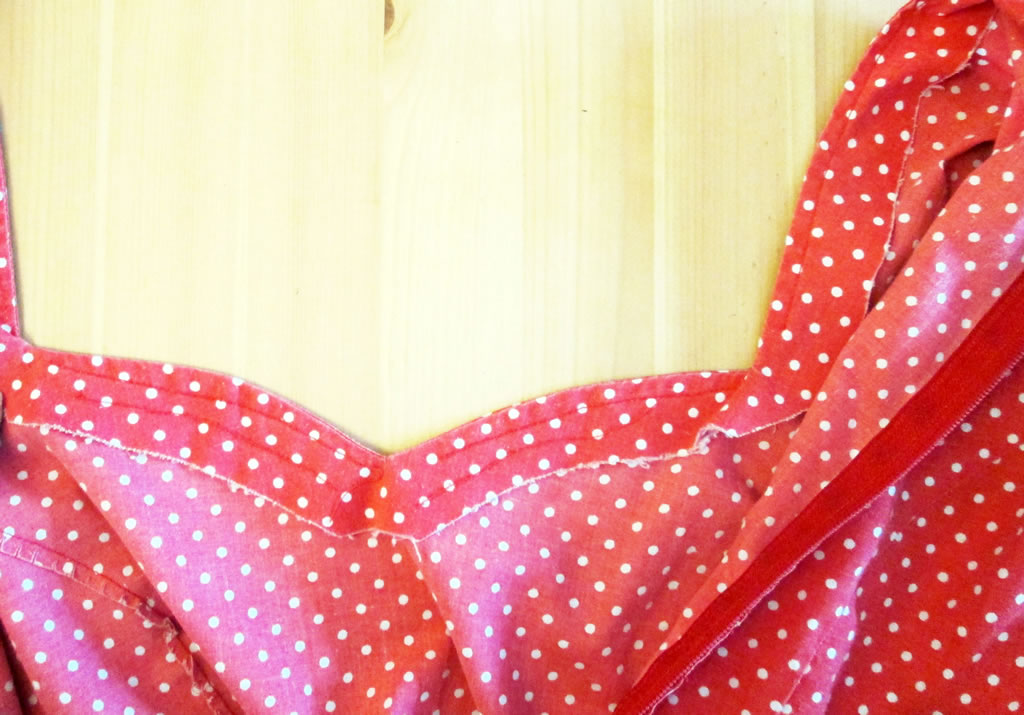
To attach the facings, pin them to the neckline so that the right sides are together. Sew, keeping close to the edge. Fold the interfacing underneath and press.
Understitching will help to prevent the facings from popping back out (this is where you sew the facing to the seam). If they persist in making an appearance, you can add some tiny stitches to hold them in place. This is what I did with this red polka dot dress, made using the Sweetheart Dress pattern from Sew La Di Dah. I wrote a review of the pattern here and their site can be found here.
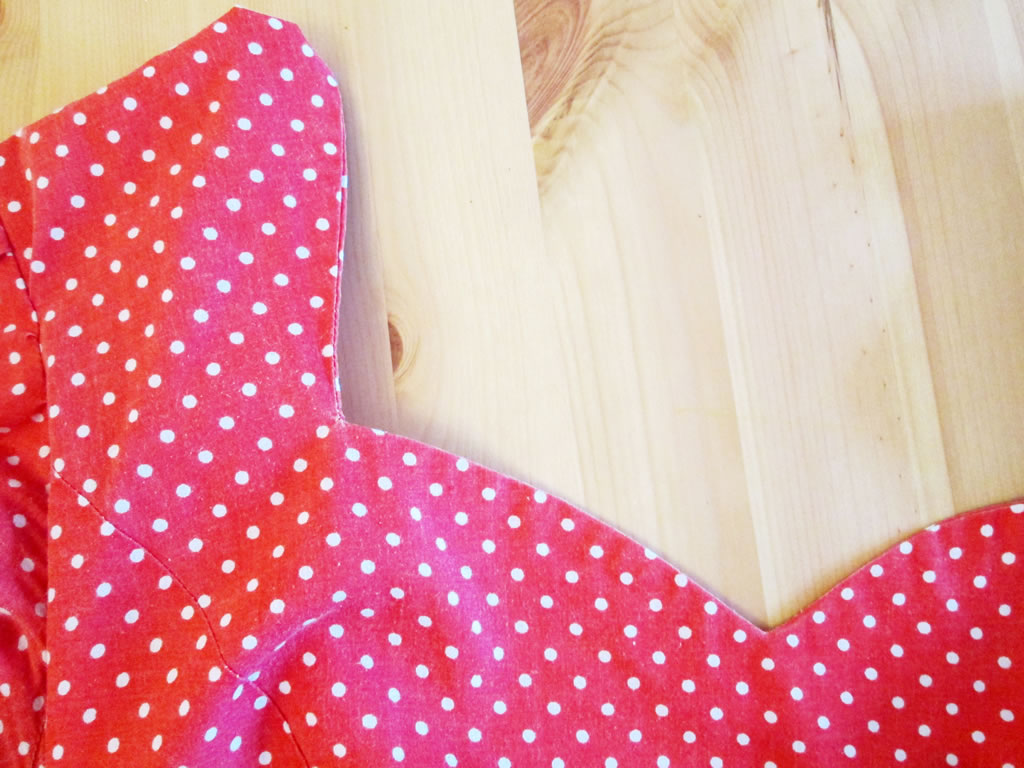
I actually will go to pretty much any length to avoid using facings. In my experience no amount of understitching will make the stupid things stay inside! Sewing them in place with tiny stitches also defeats the purpose of having a nice, neat neckline with no stitches showing. You might as well top stitch the thing in place and have done with it.
Also I have only ever bought a couple of tops where the neckline was finished with facings and, guess what, they stay wouldn’t stay put either!
I do not like them. So here are the methods I normally use instead.
Bias Binding
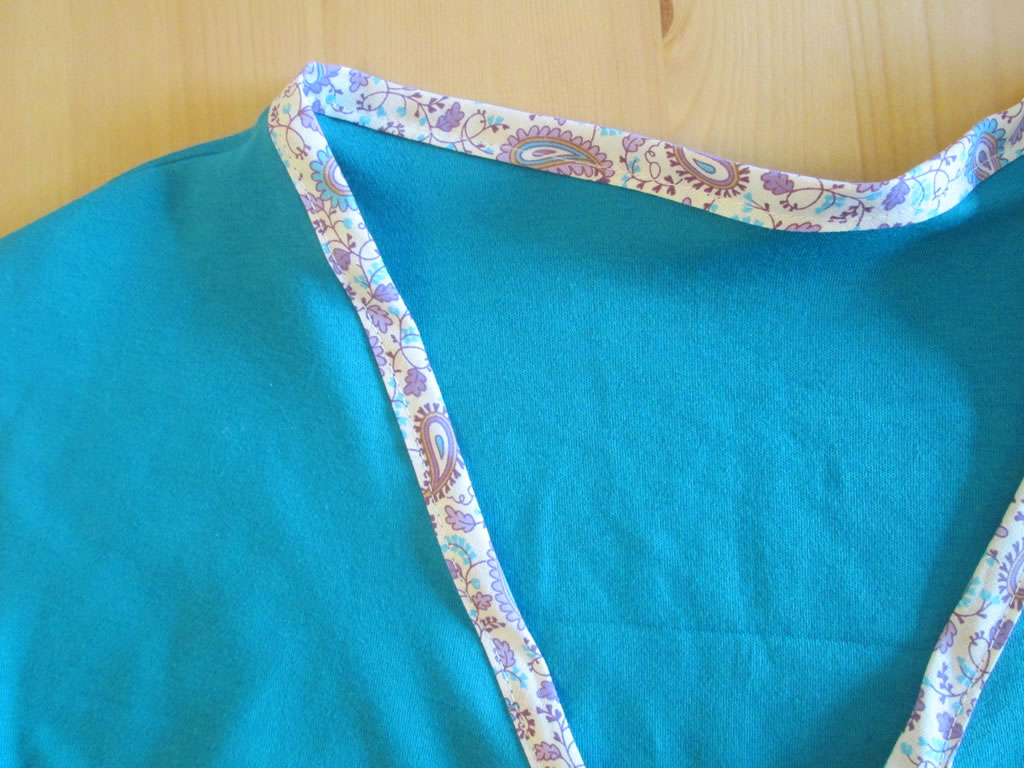
This is my favourite way to finish a neckline.You can either use ready made bias binding or make your own. Just cut strips of fabric on the bias, fold in half lengthways then fold the raw edges into the middle.
To bind a neckline I usually start in the middle. Fold the bias tape in half lengthways, then in half widthways to find the middle. On the wrong side of your dress, pin one edge of the bias binding so that the edge is lined up with the neckline and the right side of the bias tape is next to the wrong side of the fabric. Sew all the way round. 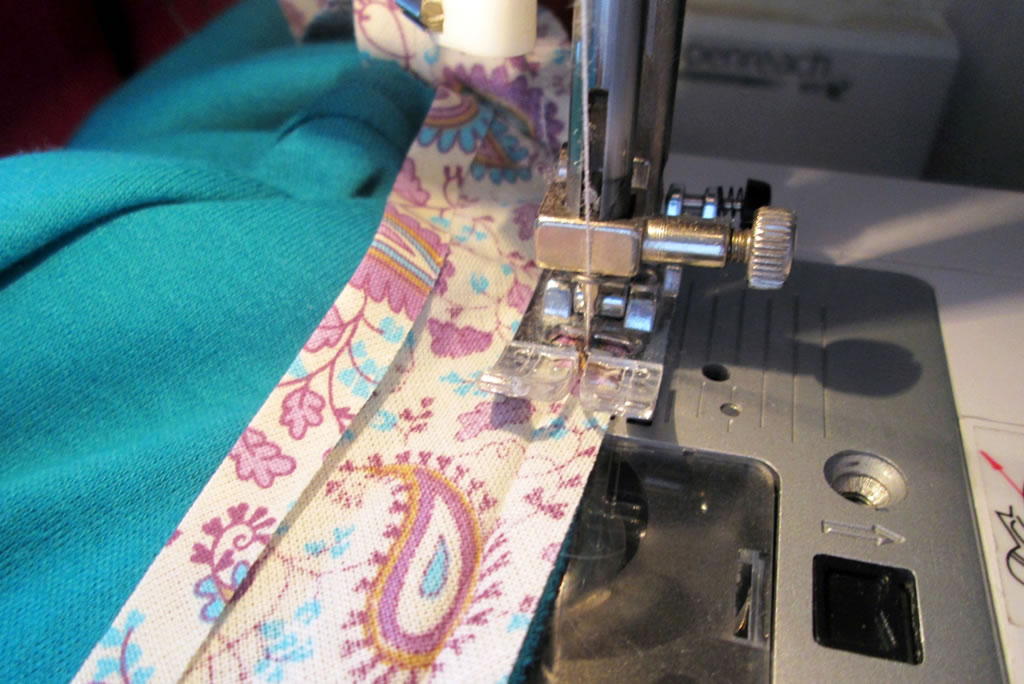 Fold the bias binding over the raw edge and pin again, this time on the right side. Make sure that the raw edge of the bias binding is tucked underneath. Top stitch all the way round.
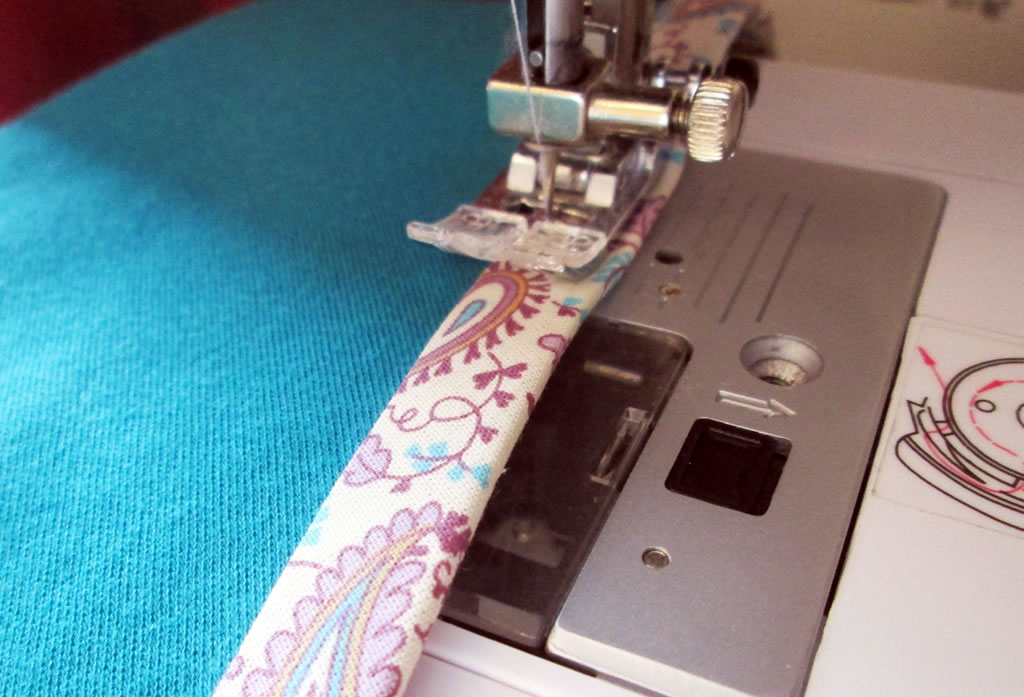
Tip When you are sewing, try to avoid pulling the tape and the fabric otherwise there might be puckering. Which wouldn’t be a disaster, it just looks neater.
I also used this method on my Cherry Blossom dress, which you can read about here!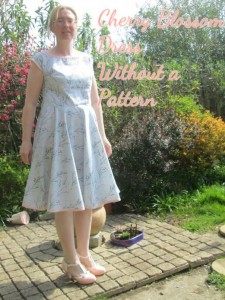
Lining
Lining a dress was another of those things that I always thought would be difficult. It’s really not!
In addition to your main fabric, you will need some extra fabric, enough to make a second version of the top section. You can line the skirt too if you’re feeling fancy. I don’t usually bother. I’m not fancy enough :).
The fabric will need to be plain, lightweight and a colour that won’t show through. If your thing has sleeves, don’t worry about lining those.
From this fabric, make a second top (or top of your dress). If it is a crossover style, you will need to line both the front sections.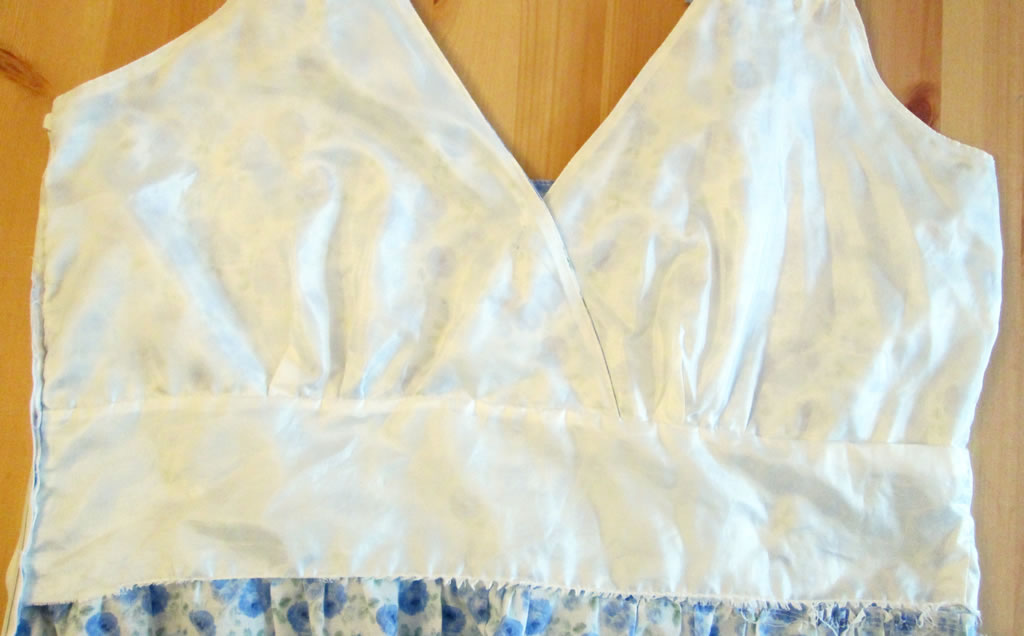
Then all you do is pin the lining to the top section with the wrong sides together Sew all the way round the top. If your top or dress is sleeveless, sew around those as well. Trim the seams and press it. You might want to top stitch around the edge.
Tips
If your top has sleeves, attach the lining to the neckline then sew the sleeves in afterwards. You will be able to catch the lining in the sleeve seams and finish them as you would without a lining.
The same applies to a dress. If you attach the lining before sewing the top to the skirt, you can sew the lining to the skirt along with the main fabric.
If you have raw edges not caught in seams, you will need to finish them in some way. Unless the fabric doesn’t fray of course! Either zigzags or overcasting will do the trick, and maybe a few little stitches to the seam allowance to hold it in place.
If you liked this post, you might also like these:
Cherry Blossom Dress without a Pattern
A Simple Crossover Dress Without a Pattern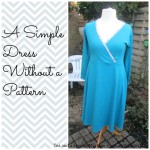
Linking up here: