
A Bunting Tutorial
Last summer I made some bunting to hang on the front of the house to celebrate the start of the summer holidays. I only meant to leave it up a week or so, but I liked it so much it stayed! By the time autumn swung round, the bunting was looking tatty and sad. I took it down but my poor old house looked naked, so I made some more in beautiful autumn colours.
Now it’s spring and the bunting is very tatty. It’s also got twisted round and round in all the wind. I had actually intended to make some more at Christmas, but as Christmas always manages to sneak up on me I didn’t get round to it.
However, it’s worked it’s way up to the top of my list and last week I made some more. I finally finished it yesterday and I hung it out this morning to reward myself for emptying the bins.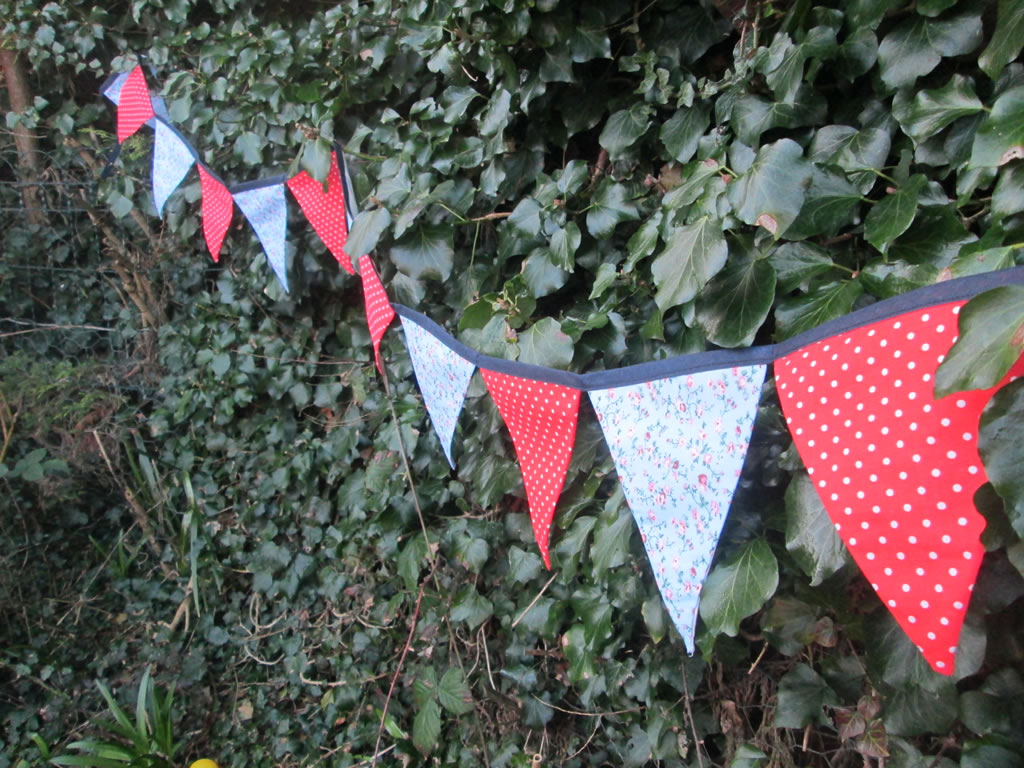
As it is pretty windy where we live, I have tried to make the bunting heavier by lining it, so hopefully it won’t get all twisted up this time.
Here’s my little bunting tutorial!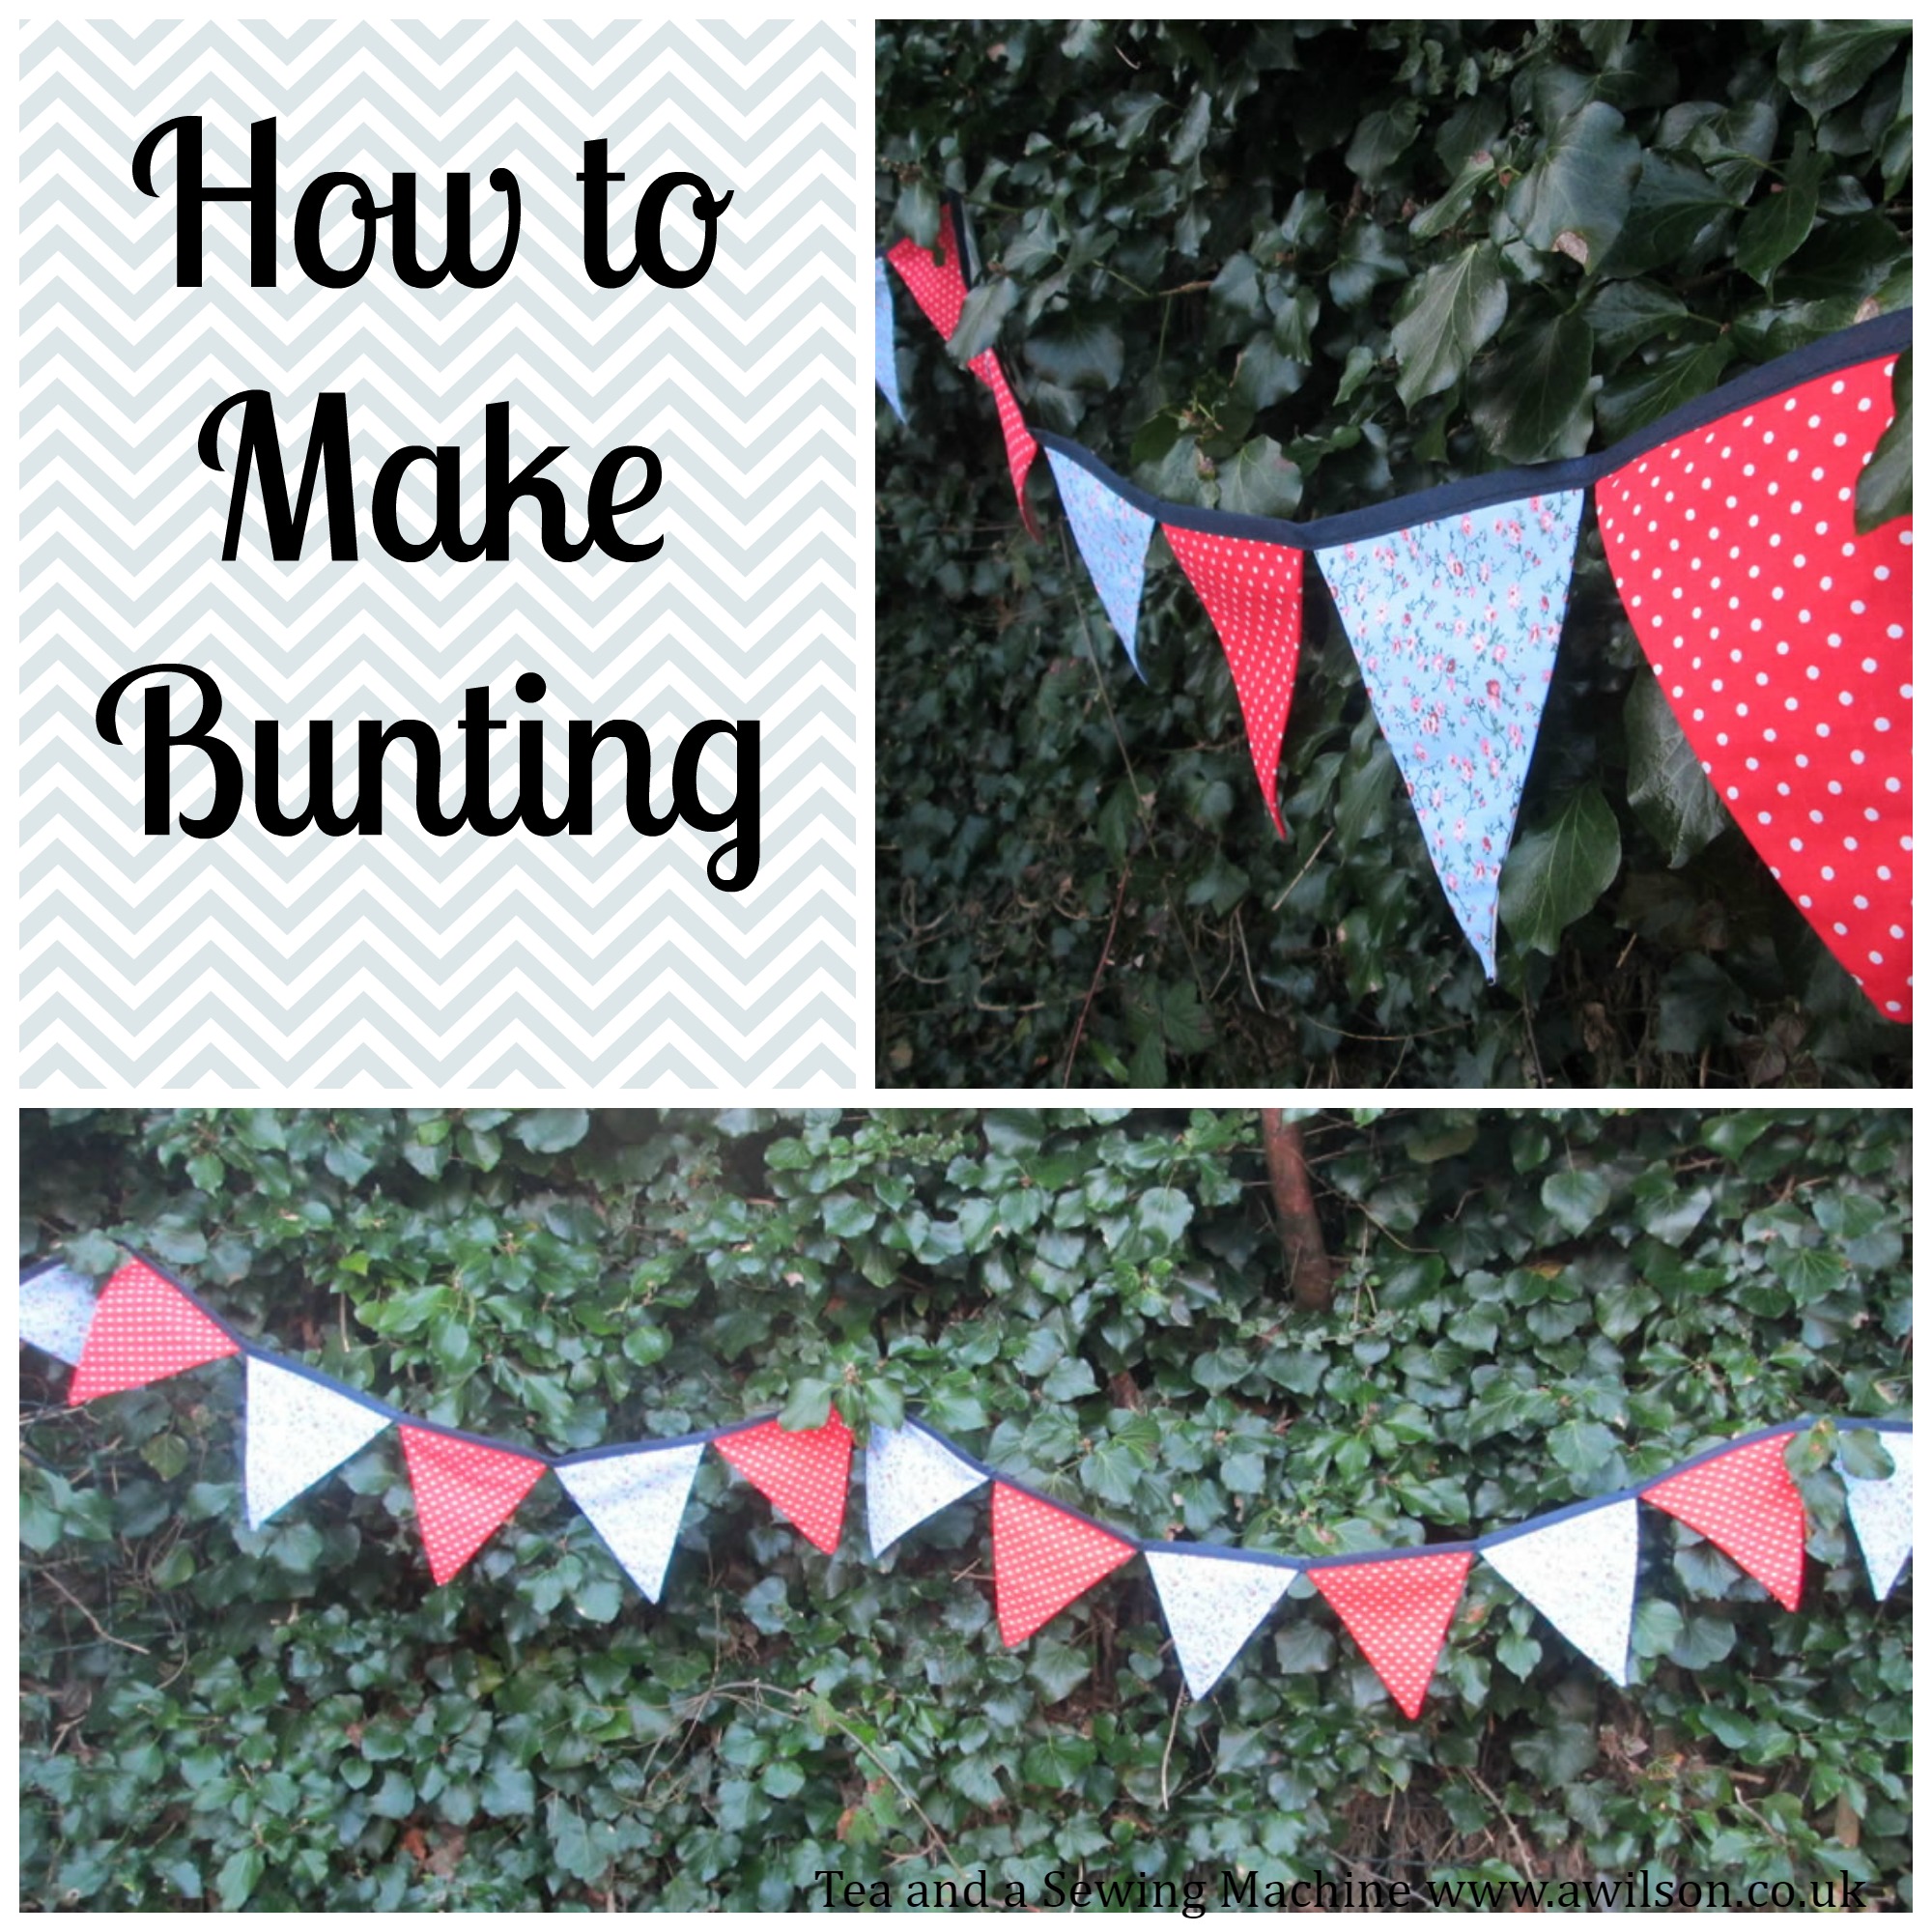
How to Make Bunting
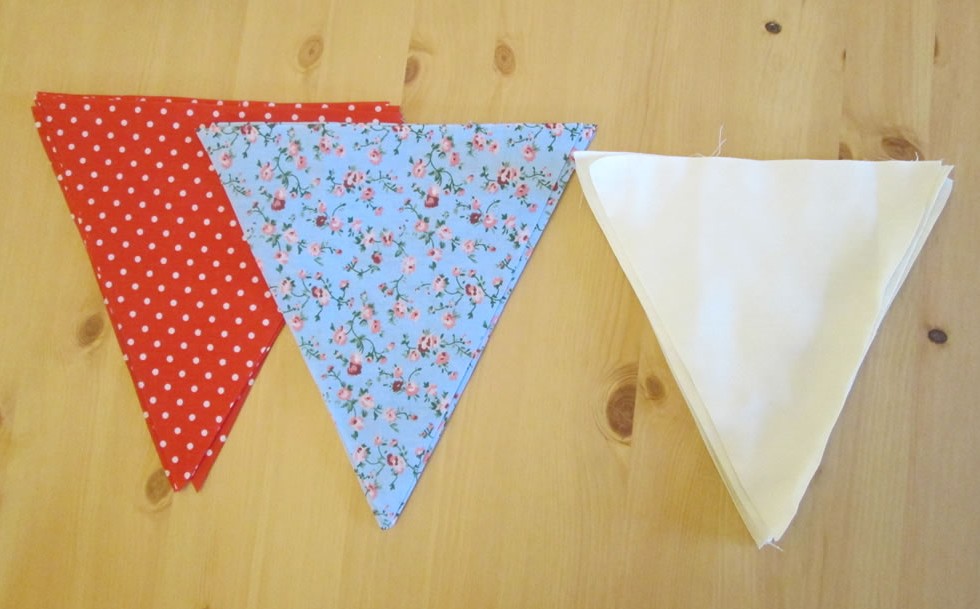
You Will Need: card for the templates, fabric for the flags, fabric for the lining, bias binding, needle and thread or a sewing machine.
1. Make your templates. On a piece of card, draw a line 20 cm long. Find the middle. Draw a second line 20 cm long from middle of the first line and at right angles to it. Join the end of this line to the ends of the first line to form a triangle.
To make the template for the lining, I cut another template the same size as the first one, then cut about half a cm of the sides.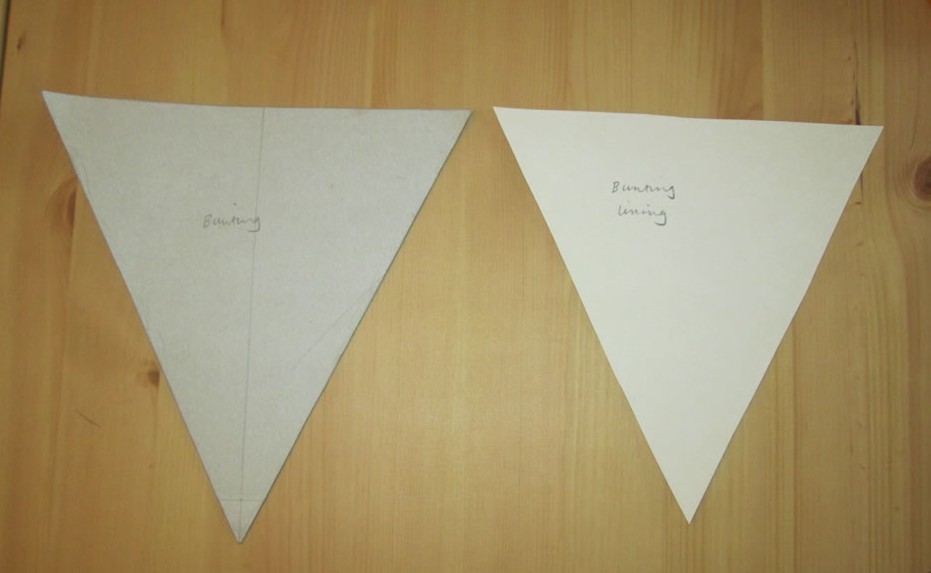
2. Grab your fabric and cut your triangles. You will need to cut the same number from your main fabric as from your lining.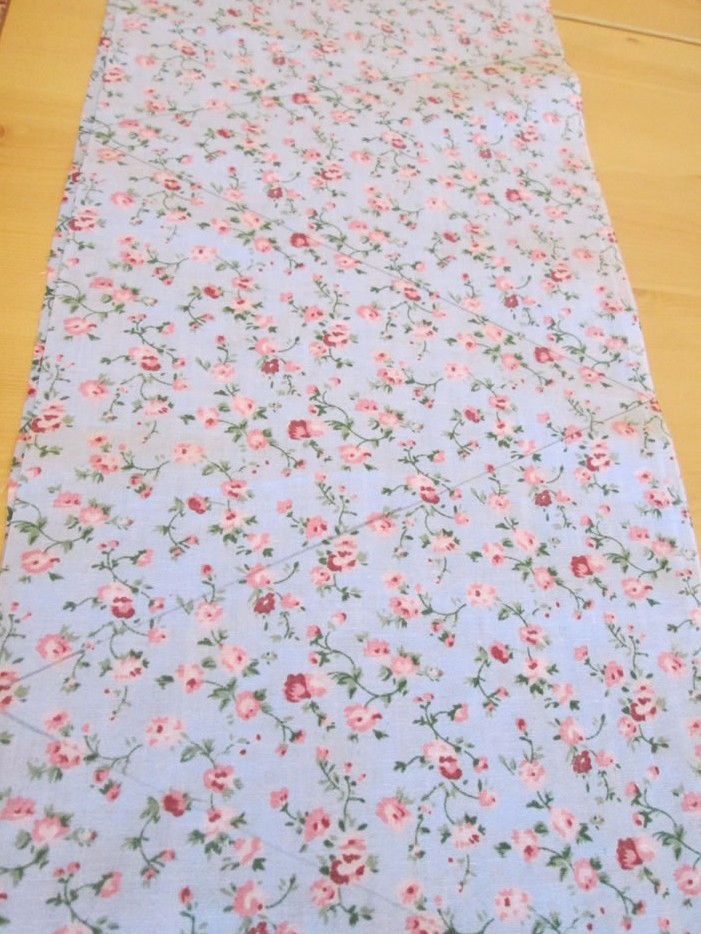
3. Take one main triangle and one lining triangle. With the right sides together, sew the sides of the triangle, leaving the top free. When sewing the second side, you will need to pull the lining across a little bit.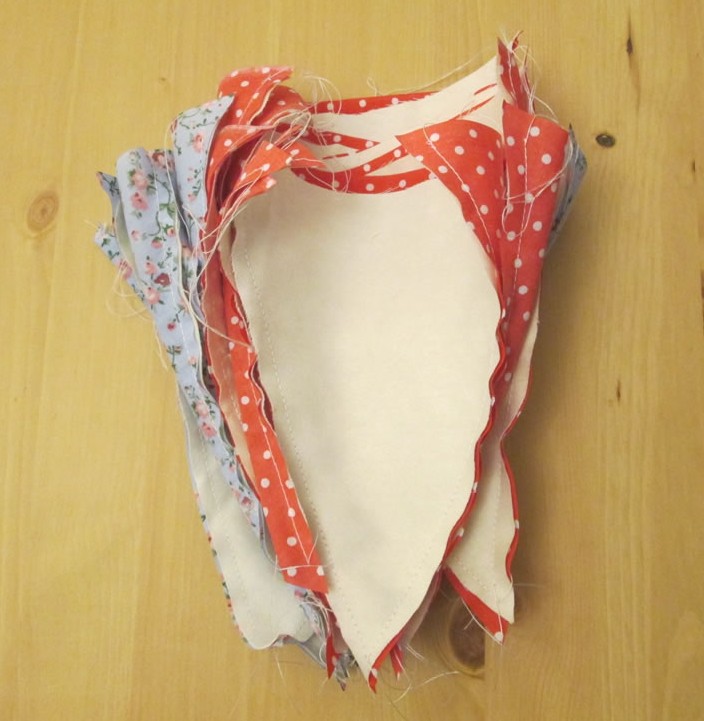
4. Trim the seams and turn out. Because the lining is smaller, you should find that it pulls a small amount of the main triangle to the wrong side of the flag.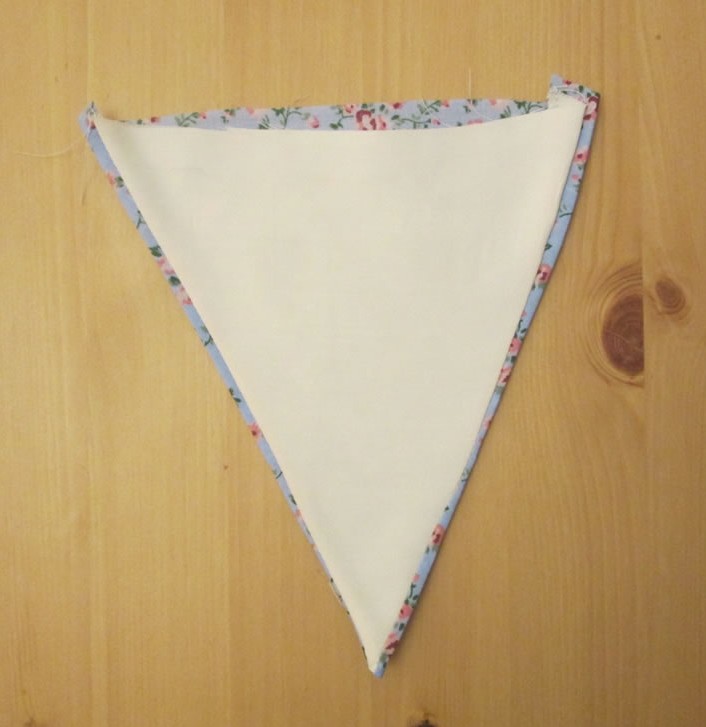
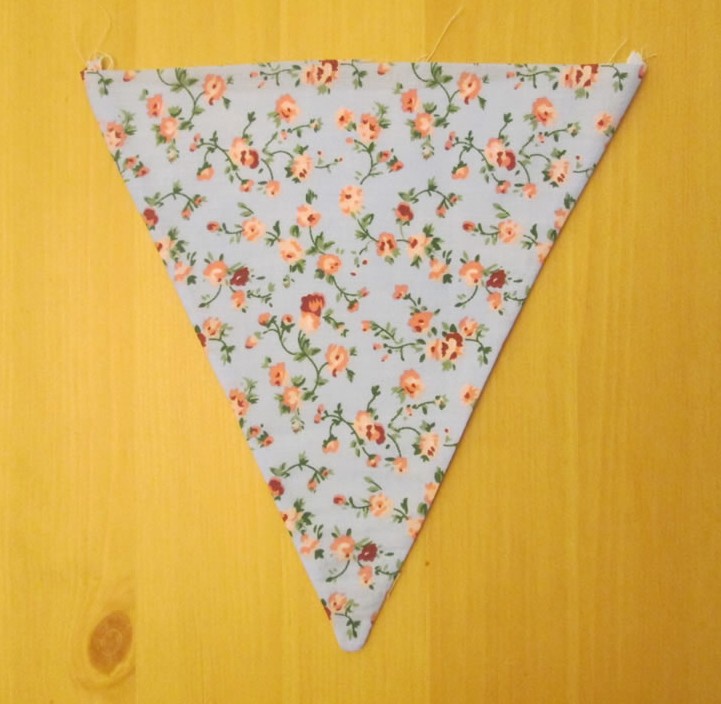
5. Press. If you are feeling fancy, you might like to top stitch your flags. I don’t have a pic for this because I was not feeling fancy.
6. Take your bias binding and fold it in half lengthways. Press it down with your finger to crease it.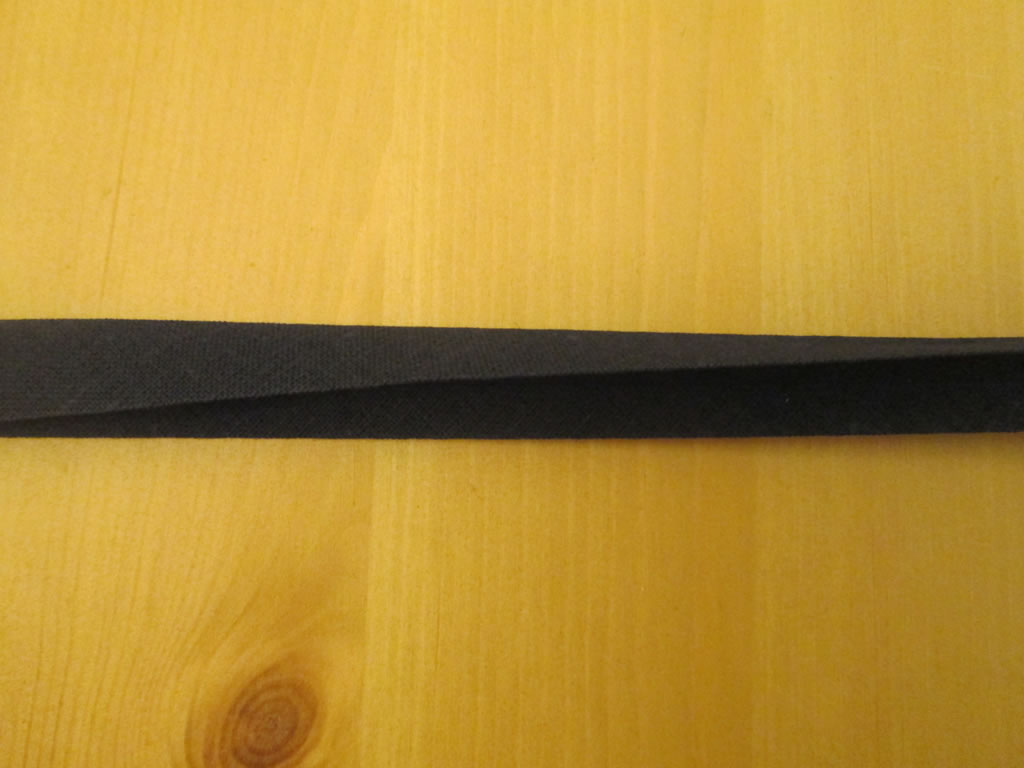
7. Take yourself and your flags over to your sewing machine. Starting at one end of the bias binding, sew the edges together. 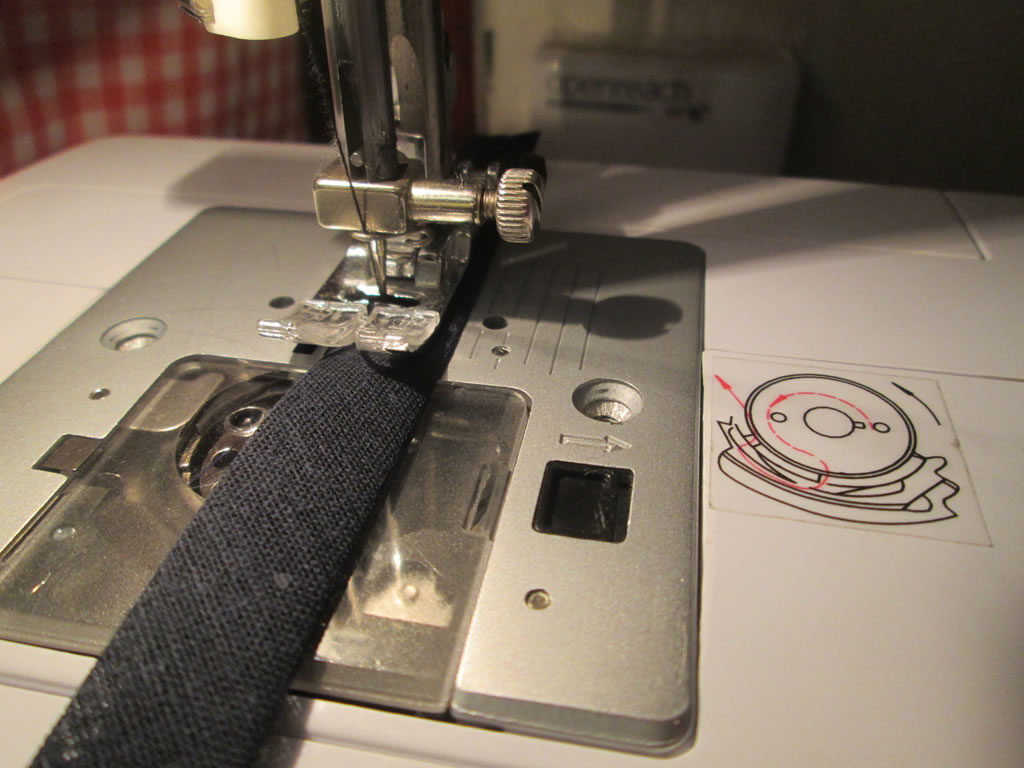 When you have sewn enough to tie your bunting to something (I allowed about 40 cm), slip a flag into the bias binding and sew. When you have sewn the top of the flag into the bias tape, add another flag.
  Keep going until all your flags have their tops contained within the folded bias tape. Continue sewing the bias binding until you have enough to tie at that end.
If you are new to sewing or a nervous nellie, you might like to pin your flags in place first.
That’s all there is to it!


Great tutorial.. Perfect making the lining slightly smaller.
Thank you 🙂
We made paper bunting for our wedding (and about 70 paper hearts!) but I’ve never made cloth bunting!x
I can imagine that was a lot of bunting!
This bunting is very pretty and would certainly cheer any season up 🙂
Thank you! I love bunting 🙂