
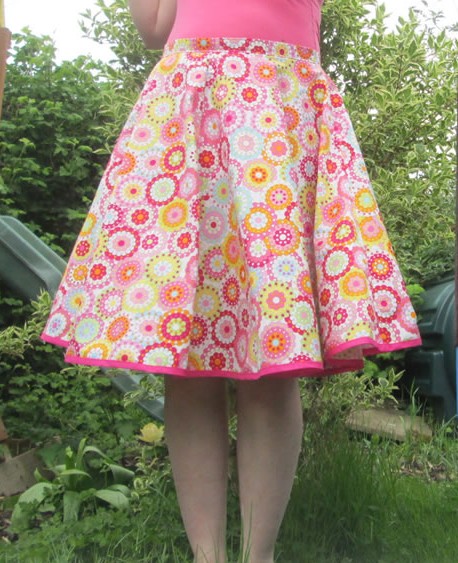
How to Make a Circle Skirt
When I posted about my Cherry Blossom Dress, a couple of the people who were kind enough to leave me comments said that although they didn’t feel ready to try to make a whole dress, just making a circle skirt might be more achievable.
Circle skirts are fab. They are very easy and quick to make. You could whip one up in an evening no problem! They suit most body shapes and they are lovely and swirly to wear.
I made a circle skirt a couple of years ago and wrote it up but the instructions are not very clear, so here is a proper tutorial!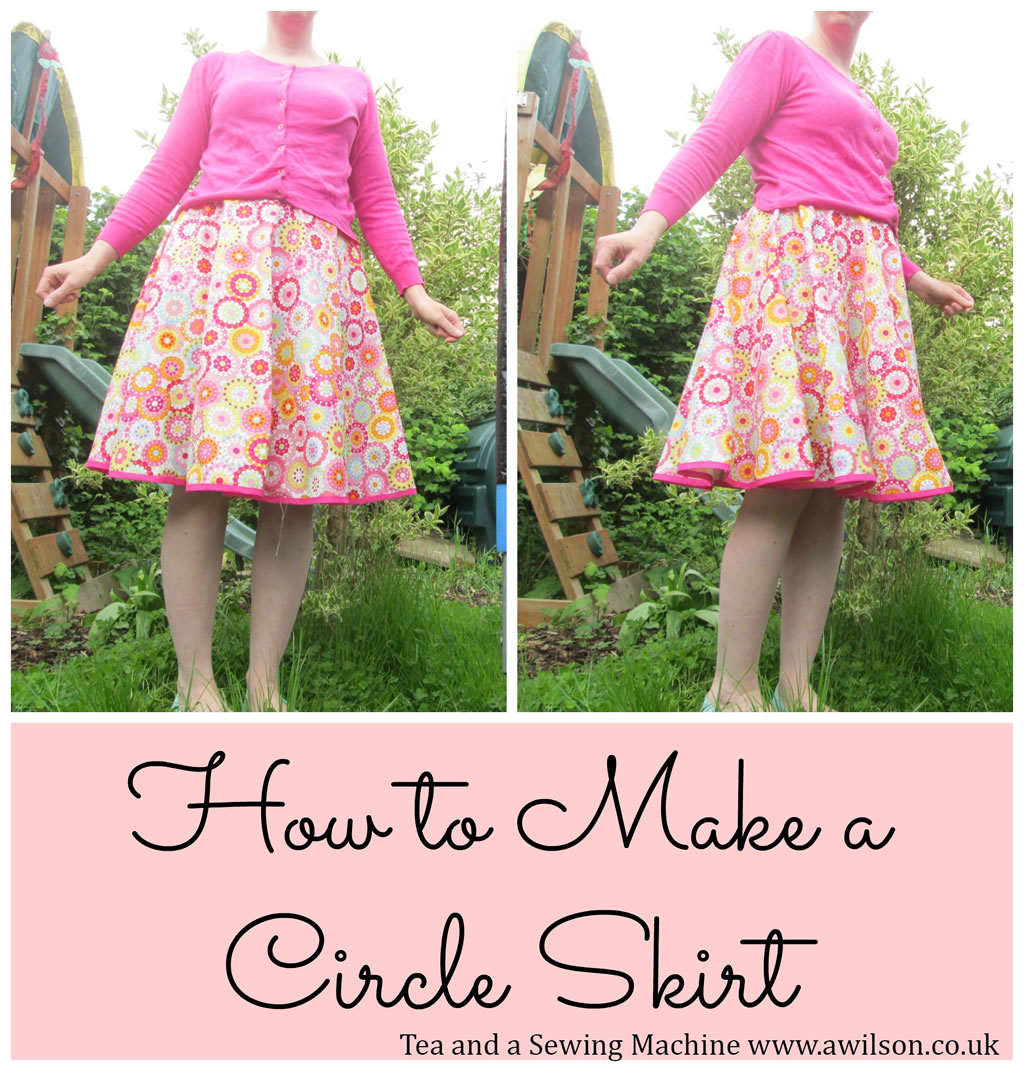
I recommend working out how much fabric you will need first as they use quite a lot. To make a knee length skirt in UK size 14 – 16, I used 3 m of cotton fabric that was 112 cm wide.
How to Make a Circle Skirt
You will need: a tape measure, pencil and paper, calculator, 2 – 4 m of fabric depending on your dimensions and how long you want the skirt to be, 5 – 6 m bias tape depending on how big your skirt is, a zip (10 – 20 cm is probably fine), a sewing machine and thread.
Calculating the Dimensions of Your Circle Skirt and How Much Fabric You Need
Take your waist measurement and add 10 cm. This is to allow for a 1 cm seam allowance plus a bit extra. Next, measure from your waist to just below your knee (or however long you want your skirt to be).
Now we need to do some maths. If maths is not your thing, don’t panic!
Remember pi from school? The actual number is 3.something. There will be a button on the calculator (there’s probably a calculator on your phone if you don’t have one).
Pi is the magic number that allows you to find the missing information about a circle.
If you know the circumference but not the diameter, divide the circumference by pi.
If you know the diameter but not the circumference, multiply the diameter by pi.
So the information you have is waist measurement and length.
The information you need is the radius of that circle in the middle, because adding that to your desired skirt length will tell you how big a square of fabric you will need.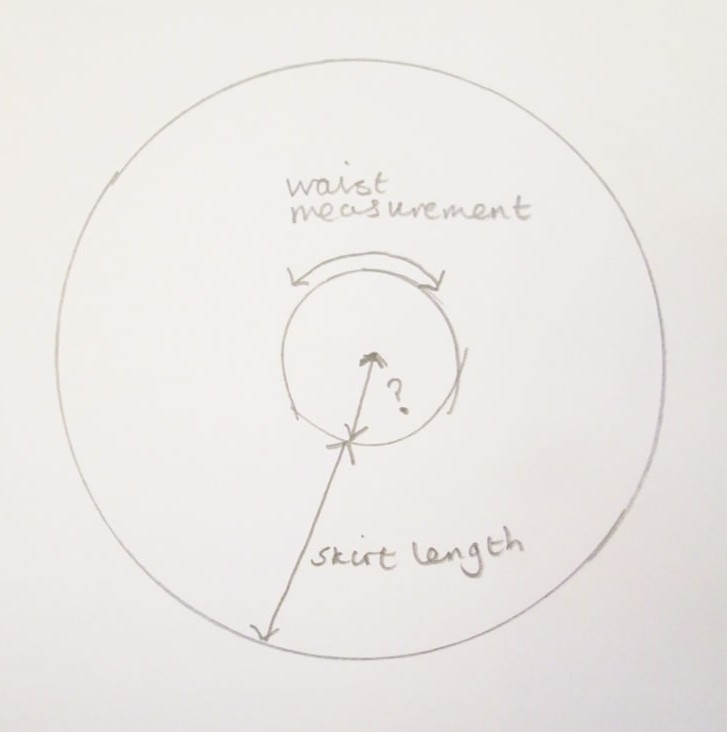
Take your waist measurement plus the extra 10 cm and divide by pi. That gives you the diameter of the circle in the middle. To find the radius, divide that number in half.
So for my skirt, my waist plus an extra 10 cm is 104 cm and from waist to knee is 60cm.
104 divided by pi = 33
33 divided by 2 = 16
16 + 60 = 76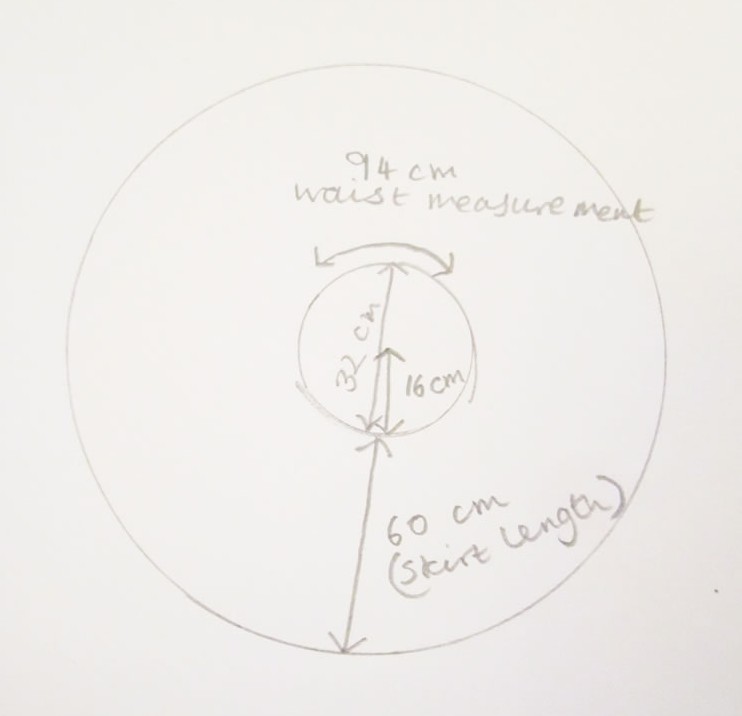
So I need 4 squares of fabric measuring at least 76 cm x 76 cm.
76 x 4 = 304. So I would need 3.04 m of fabric. I decided not to bother too much about the extra 4 cm and bought 3 m.
You can also use this method to work out how much bias binding you need. To work it out, you will need to multiply the total diameter by pi. So for me, the radius of my circle was 76 cm, so 76 x 2 = 152. 152 x pi = 475 cm. So I need 5 m of bias binding.
The maths is the hardest part, the rest of it is easy now!
Making the Skirt
1. Fold your fabric in 4. If you are using a directional print, you will need to cut where you have folded and decide where the top is on each piece of fabric.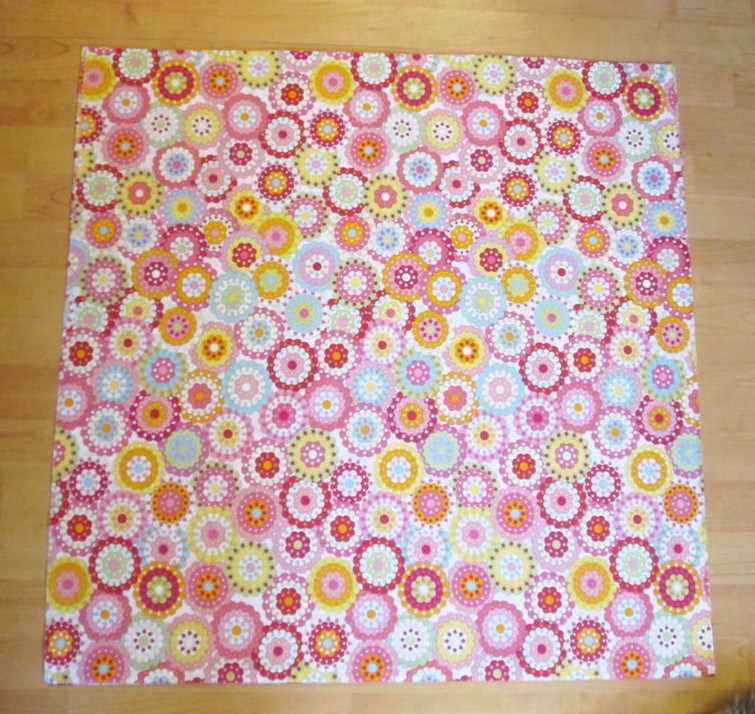
2. From one of the top corners, measure down the side and mark off where your waist will be. This is the radius of the middle circle that you calculated earlier. So I measured down 16 cm. Do the same on the edge the other side of the corner.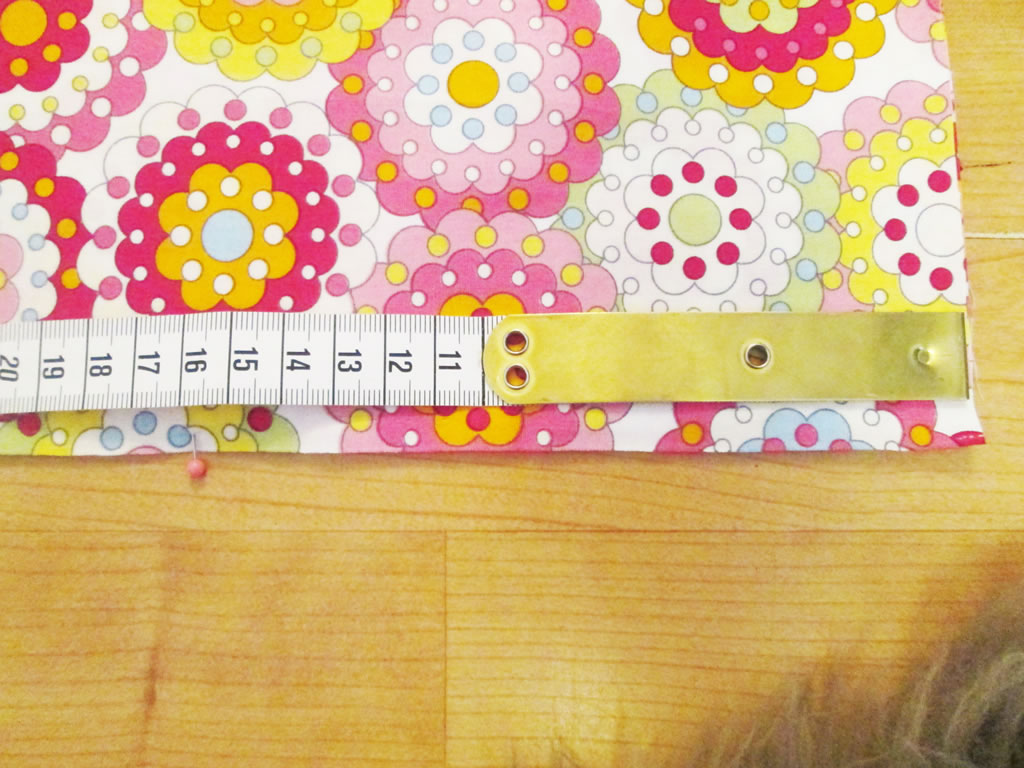
3. Now measure down from that same corner to where the hem will be. The number you need is the radius of the whole circle. For me this is 76 cm. Repeat for the other side.
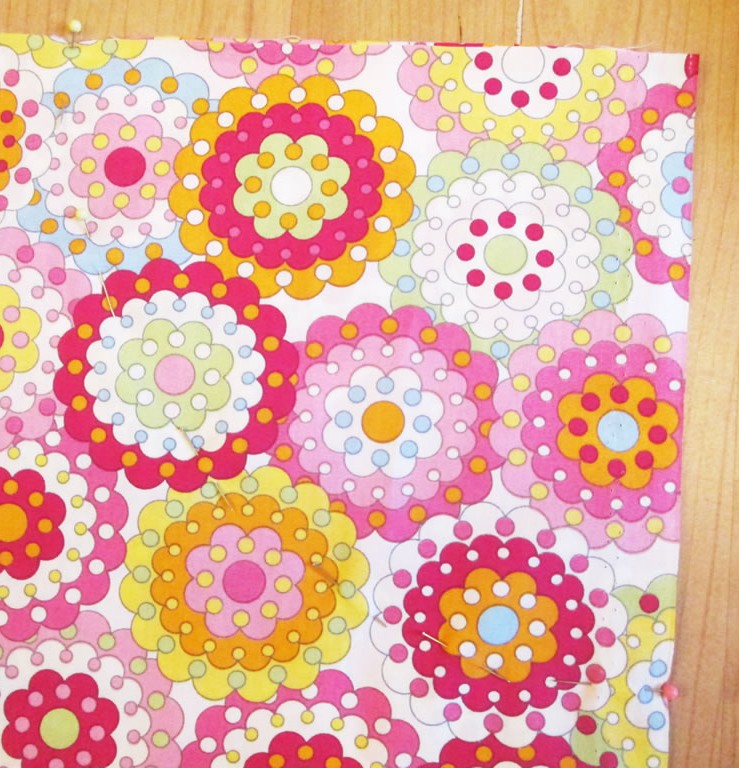
4. Measuring carefully from the corner with a tape measure, mark with pins your waist and your hemline all the way across your fabric. 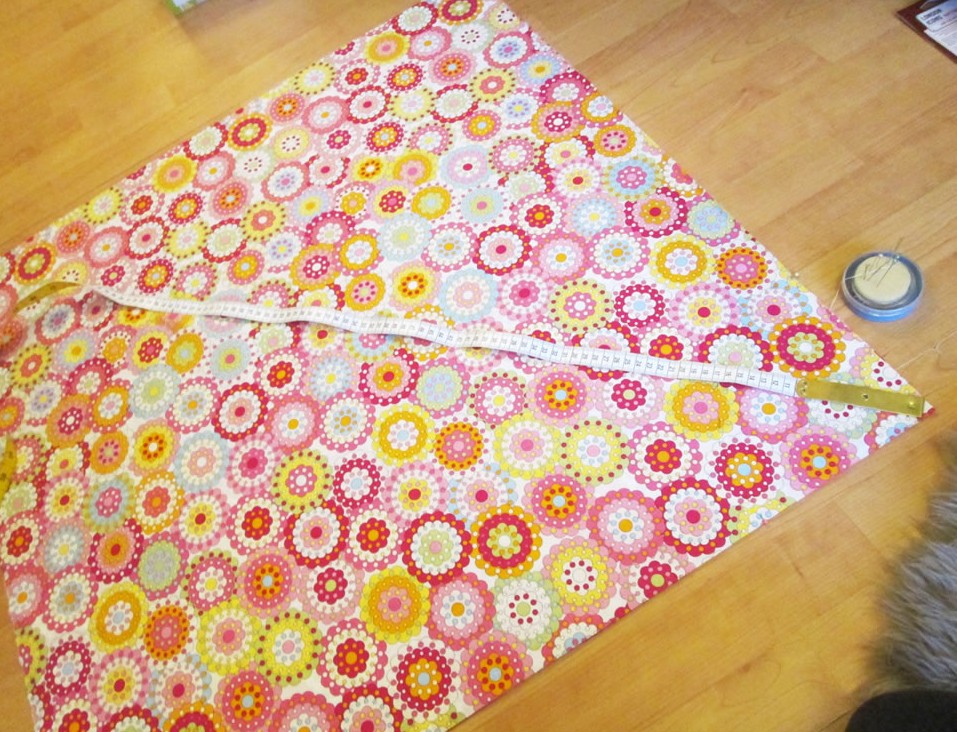 Cut out. You should now have 4 quarter circles with a quarter circle cut out of the top of each piece.
5. Take 2 of your quarter circles. Place right sides together and pin one of the straight sides. 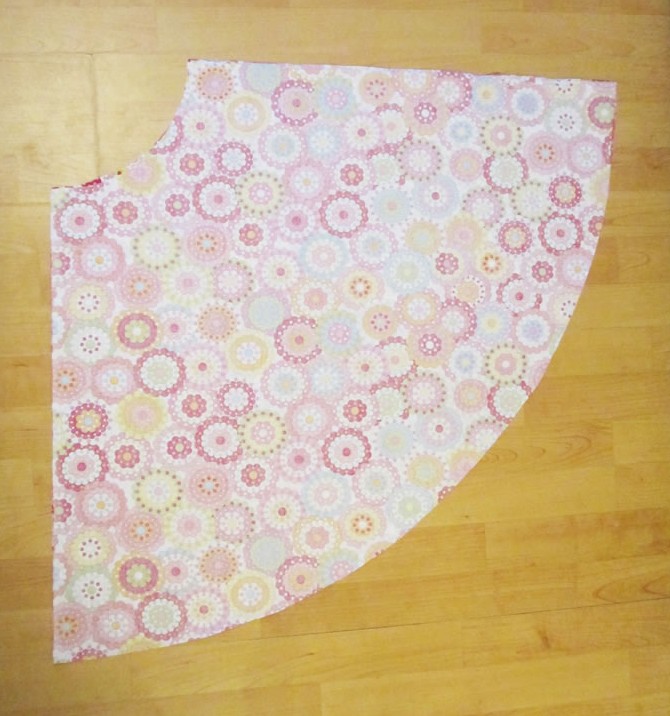 Sew, allowing 1 cm for the seam. This should make a semi circle.
  Repeat for the other 2 quarters.
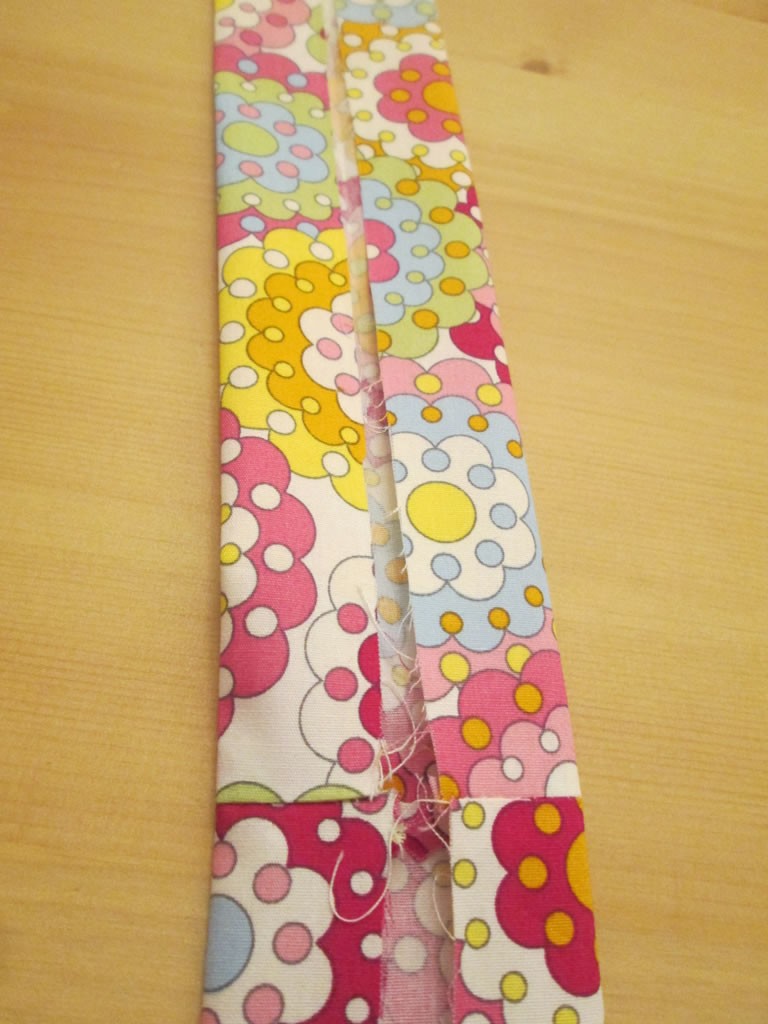
6. Now take your 2 semi circles and, with the right sides together, pin one of the straight sides. Sew.
7. Put your skirt on and pin the remaining open side. Don’t worry about pinning it all the way down at the moment, just pin it at the waist. Don’t be tempted to make it too tight! Remember you want to be comfortable and being able to breathe is always a bonus. Mark with a pen or some chalk where you have pinned on both sides.
8. Take the skirt off and repin the open side. Sew. You might want to pink the seams at this point, but this is optional! Press the seams open.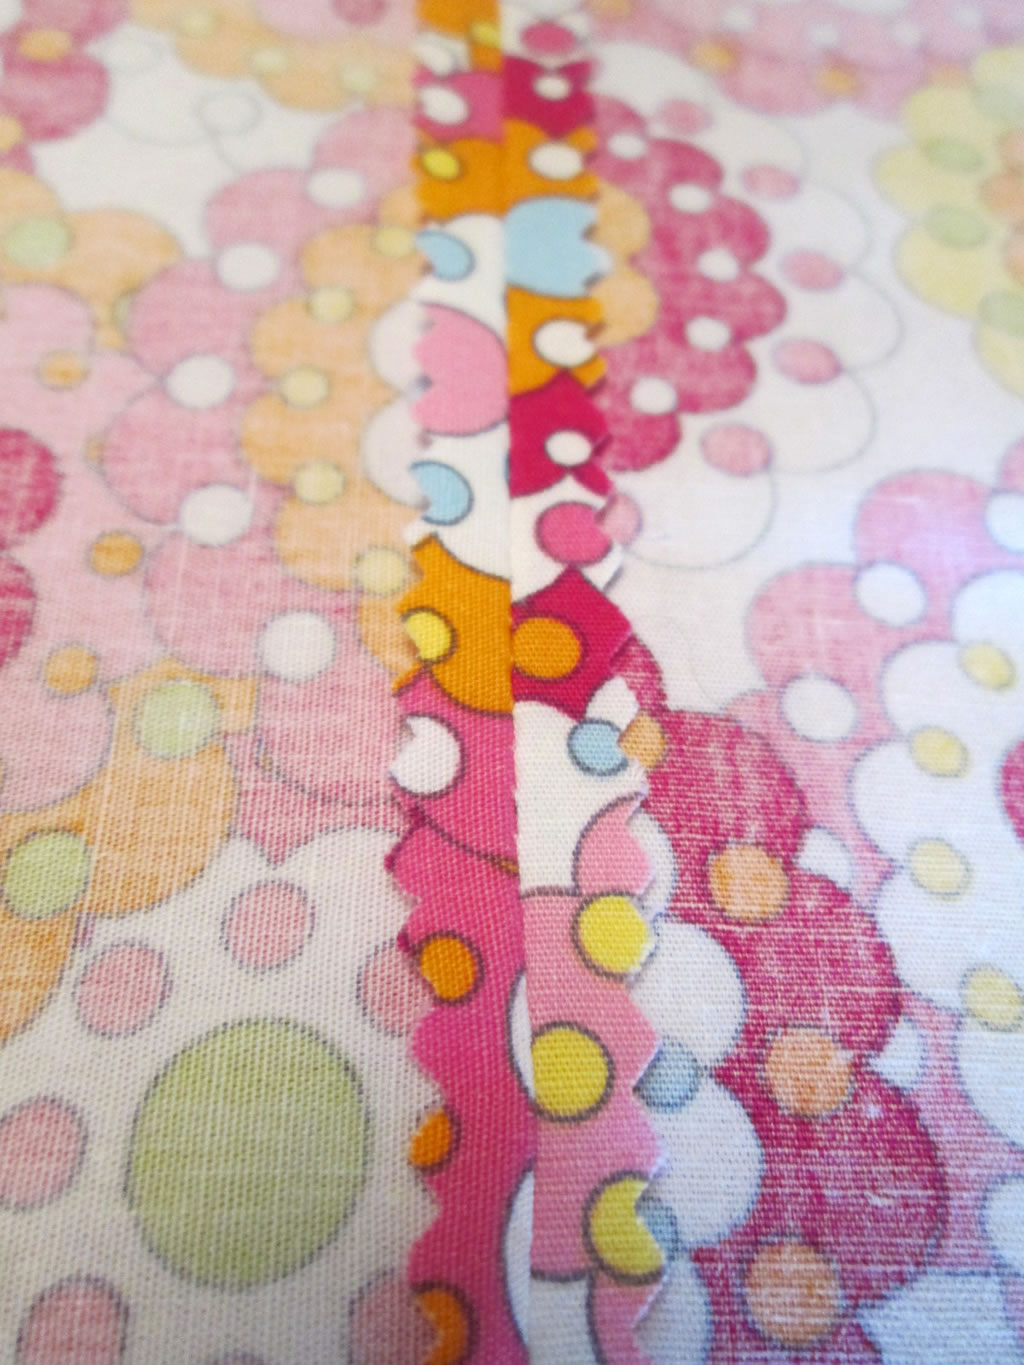
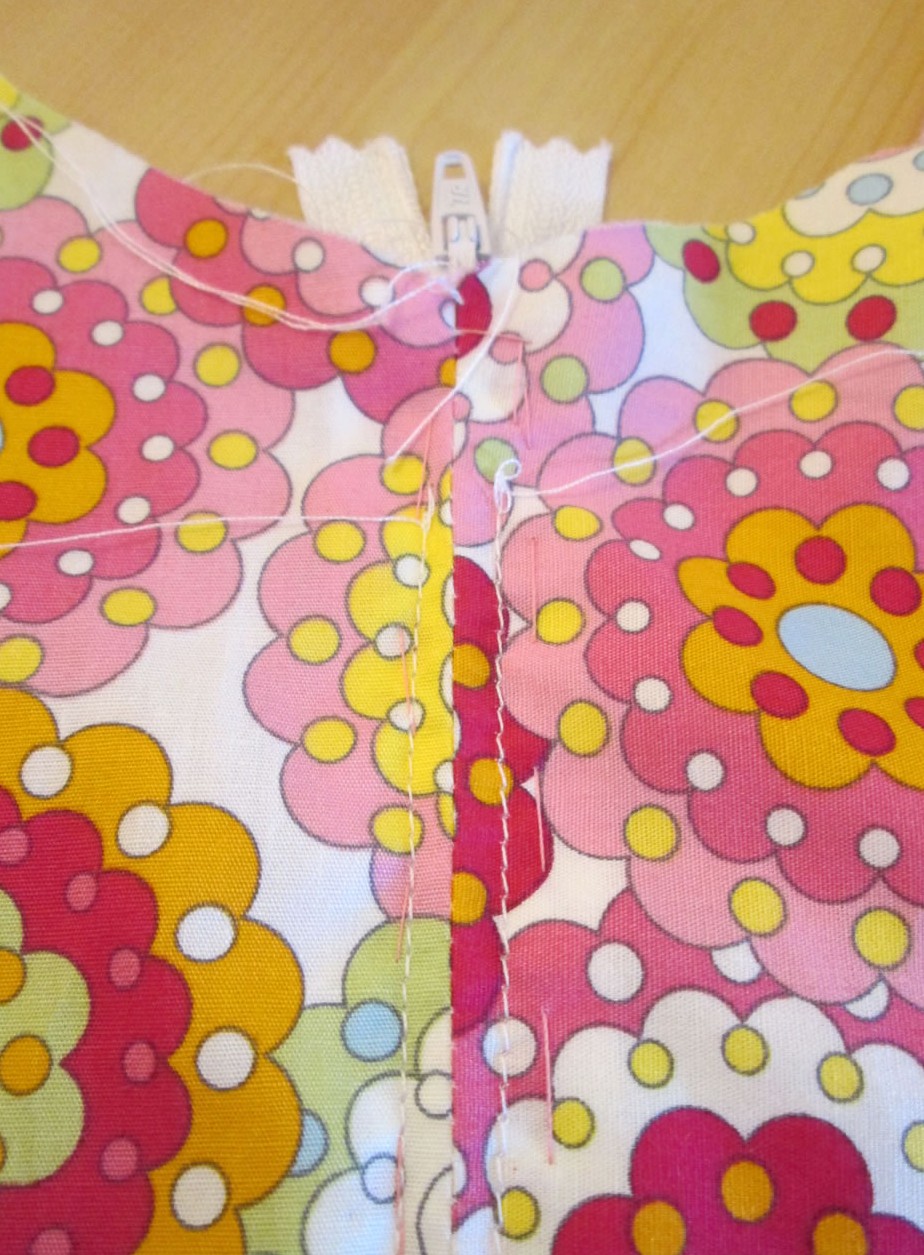
9. Find the side where you want to put the zip. Pin it over the seam, making sure that the zip is closed and the slider is just above the top of the skirt. 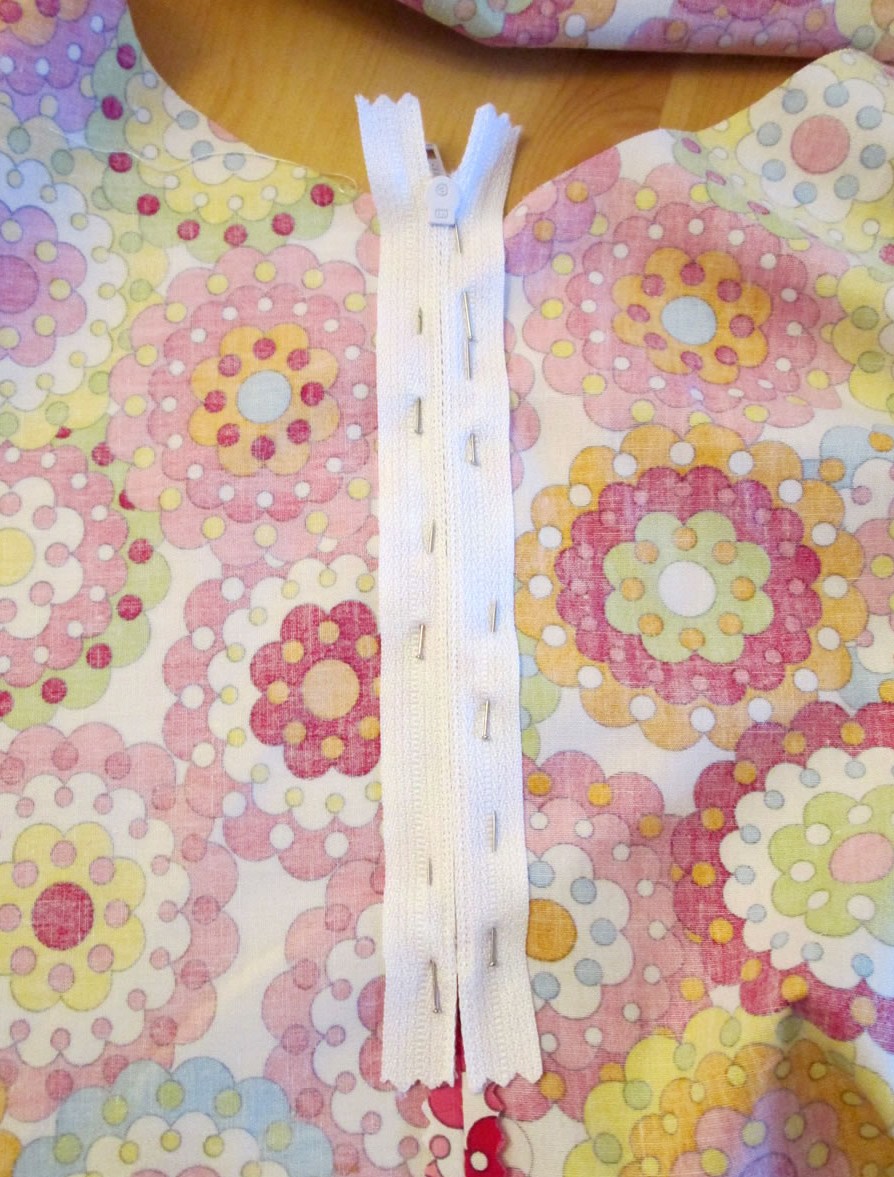
 Tack it in place. Sew round the zip.
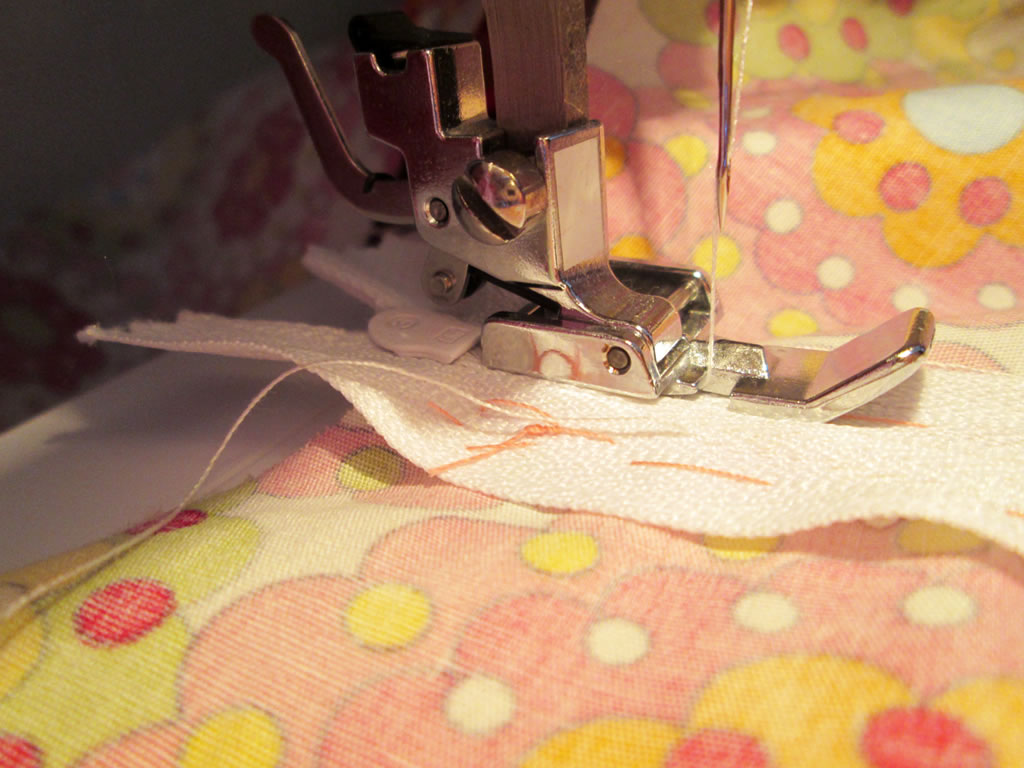
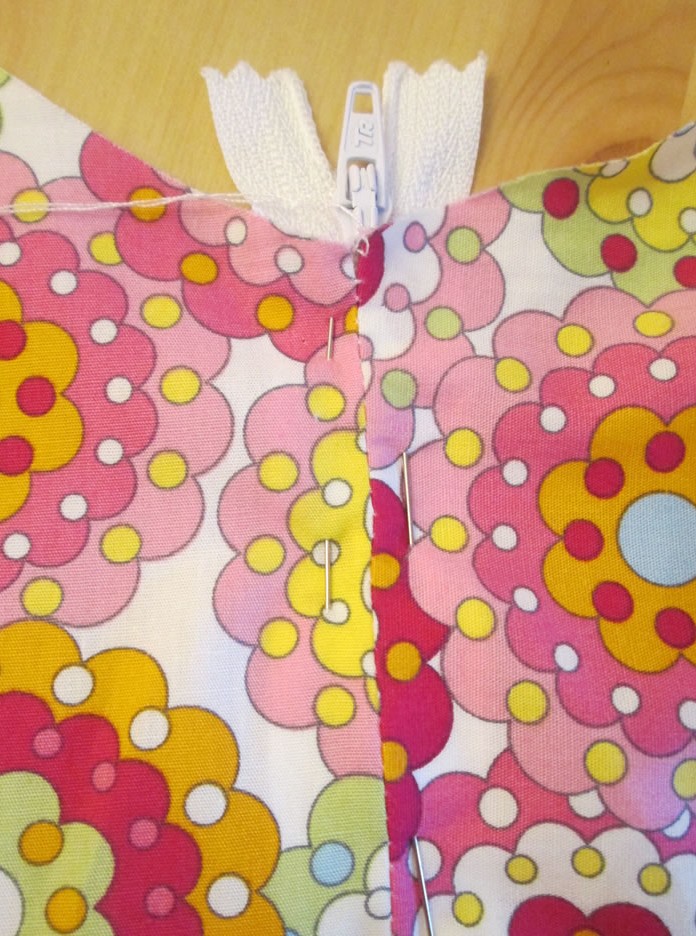
 Unpick the part of the seam that is covering the zip.
 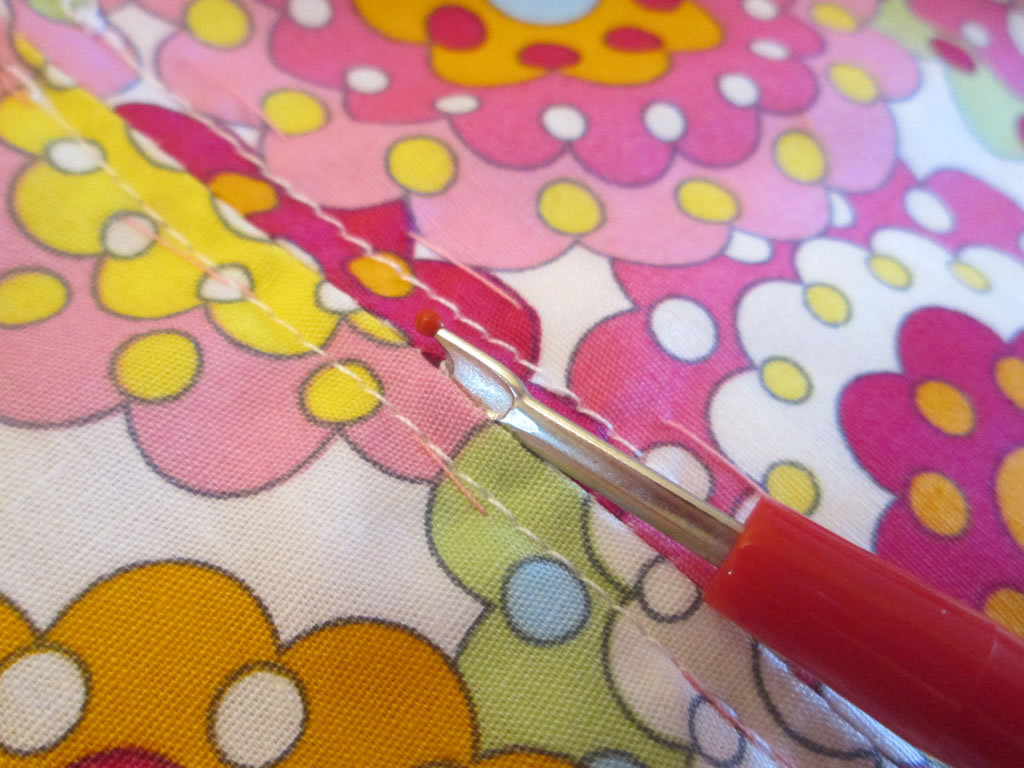 Try the skirt on again to check that it fits!
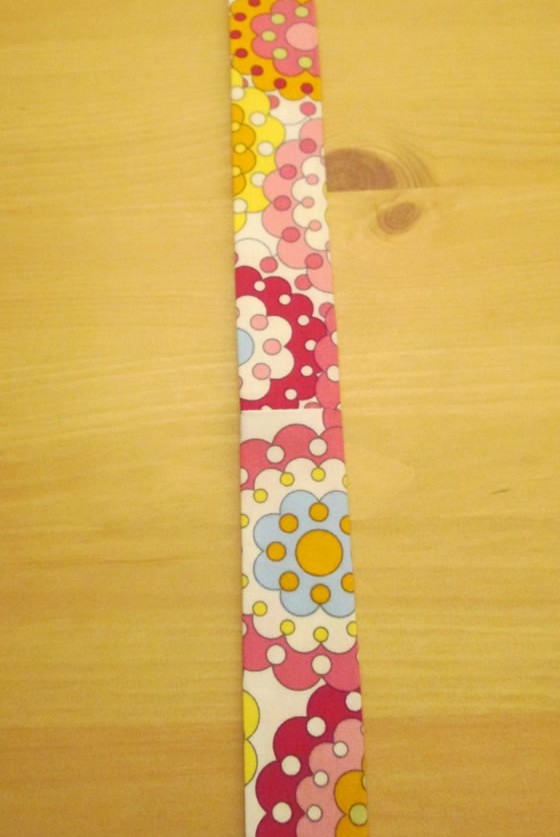
10. To make the waistband, you will need a strip of fabric the same length as your waist measurement and 10 cm wide. You may need to join more than one strip together to make it long enough.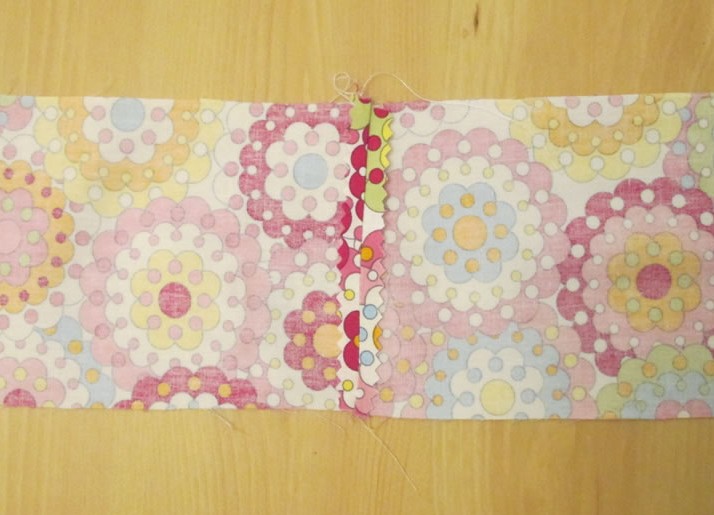
If your fabric is quite lightweight, you might want to add some fusible interfacing to make it a bit thicker.
Fold it half lengthways and press. 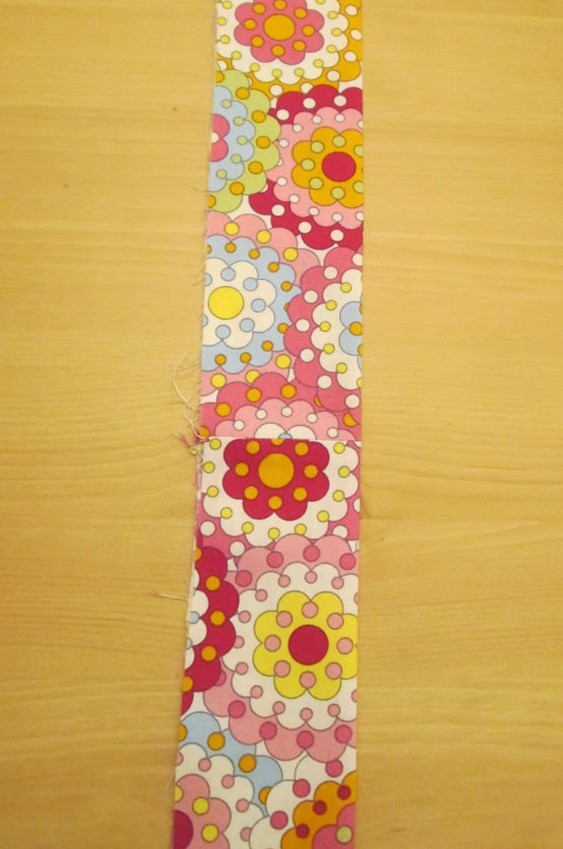 Then fold the raw edges inwards and press again.
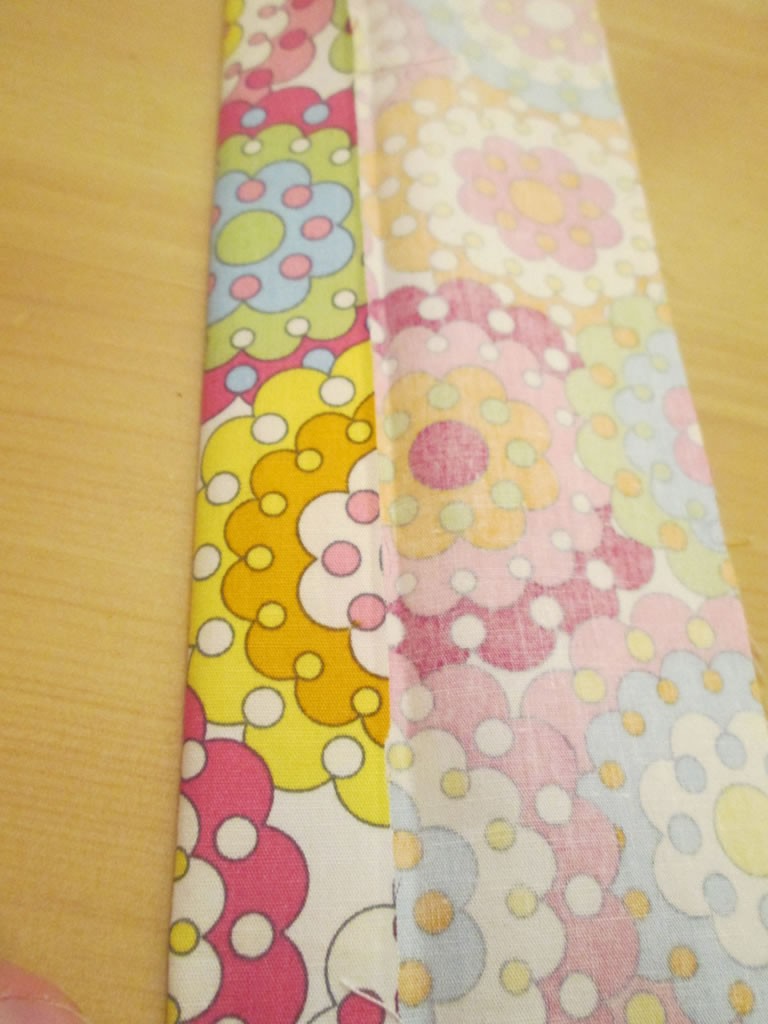
11. Find the middle of the waistband. On the wrong side of the skirt, pin the raw edge of the waistband to the raw edge of the top of the skirt. It’s best to do this starting in the middle, so align the halfway point of your waistband with the seam opposite the zip.  Sew all the way round.
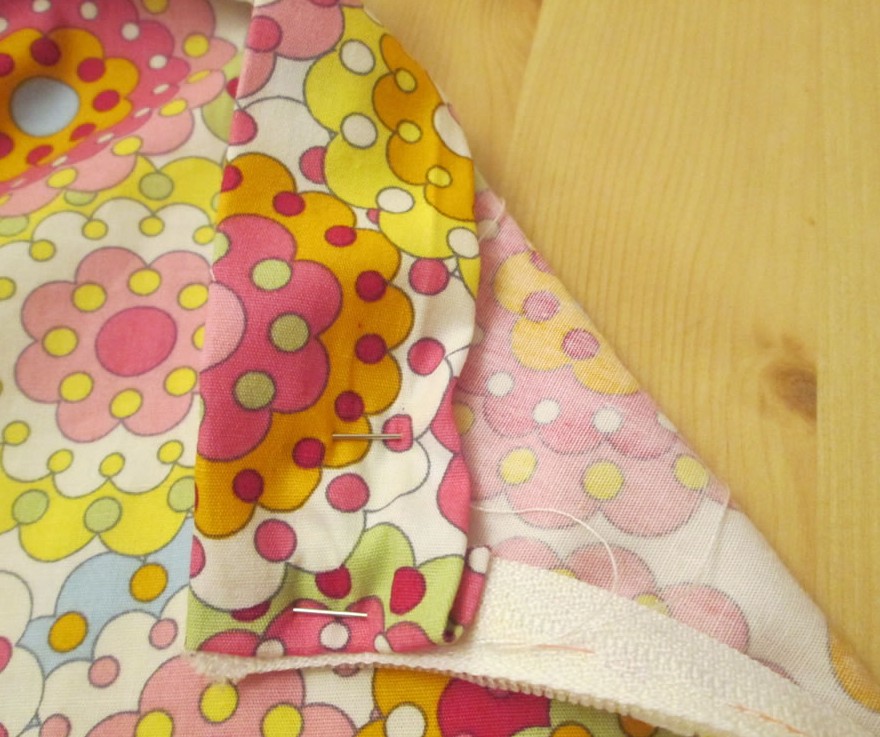
12. Fold the waistband over the top of the skirt and pin. When you get to the zip, fold it over the top of the zip, tucking the raw edges underneath. 
 Top stitch all the way round, keeping close to the bottom edge of the waistband.
Sew the edge of the waistband parallel with the zip.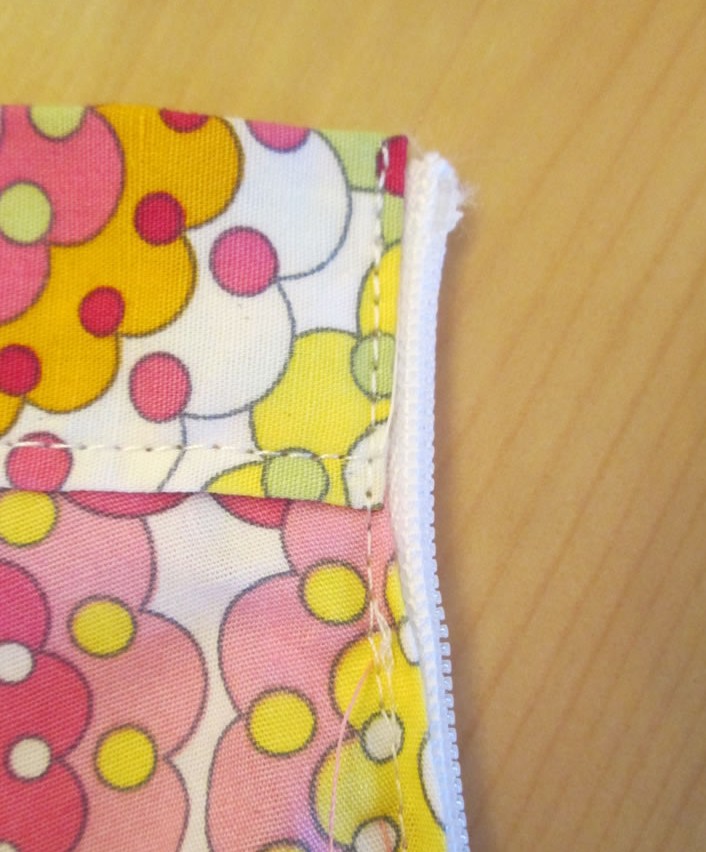
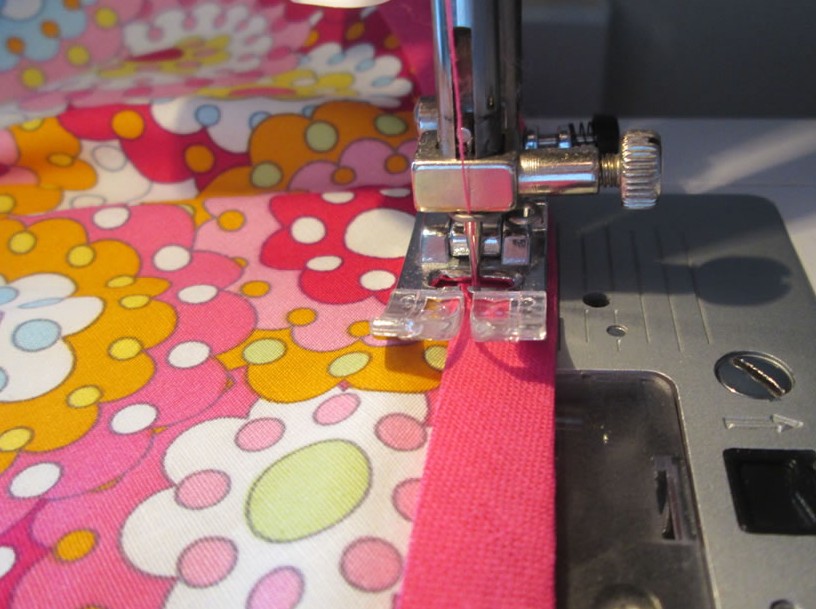
13.The last thing to do is the hem! As hemming a skirt with such a curve is tricky, I prefer to use bias binding because it is easier and it looks neater.
The easiest thing to do is to leave the bias binding on the roll and unroll it as you go.
Choose a place to start on your skirt. The side is a good place. Unroll a small amount of bias tape and pin one of the edges to the wrong side of the raw edge of the skirt. I didn’t bother pinning all of it, just the start. Tuck the end underneath and start to sew. 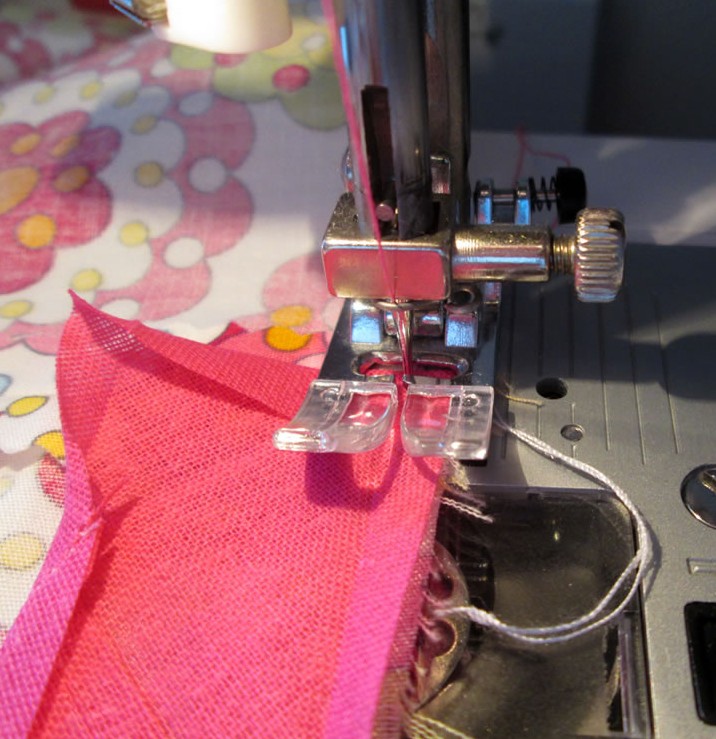 Sew the bias tape right the way round the bottom of the skirt. When you get back to where you started, keep going for 1 – 2 cm.
 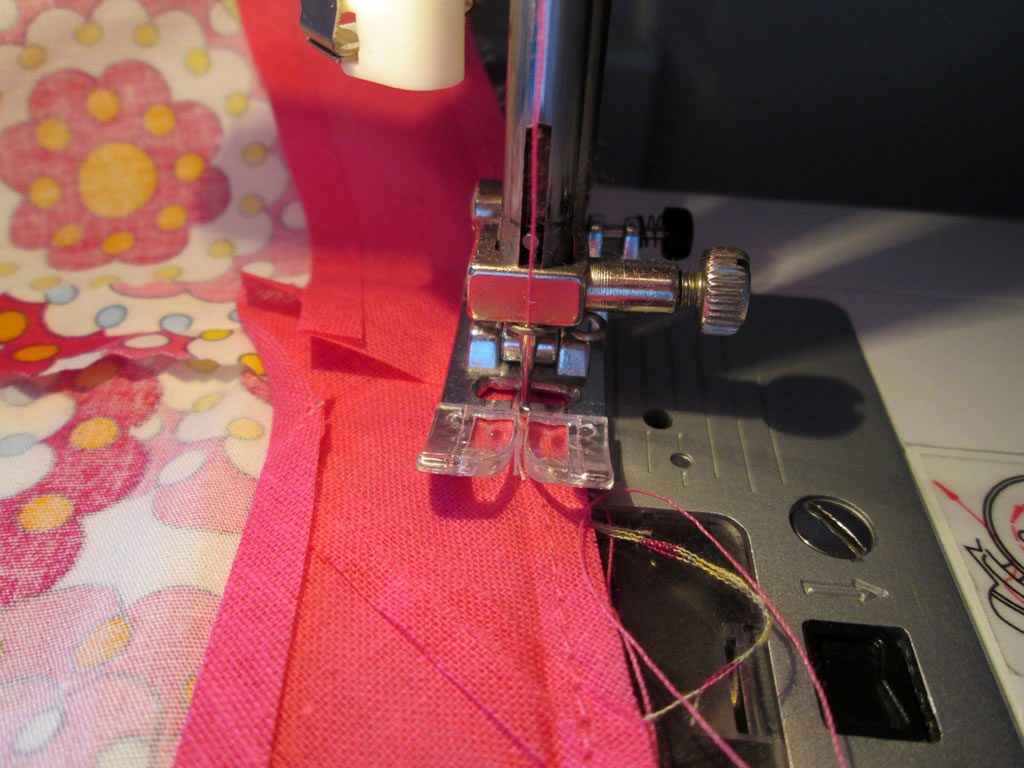 Cut the tape.
14. Fold the bias tape over the raw edge. Pin in place (although I skipped most the pinning here too!) and top stitch all the way round. 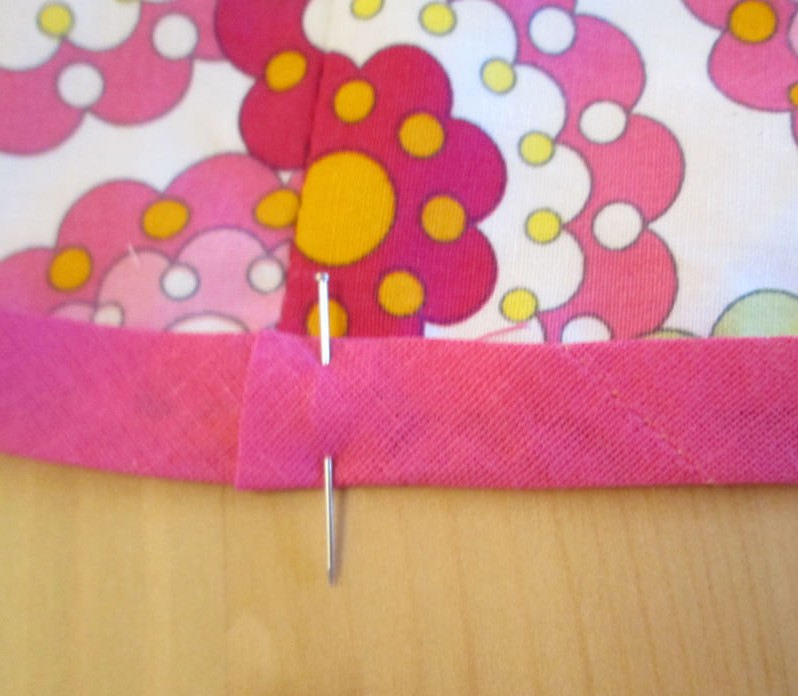
 Folding the end of the tape over when you started should result in a neat join.
Trim off all the threads and give it one last press.

PS If you want to sew clothes without using a pattern, you might like my ebook!
Linking up at these parties:


This is simply stunning! I would love to have the confidence and talent to make something this beautiful! Thanks for linking up to the #MMWBH 🙂
Thanks! It’s actually quite easy 🙂
An easy sewing project doable in an evening! http://t.co/kO4BQcP5Yu
Pinned & Shared! Thanks for coming to the party. Hope to see you again this week. Feel free to share at this week’s party if you like!
Thank you 🙂
Ooh this looks relatively simple (in comparison to most patterns!) I’ve seen so many fabrics I love, so I might give this a go. Thank you! #MMWBH
Sabrina x
It is easy Sabrina! You could make a few 🙂 I have plans to make some more!
What an adorable skirt! Once I get up the nerve to attempt clothing, skirt seems like the best place to start and this seems challenging yet simple. Thanks for sharing!
It’s a good project for beginners! If you make one I’d love to see it!
What a beautiful skirt, I love the fabric you’ve chosen and thanks for the detail tutorial
Thanks, I love it too 🙂
Fantastic tutorial with such clear instructions and photos! Thanks so much xx
Thank you!
This is a great tutorial for making a circle skirt. Every girl needs a twirly circle skirt! Thanks for linking up at the Stitch It, Blog It, Share It Link Party at Behind the Seams Sewing. I hope you will link up your talent with us each Sunday night @ 7PM.
~Bonnie