How to Sew In an Invisible Zip
How to Sew In an Invisible Zip
When it comes to sewing, zips are tricky, and knowing how to sew in an invisible zip is especially so.
If you’re sewing something using a pattern, the proper way of attaching the zip is often fiddly and awkward and the results are possible less than perfect.
Or if you’re sewing something that doesn’t need a pattern, like a cushion cover, you might need to sew in an invisible zip, but suddenly realise you have no idea at all how to sew the zip in. Bewilderment and possibly panic ensues, and the project is abandoned.
I know of people who are so put off even by the idea of sewing in an invisible zip that they’ll go to any length to avoid zips altogether!
Thankfully there is an easy way to sew in an invisible zip into a seam. I actually use it to sew in the non invisible kind as well!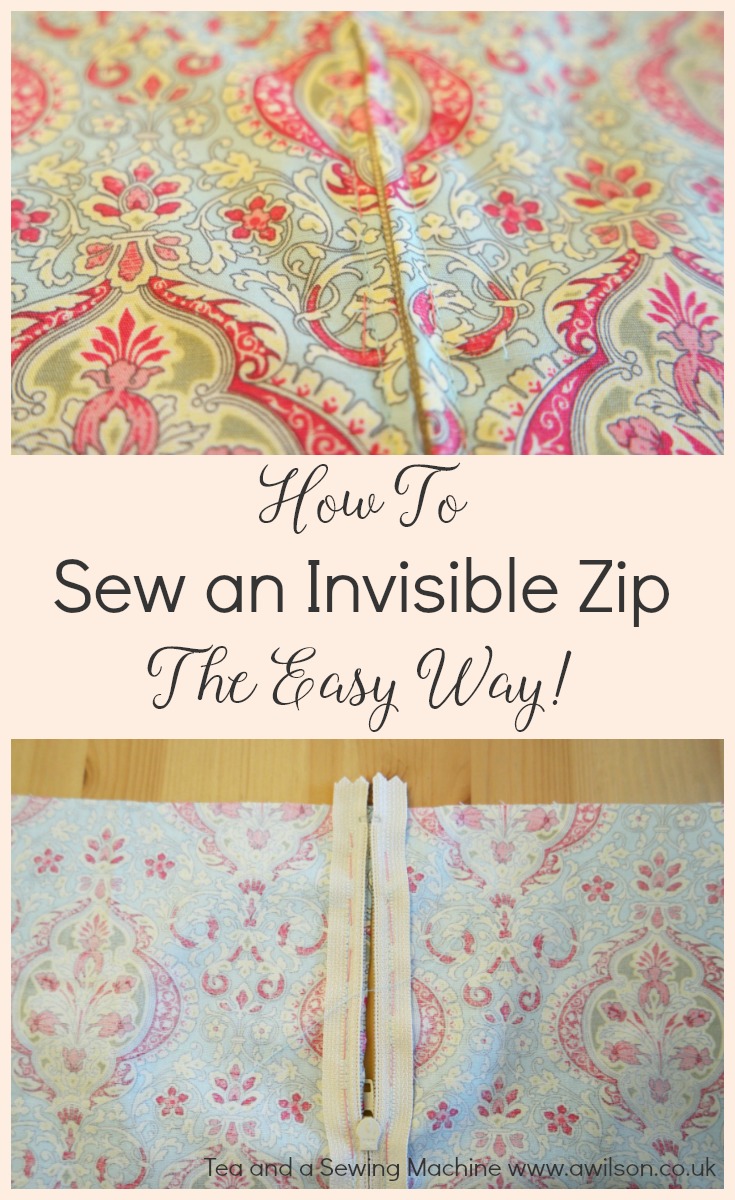
How to Sew in a Zip the Easy Way
As is often the case with this kind of thing, the proper way of going about things often not the easiest way. Yet if you do things the easy way, most of the time there’s no obvious difference than if you did it the proper way.
In fact, it may well end up being neater if you did it the easy way because there’s less chance of things going wrong.
This is the method I use when sewing a zip into a dress or a skirt, and it would probably work for sewing a zip into a cushion cover as well.
1. Pin the seams and check the fit. When I’m making a dress like this one (or this one!), I’ll put the zip in the side seam.
2. Sew up the seam where you’d like the zip to go. Press it open.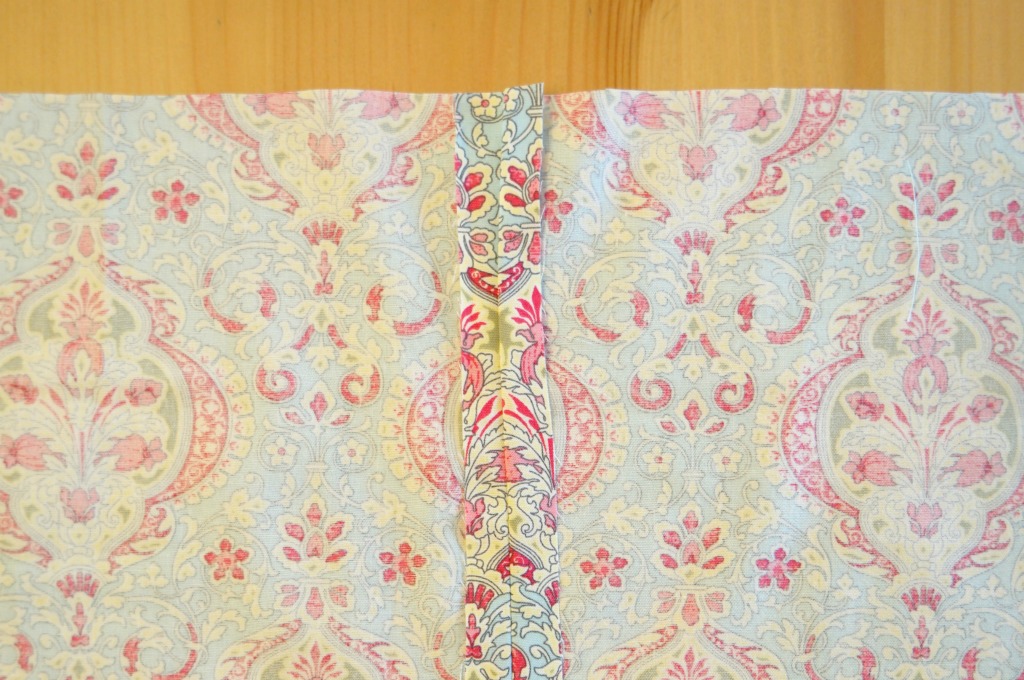
3. On the wrong side, pin the zip to the seam face down. Check that the teeth of the zip are aligned with the seam.
4. Tack the zip in place. It’s very important that the teeth are lined up with the seam, so keep checking!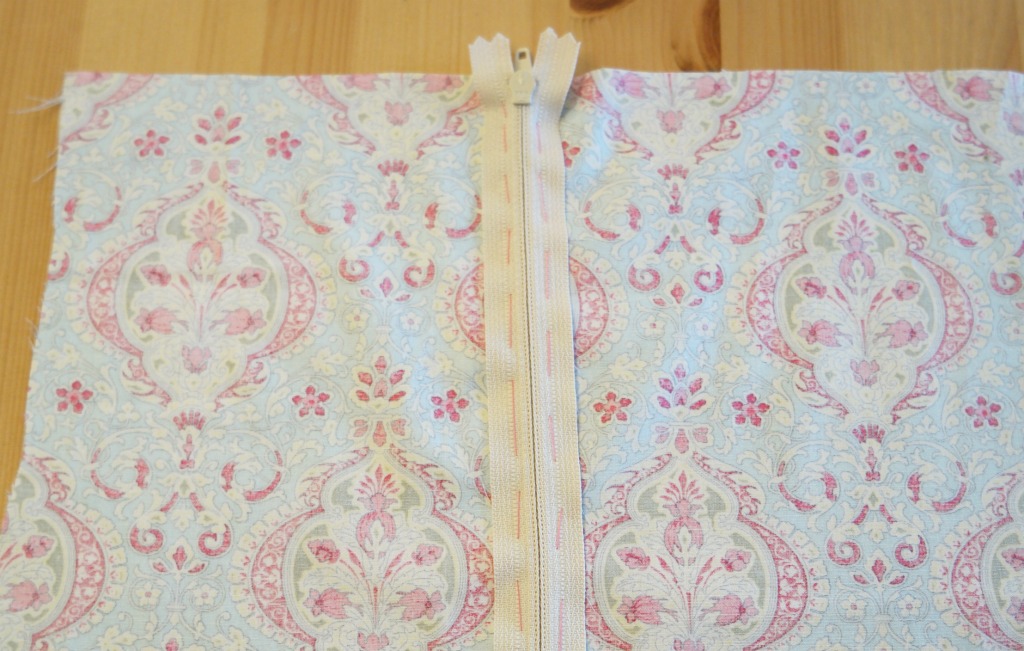
5. Sew the zip in place. It’s easiest to do this with a zip foot. They’re not expensive (this is an affiliate link for a universal zip foot on Amazon) and they allow you to get nice and close to the teeth and keep the stitches straight.
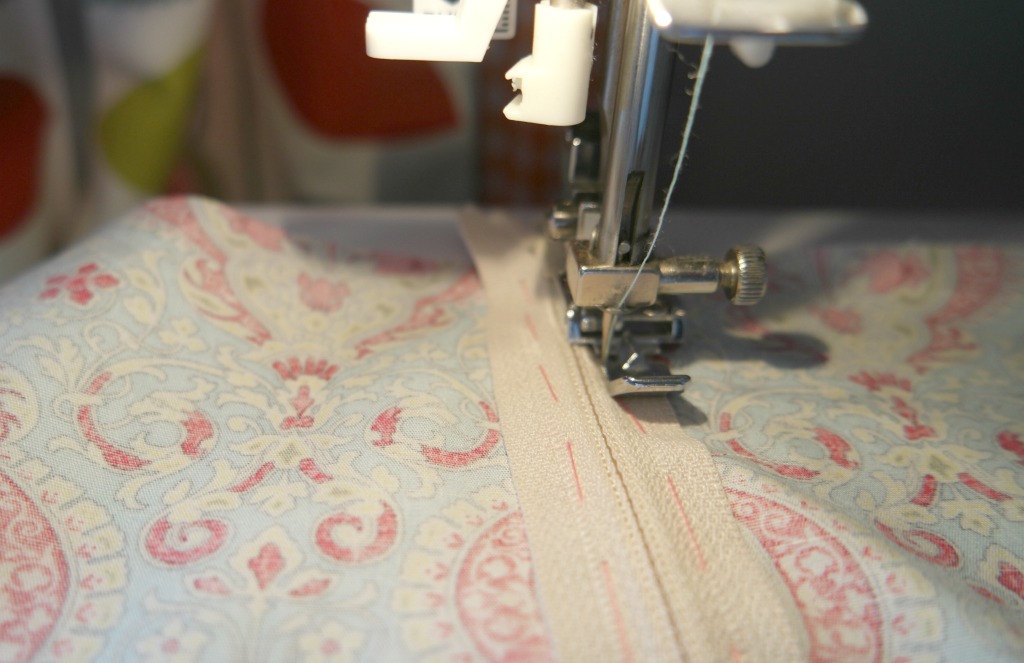
It can be tricky to sew past the zip pull, so start a little way down past it. Sew both sides of the zip.
When you check the right side, there should be a neat row of stitches on either side of the seam.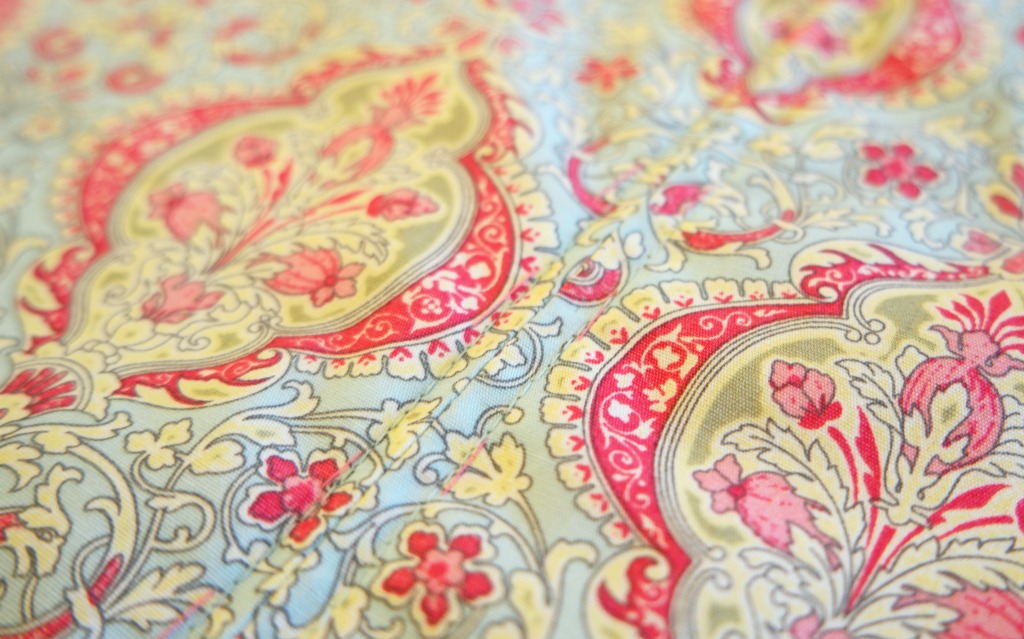
6. Now grab your unpicker! Unpick the part of the seam that is covering the zip to expose the teeth.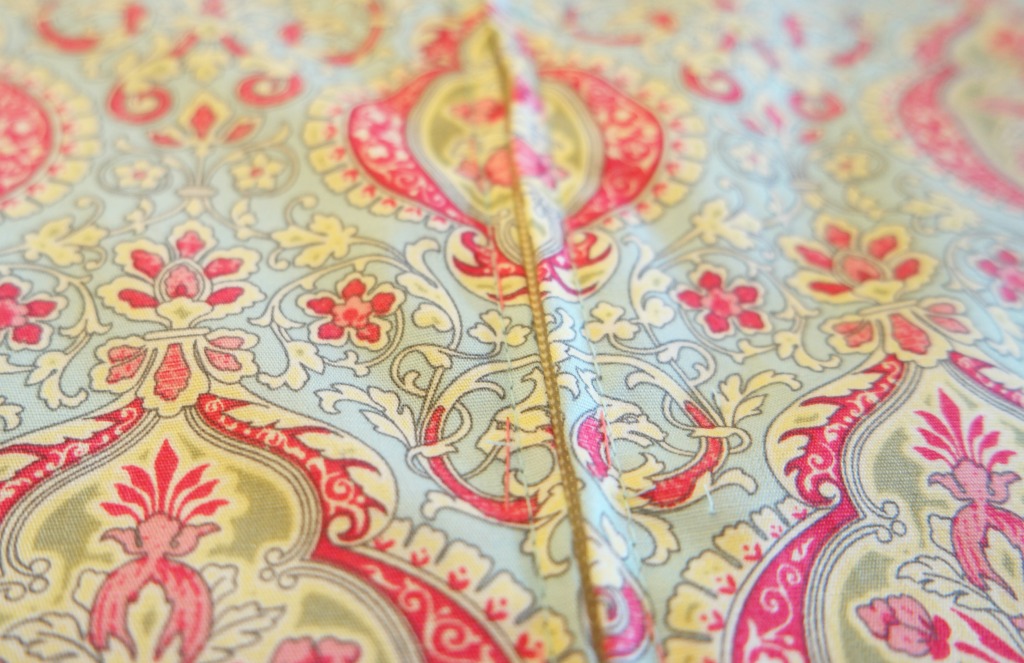
7. To sew the top end of the zip, move the zip pull down. Sew the top ends of the zip.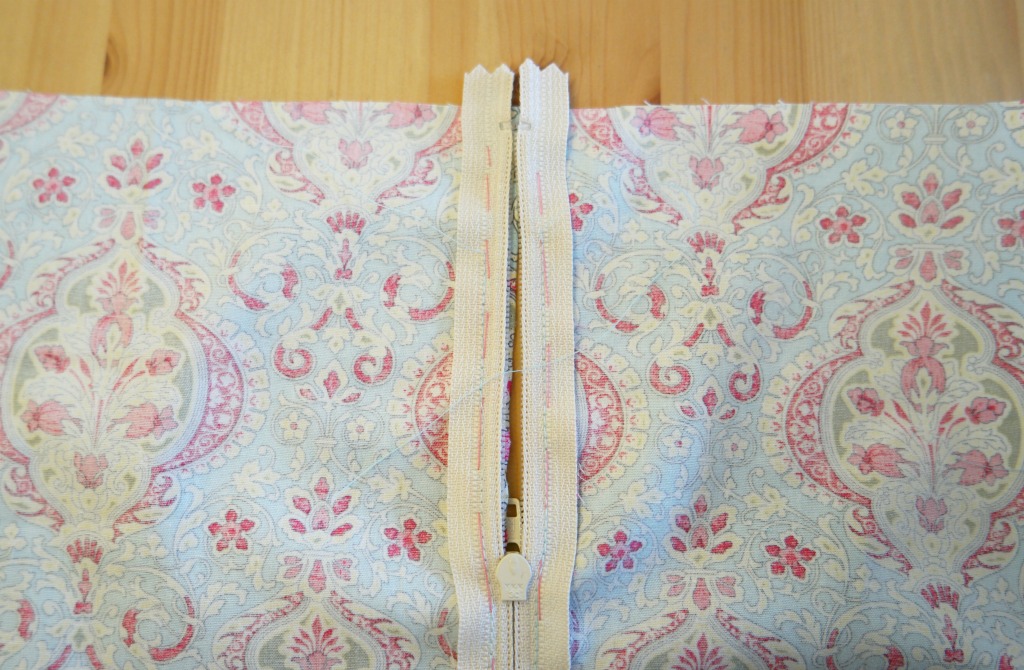
You should have a perfectly sewn in invisible zip!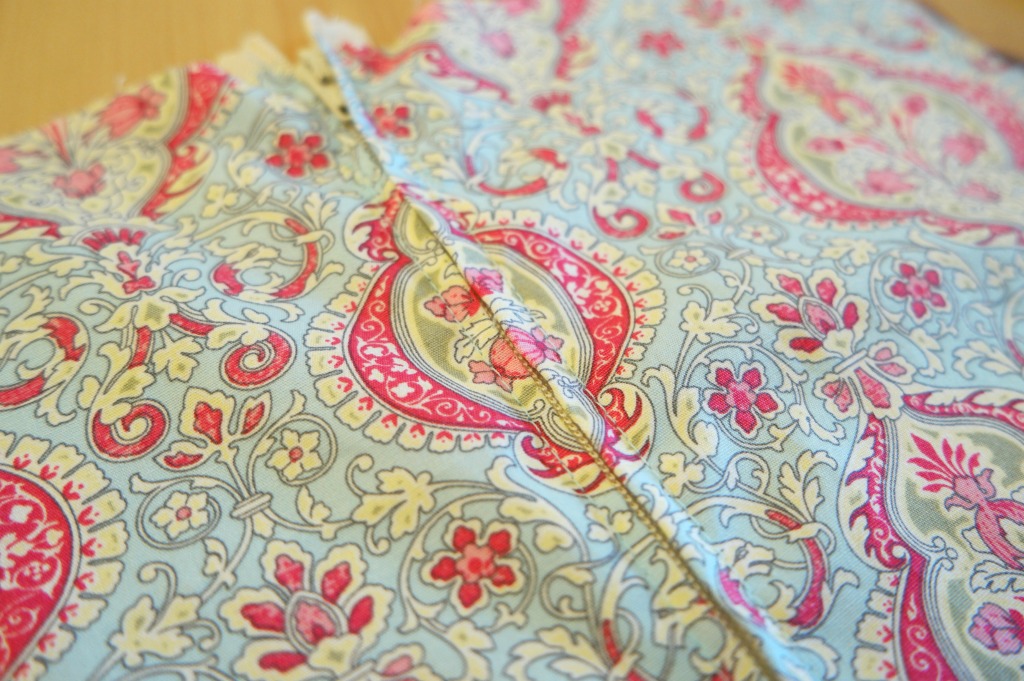
There will be little threads where you unpicked the seam, but they are easy enough to pull out.
If you find that on the first attempt it goes wonky, don’t worry. Just unpick it and try again. The important thing here is to make sure that the teeth of the zip are lined up with the seam. The other thing is to not unpick the seam until you’ve checked that the stitches are in the right place.


Holy moly! I’ve been dreading inserting my first ever invisible zip in a skirt I’m making and you just completely demystified it. Going to try this tomorrow! Thank you so much!
It’s the easiest way 🙂
Thanks for the information. It worked a treat, first time, and saved my sanity.
Glad you found it helpful!
Great tip Anna. I usually do this but I only stitch to the bottom of the zip, then I do some ‘as neat as I can’ tacking for the bit where the zip is going. I just find that easier to take out afterwards. I feel like I may be fussing over nothing now! I’ll try this way next time & see how I get on. Thanks
Julie recently posted…10 ways to make Felt flowers
this is my way of sewing in zips for about 40 years
Definitely the only way to do it xx
Thanks for the tutorial, hopefully my zips will look better now!
Regards from South Africa
Thanks Magda!