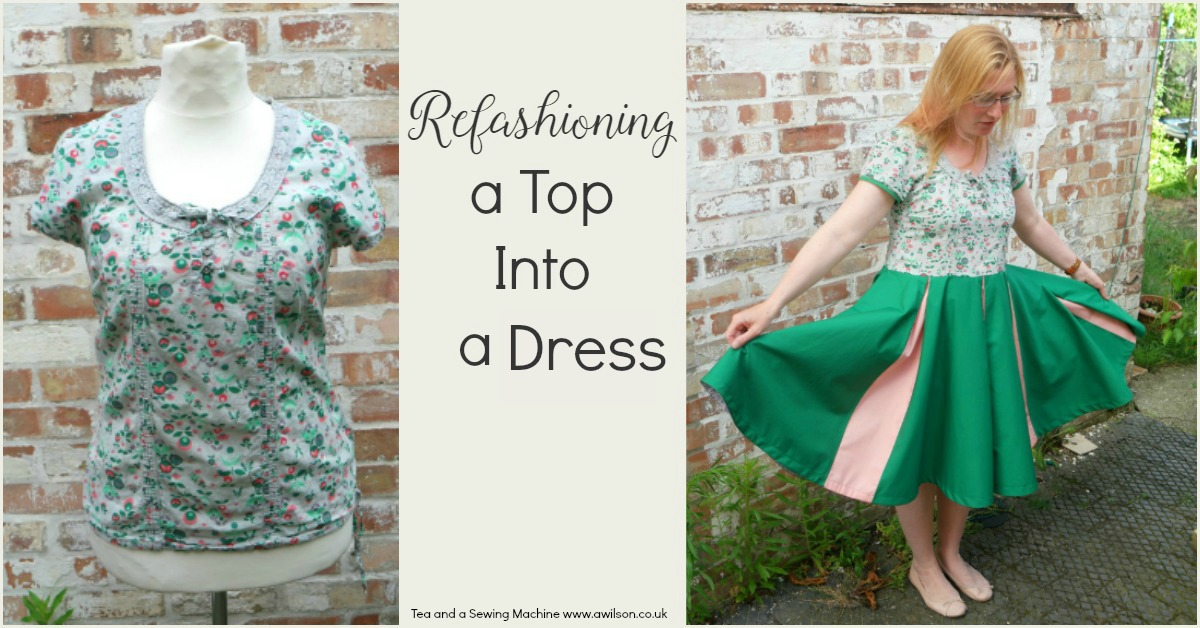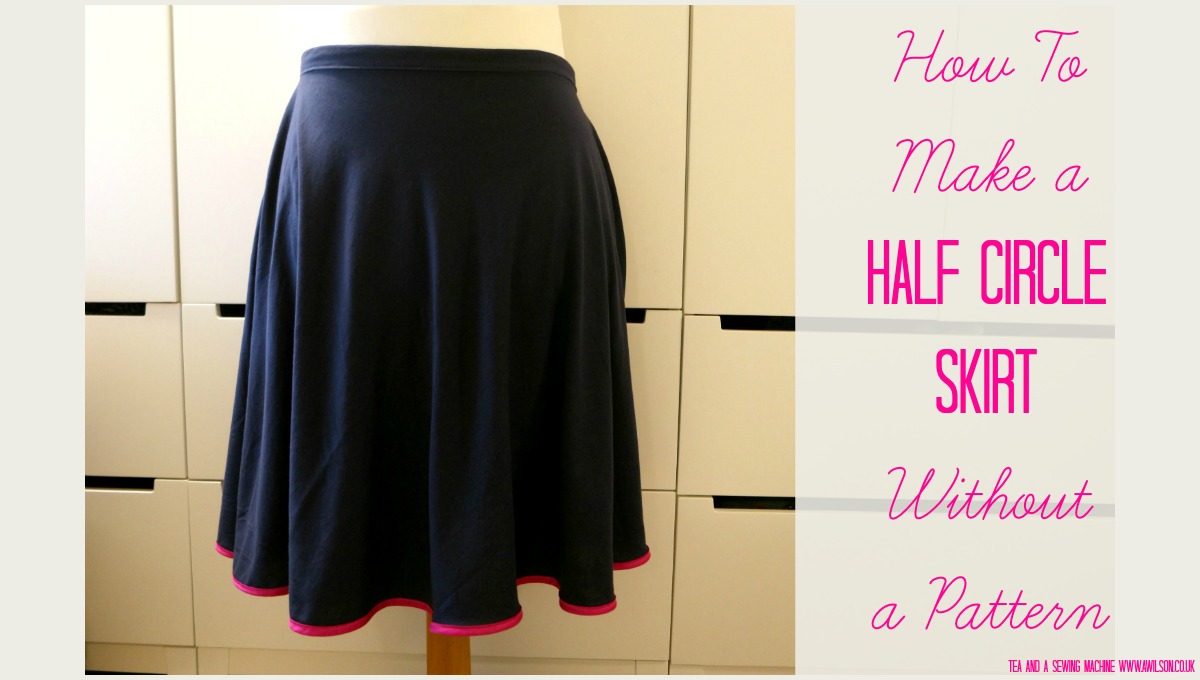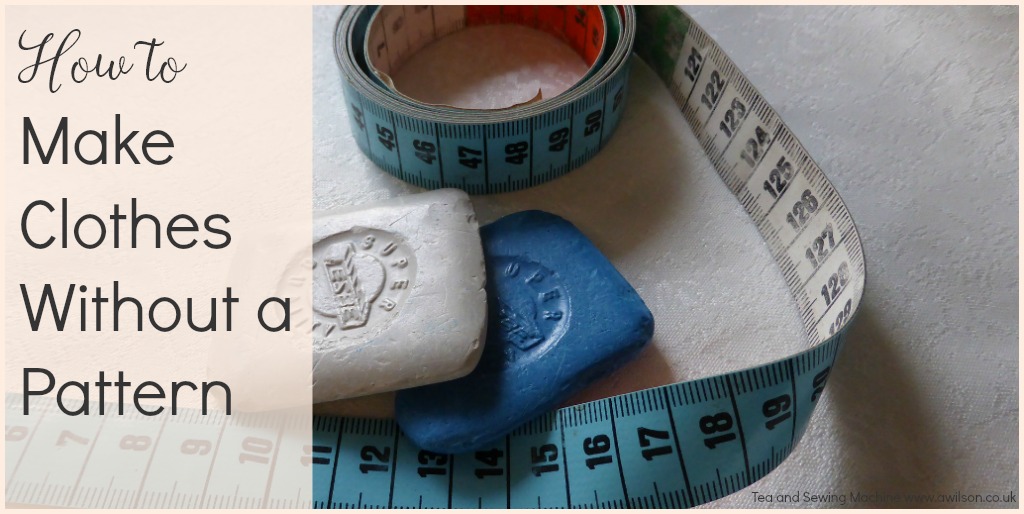
How to Make Clothes Without a Pattern
How to Make Clothes Without a Pattern Can I Make Clothes Without a Pattern? A couple of years ago I started asking myself whether it was possible to make clothes without a pattern. Was it possible for somebody with no formal training to make something completely from scratch?…