• Home
  • About
  • Blog
  • Ebooks and Printables
  • Etsy
  • Sewing Journal

Make it Yourself. Yes You Can!

  • Sewing Projects
  • Tips and Techniques
  • Embroidery
  • Other Crafts
    • Crochet
    • Felting
    • Jewellery
    • Wreaths
  • Christmas

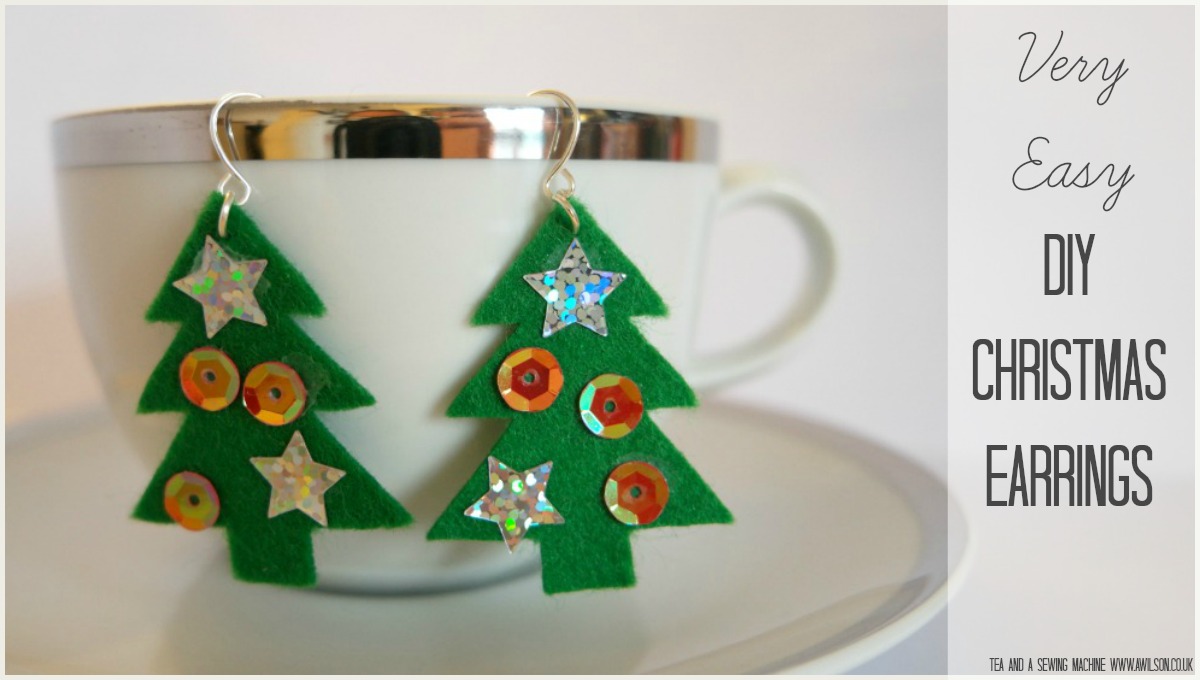
Very Easy DIY Christmas Earrings

November 16, 2016 · 1 Comment

Very Easy DIY Christmas Earringsvery-easy-diy-christmas-earrings tutorial how to

It’s nice to have something to wear at Christmas.

However, buying new clothes can be expensive, and it doesn’t always seem worth it to buy something just for Christmas.

And as any of you who have kids will know, going clothes shopping with children in tow is not fun!

I love to make my own clothes, but this is time consuming and, in the run up to Christmas, time is in short supply, especially if you want to retain enough of your sanity to actually enjoy it!

An easier (and usually cheaper!) way to sort yourself out with a Christmas outfit is to Christmas up something that you have already, and this was the 9th challenge in The 12 Days of Christmas DIY Challenges.

You could applique something to an existing outfit (like I did with this interactive Christmas jumper), add a Christmassy trim, or find/ make/ buy Christmas accessories. If you’d like some more ideas for what you could do here, please take a look at the links at the bottom of this post.

The overall theme for The 12 Days of Christmas DIY Challenges was to make stuff for Christmas using what we have already, I decided to have a rootle about, and this is what I found!very easy diy christmas earrings christmas tree earrings tutorial how to

About half an hour later, I had some lovely new DIY Christmas earrings!

If you’ve never made earrings before, don’t be put off. The only thing to remember is not to pull the jump ring apart. It needs to keep its circular shape, so separate the ends in such a way that it stays a circle.

How to Make Very Easy DIY Christmas Earrings

You Will Need:

Felt, beads or sequins, glue, 2 ear wires, 2 jump rings, a darning needle, paper and a pencil.

How to Make Christmas Tree Earrings

1. Onto a piece of paper, draw a simple Christmas tree. Folding the paper in half and then drawing will give you a symmetrical tree. Cut out the tree.very easy diy christmas earrings christmas tree earrings tutorial how tovery easy christmas earrings christmas tree earrings tutorial diy how to

2. Using your template, cut 2 trees from green felt.very easy diy christmas earrings christmas tree earrings tutorial how to

3.Take one of the felt trees and make a hole in the top of the tree with the darning needle. Open the jump ring using a twisting motion and thread it through the hole.

4. Thread the ear wire through the jump ring and close the jump ring. Do this for the other tree too.very easy diy christmas earrings christmas tree earrings tutorial how to

5. Glue the sequins or beads to the trees.very easy diy christmas earrings christmas tree earrings tutorial how to

Wait for the glue to dry. You have some new earrings!very-easy-diy-christmas-earrings

Share this:

  • Click to email this to a friend (Opens in new window)
  • Click to share on Pinterest (Opens in new window)
  • Click to share on Facebook (Opens in new window)
  • Click to share on Twitter (Opens in new window)

Filed In: Blog, Christmas / Tagged: 12 days of christmas diy challenges, earrings, how to, Jewellery

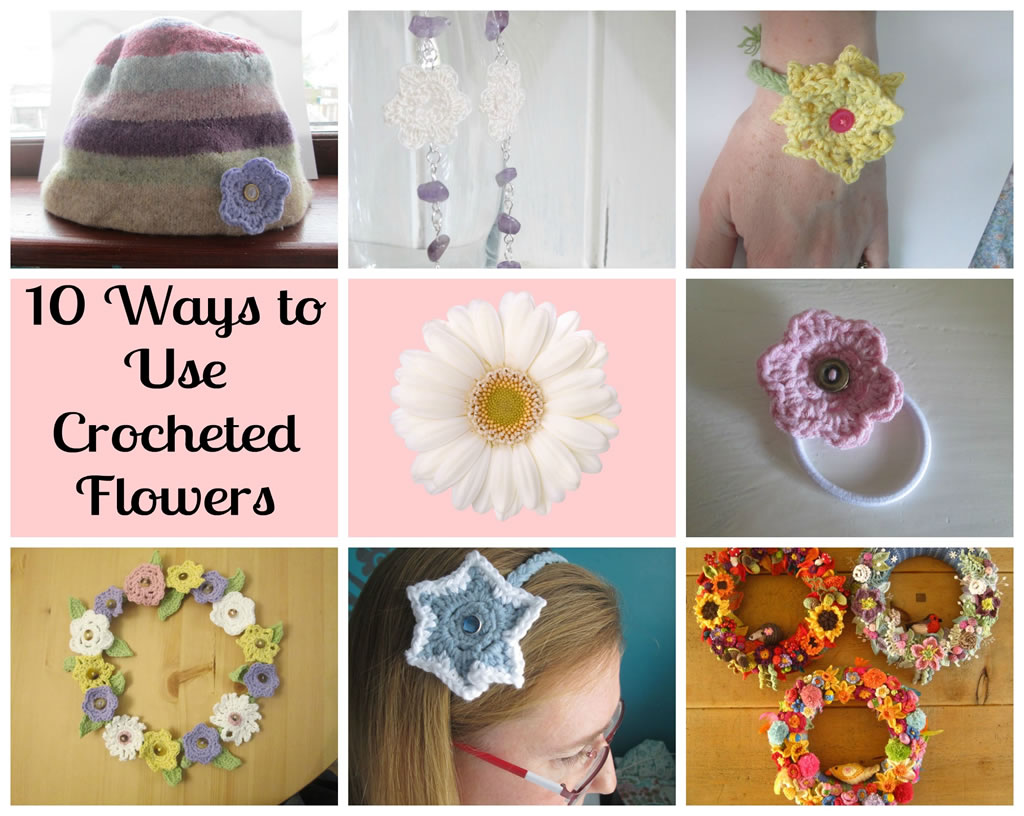
10 Ways to Use Crocheted Flowers

March 17, 2015 · 4 Comments

I’ve been on a bit of a crocheted flower frenzy recently. I have made loads. Quite a lot of them got used up when I made my crocheted flower garland (you can read about that here!) but I’ve still got some left.

So here are 10 ways to use crocheted flowers so they don’t just sit in a heap on the unfinished projects pile!10 ways to use crocheted flowers

10 Ways to Use Crocheted Flowers

10 ways to use crocheted flowers1. Sew them to a hat. It’s an easy way to pretty up a boring old beanie.

2. Sew them to a jumper. You could add one or two, or several! Try sewing them all round the neckline to add some new life to an old jumper. It’s be almost as good as having a new jumper!

3. Sew or glue a flower to a hair bobble10 ways to use crocheted flowers or a hair clip.I made these for Boy 3’s nursery’s Easter Fair last year. If you prefer something that looks a bit more grown up, you could slip a flower onto a hair grip or glue some onto a comb instead.

10 ways to use crocheted flowers4. Make a hairband. Either stick them to an existing hair band or crochet or plait a band and join the ends with a piece of elastic and sew the flowers on.

5. Make them into a bracelet. I 10 ways to use crocheted flowersplaited a band, sewed the flowers on and tied the ends together.

6. Attach them to a bag. You could add one or two for a subtle change or, if you have lots, or some big ones, you could completely transform it!

10 ways to use crocheted flowers7. If you have some lacy ones made from embroidery thread, you could make some earrings like these. Full instructions for making them can be found here!

8. Use crocheted flowers to embellish a cushion.If you have an old jumper you don’t wear any more, you could easily turn it into a cushion cover and sew the flowers on to decorate it.

9. Make a flower garland like the one I did here.10 ways to use crocheted flowers It’s a great way to use up flowers, the cord is very easy to make and it adds a little piece of spring to wherever you choose to put it!

10 ways to use crocheted flowers10. If you have a lot of flowers you could make a wreath like these from Attic24. These are among the most beautiful things I have ever seen and I would never have thought of using crocheted flowers like this!

How do you like to use crocheted flowers?

PS if you need patterns for flowers, here are some!

Crocheted Daffodil Pattern

Pink Crocheted Lace Flower

Crocheted Flower with Contrasting Centre

Crocheted Flower with Lacy Petals pdf

Crocheted Flower with Pointed Petals

Share this:

  • Click to email this to a friend (Opens in new window)
  • Click to share on Pinterest (Opens in new window)
  • Click to share on Facebook (Opens in new window)
  • Click to share on Twitter (Opens in new window)

Filed In: Crochet, Other Crafts / Tagged: craft fair, decor, earrings, how to, wreath

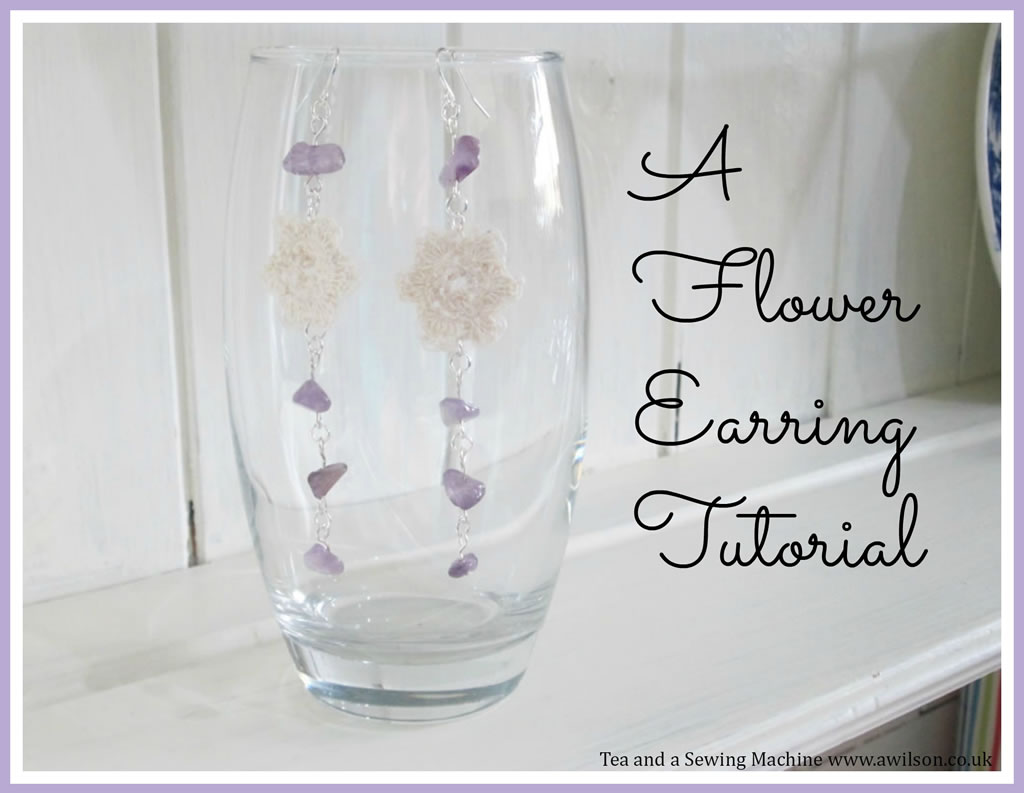
A Crocheted Flower Earrings Tutorial

March 13, 2015 · 16 Comments

I haven’t made any jewellery in so long, it was nice to dust off my round nosed pliers and my wire bits and bobs!

I’ve incorporated crochet into jewellery making before. You cancrocheted wire earrings read about it here:Crocheted Wire Earrings.


This time I have used a crocheted flower as an element of each earring. The beads are semi precious stones that used to be a rather boring necklace! I strung them together using eyepins and jump rings.

The earrings came together pretty quickly and took at most a couple of hours to make. This included designing the earrings and crocheting the flowers.crocheted flower earrings

A Crocheted Flower Earrings Tutorial

You Will Need: single strand embroidery thread, 2 mm crochet hook, 2 ear wires, 8 semi precious natural rough cut or chip beads, 2 head pins, 6 eye pins, 14 jump rings, round nosed pliers, flat nosed pliers, wire cutters.crocheted flower earrings

1. Make the flowers using the embroidery thread and the crochet hook. Instructions can be found here (it’s a tutorial for making a flower for a hair bobble, but the pattern is the same. The flower turns out smaller because the thread is finer and the hook is smaller).

2. Take one of the beads and thread it onto a head pin. Make a loop.crocheted flower earrings

If you are new to this or it has been a while and you’ve forgotten, to make a loop, bend the end of the head pin over to make a right angle.crocheted flower earrings Cut the end off so that you are left with about a cm of wire. Using the round nosed pliers and starting at the end furthest from the bead, bend the wire into a loop about half way. crocheted flower earringscrocheted flower earringsAdjust your hand and the pliers so that you are comfortable. Complete the loop.crocheted flower earrings If the loop is not quite closed, give it a gentle squeeze with the flat nosed pliers.

3. Take another bead and thread it onto an eye pin. Make the free end into a loop. Repeat for the 2 remaining beads.crocheted flower earrings

4. Attach a jump ring to the top of the flower between the petals. Attaching it here will hopefully prevent the flower from becoming stretched when you are wearing the earrings. Attach another jump ring to the first jump ring.crocheted flower earrings

5. Attach 2 more jump rings to the bottom of the flower in the same way.crocheted flower earrings

6. Using the jump rings, attach the rest of the elements together. Below the flower, attach 3 beads all joined together with jump rings with the last bead being the one on a head pin.crocheted flower earringscrocheted flower earringscrocheted flower earrings

Above the flower, attach one bead and then the ear wire.crocheted flower earringsHere are the finished earrings!crocheted flower earringscrocheted flower earrings

Share this:

  • Click to email this to a friend (Opens in new window)
  • Click to share on Pinterest (Opens in new window)
  • Click to share on Facebook (Opens in new window)
  • Click to share on Twitter (Opens in new window)

Filed In: Crochet, Jewellery, Other Crafts / Tagged: Crochet, earrings, how to

I'm Anna and I live in rural Norfolk in the UK. My mum taught me how to use a sewing machine when I was 10 and I haven't looked back! I love making all sorts of things and I hope you find inspiration here.

Join the list

Join the mailing list to receive updates, useful and interesting links and free pages from the Sewing Journal.

My New Ebook

things to male and do in the autumn

Bunting Makes Everything Better Tote Bag

Featured Kit

The Sewing Journal

My Kits and Patterns on Etsy

Shop the Christmas Shop at Sew and So


Join the List

Join the mailing list to receive updates, useful and interesting links and free pages from the Sewing Journal.

Privacy Policy

For information about cookies and Tea and a Sewing Machine's privacy policy, please click here.

Instagram

Instagram Widget by SnapWidget


UK Sewing Blogs

Theme by 17th Avenue · Powered by WordPress & Genesis

loading Cancel
Post was not sent - check your email addresses!
Email check failed, please try again
Sorry, your blog cannot share posts by email.
We use cookies to ensure that we give you the best experience on our website. If you continue to use this site we will assume that you are happy with it.Ok