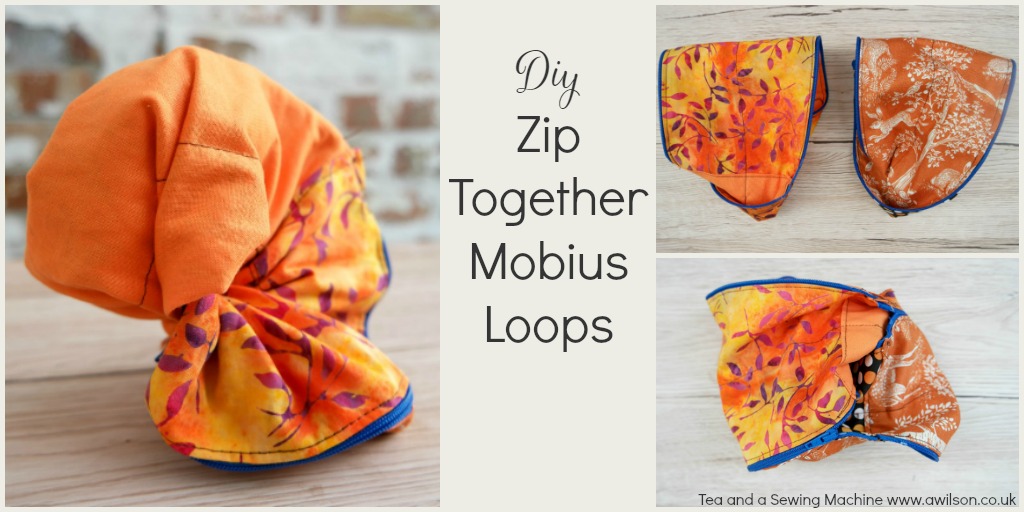
Mobius Loops That Zip Together
Mobius Loops That Zip Together If somebody had told me 10 years ago that having kids would result in my liking maths, I wouldn’t have believed them. In fact, I think I would have laughed in that person’s face. Just as having a transport mad child means that…