How to Sew a Laptop Sleeve
How to Sew a Laptop Sleeve
I like my stuff pretty.
Not over the top pretty, everything pink and endless ruffles. But I do like pretty things, fabric boxes, cushions that I’ve made myself and I wear dresses for the school run.
Laptops generally are not pretty. Neither are sewing machines, although I have seen some pretty ones!
We don’t usually make these purchasing decisions based on how the things look. We need them to work properly, to not eat our sewing or our blog posts, so we buy them based on those things instead.
An easy way of making these functional machines prettier is to make them cover or case.
My sewing machine already has a pretty cover. So here’s a tutorial showing how to sew a laptop sleeve!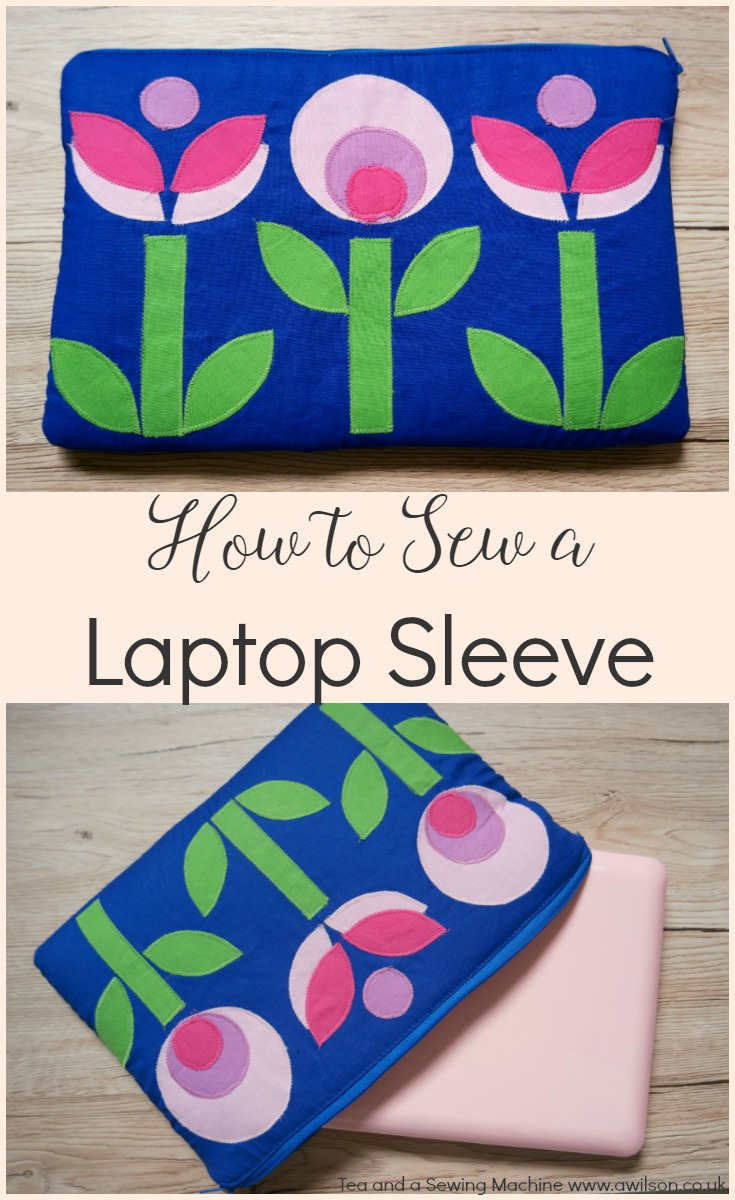
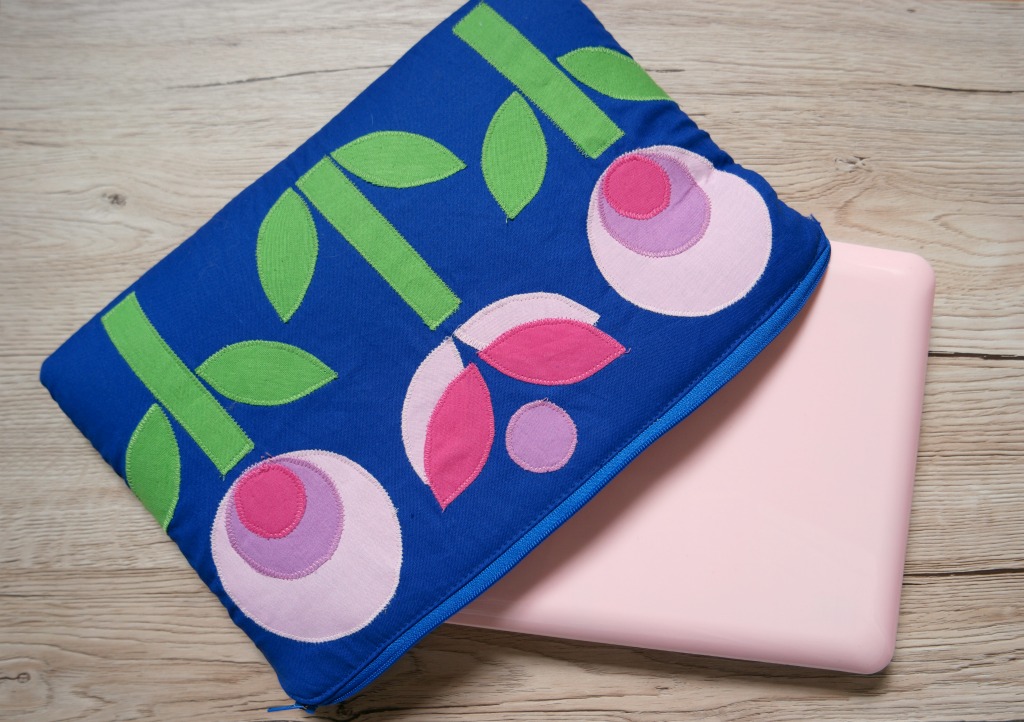
I love retro flowers with their geometric designs, and for inspiration I used the flowers on this top that I turned into a dress.
If you would like the templates for the flowers, these are available as a content upgrade at the bottom of the post.
Instructions
You Will Need
To sew a laptop sleeve, you will need some scraps of cotton fabric for the stems and the flowers (4 different colours), fusible interfacing, sew in interfacing or batting to give it a squidgy quality (I used Soft and Stable. This is an affiliate link), a zip and cotton fabric for the outer and the lining.
For a netbook, 1 fat quarter of each will be enough.
For a laptop, you’ll need more, maybe half a metre, so check when you’ve measured!
The zip will need to be long enough to go around the corners of the sleeve, so how long you need it to be will again depend on the size of your laptop.
Measuring Your Laptop
Take your tape measure and measure around your laptop, both the width and the length. Measuring like this will allow you to take into account the depth of the laptop as well.
Take each measurement and divide it in half. Now add a seam allowance and another couple of cm so that the sleeve is not too snug!
This gives you the size of the rectangle you need for the main pieces of the sleeve.
Cutting Out
You might want to make yourself a template first from paper.
Cut 2 rectangles from the outer fabric, 2 from the lining and 2 from the batting or sew in interfacing.
Cutting Out the Flowers
This design uses 3 circles of different sizes, 1 leaf/ petal shape and a long rectangle for the stems.
To get the circles, I drew around some cookie cutters! Once I’d worked out the size of the rectangle, I chose the largest circle that would fit comfortably 3 times on the rectangle.
For the smallest circle, I drew round the inside of a roll of washi tape.
To cut the leaf/petal shape, I started with the largest circle and divided it into 4. I used the curved edge of 1 quarter, then drew the opposite edge to match.
If you don’t want to draw your own, you can use the templates I made. You can get these at the bottom of the post.
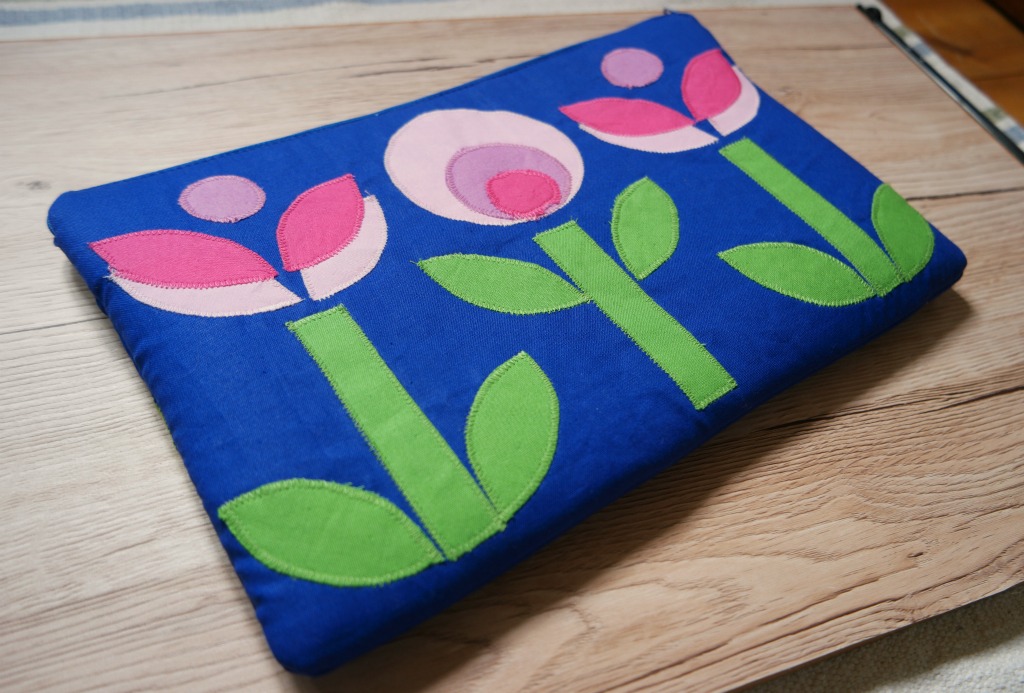
I made 3 of each type of flower so that the back and the front of the laptop sleeve are different. If you want them to be the same, you’ll need to cut 1 more larger circle, 1 more middling sized circle and 4 less petals. You’ll also need to swap one of the small circles in flower colour 2 for a small circle in flower colour 3.
Once you have your templates, you will need to cut:
3 large circles from flower colour 1
3 middling sized circles from flower colour 2
3 small circles from flower colour 3 and 3 more from flower colour 2
6 stems in green
12 leaf/ petals in green
6 leaf/ petals in flower colour 1 and 6 more in flower colour 3
Appliqueing the Flowers
Before appliqueing the flowers to the outer of the sleeve, arrange the pieces on to get an idea of how close together they need to be. The sleeve I’ve made is for my little netbook. If you’re making a sleeve for a laptop, you’ll be able to spread them out a bit more.
Starting with the flower pieces that will be at the bottom, applique them in place. Add the overlapping pieces as you go. The pictures below show you how!


Sewing the Up the Laptop Sleeve
1. Make the covered ends for the zip. You don’t have to do this, it just makes it look a bit neater!
Cut 2 rectangles of fabric about 5 cm wide and 8 cm long.
Take one of the rectangles and fold it in half width ways. Fold the ends inwards about 1 cm.
Pop the folded rectangle over the end of the zip and pin. Sew across the folded edges.


Cover the other end of the zip in the same way.
The open end of the zip can be tricky. To make it easier, pull the zip slider thing back and pin the ends together, then make the covered end as in the steps above.
2. Take one of the outer sections and a piece of interfacing. Put the interfacing underneath, then the zip on the top. The zip needs to be face down, in the centre and with the edge aligned with the top edge of the outer and the interfacing.
You’ll need to clip the sides of zip to get it to curve round at the corners.
Once you’ve pinned the zip in place, pop the lining on the top, right side down and pin it to the zip, outer and interfacing.
3. Sew the zip together with the lining, outer and interfacing. I started in the centre and sewed outwards, then did it again going the other way.
4. Do the same with the other outer, lining and interfacing pieces and the other side of the zip. This is a bit fiddly!
5. Now open the zip at least 10 cm. It’s important to remember to do this otherwise you’ll have issues turning it the right way out.
Separate the lining and the outer. Leaving a gap in the bottom for turning out, sew the bottom and the sides of the lining up as far as the zip.
6. Now sew the outer in the same way, but without leaving a gap at the bottom. Trim the seams.
7. Turn the sleeve the right way out. This is where you’ll be glad you remembered to open the zip! Hand stitch the opening in the lining.
I found that the seam with the zip wouldn’t sit flat. Soft and Stable is quite bulky, but I didn’t want to trim the seams to closely in case the cotton frayed.
So I top stitched around the zip. This will also help to prevent the lining from becoming caught up in the zip!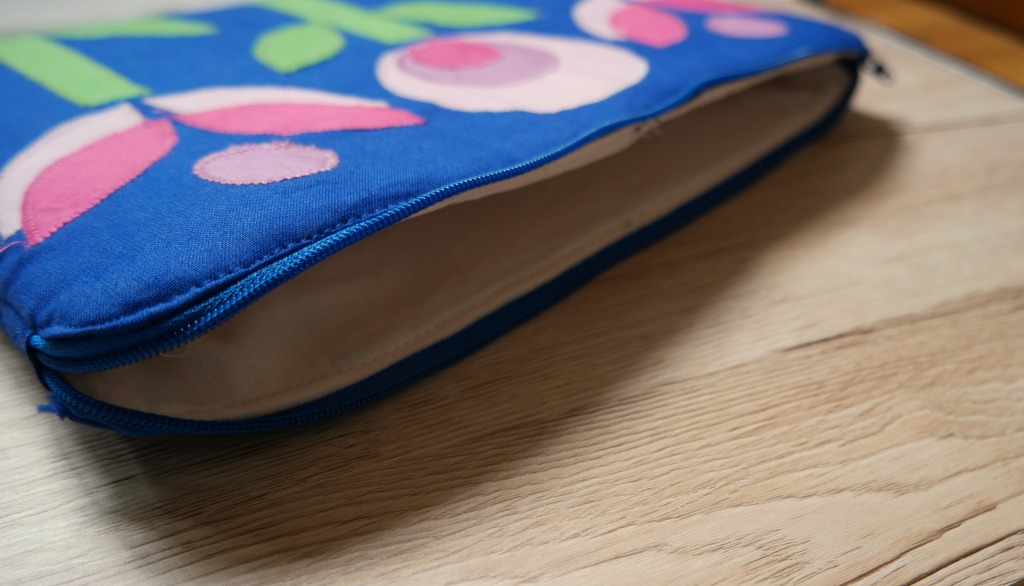
Having said that laptops are not pretty, I actually managed to find a pink netbook!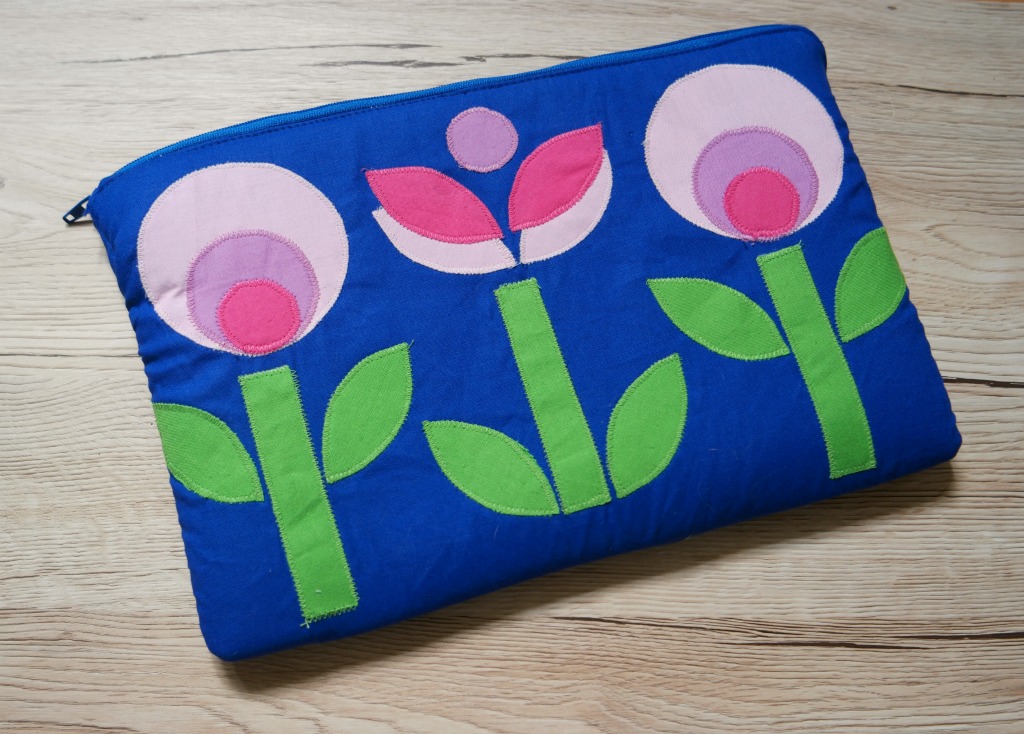
If you want to sew a laptop sleeve and you’d like the templates I used for the flowers, please enter your email address in the form below.
Please note that by doing this, you will be added to the Tea and a Sewing Machine email list. I will send you regular emails, usually once a week, containing sewing tips, links, updates and free stuff. If you do not wish to receive these emails, you can unsubscribe at any time.
[chimpy_form forms=”23″]
Linking up here.



Very pretty and fun! I love to applique, although I haven’t done it too much. I need to get over my “fear” of sewing zippers as there are tons of fun cases to be made! Visiting <a href="https://alltechelect.com/ "from Craft Schooling Sunday party
Thank you. Zips get easier with practise 🙂
awesome idea, thanks for sharing nice article.
Very pretty and fun! I love to applique, although I haven’t done it too much. I need to get over my “fear” of sewing zippers as there are tons of fun cases to be made! Visiting from Craft Schooling Sunday party.
Thanks Victoria 🙂 Zips get easier with practise and if it goes a bit wrong you can always unpick it and try again.
I love this, I saw the cut out pieces early on Instagram or facebook (I can’t remember) and thought pretty things might be about to happen.
I have a plain case my hubbie bought me at the same time as my laptop , a lovely thought but I really want a pretty one! Maybe I can add some applique to my ready made case, it’ll have to be by hand but maybe worth it…. Thanks for the lovely inspiration.
Julie recently posted…Handmade Monday #31
Thanks Julie 🙂
Hi Anna, just to let you know your beautiful case is one of our features on #Handmade Monday this week 🙂
Julie recently posted…Handmade Monday #32
Hello Anna! This is really gorgeous! Thanks for sharing great tutorial!
Have a wonderful day!
Hugs and love from Portugal,
Ana Love Craft
http://www.lovecraft2012.blogspot.com
Thanks Ana 🙂
Very pretty, indeed! xx
Thank you!
I just love it! thanks for sharing on craft schooling Sunday, as always!
Thanks 🙂