
How to Make Nesting Fabric Storage Boxes
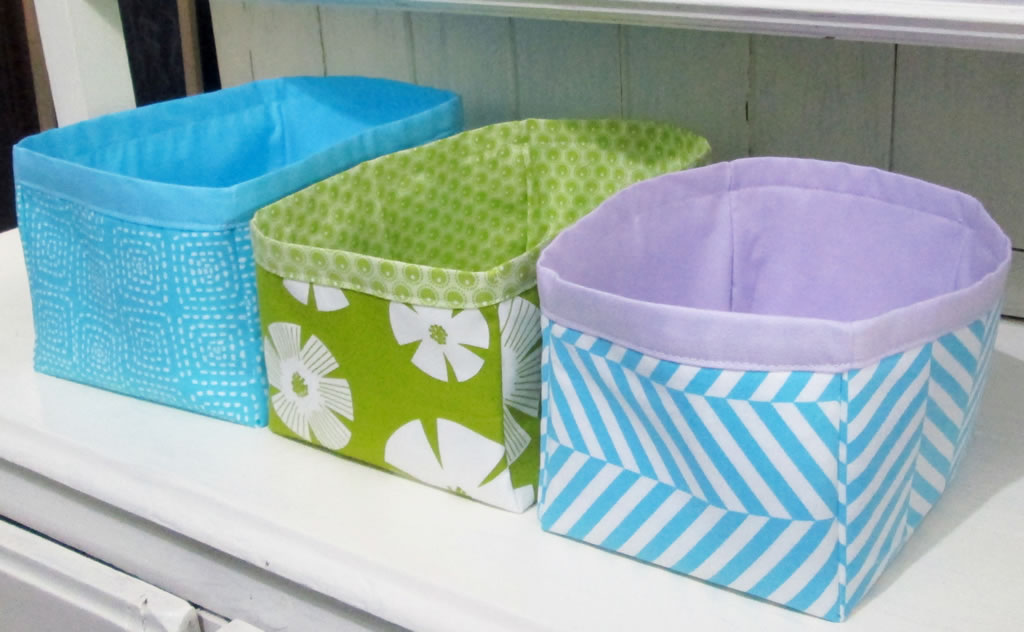
These nesting fabric storage boxes are the second in a series of posts about making quick and easy storage solutions! They are perfect for rehoming mess after Christmas, but useful at other times as well when you just need somewhere to put stuff!
You might also like to read the previous post in this series, How to Make a Drawstring Bag From a Pillowcase.
The patterns for the boxes are available to buy here if you don’t want to make your own pattern.
To make the fabric storage boxes, I used some fat quarters that I had in my hoard. The largest box measures about 22 cm x 16 cm x 13 cm.
To make bigger boxes to accommodate larger toys or more stuff, obviously you will need bigger pieces of fabric.
The boxes are lined and reinforced with interlining.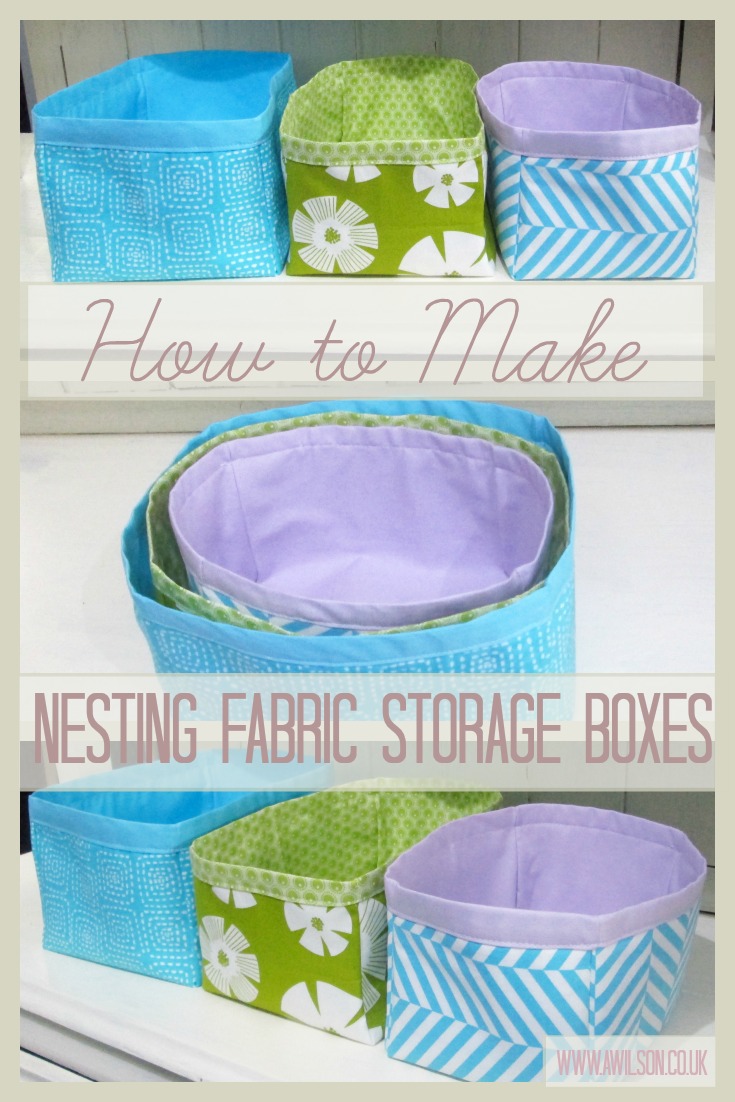
How to Make Nesting Fabric Storage Boxes
You Will Need: 2 fat quarters of cotton fabric for each box, interfacing, a ruler or a tape measure, usual sewing supplies.
1. Start by making the lining first as this will dictate the size of the box. It will depend on how deep you want the sides to be. The deeper the sides, the smaller the base of the box. The sides of the lining will need to be at least 3 cm higher than the sides of the outer.
If making your own pattern is too much of a faff, you can buy the pattern for all 3 boxes here.
These are the measurements I used.
Largest Box
Outer: base 23.5 cm x 18 cm, long sides 23.5 cm x 13 cm, shorter sides 18 cm x 13 cm.
Lining: base 23.5 cm x 18 cm, long sides 23.5 cm x 16 cm, shorter sides 18 cm x 16 cm.
Middle Sized Box
Outer: base 21 cm x 16 cm, long sides 21 cm x 12 cm, shorter sides 16 cm x 12 cm.
Lining: base 21 cm x 16 cm, long sides 21 cm x 15 cm, shorter sides 16 cm x 15 cm.
Smallest Box
Outer: base 19 cm x 14 cm, long sides 19 cm x 11 cm, shorter sides 14 cm x 11 cm.
Lining: base 19 cm x 14 cm, long sides 19 cm x 14 cm, shorter sides 14 cm x 14 cm.
2. Cut out the outer and lining. Remember that the lining needs to be about 3 cm longer where the top of the box will be, as this will be folded over the outer.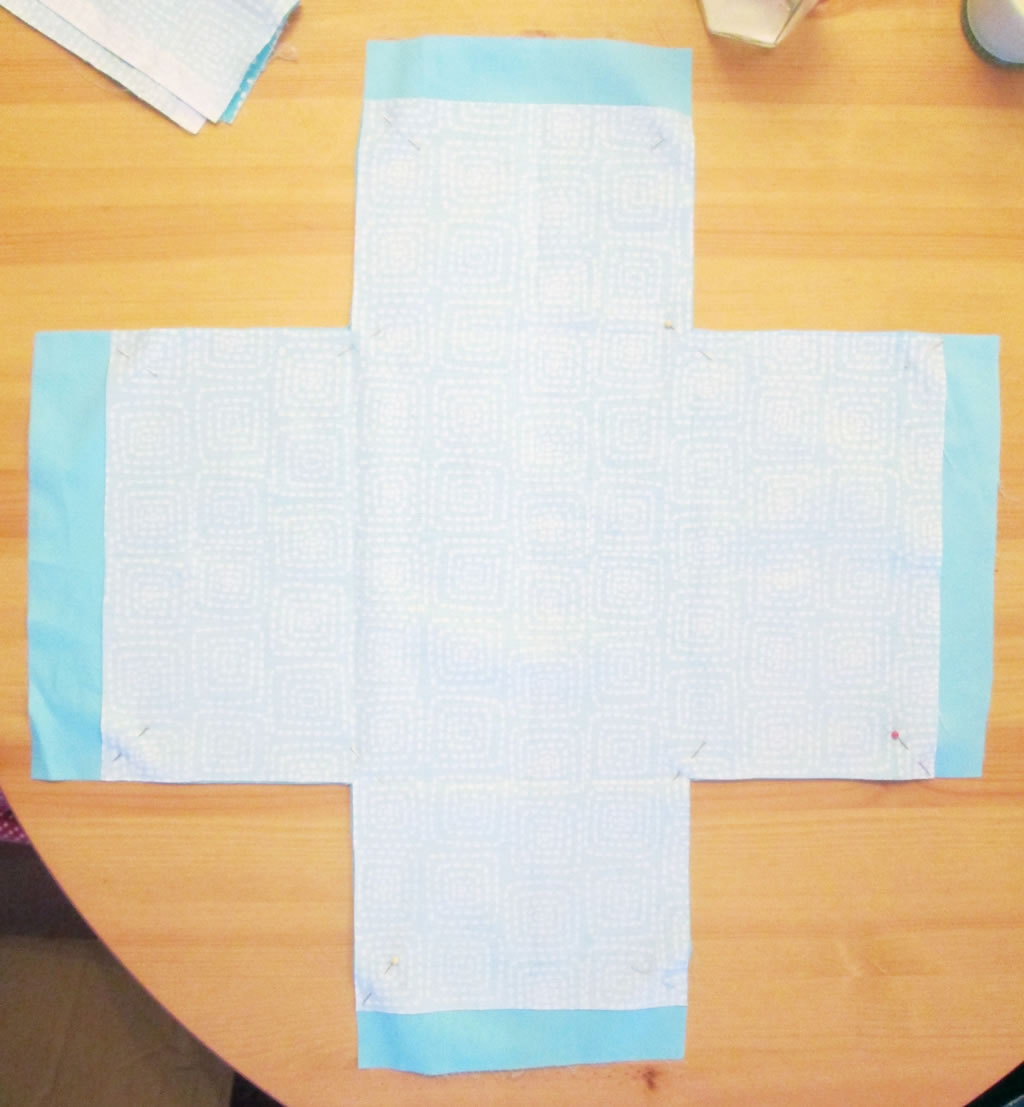
3. Cut out the interfacing. It will need to be the same size as the outer. If you are using fusible interfacing, fuse it to the wrong side of the outer.
4. Pin the sides of the outer. To make things easier, I pinned the 2 opposite sides, sewed them, then pinned the other 2 sides. 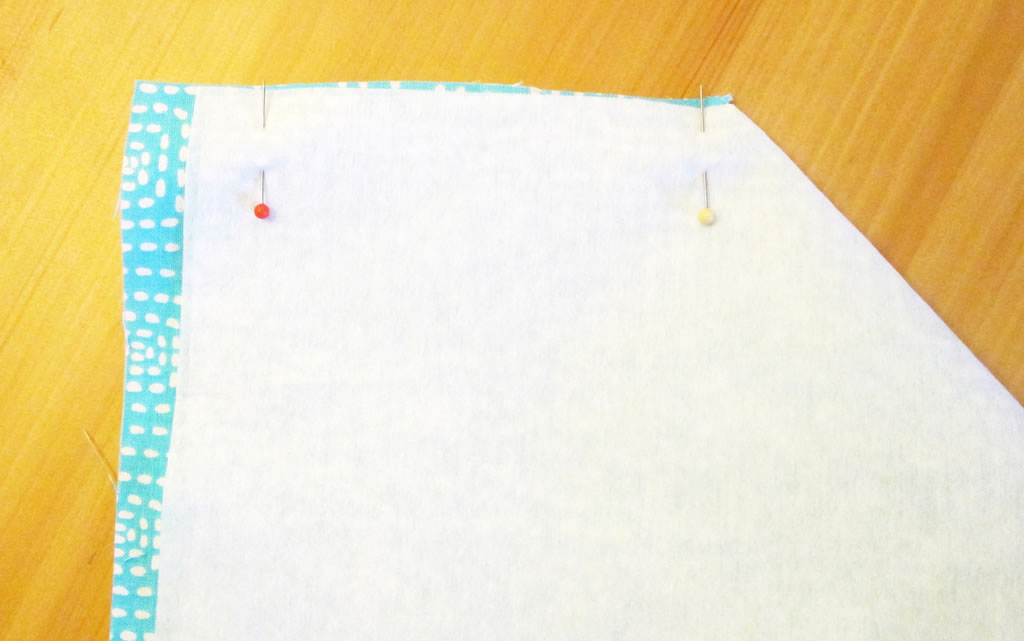 You will need to keep close to the raw edge to avoid the box ending up a weird shape.
 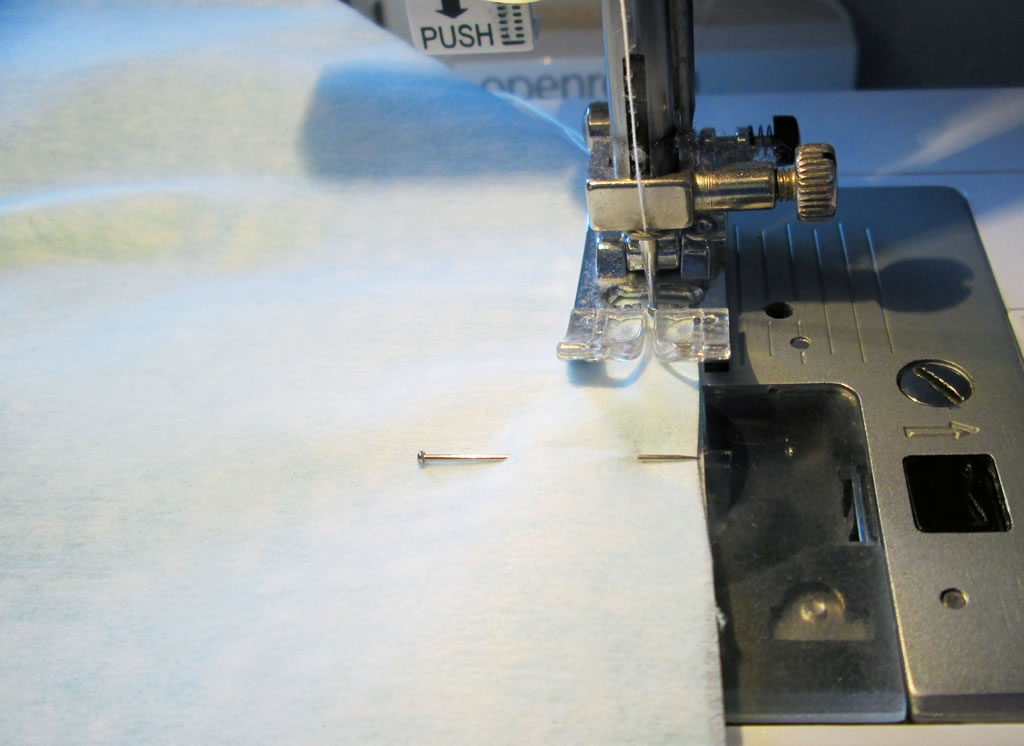 Trim the seams closely.
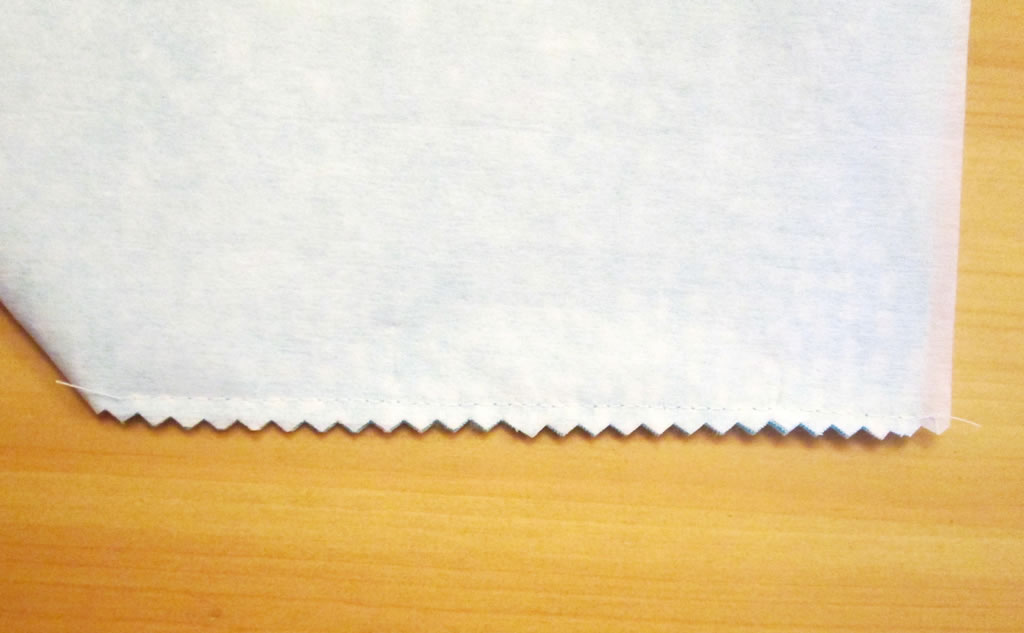

5. Sew up the sides of the lining in the same way.
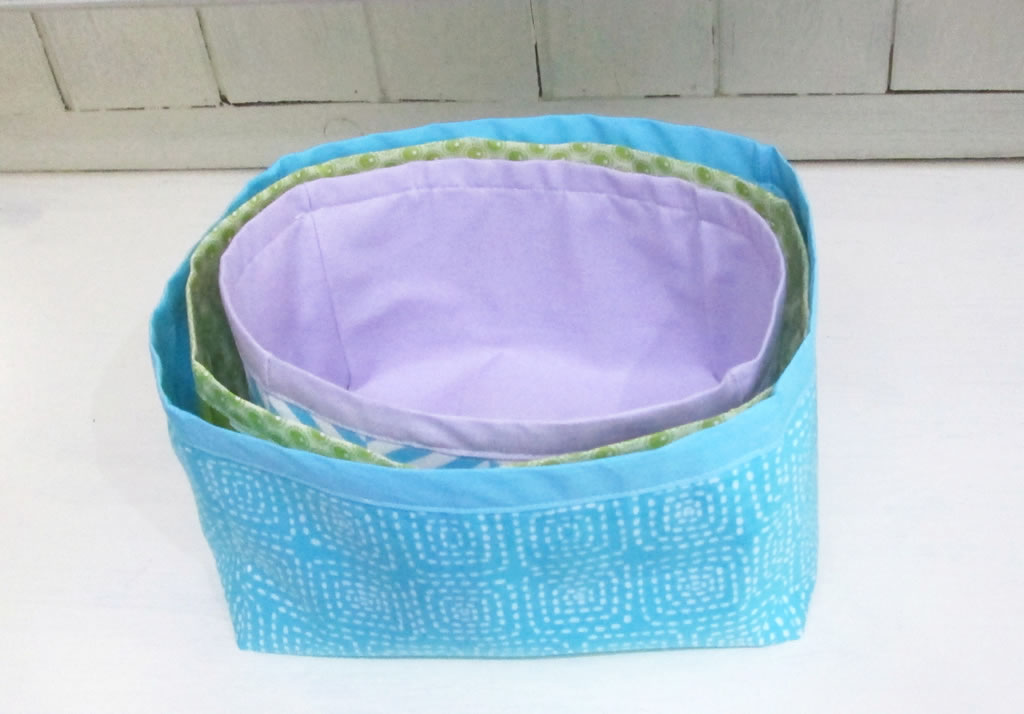
6. Pop the lining inside the outer so that the wrong sides are together. Push the corners of the lining right up against the corners of the outer. 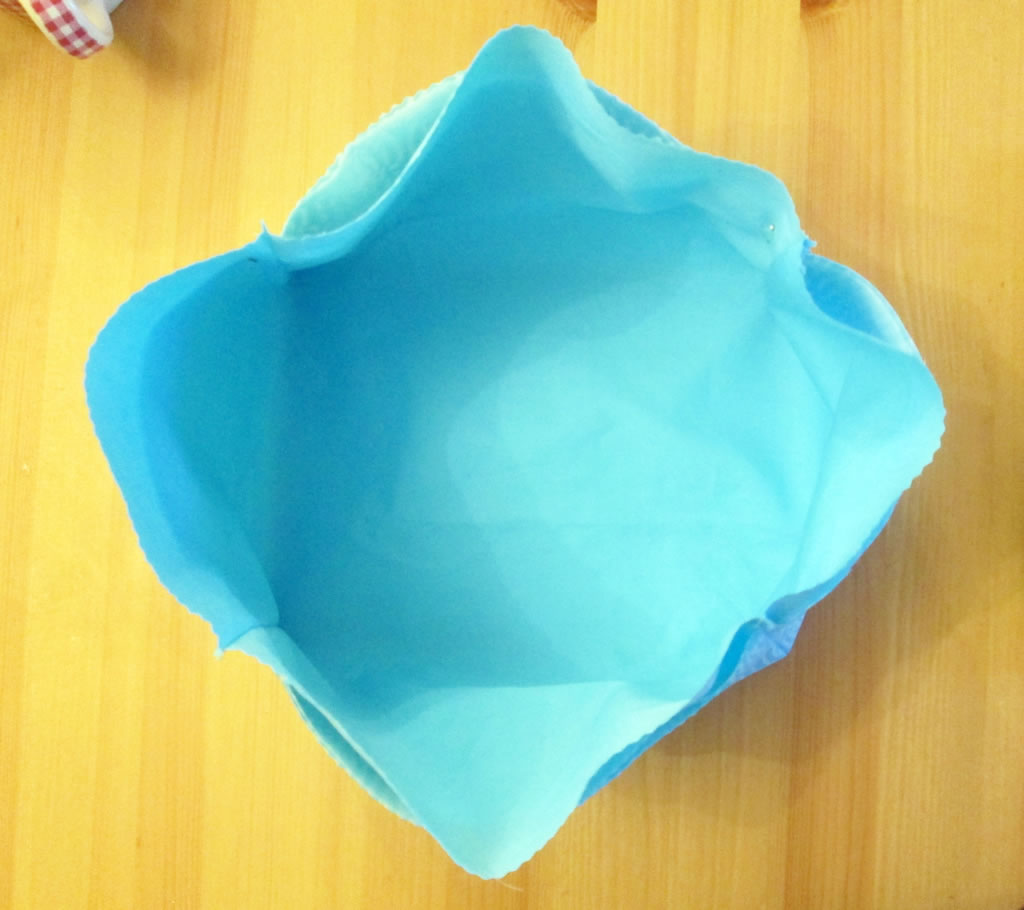 Pin in place on the lining side.
7. Fold the raw edge of the lining over the outer, tucking the raw edge underneath and taking care to match the seams. Pin in place.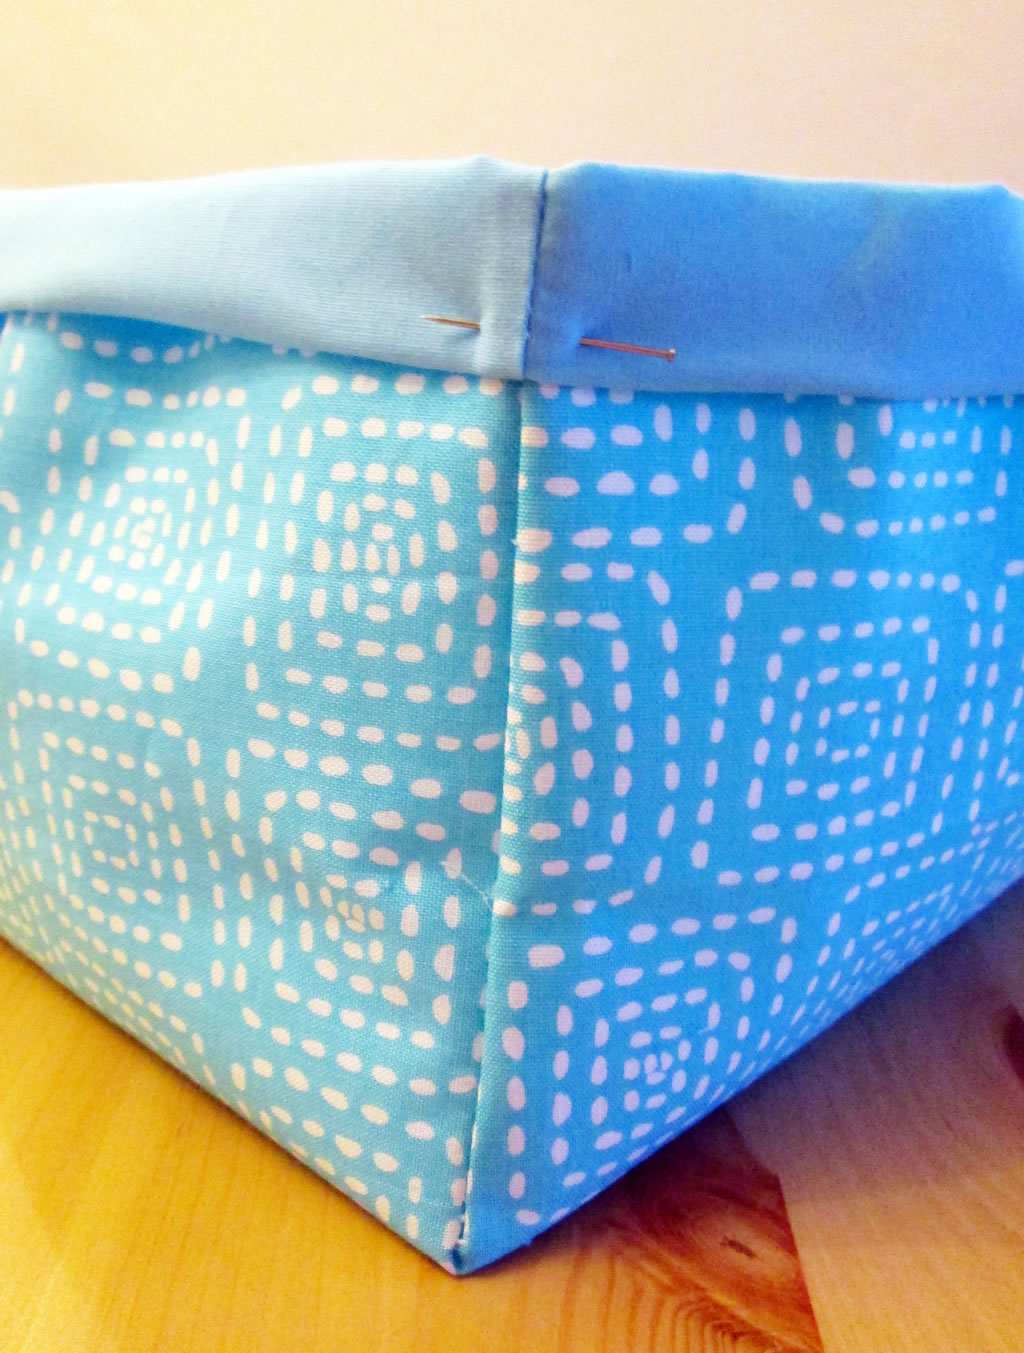
8 Top stitch all the way round.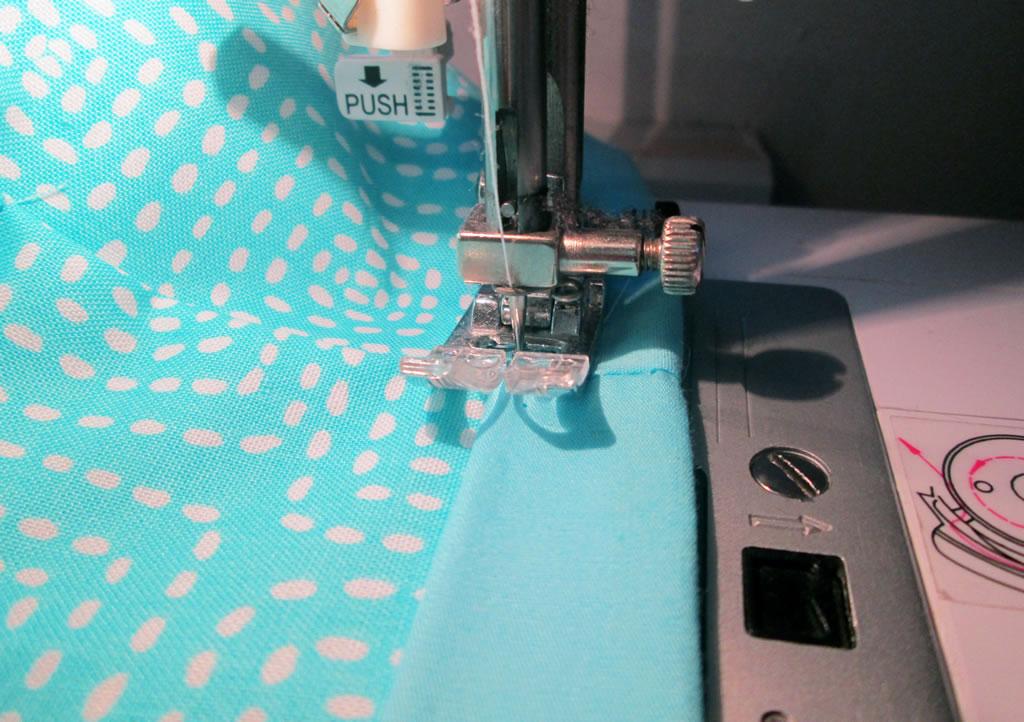
Repeat the same steps to make the other fabric storage boxes.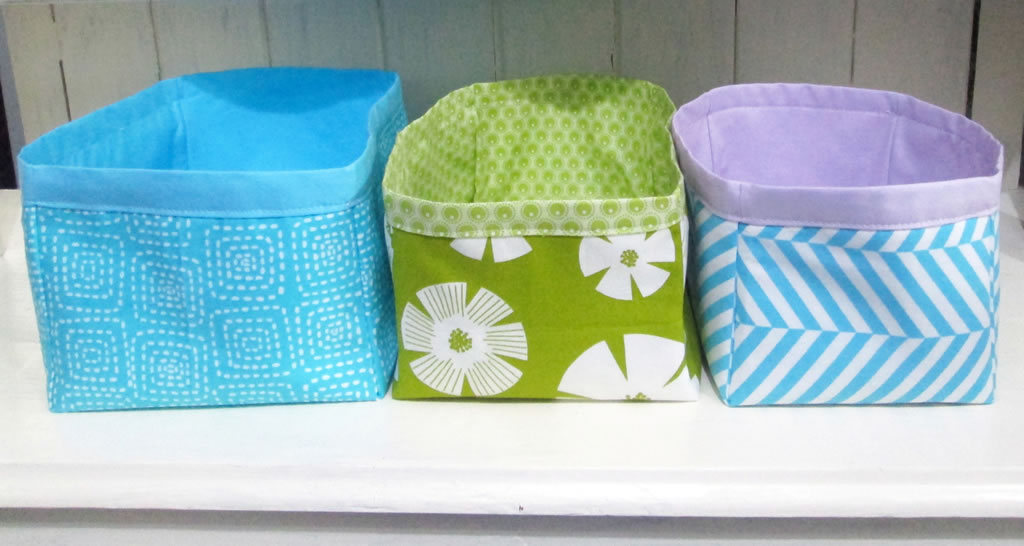

Tips
The bigger the box, the more reinforcing it will need to hold its box shape. Although I did make a large box a couple of years ago to hold baby toys and I quite liked its squashiness!
For a more rigid box, try a heavier weight interfacing or something like buckram (affiliate link). You could even slip pieces of card in between the lining and the outer.
You could use ribbon or other kinds of trim to hide the join between the lining and the outer, especially if you don’t have quite enough to tuck the edge of the lining underneath.
Experiment with making them all different sizes!

Really like your nesting boxes so will make a few for myself,thank you for the tutorial.
Glad you like them Mary 🙂
Great tutorial.I am getting back jnto sewing after a break of some years and like these small projscts as starting points. I have designed my own bags in the past made from oil cloth.
Thanks for being generous and sharing your skills and tips
Debbie
Starting with something small is a good idea 🙂
These are lovely Anna, such pretty fabric choices and a lovely step by step guide to creating them. I rather like the idea of the big squishy toys one too. Please do share with me on #Trash2Treasure
Fiona – Coombe Mill recently posted…Hop into the farm with Bunny Jump
I will Fiona, thank you.
Thanks for linking up Anna
Fiona – Coombe Mill recently posted…Family Holidays in the Sun
Thank you xx
Love these, what a great tutorial. I can see some serious stash busting in my future.
They’re great for that Emma 🙂
Hi, Anna! Your tutorial is so fantastic and clear, and I love the nesting idea for fabric. Lovely post!
Michelle recently posted…Repurposed Place Cards For A Cowboy Wedding
Thank you!
I LOVE these!!!! Pinned and sharing! I will be making these in the near future!
I would love to have you join us and share this at our Meet Up Monday Link Party, Now LIVE!
http://www.littlemissdexterous.com/meet-monday-link-party-37/ ?
Little boxes are always useful 🙂
Thank you for the tutorial, I’ve found it helpful. 🙂
That’s great Anna!
It looks great, thanks for sharing
Thank you xx
I really love this tutorial. These always come in handy. I will have to try this for my daughter in law who is having a little one. I’ll make matching to her baby quilt. Pinned & shared. Thanks for joining in to share at the Inspiration Spotlight party. See you again soon!
I’d love to see them if you do make some!
Such a cute idea, great fabrics and a great tutorial pinning!
Thanks!
These are just adorable. I love your choice of colors and patterns, and how the nestle in to each other.
Thank you 🙂
So useful and pretty as you can choose your own fabric
You can make them “go” with any room 🙂
love these, thanks for sharing on craft schooling Sunday!
Thank you!
Great tutorial!! Love the baskets! They are so useful in just about every room! I’d love to have you come over to my craft party and link it up if you like!
Little baskets are always useful! I will link up at your party, thank you 🙂
Very cute! Thanks for the tutorial!
Thank you!
Thanks!
#new How To Make Nesting Fabric Storage Boxes https://t.co/yQklyzFVI8 https://t.co/fjbfUgTasp