Car Seat Cover Fail
We have just come back from a lovely week’s holiday in Scotland, which is my excuse this time for no new posts! There was internet but it was patchy. The beautiful views more than made up for it though. It was right in the middle of nowhere (ok, Perthshire) and so quiet! Boy 4 even slept through the night a few times, something that he has only ever managed to do twice before.
Before we went I wanted to make a new cover for Boy 4’s car seat. It’s not an especially nice seat, it doesn’t recline very far, it was used by Boys 2 and 3 and the seat cover is made of nasty stretchy nylon which makes Boy 4’s little head all sweaty when he falls alseep. Other than buying a new seat, which Husband was not up for doing, there was not a lot I could do to improve it. However, while trawling the internet a while ago I found a lovely tutorial for making a car seat cover. I can’t remember where it was otherwise I would add a link! It was beautiful and all she did was take her old car seat cover apart and use the bits as a pattern. Easy peasy! Or not so much. In attempting to improve Boy 4’s car seat I have accidently become a Pinterest craft fail meme.
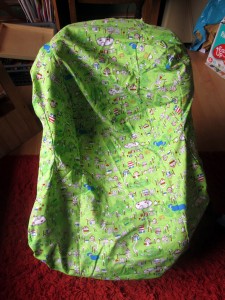
I bought some lovely cotton fabric and set about deconstructing the cover. Using the bits I made a pattern. This was tricky as some of the pieces had elasticated edges and this was possibly partly where I went wrong. Having cut the bits out I sewed them up, put it on the car seat and… it didn’t fit! Had the fabric been stretchy like the original cover I might have been able to make it fit, but there’s no give in cotton! So frustrating. The seat needed a cover though, so Plan B was to sew up the original bits and put it back on the seat.
Unfortunately the original seat cover was not only
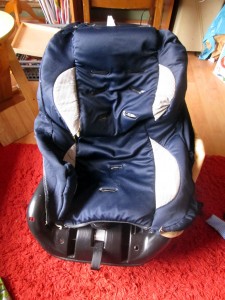
horribly stretchy, it also had foam stuck to the back making it very thick and awful to sew. I was in a rush by this point as we were leaving for Scotland later that same day and Boy 4’s seat had to have a cover. I did what I could and sewed the original seat pieces back together and, yes readers, you have guessed it, that didn’t fit either! Gah! What was I to do?
Thankfully, having 4 kids and being in recovery for a mild pushchair addiction, I found a couple of cosytoes that I was not using and I put those on the seat. Phew! They didn’t fit as well as the original had before I took it apart but they did the job!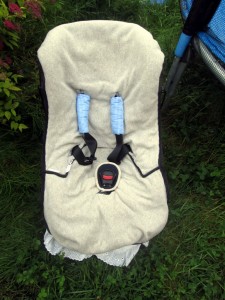
So these are my tips for making a car seat cover:
1. Don’t.
2. Ok, if you are going to, use stretchy fabric if the original cover is made from stretchy fabric.
3. Include a generous seam allowance. It is much easier to make things smaller than it is to make them bigger.
4. Photograph the original seat cover before you take it apart, then photograph the bits the right way up and in the right positions.
5. Use post its or masking tape to label the bits. Don’t forget to write on them which way up they go!
Good luck!
(The chest pads did work! I’ll post about those another time!)


Marilyn Davis liked this on Facebook.
John Davis liked this on Facebook.
David Chapman liked this on Facebook.
John Davis liked this on Facebook.
David Chapman liked this on Facebook.
Marilyn Davis liked this on Facebook.