Top
Skip to main content
Skip to footer
Home
About
Contact
Ebooks and Printables
Etsy
Login
Search this website
Tea and a Sewing Machine
Wreaths
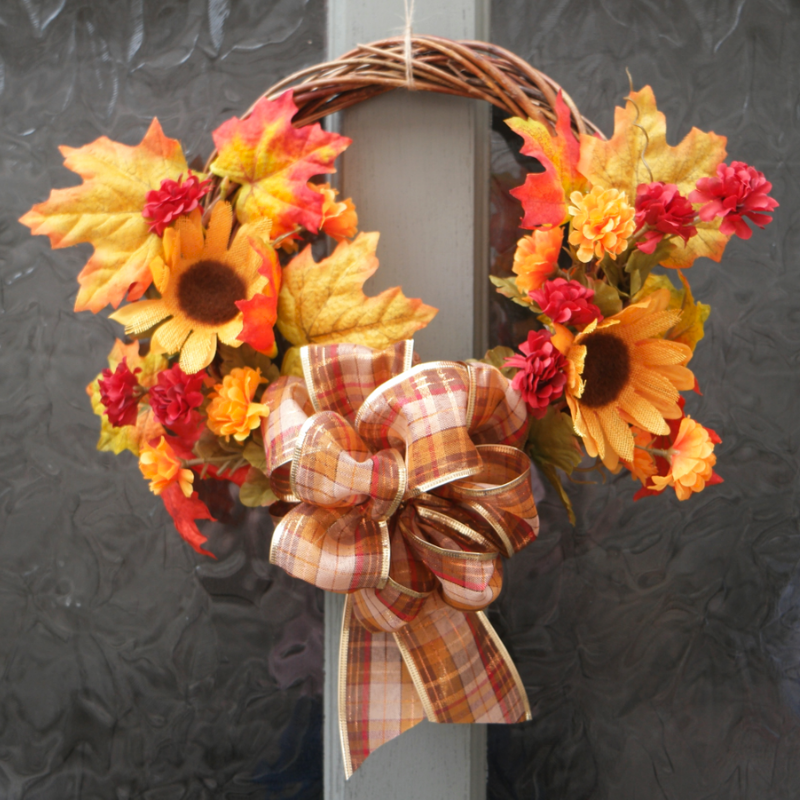
DIY Autumn Wreath
How To Make a Tied Wreath
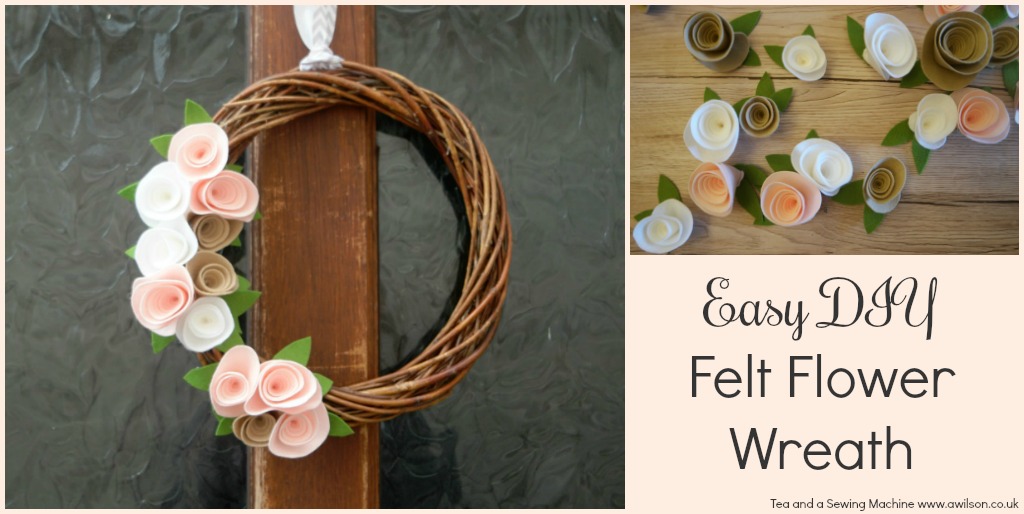
Easy DIY Felt Flower Wreath
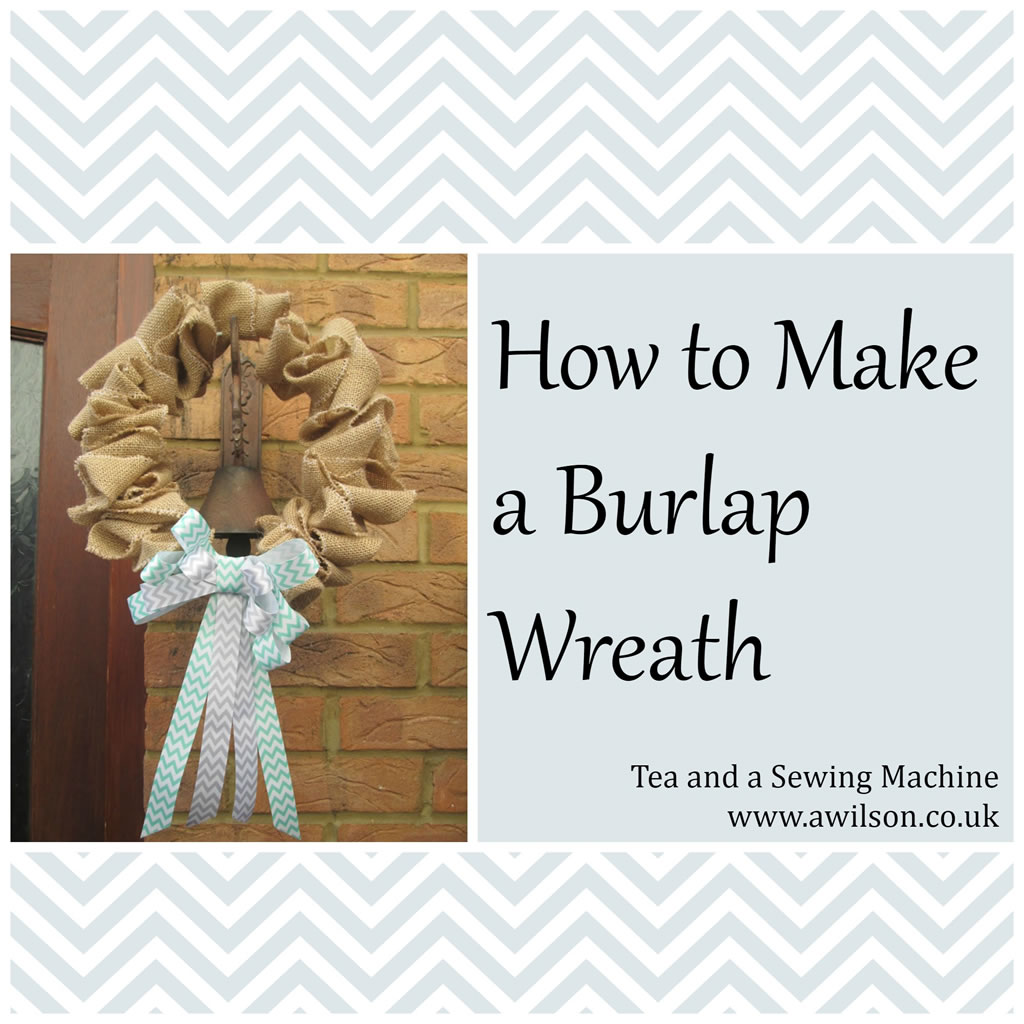
How To Make a Burlap Christmas Wreath
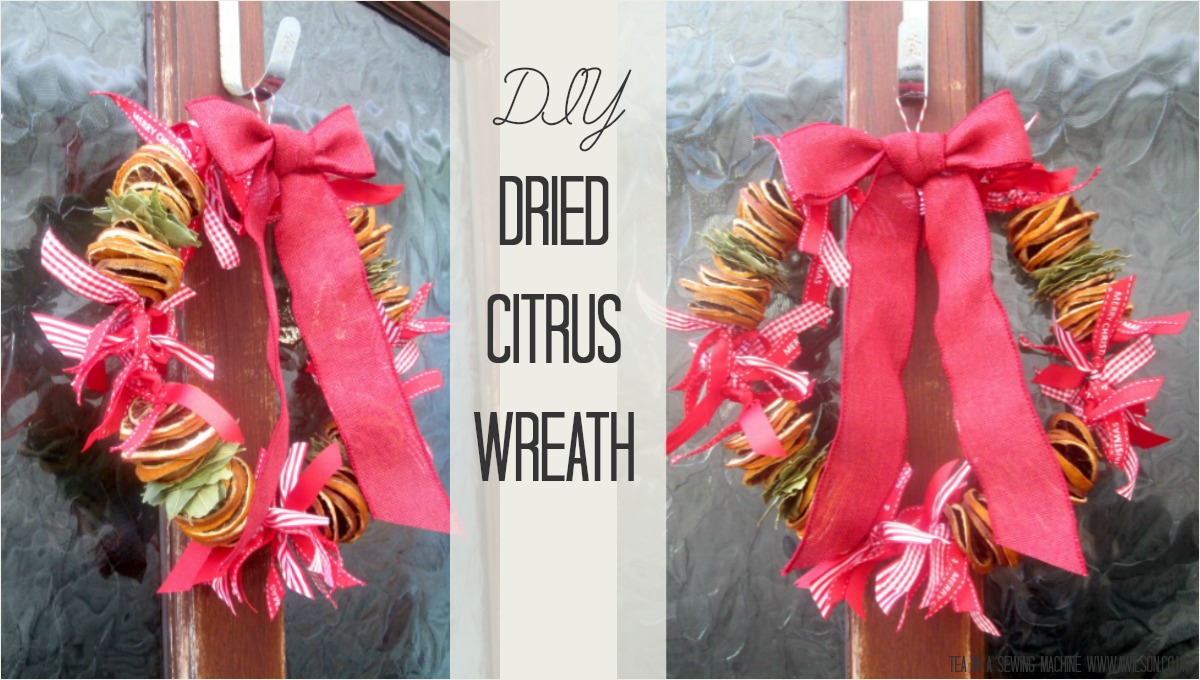
How to Make a Dried Citrus Wreath
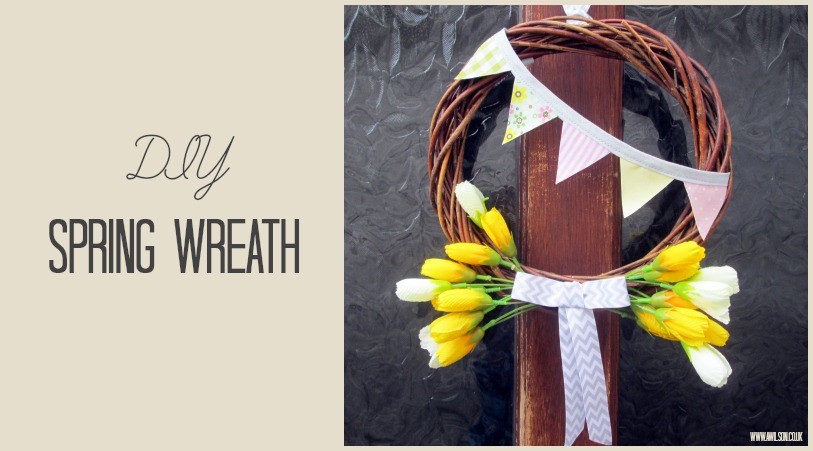
How to Make a Spring Wreath With Bunting
Burlap and Lace Wreath
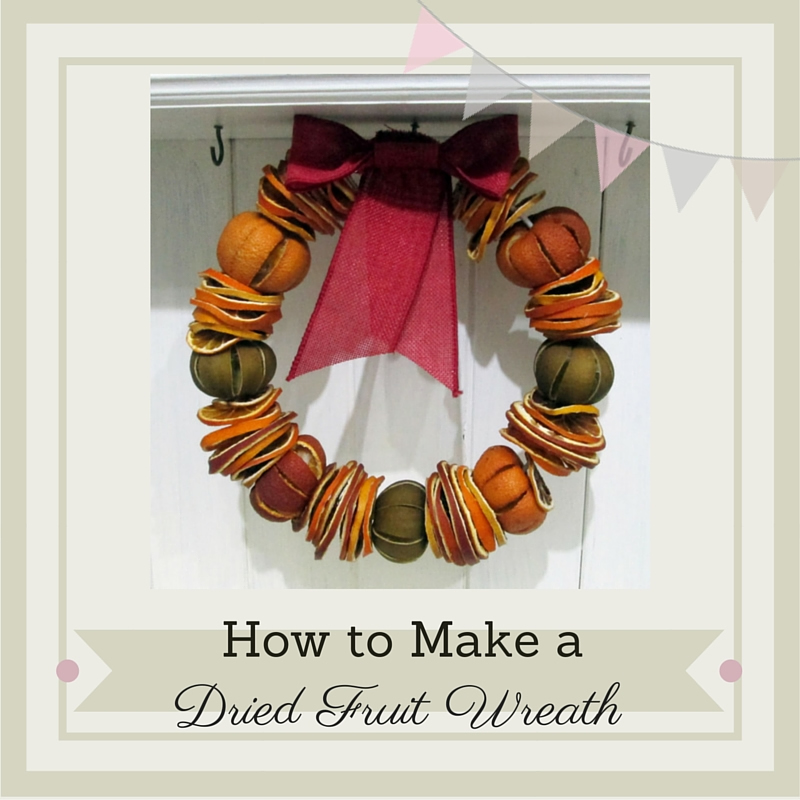
How to Make a Dried Fruit Wreath
Autumn Tied Wreath
Page
1
Page
2
Go to
Next Page »
We use cookies to ensure that we give you the best experience on our website. If you continue to use this site we will assume that you are happy with it.
Ok
No