
How to Crochet a Circle
All kinds of crocheted things start off as a circle, so it’s a very useful thing to be know how to do if you want to make your own stuff without using a pattern. Hats, bags, crocheted bowls, flowers and a whole load of other stuff start off with a circle.
So here is how to crochet a circle!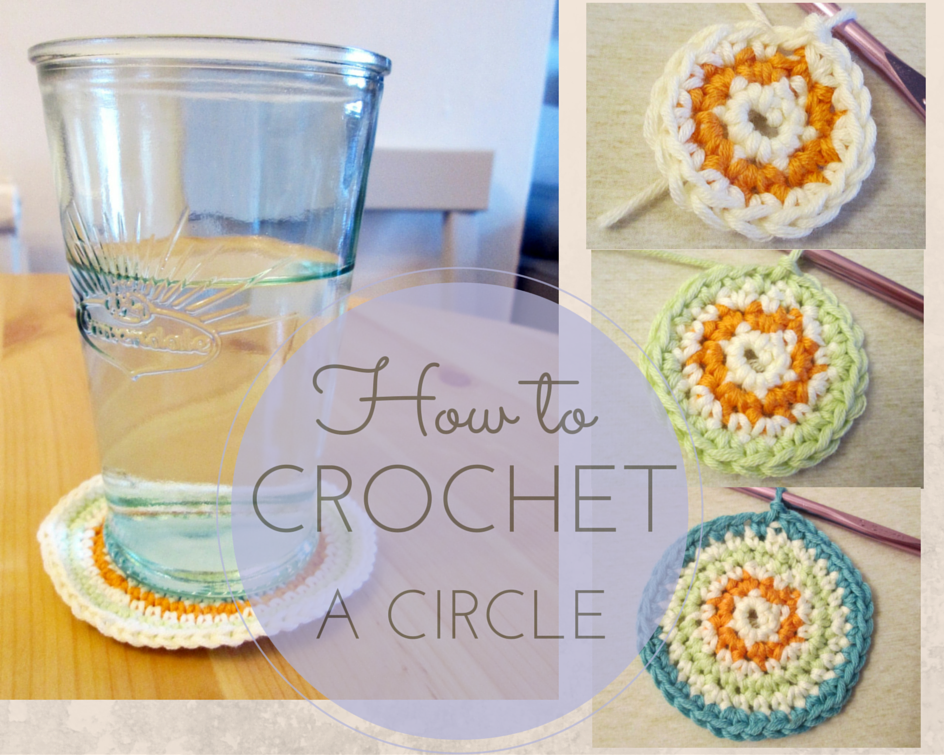
Please note that because I am English I have used British crochet terms, although I think if you use trebles instead of dcs it will probably still work.
Make 4 ch, then join with ss, then:
1. 1 ch, then 6 dc into the circle.
2. 1 ch, then *2 dc into next stitch* 6 times. Join with ss. 12 stitches.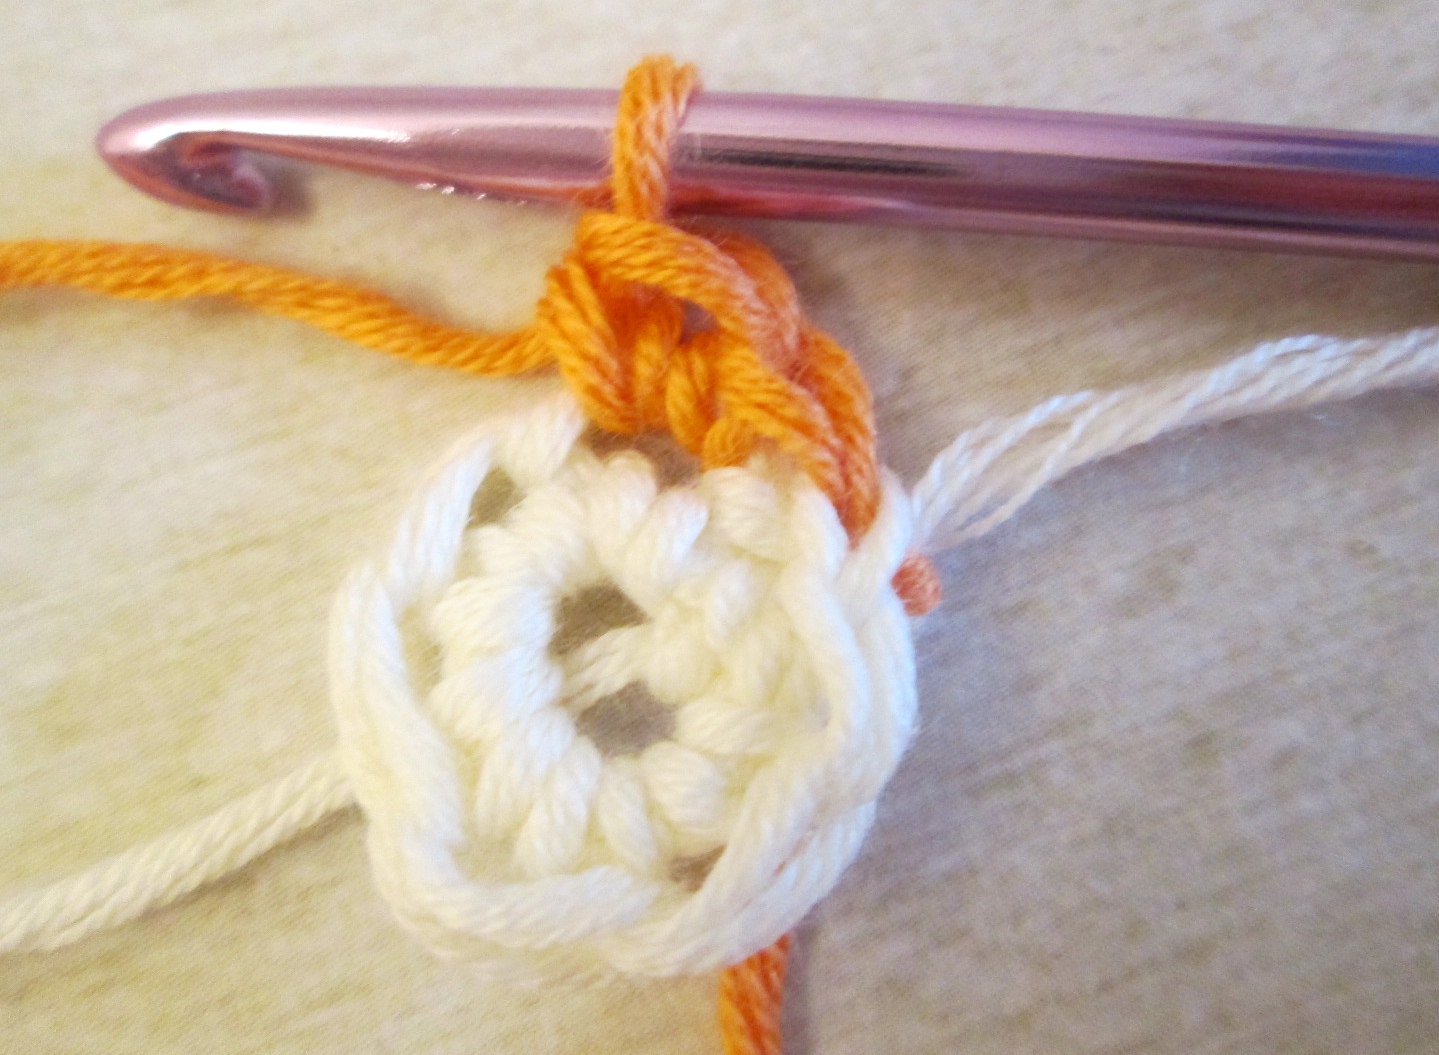
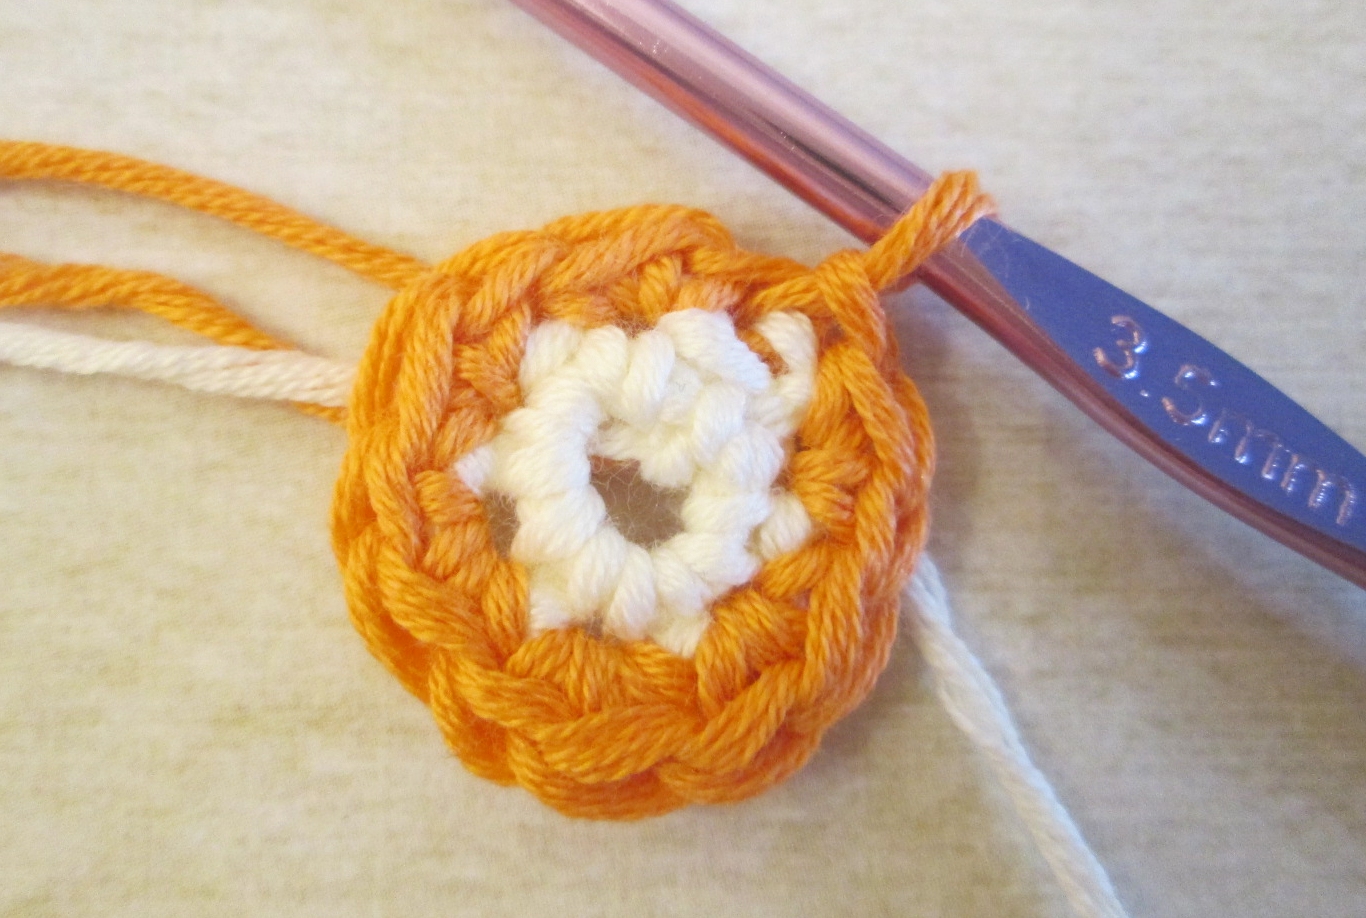
3. 1 ch, then *1 dc into next stitch, then 2 dc into next stitch* 6 times. Join with ss. 18 stitches.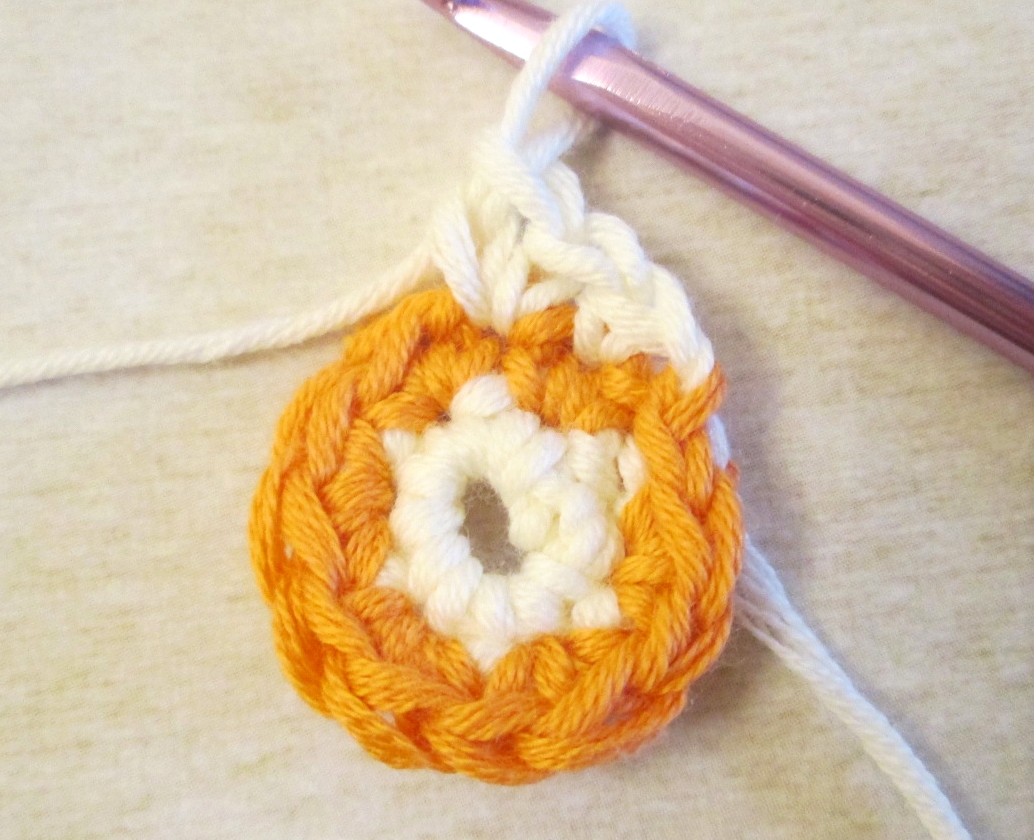

4. 1 ch, then * 1 dc into next stitch, 1 dc into next stitch, 2 dc into next stitch* 6 times. Join with ss. 24 stitches.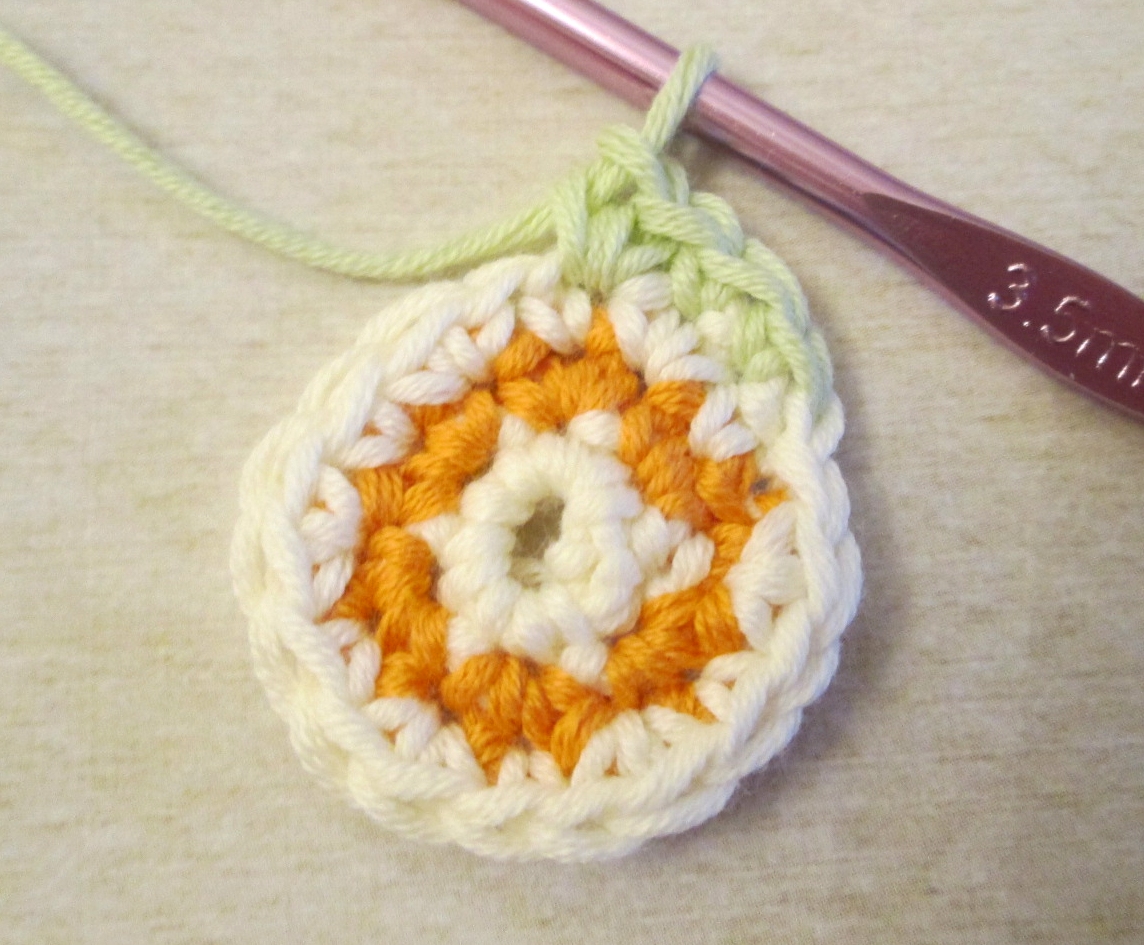
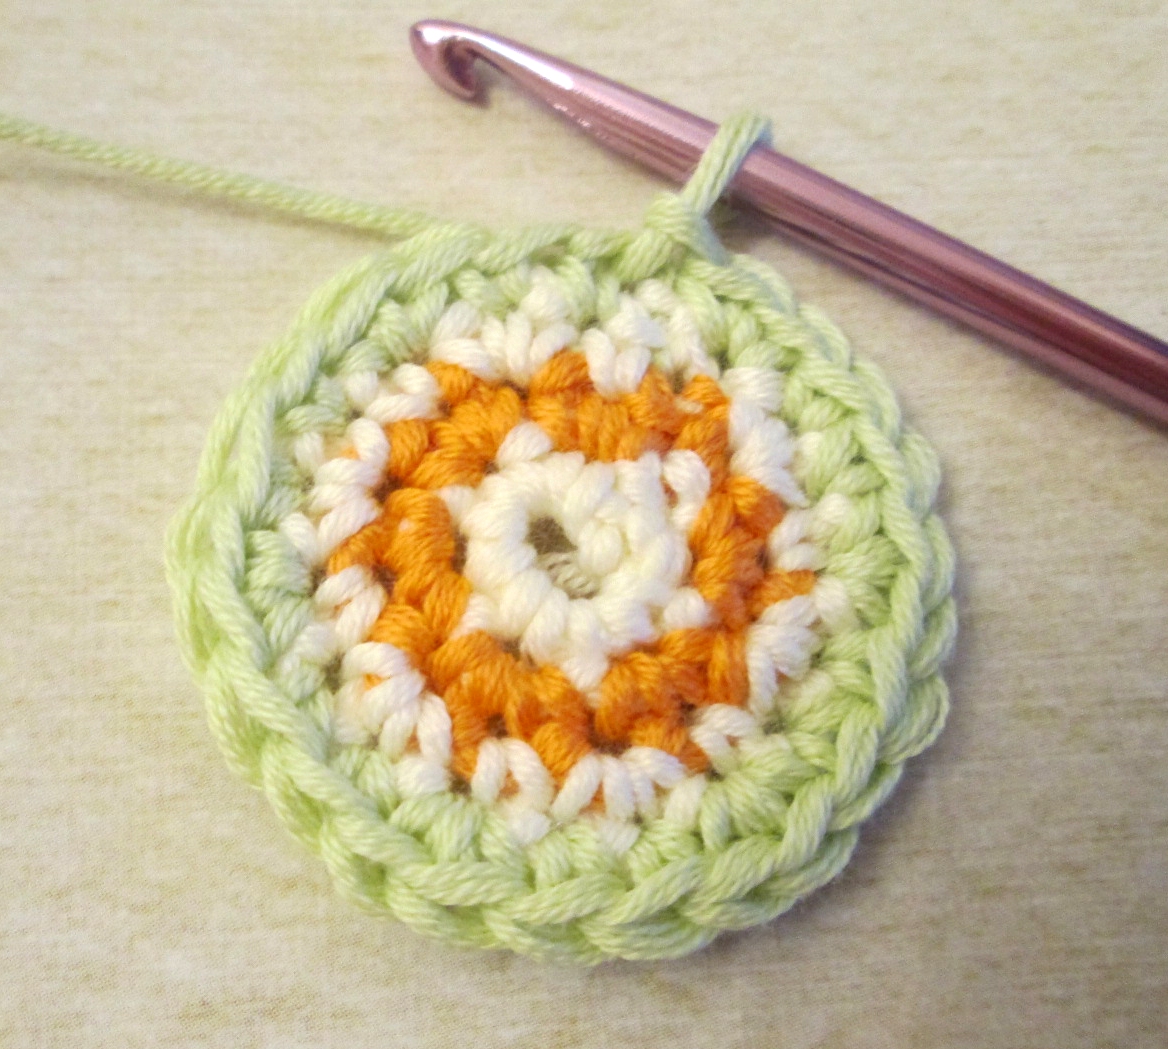
5. 1 ch, then *1 dc into next stitch, 1 dc into next stitch, 1 dc into next stitch, 2 dc into next stitch* 6 times. Join with ss. 30 stitches.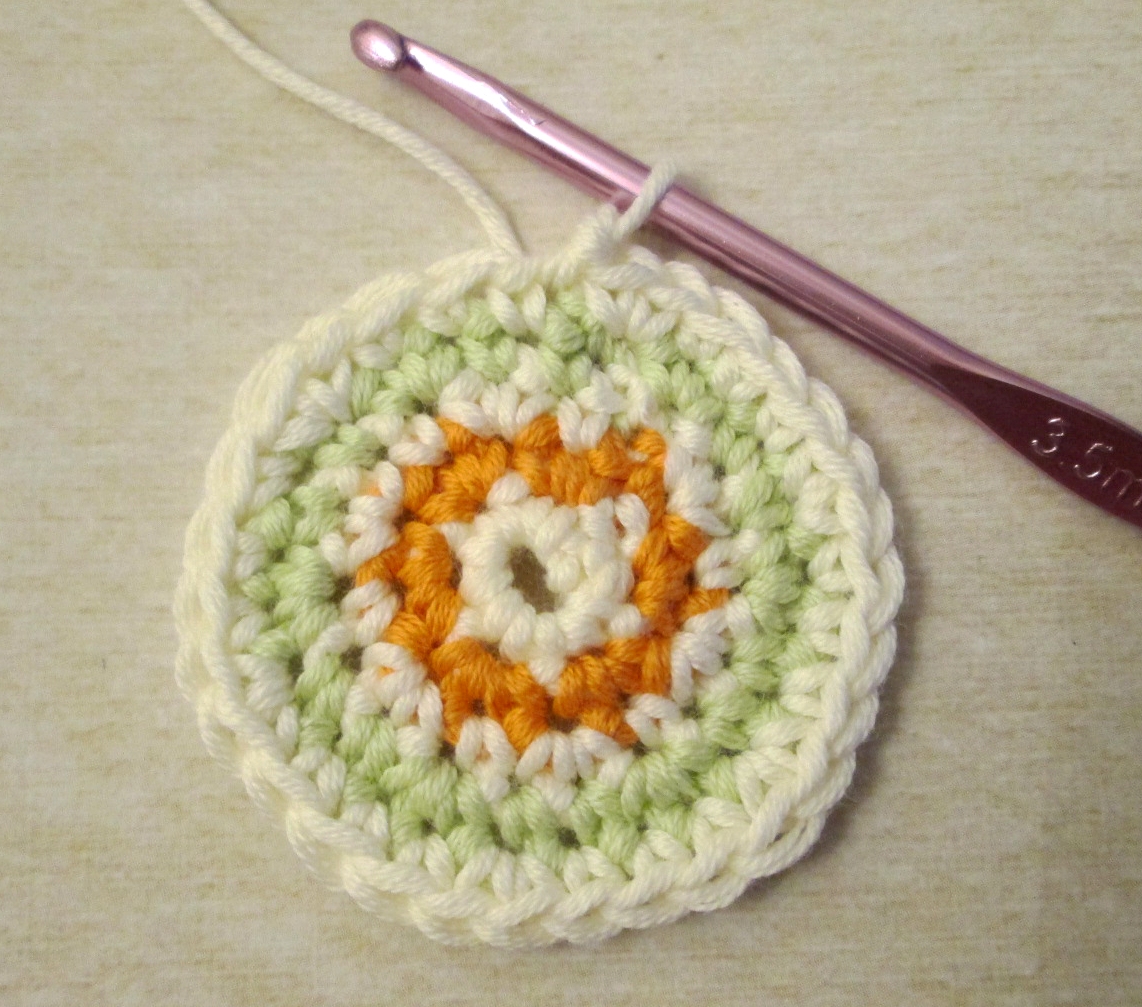
You’ve probably spotted a pattern. Each time round, the number of single dcs you make before increasing by adding an extra one increases by 1.
The other useful thing here is that the number of rounds corresponds with the number of stitches as a multiple of 6. So the 4th round should end with 24 stitches. 4 x 6 is 24. Whoever thought the 6 x table would actually be useful!
I find it helpful to think of the stitches in groups based on the number of the round. So for the 4th round, I think of the stitches in groups of 4: 1 dc, 1 dc, then the 3rd and 4th dcs into the same stitch. For the 5th round, 1 dc, 1 dc, 1 dc then the 4th and 5th stitches into the same stitch.
It’s easy to keep going until the circle is as big as you need it to be!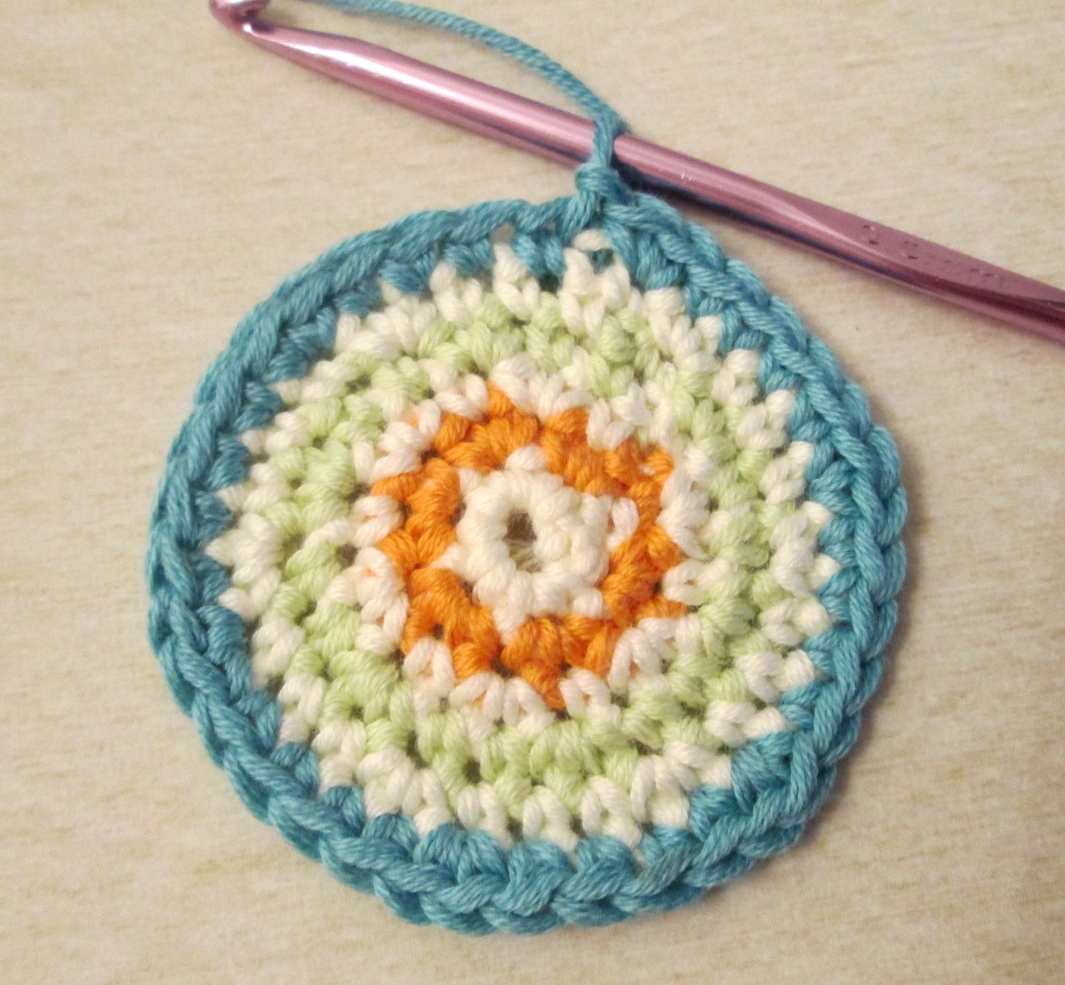

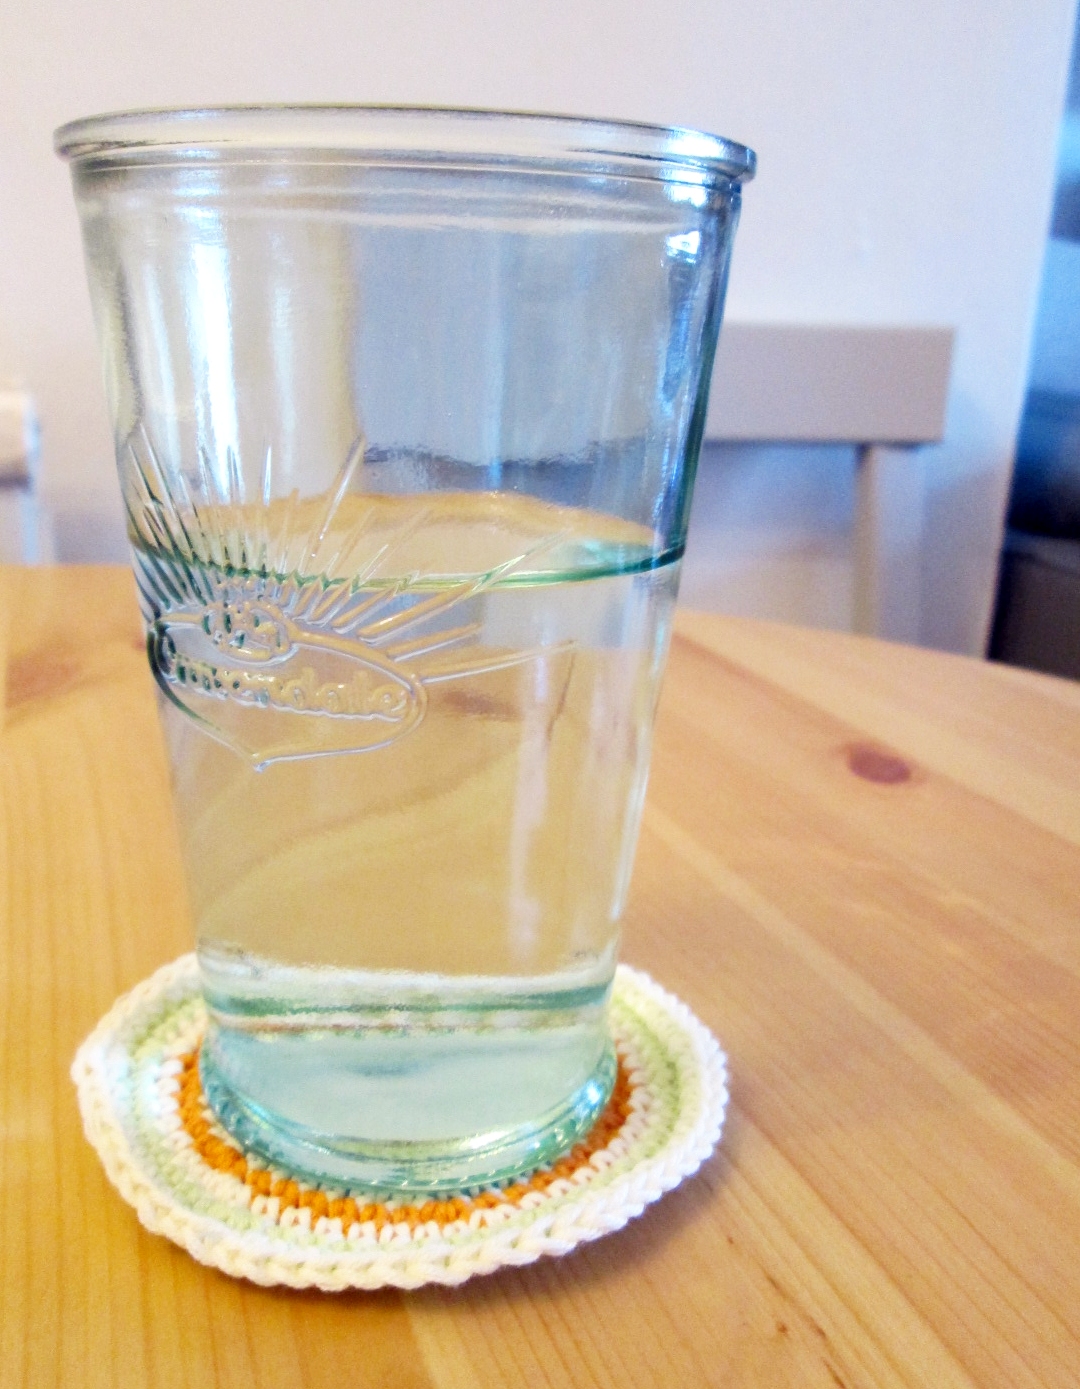
I am currently crocheting circles to make coasters.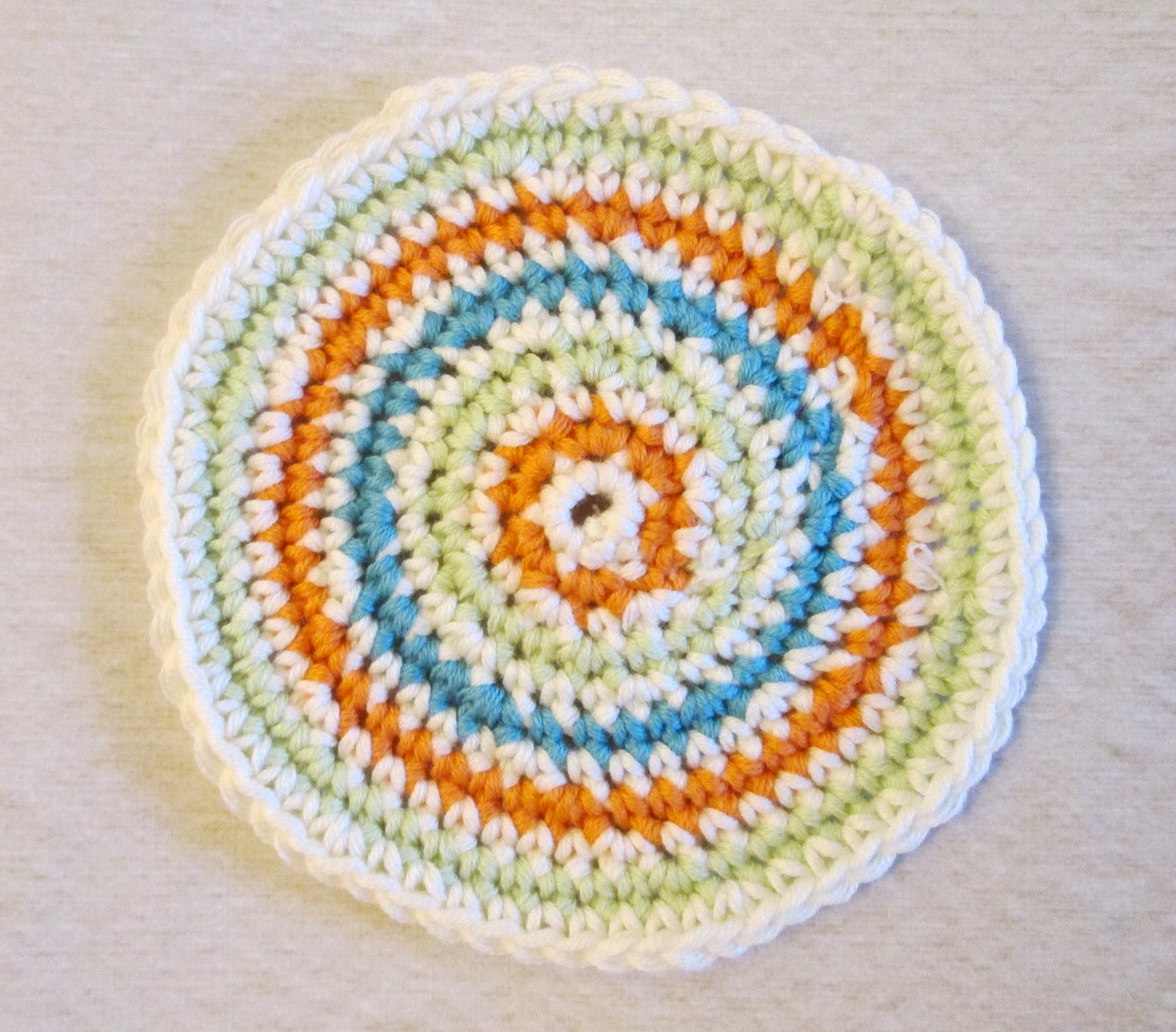

Linking up here:


Very pretty and easy to follow explanations. 🙂
Thank you 🙂
Thanks – I need some sort of reminder phrase when I do circles as I always end up mixed up!
I get into a muddle too, it’s great how the maths thing works!
These are really pretty! Thank you for linking up at the #StitchItBlogItShareIt Link Party. I hope you’ll join us again every Sunday night at 7pm.
Thank you! I was aiming for pretty!
Thanks for sharing at the party! Pinned, shared & scheduled on my FB Hope to see you again soon. Thanks for joining in the party.
Thanks 🙂
A wonderful tutorial and on my bucket list to learn to crochet
Thank you 🙂
Thanks for this tutorial! I especially appreciate all the photos (i use heaps too:) ). And your explanation about the stitch increases each round just makes sense! Xox
I think the photos make it easier to understand than just written instructions 🙂
RT @clairejustineo: How To Crochet A Circle by @peacockinapear http://t.co/domzGBQFvq via #CreativeMondays
How To Crochet A Circle by @peacockinapear http://t.co/domzGBQFvq via #CreativeMondays
This is a lovely idea, great tutorial!!
Thanks for sharing at Creative Mondays
Thank you!
Simple, but colorful coasters! Awesome for using up some partial balls of leftover yarn too! Beautiful!
Yes, they would be great for using up odds and ends!
A lovely tutorial and lovely bright colours too.
Thank you