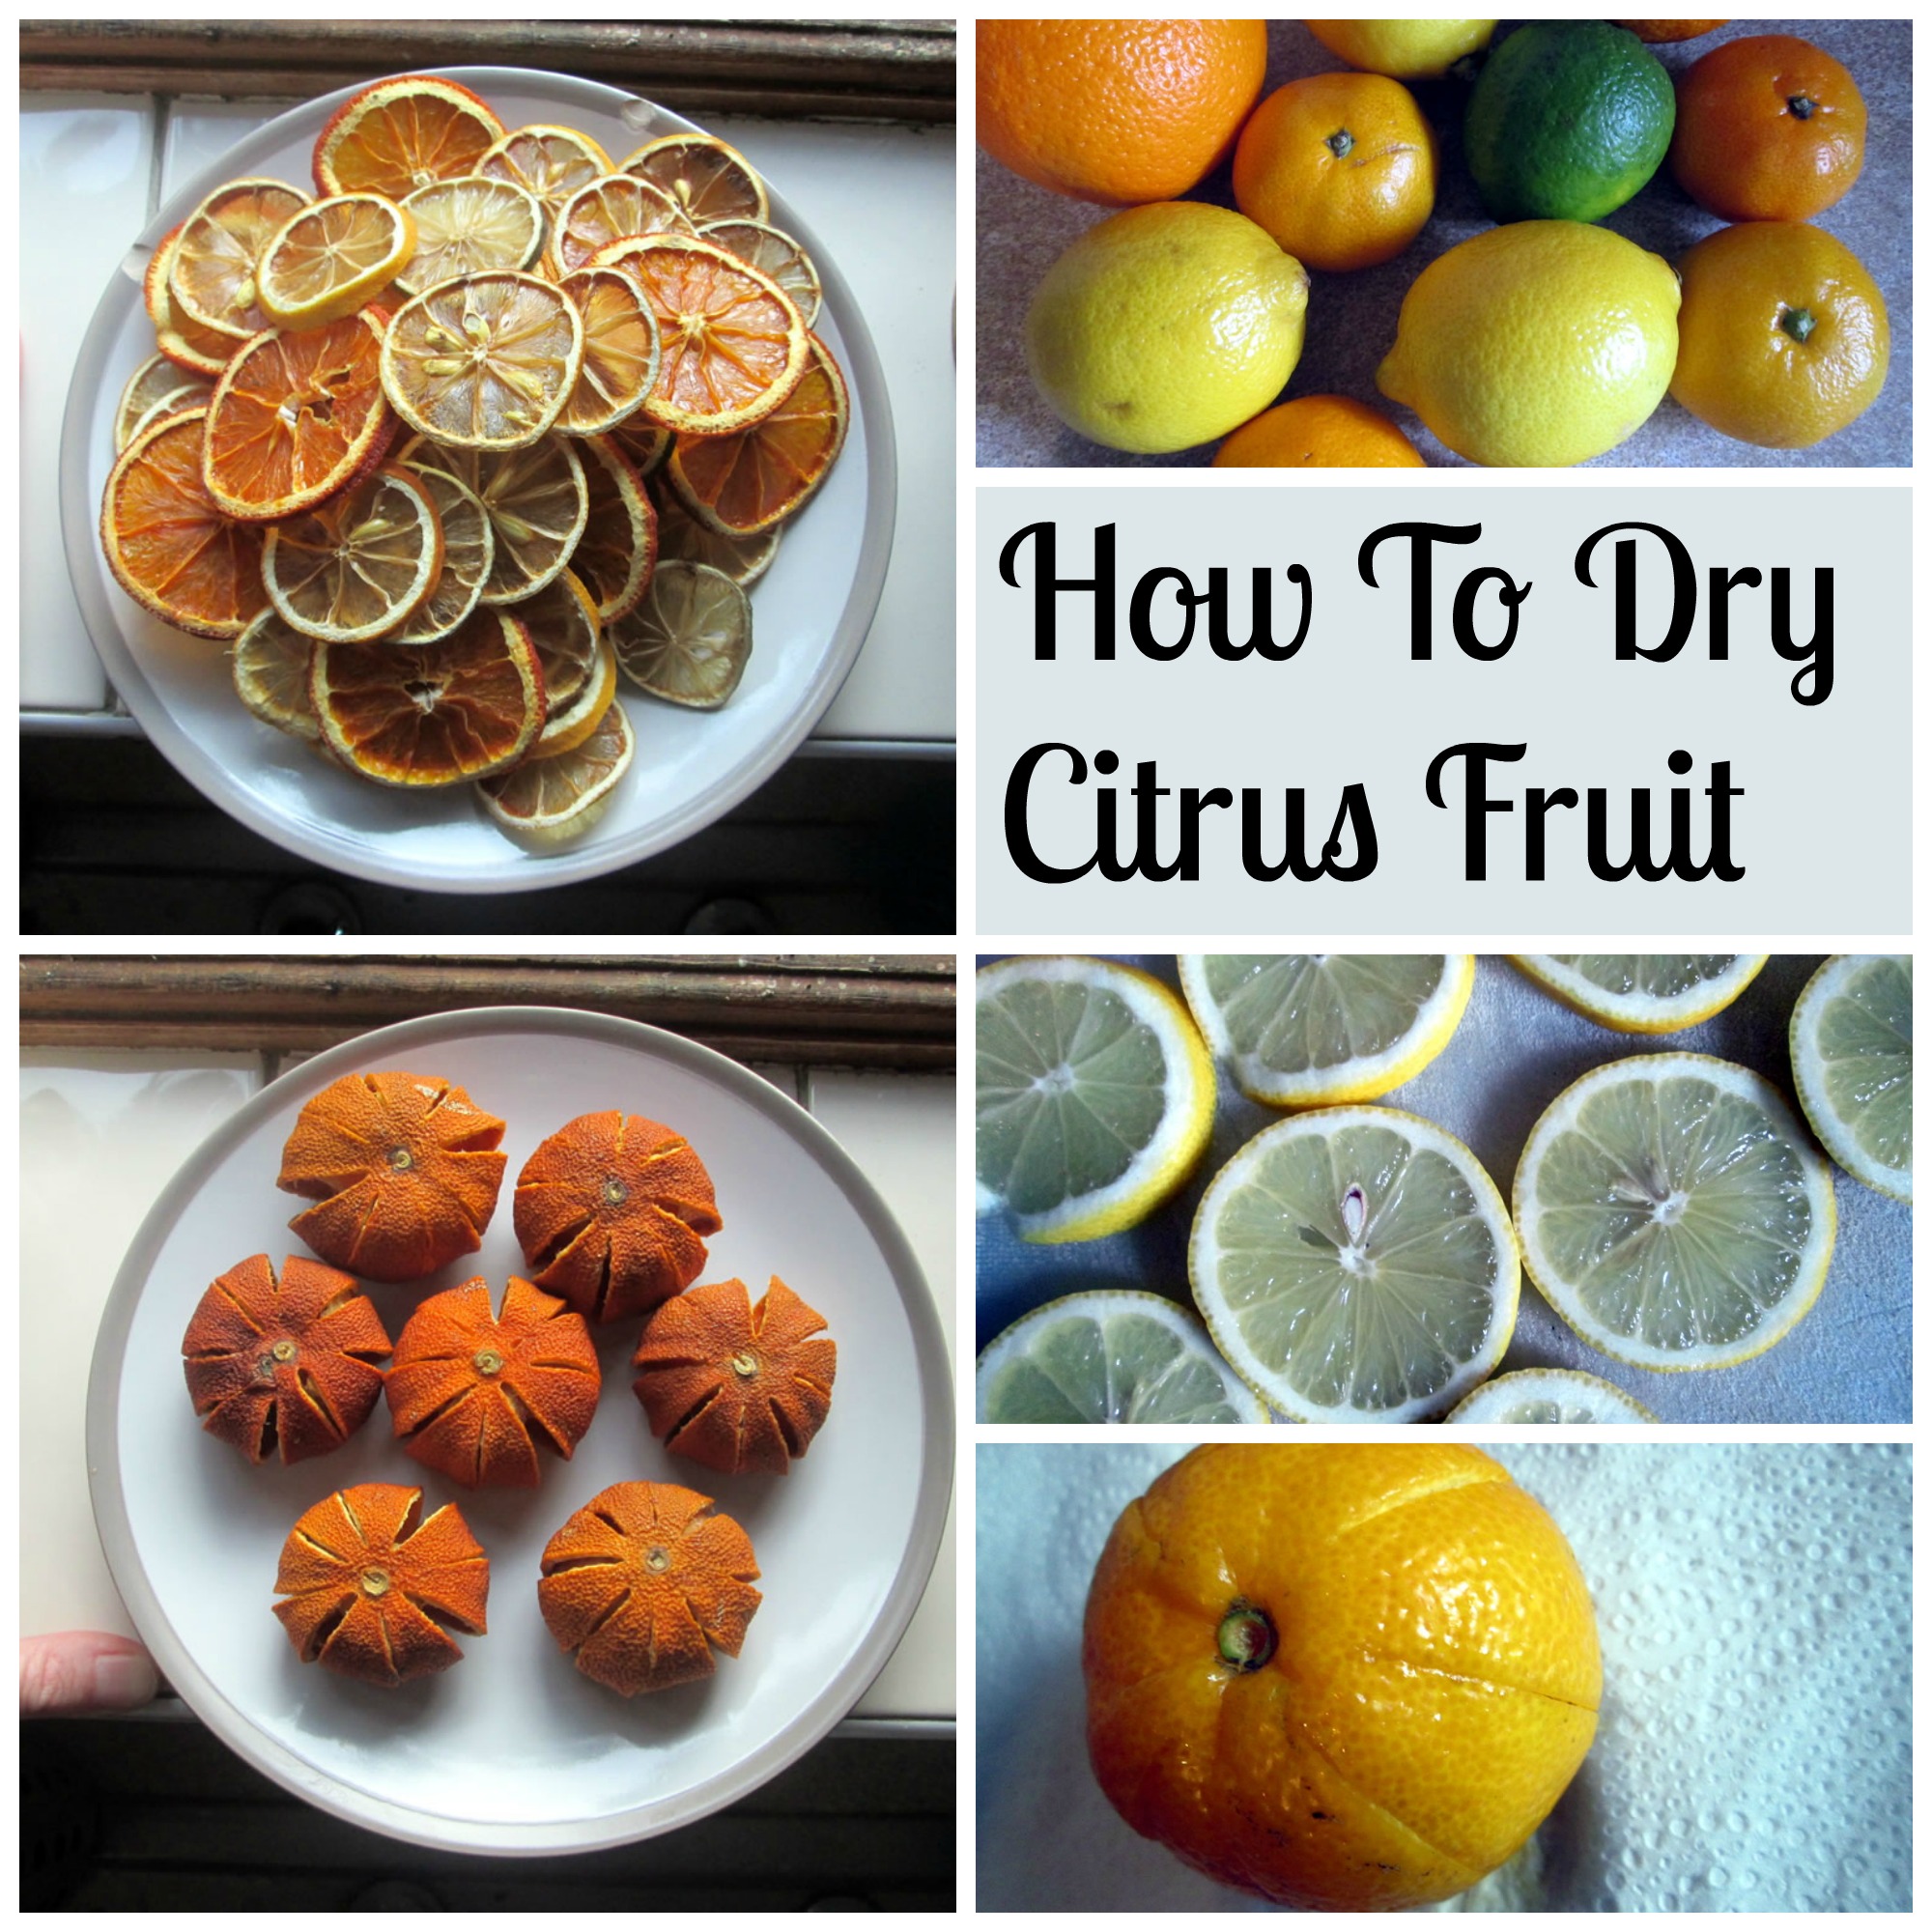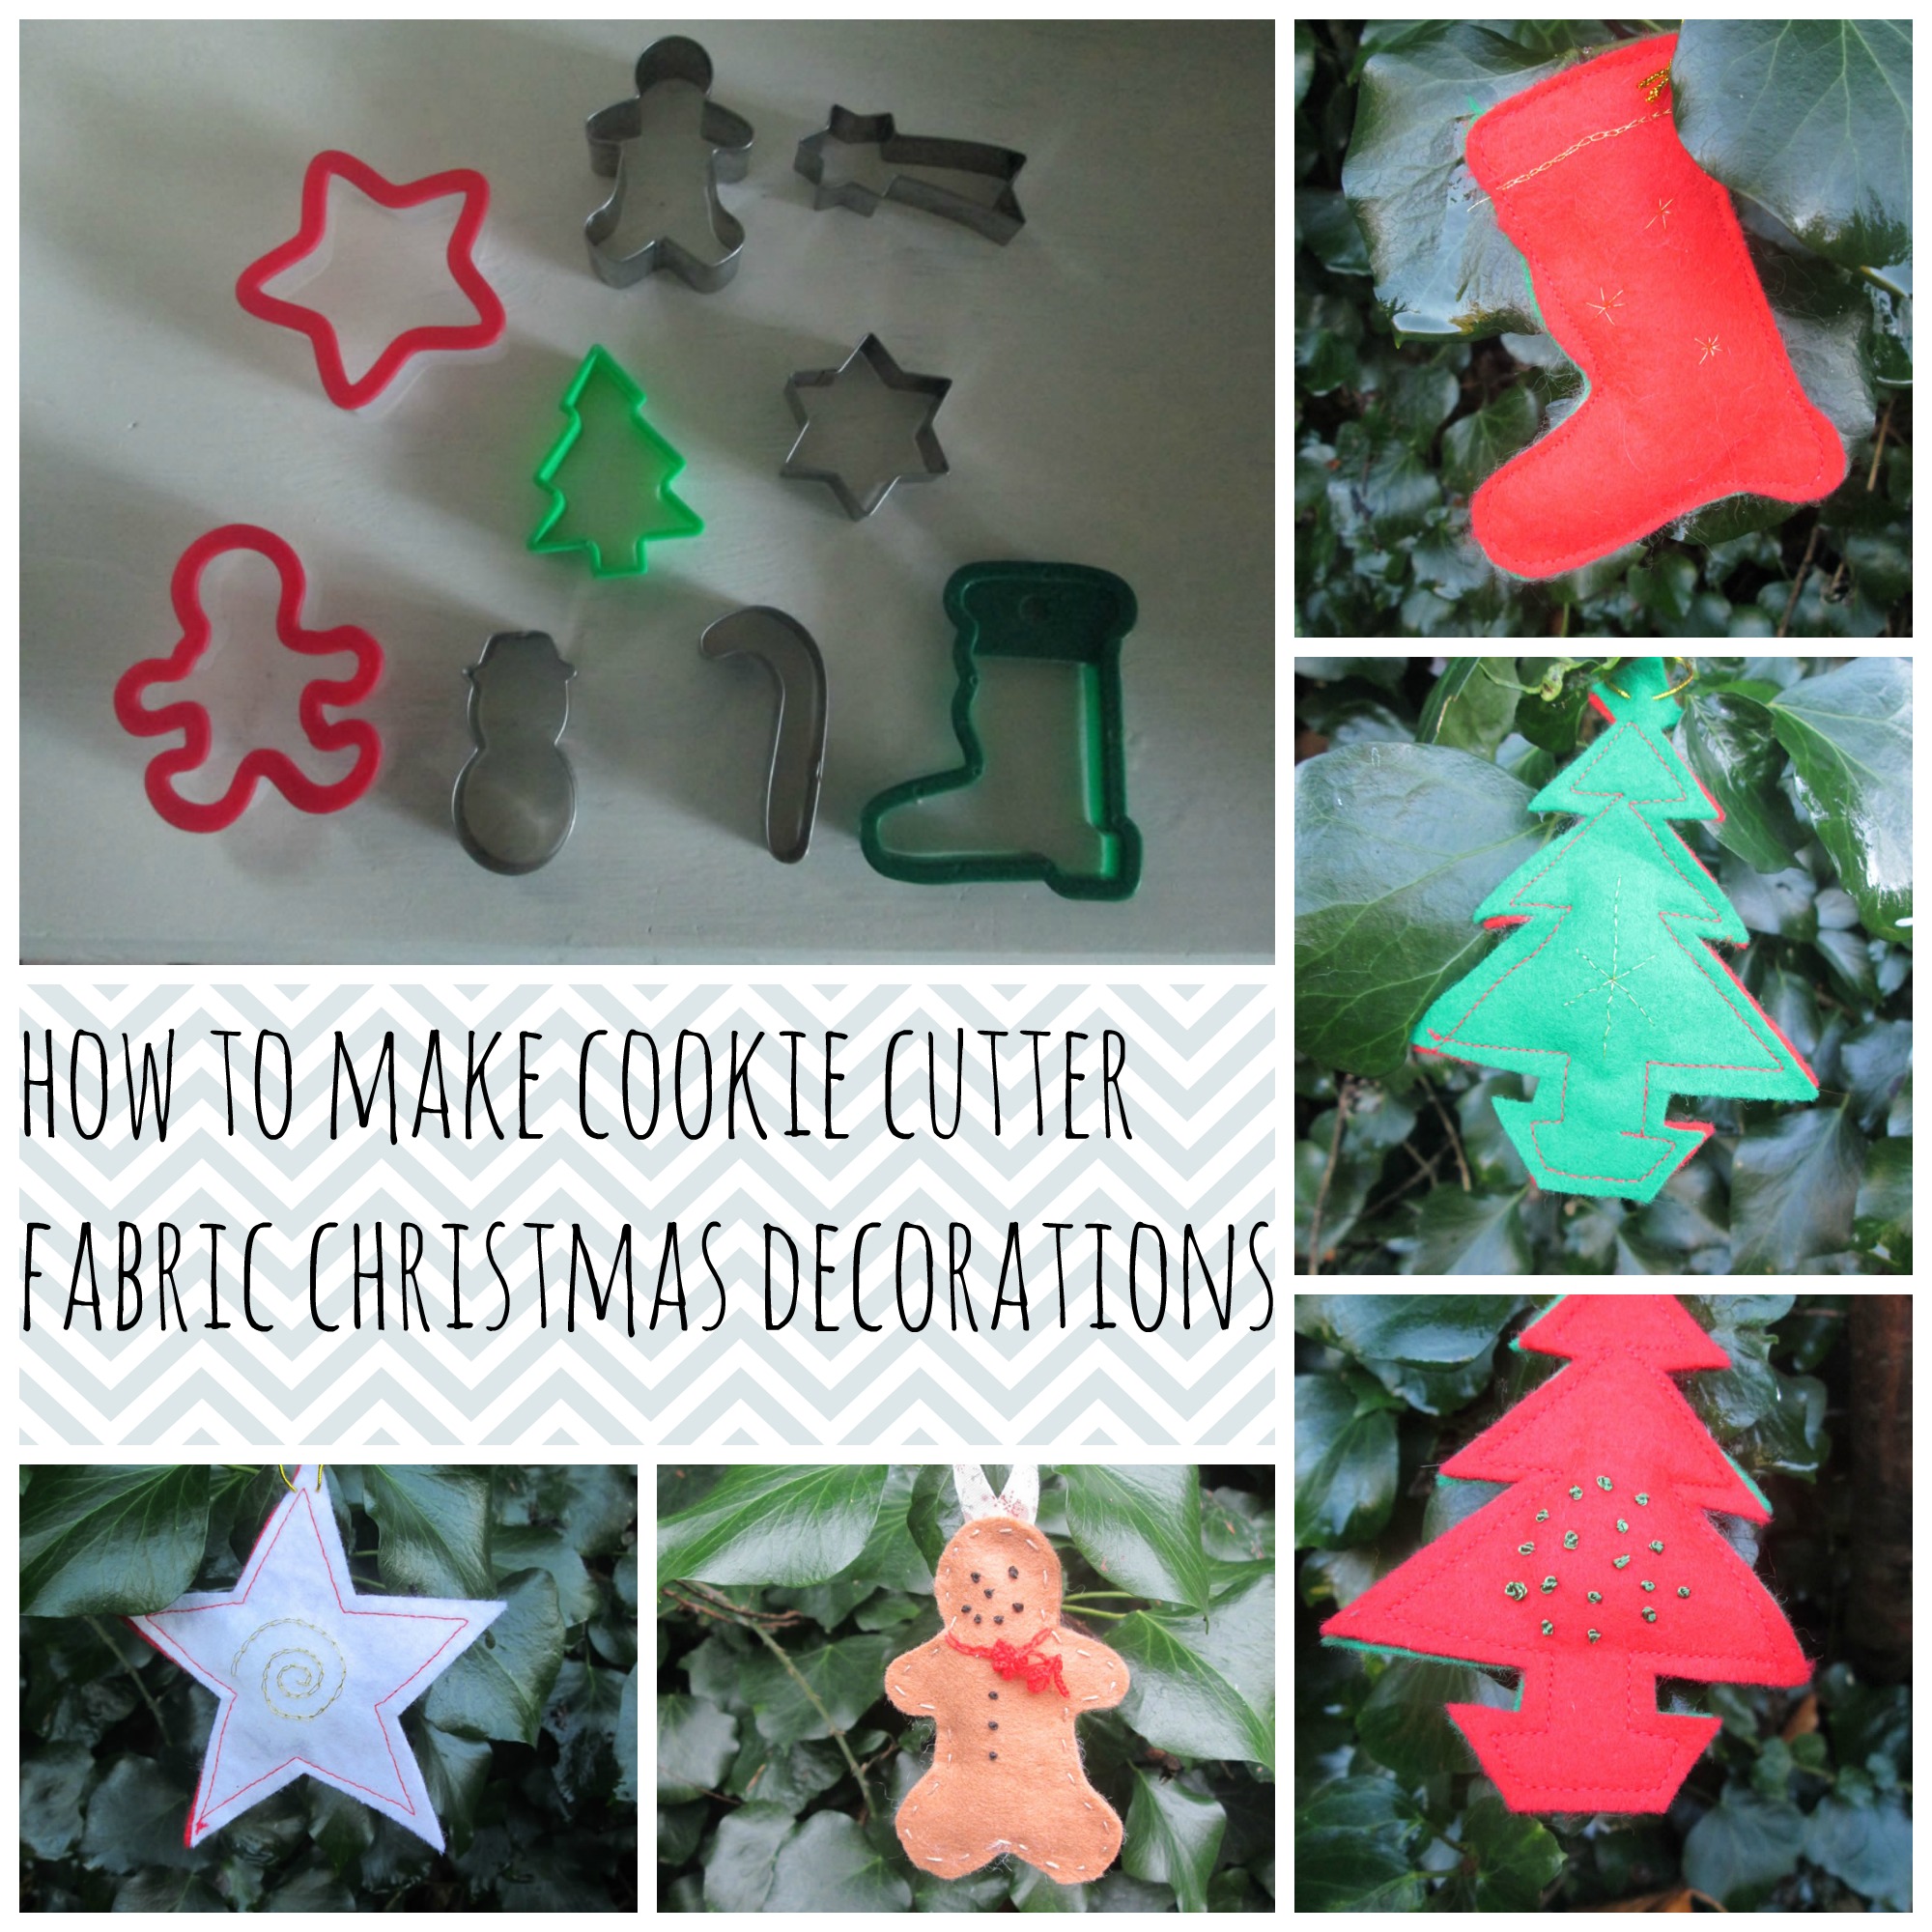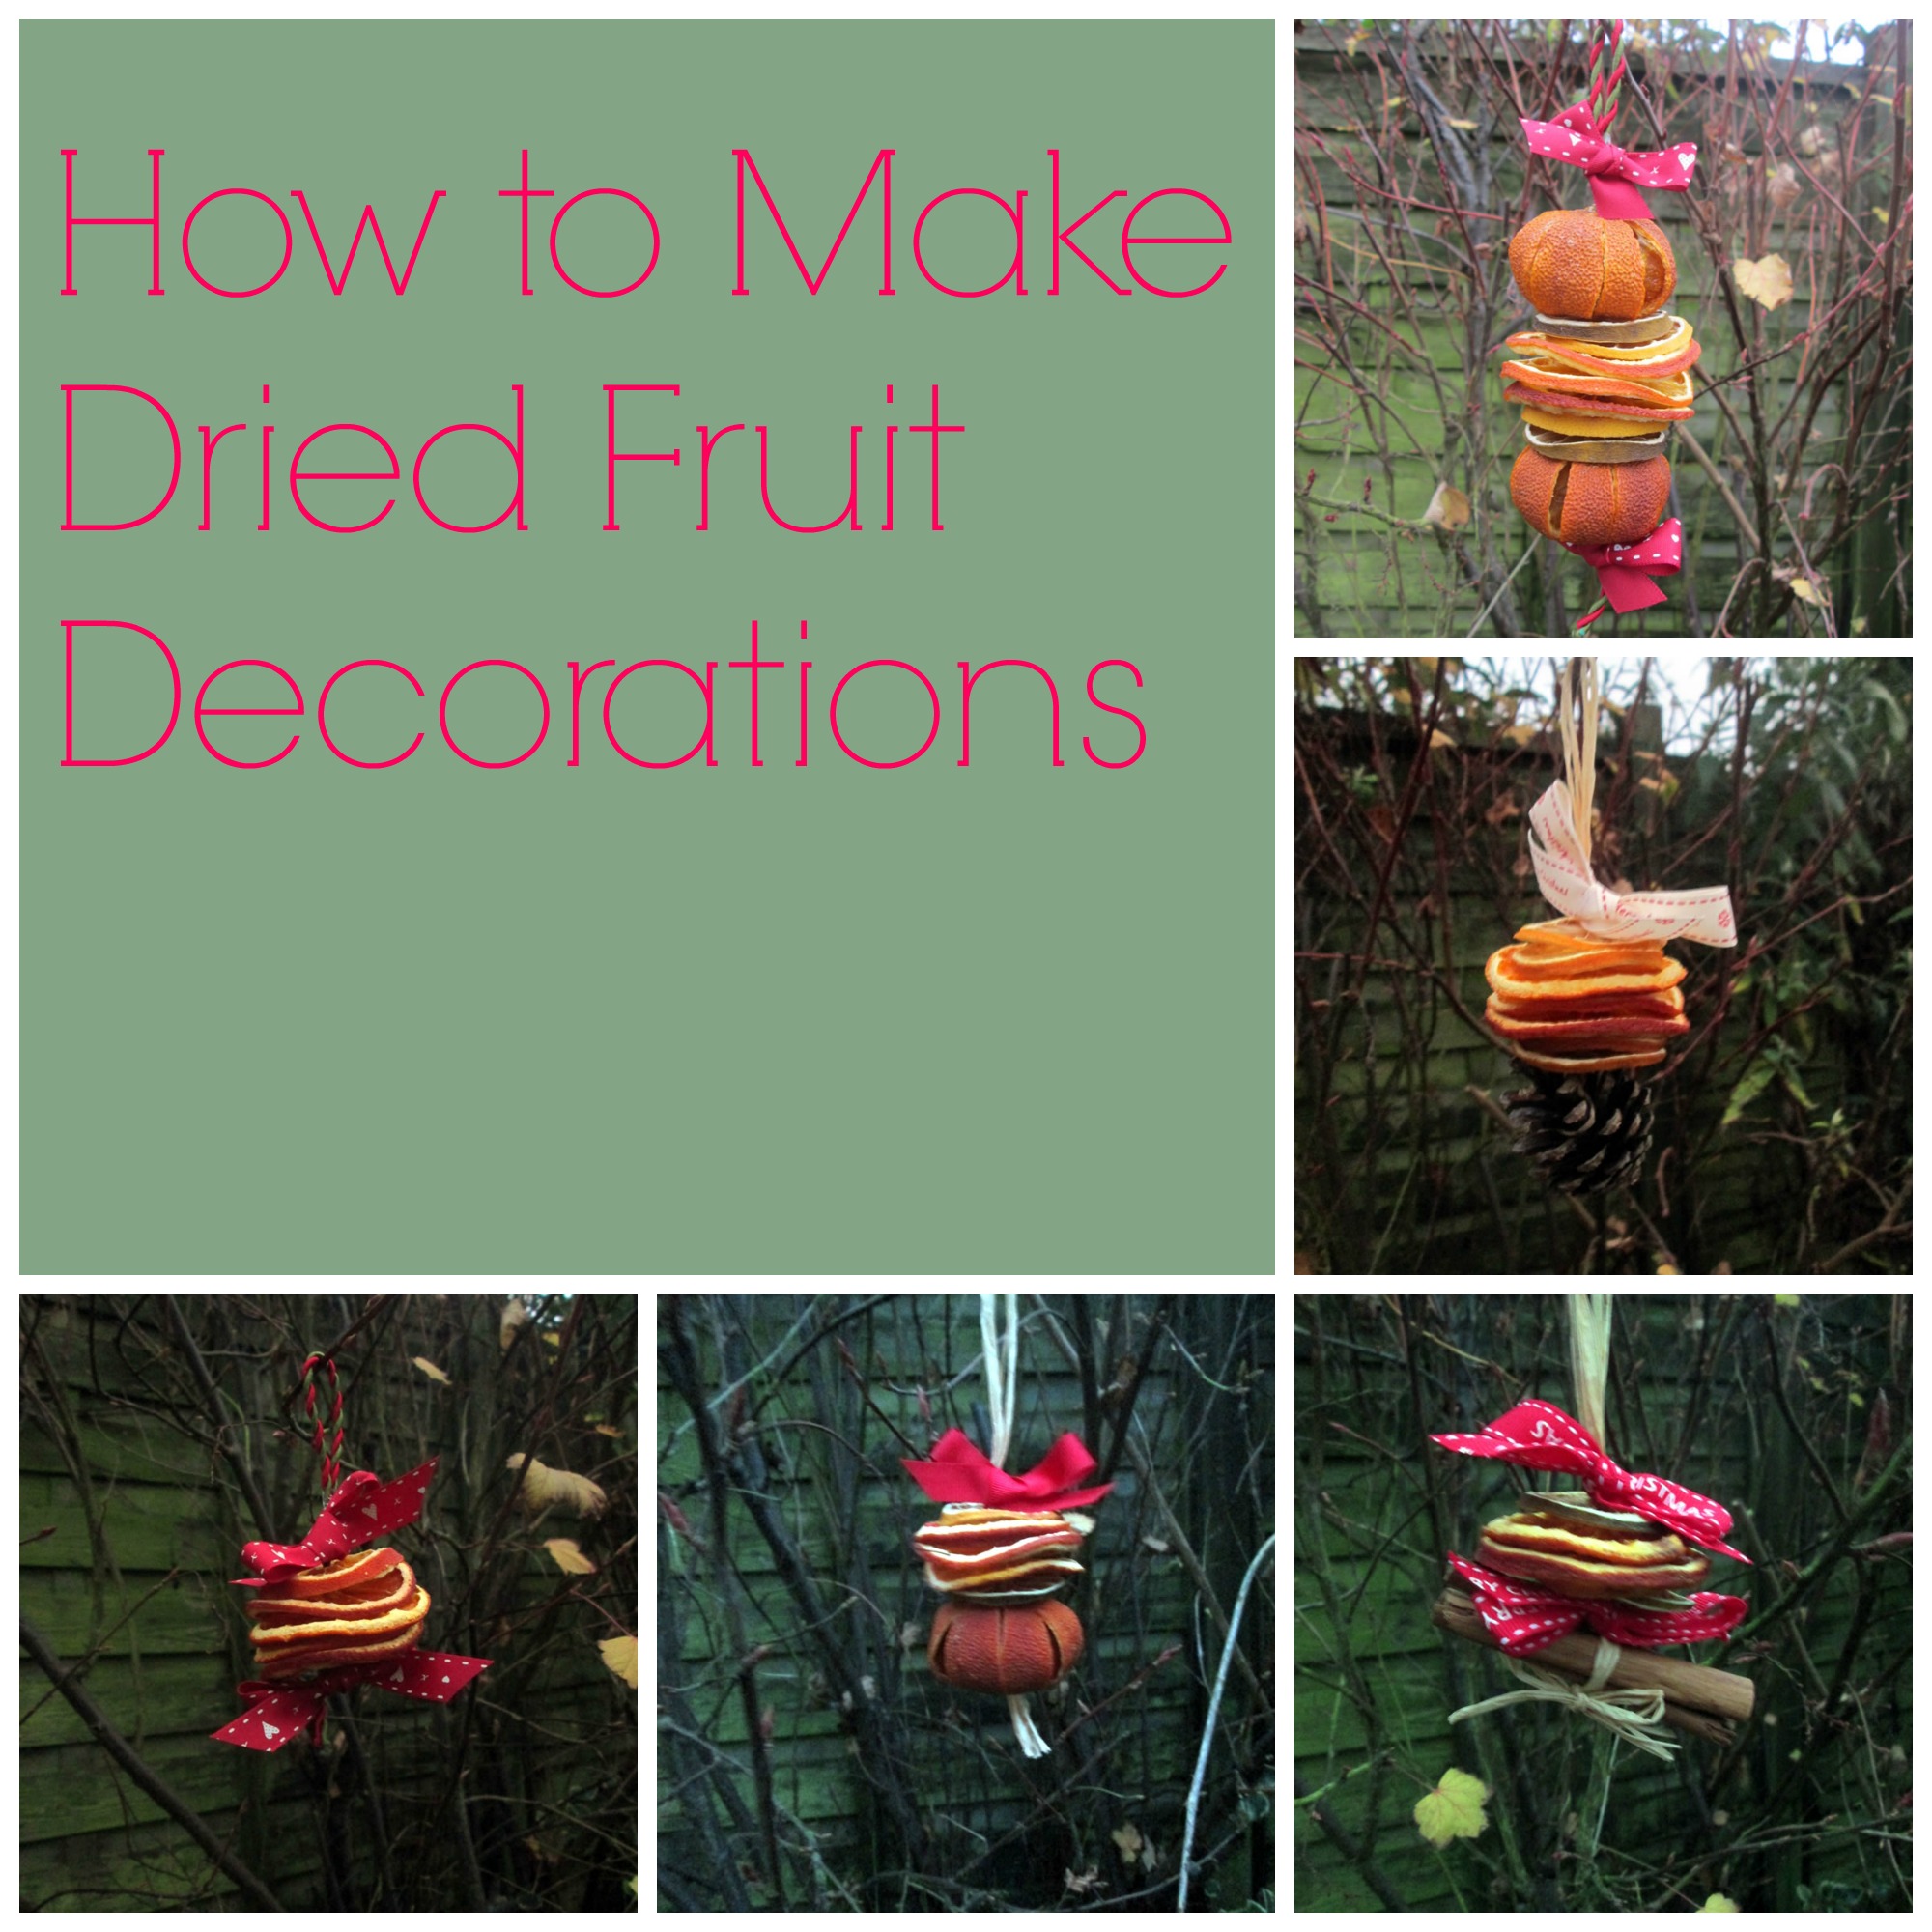
How to Make Dried Fruit Decorations
Dried fruit decorations are both easy and cheap to make. Dried fruit slices can often be obtained from craft fairs, but better than that, you could make your own! Instructions for how to do this can be found here. All you need are a few inexpensive bits and…