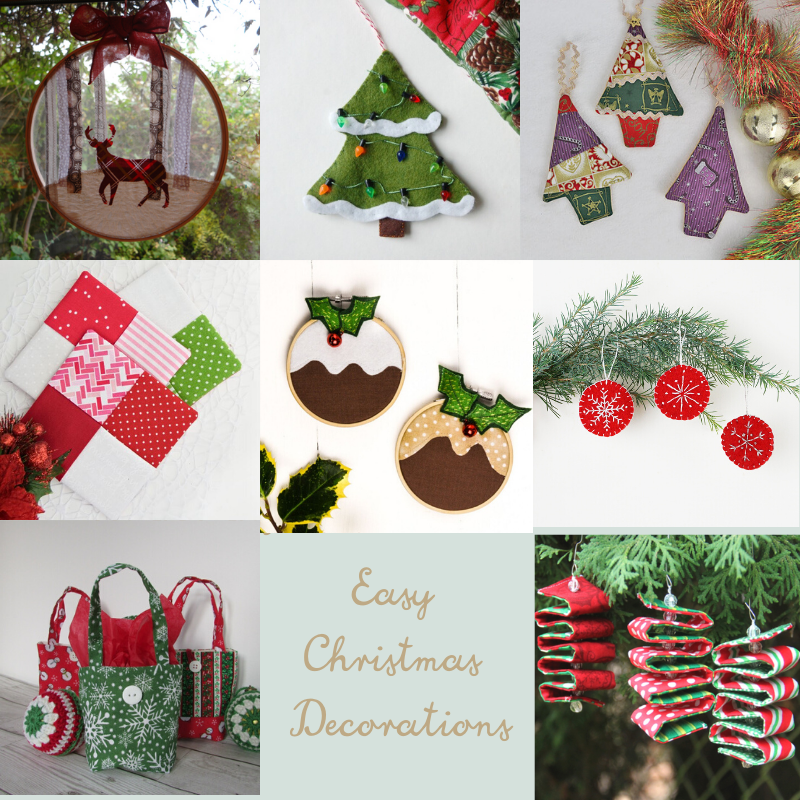
Easy Christmas Decorations To Sew in Under an Hour
Easy Christmas Decorations To Sew in Under an Hour Welcome to the Easy Christmas Decorations To Sew in Under an Hour blog hop! It’s a lovely idea to make things for Christmas, but it can be difficult to find the time when everything’s so busy. I used to…