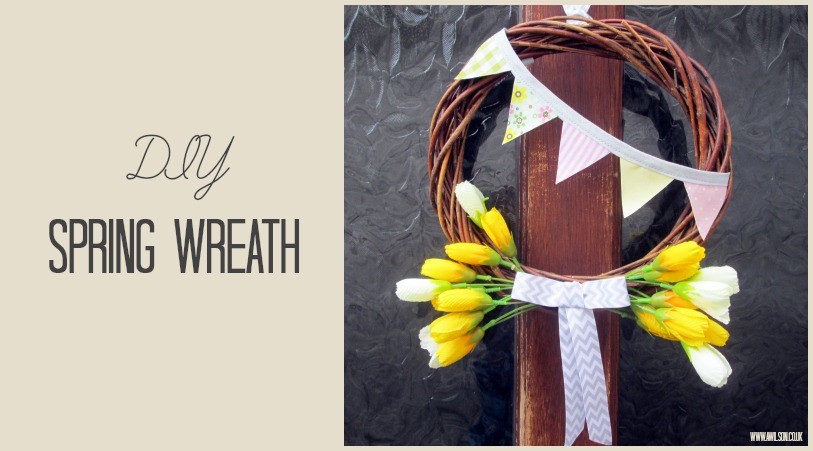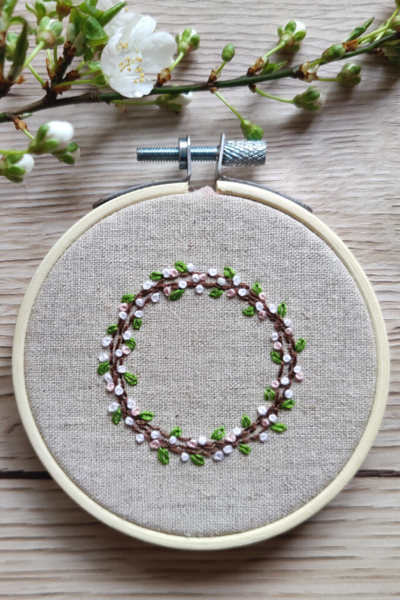
Embroidered Spring Wreath in an Embroidery Hoop
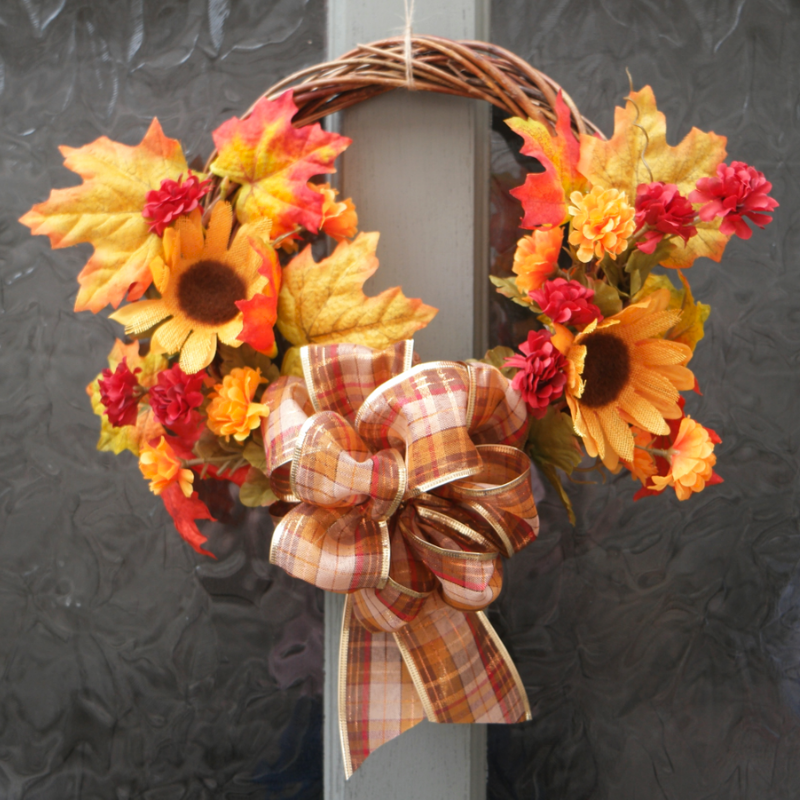
Back in the autumn, I made a little embroidered autumn wreath in an embroidery hoop. It was my plan to make one for each of the four seasons. I haven’t yet made the winter one, and while February is most definitely not spring, this week has felt like…