Buggy Cushion for Quinny Zapp Xtra
 Having had 4 babies and also a mild pushchair addiction, I have got through a few pushchairs.
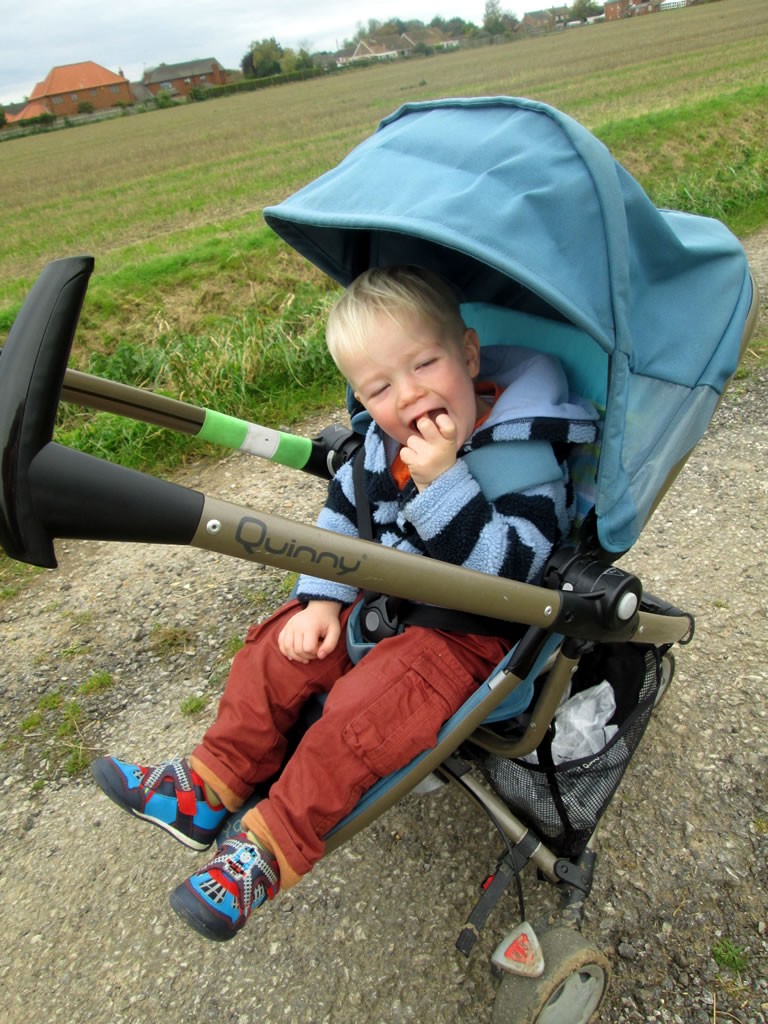
Out of the 12 or so that I’ve had my little Quinny Zapp Xtra is easily my favourite.
There are some issues with it. The wheels are noisy and the basket is small. You have to take the seat off to fold it up, although the newest version folds in on piece. Other than that it’s not a bad little thing. It’s roomy enough for a toddler yet cosy for a tiny baby and the hood is huge. It’s lovely and light to push and very easy to steer. Although you have to take the seat of, it folds very compactly which makes life much easier when trying to stuff 4 kids, luggage and/or shopping and a buggy into the car.
Another minor drawback is that although the seat can face either way, it won’t go upright when in the parent facing position. Boy 4 was happy for a long time to be reclined, even when he could sit up unaided. I don’t have a huge problem with him facing forwards, I just prefer him to face me. It’s easier to talk to him and I often find when he is facing forwards that he tries to turn round.
I can’t do anything about the noisy wheels or the seat not folding, but the not being able to sit upright in the seat issue, well this sounds just like the kind of challenge I enjoy!
Here is how I made a buggy cushion for Quinny Zapp Xtra!
The first thing I did was buy a piece of foam. I considered just making a cushion with polyester filling or an old pillow, but I needed it to be firm so I decided foam would be best.
There are several places in internetland that sell bits of foam. Unfortunately prices don’t include VAT, so with postage as well it worked out more expensive than I had hoped. I bought a wedge shaped piece 30cm x 40 cm x 10 cm then set about making a cover for it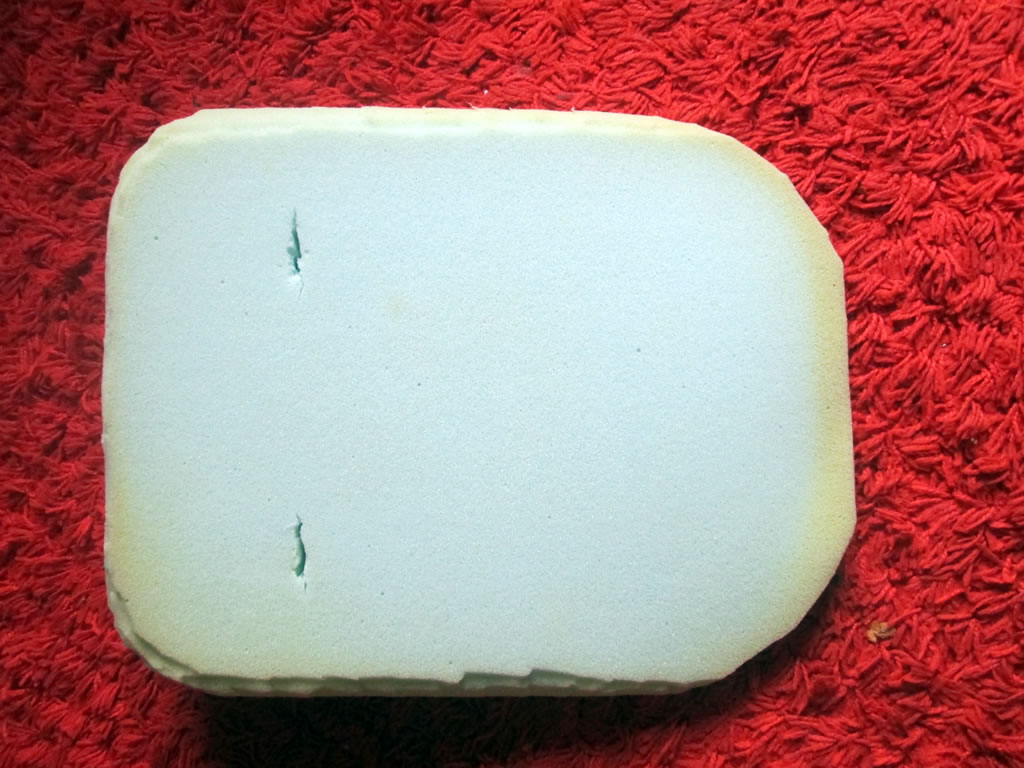
 I shaped the foam a little bit more with a knife and a pair of scissors and cut holes for the straps. Cutting the foam proved to be difficult. People recommend using an electric bread knife, but I do not have one of those (I would probably not have any fingers left if I did!), so I had to make do with a normal knife.
Next I cut a piece of cotton about 50 cm x 100 cm. I draped it over the piece of foam before cutting to make sure I cut it to the right size. 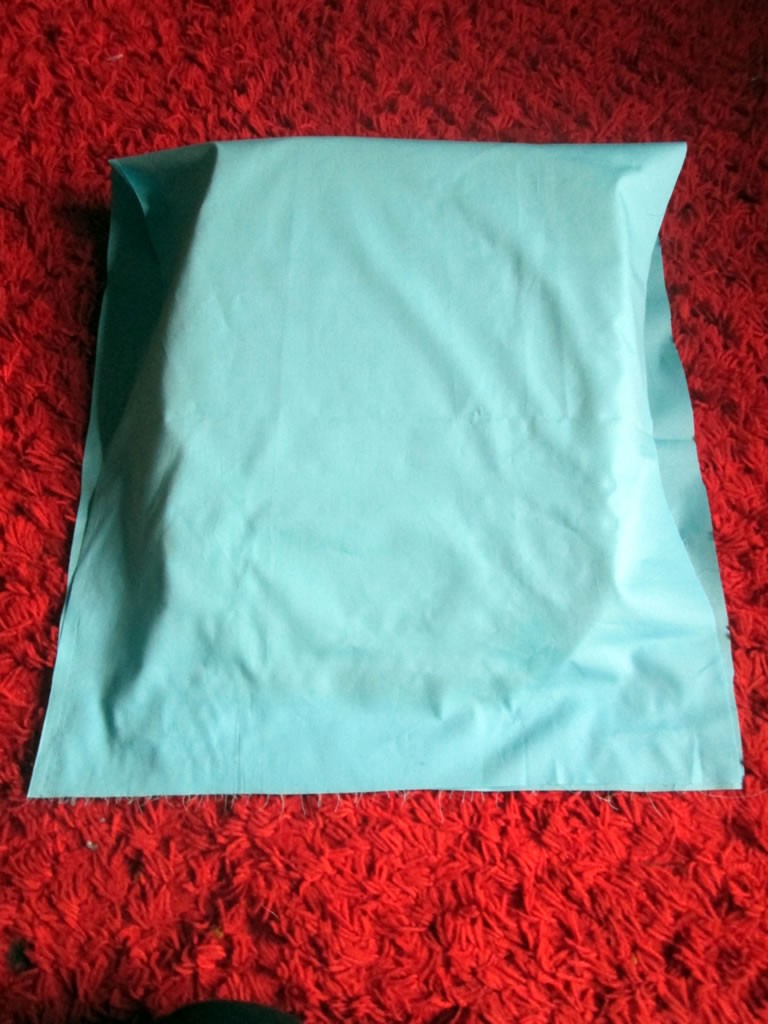 I wanted to jazz it up by adding a panel of different fabric vaguely where Boy 4’s head would go. I cut 2 pieces of fabric, for the front and the back, folded the raw edges of the 2 longer sides in and pressed them. Then I sewed it onto the main piece.
 Matching the sides of the panel, I pinned the fabric to the foam and marked where the holes for the straps needed to go.
  Once I had cut these, I needed to make sure they would not fray. I made some bias binding but after several minutes of faffing around I decided it would not work. Binding buttonholes is something I need to learn how to do!
I opted instead to zigzag around the openings. My buttonholer does not do buttonholes that big, so I just chose a zigzag stitch on my sewing machine and set the stitch length to short.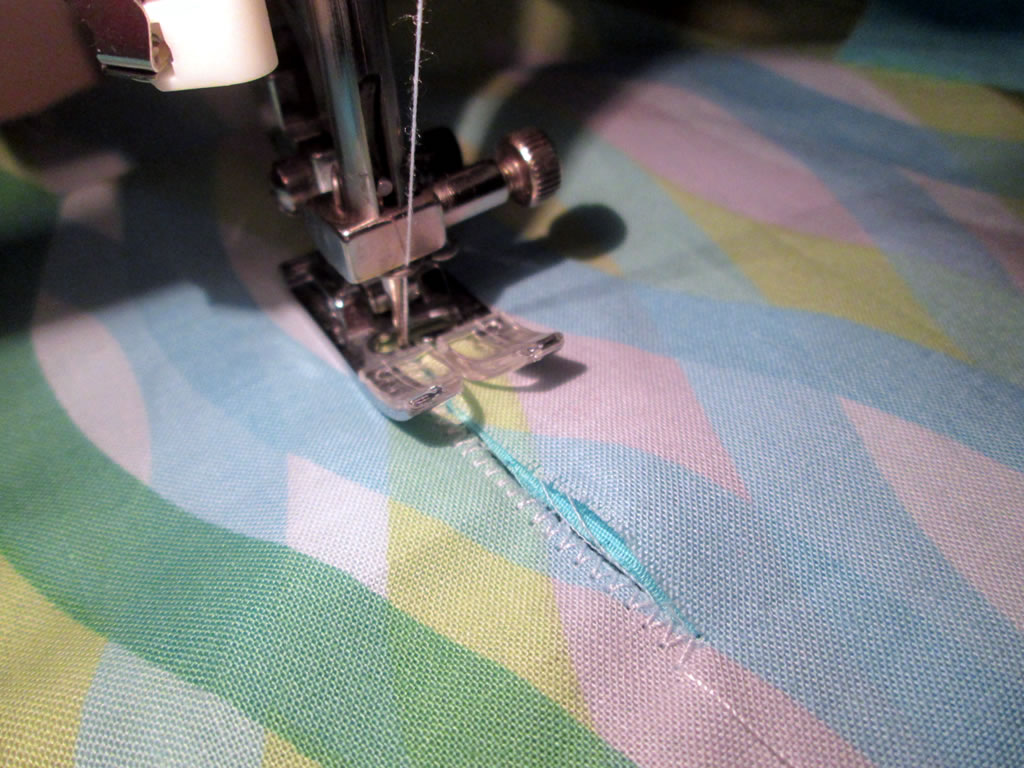
Next I draped the fabric over the foam piece wrong side out and pinned the side seam so that the seam would be in the middle of the side of the cushion. This is important for making the corners!
I sewed the seam then squared off the corner by squashing the corner so that the seam was in the middle.  I then sewed across the corner at right angles to the seam.
The now half finished cover went back onto the foam pad and I did the same to the other side.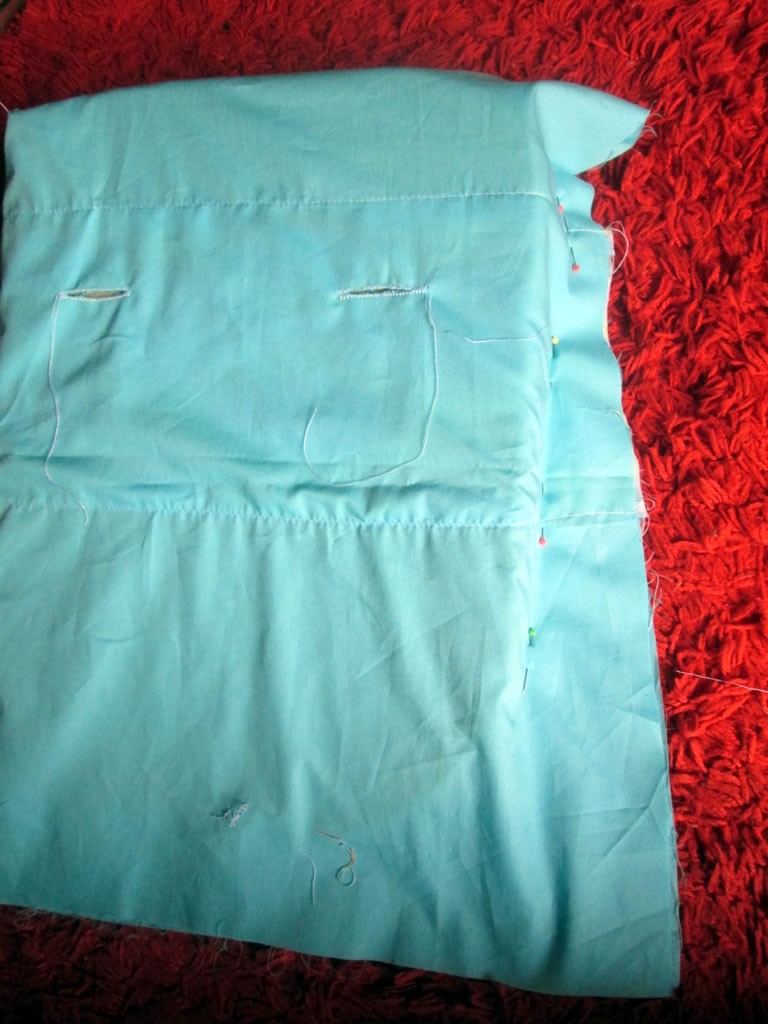
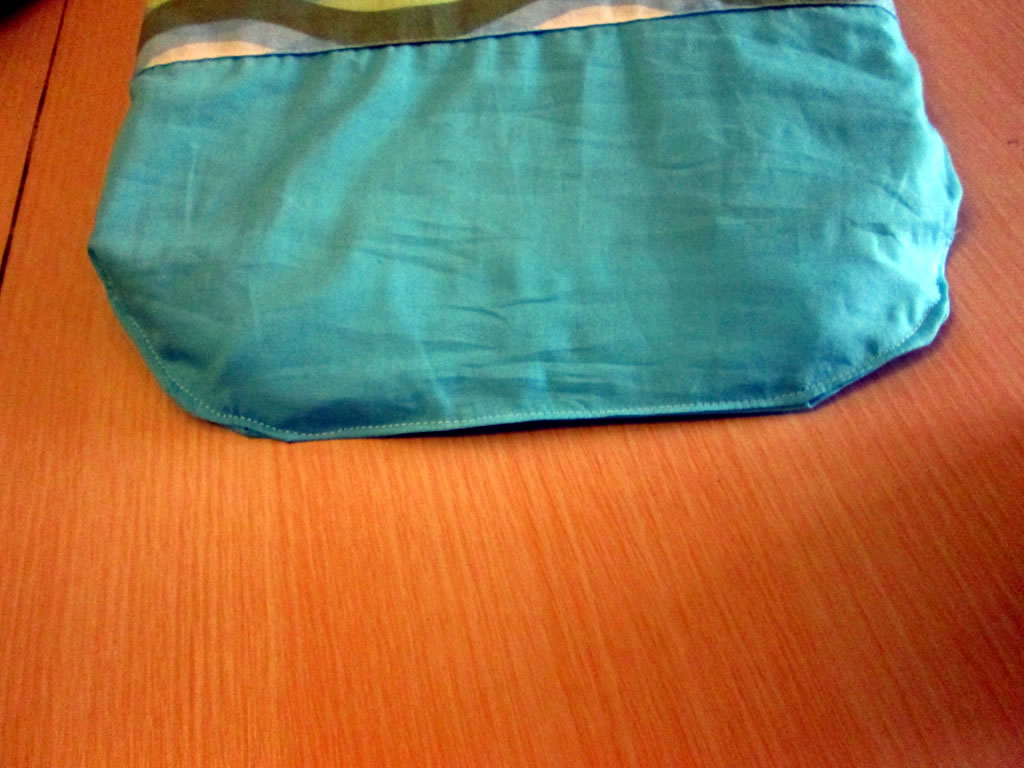
So I now had a weird kind of bag thing with holes near near the top on both sides.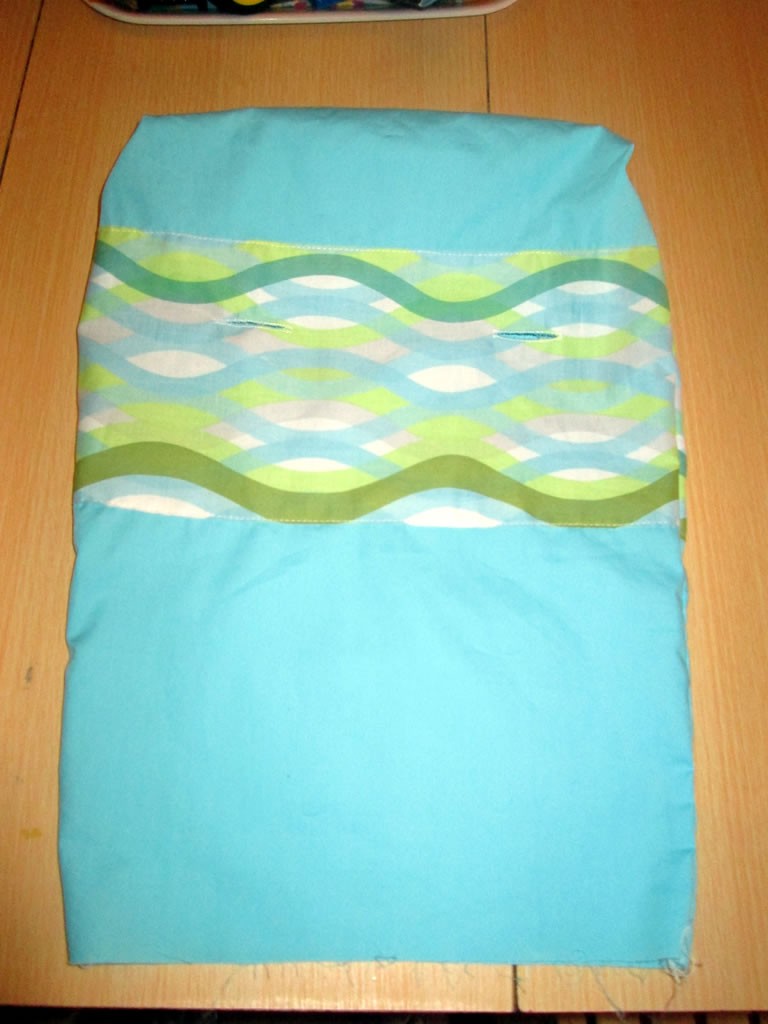
The last thing to was the bottom edge. If you are considering making this and your child is inclined to be sicky or eats a lot in his pushchair, you might prefer to put a zip in here or add a couple of buttons.
I just sewed it up! If it needs washing, I’ll probably just chuck the whole thing in the washing machine 😉
I put the cover on the piece of foam. With the top being chunkier than the bottom, it took some squeezing and squashing to get the cover on. I tucked the corners in so that it followed the shape of the foam a bit more. 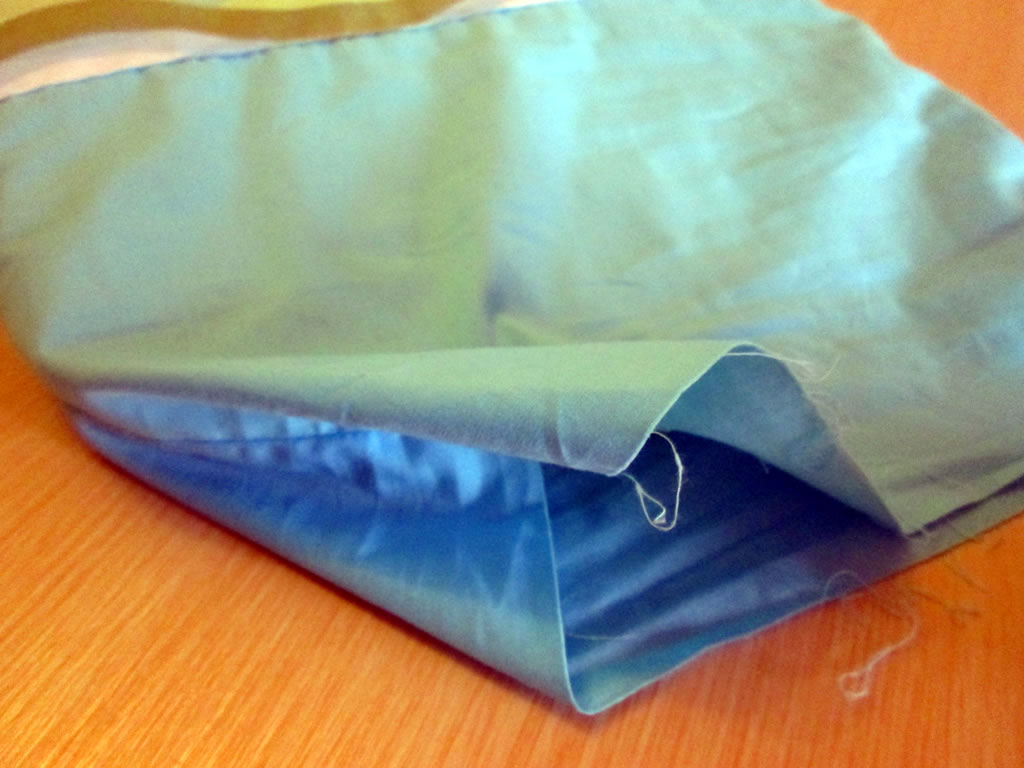 Then I folded the raw edges inwards, pinned and topstitched it closed.
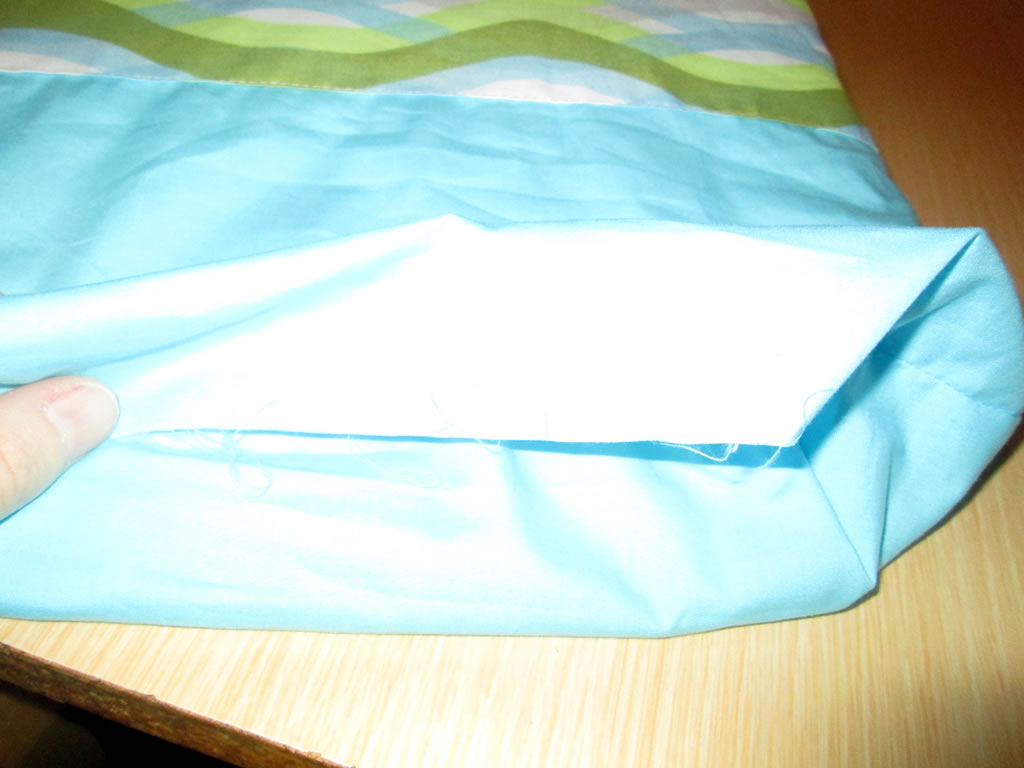
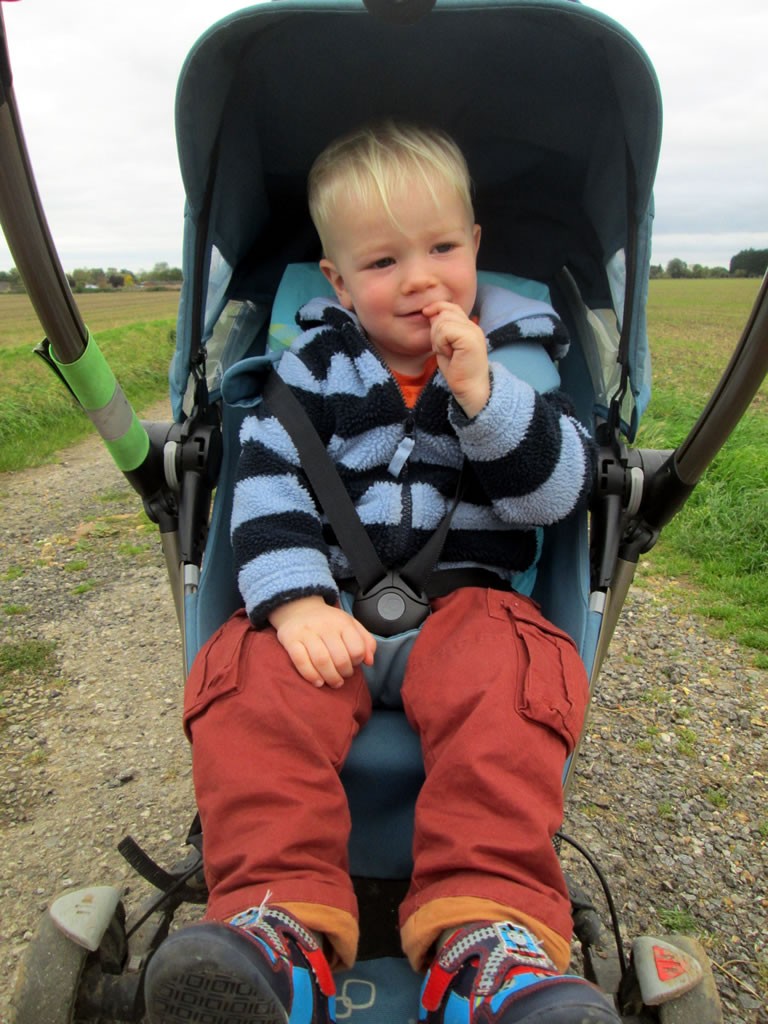
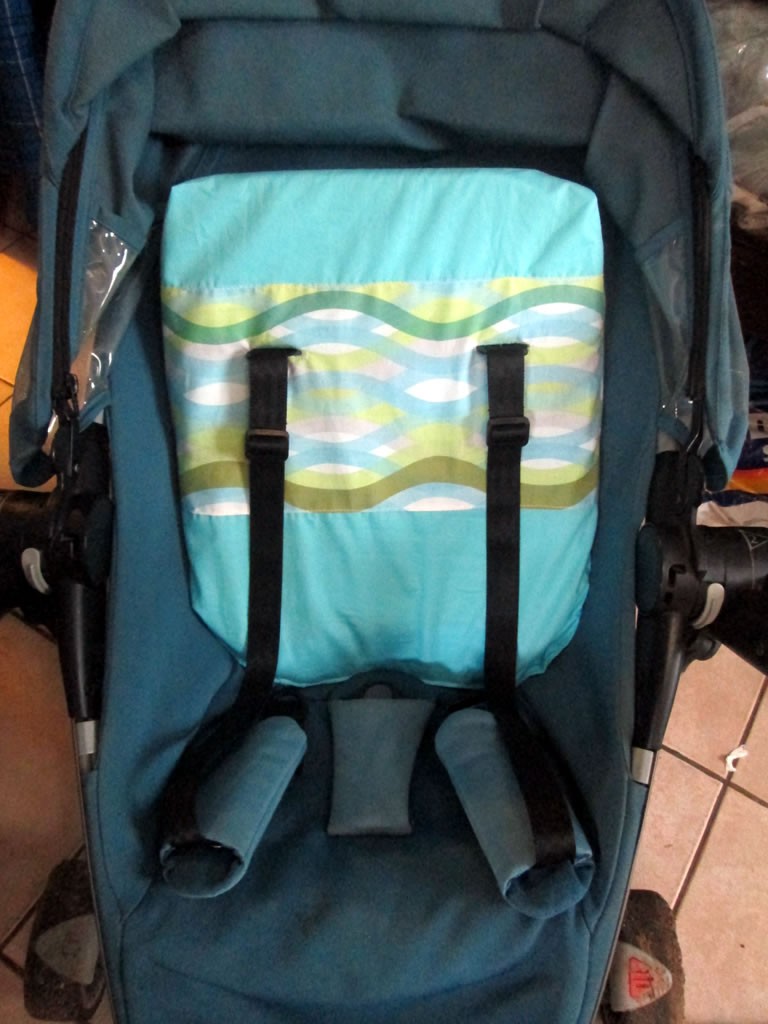
 Here is Boy 4 trying out his cushion He looks comfy, doesn’t he?