Top
Skip to main content
Skip to footer
Home
About
Contact
Ebooks and Printables
Etsy
Login
Search this website
Tea and a Sewing Machine
Tips and Techniques
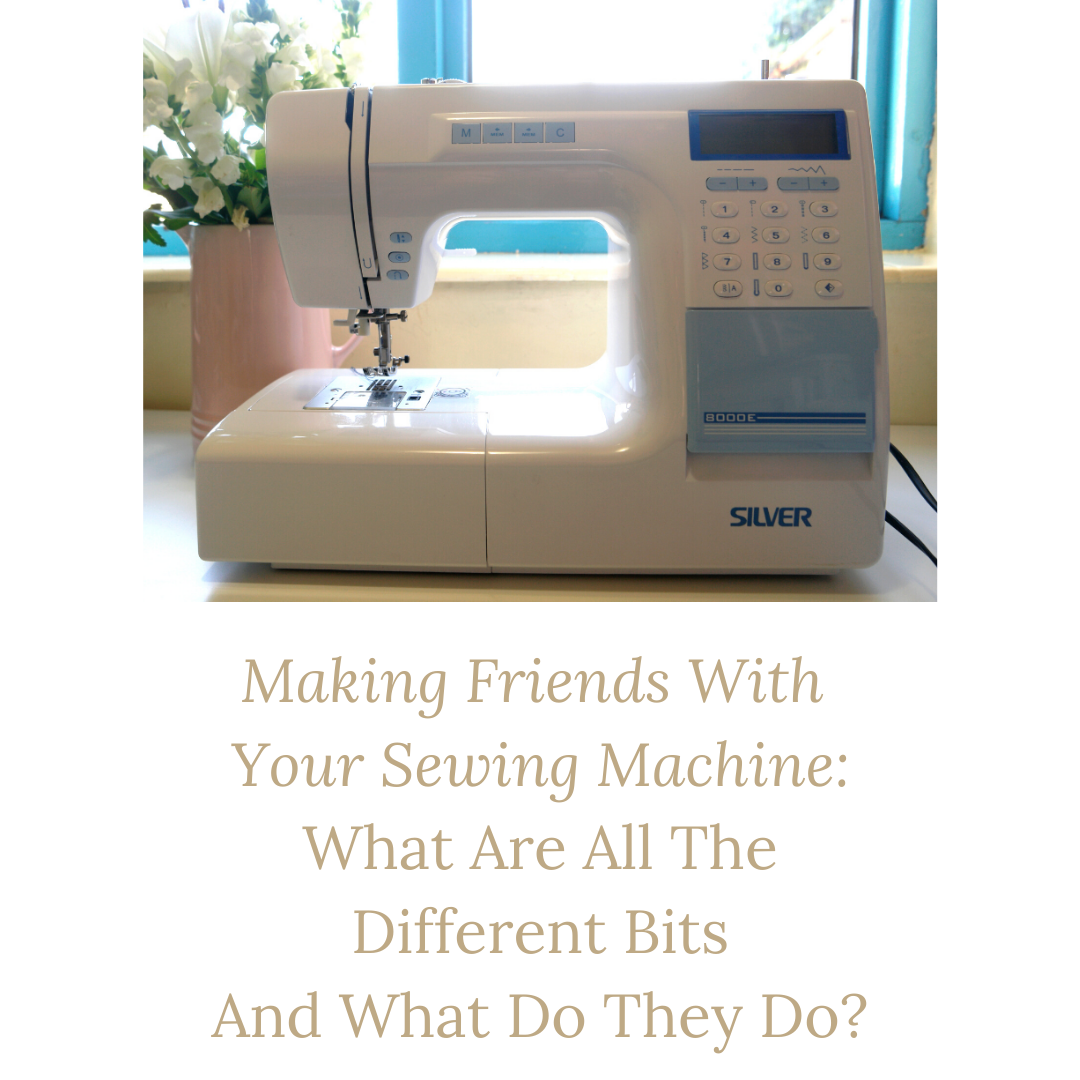
Making Friends With Your Sewing Machine: What Are All the Different Bits and What Do They Do?
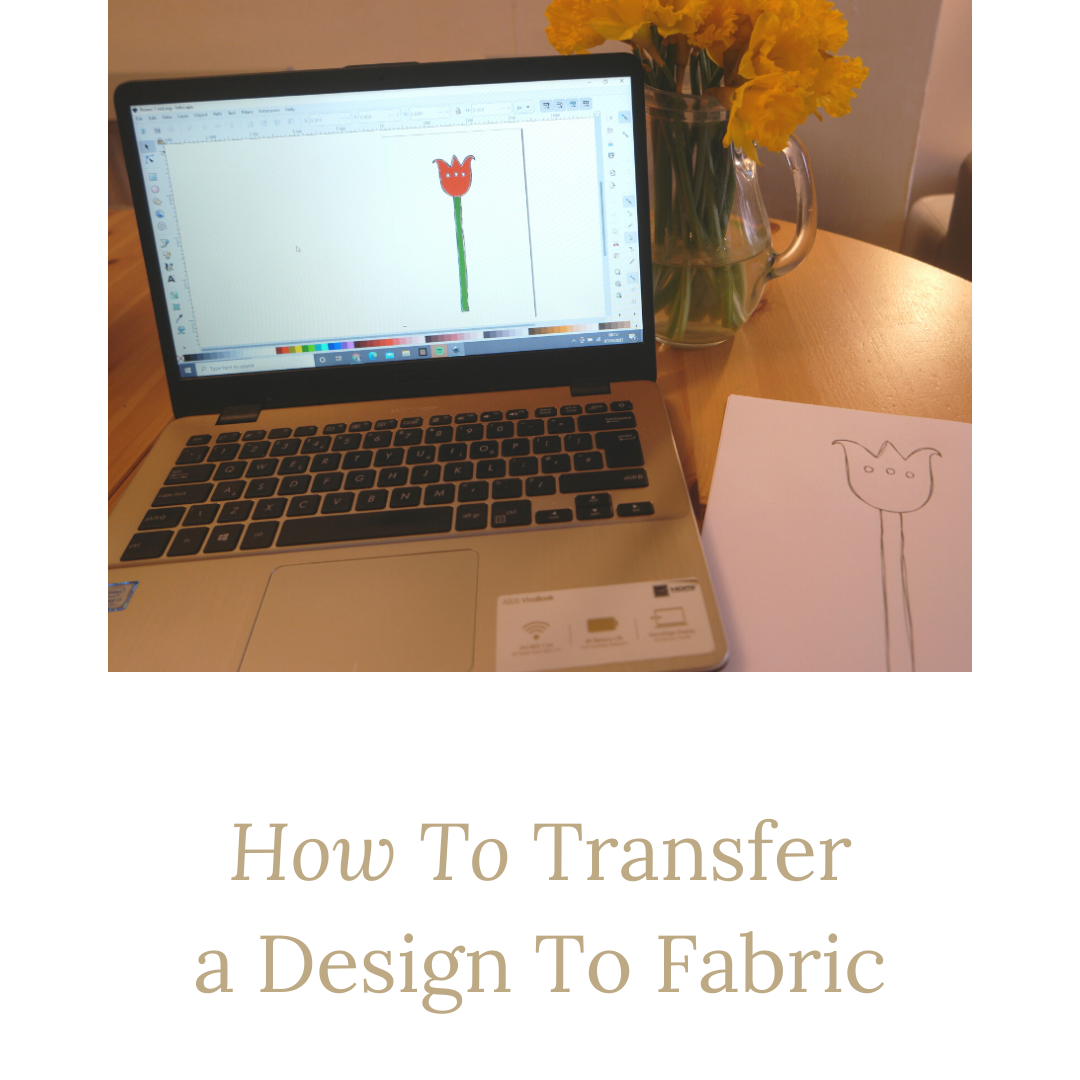
How To Transfer a Design to Fabric
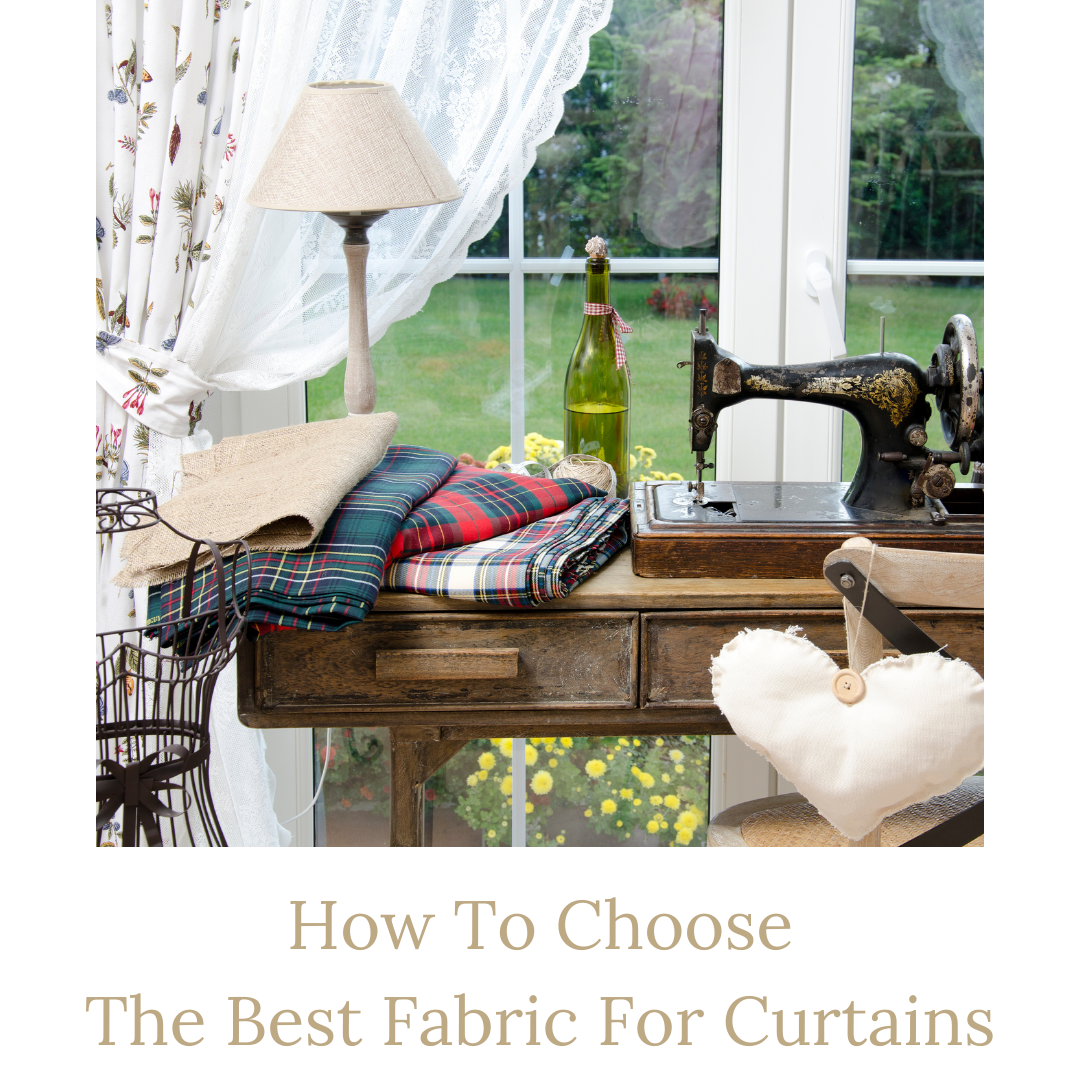
How To Choose The Best Fabric For Curtains
Tips For Sewing With Knits: It’s Easier Than You Might Think!
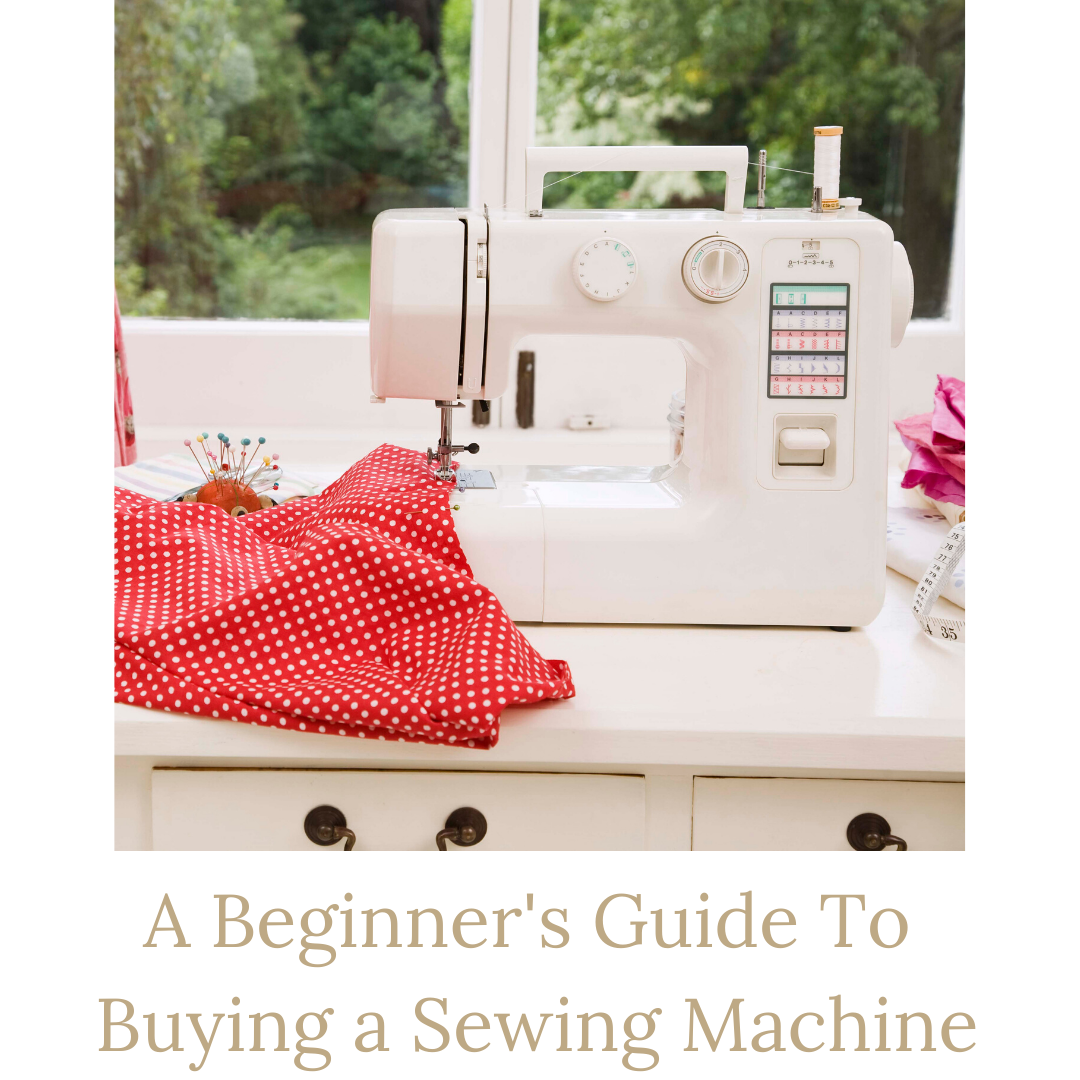
A Beginner’s Guide To Buying a Sewing Machine
How To Alter a T Shirt
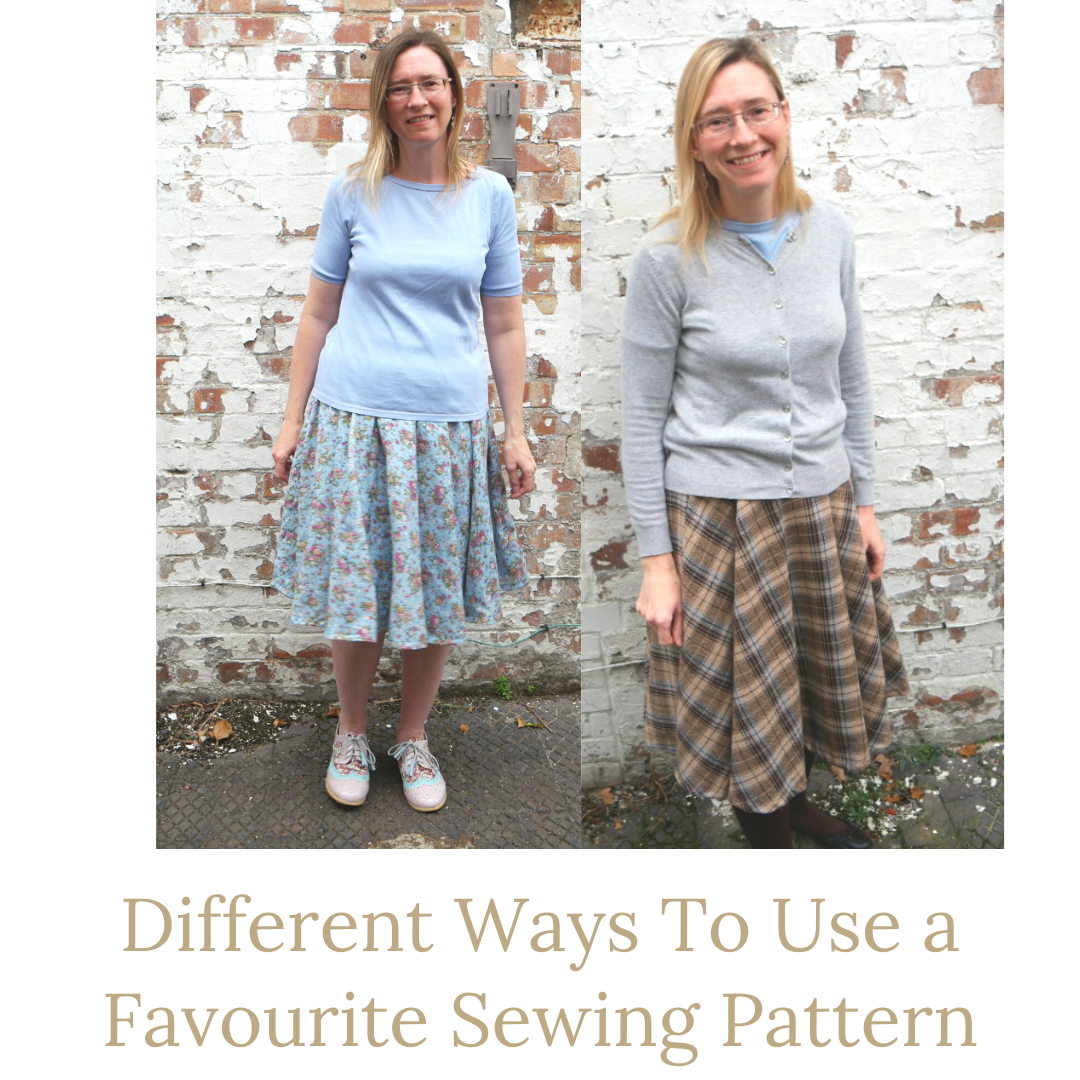
Different Ways To Use a Favourite Sewing Pattern
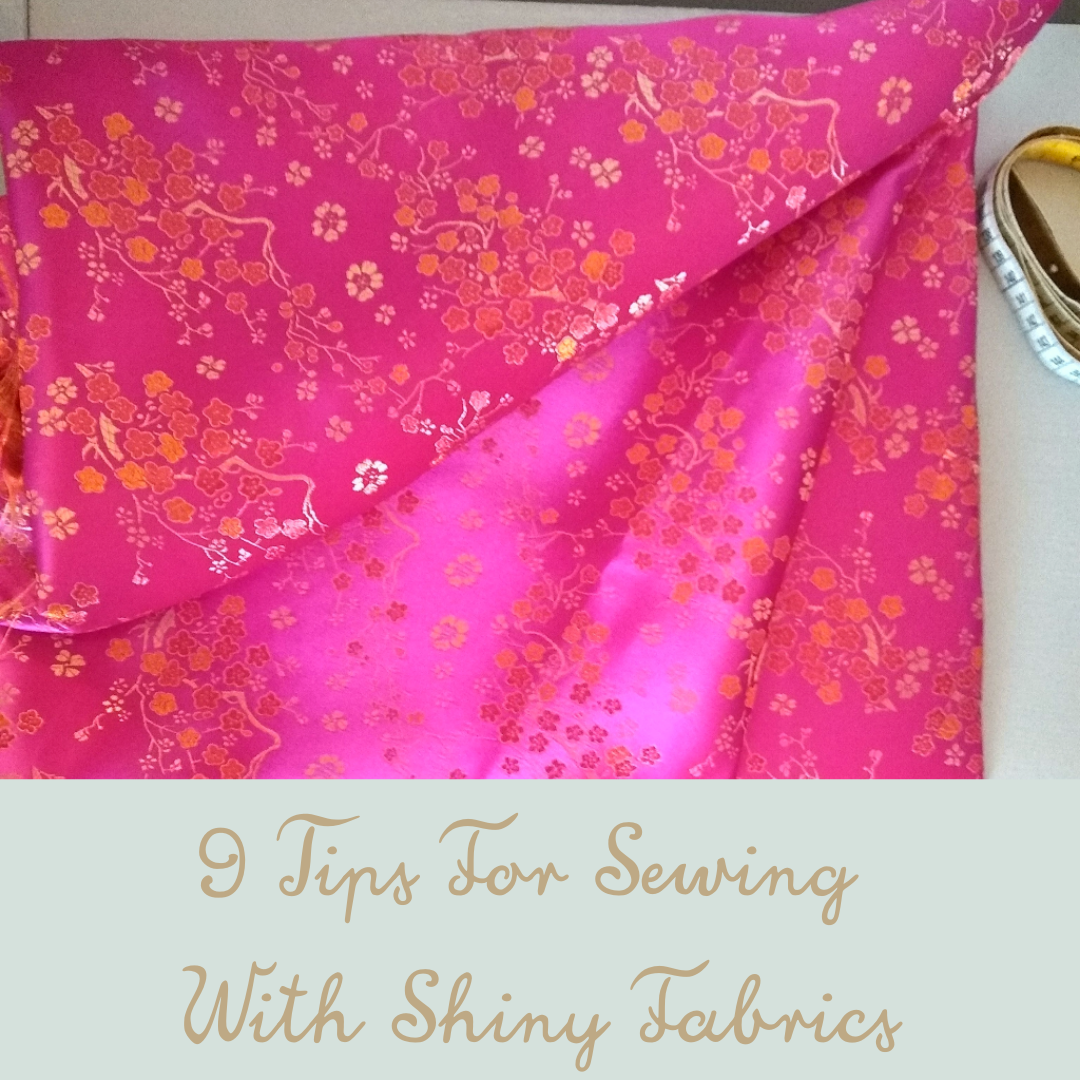
9 Tips For Sewing With Shiny Fabric
Tips For Using Digital Sewing Patterns
«
Go to
Previous Page
Page
1
Page
2
Page
3
Page
4
Page
5
Interim pages omitted
…
Page
9
Go to
Next Page »
We use cookies to ensure that we give you the best experience on our website. If you continue to use this site we will assume that you are happy with it.
Ok
No