Top
Skip to main content
Skip to footer
Home
About
Contact
Free Course: Crafted Colours
Etsy
Login
Search this website
Wild Blossom Life
Offering gentle, low risk ways to explore what it means to be a creative person
Tips and Techniques
Sewing With Knits: The Ebook
Sewing With Knits: Making a Garment With Knit Fabric
Sewing With Knits: Choosing Fabric
Finding Inspiration in Spring Colours
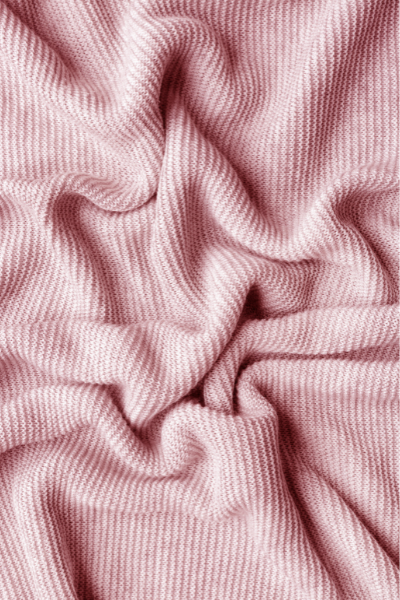
Sewing With Knits: What is a Knit?
Sewing With Knits: An Introduction
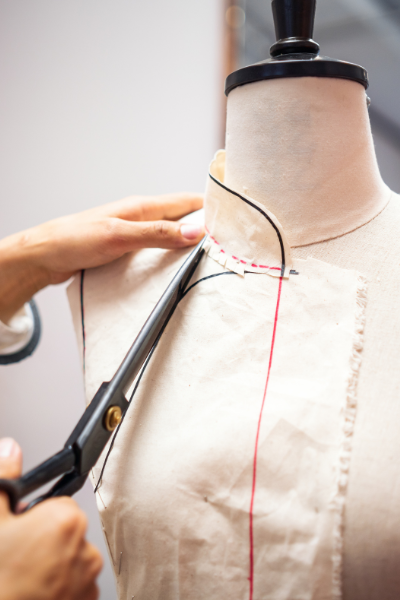
What is a Toile and Why Would You Make One?
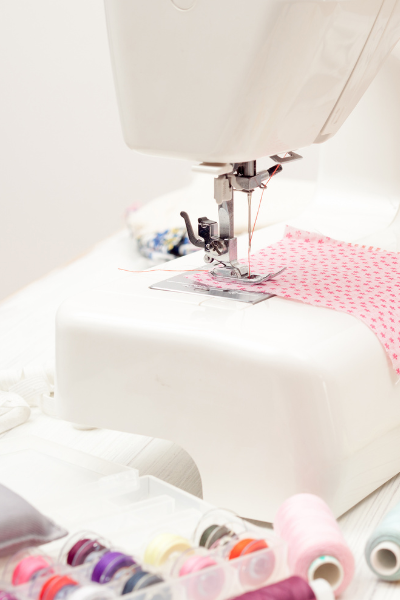
11 Sewing Hacks to Make Sewing Easier
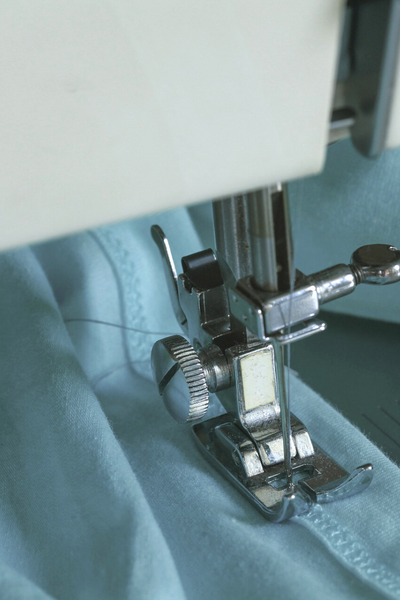
Making Friends With Your Sewing Machine: Troubleshooting
Page
1
Page
2
Page
3
Interim pages omitted
…
Page
9
Go to
Next Page »
We use cookies to ensure that we give you the best experience on our website. If you continue to use this site we will assume that you are happy with it.
Ok
No