
How to Finish Seams
I like to feel that I’m being helpful,don’t you?
That’s what I’ve been trying to do recently with some of my blog posts. So now you all know how to finish off a lined table mat or cloth with a pretty border and mitred corners, and you also know how to add a magnetic snap to a handmade bag, if you didn’t already.
This post is about different ways of finishing seams. Choosing the best way to finish seams can make the difference between something looking handmade and it looking homemade. It can also be the difference between wearing something you have made all the time and it falling apart in the washing machine the first time you wash it.
This is not an exhaustive list, but it should be enough to get you started!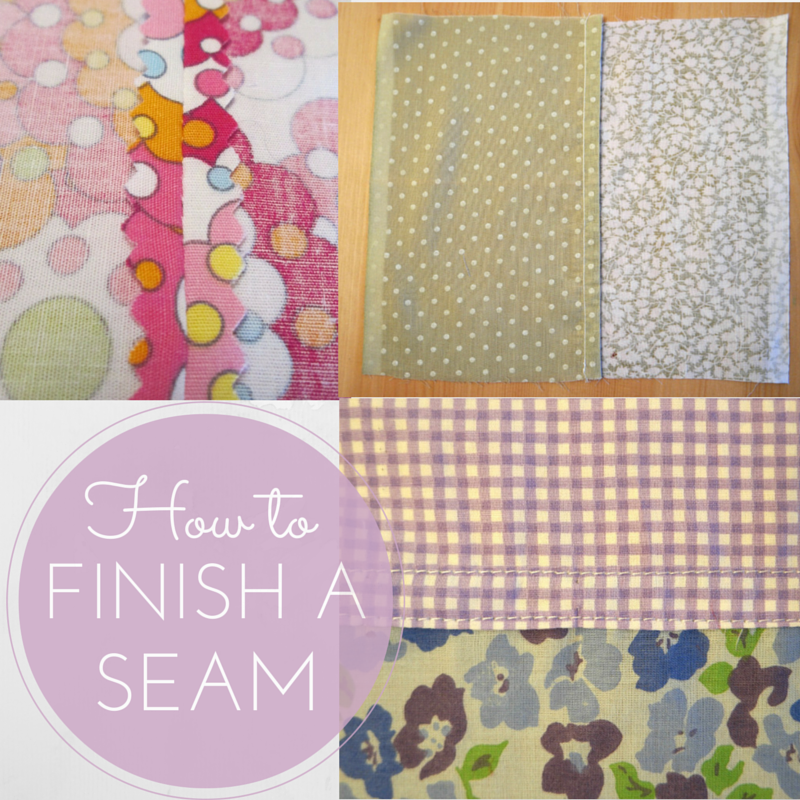
How to Finish a Seam
Plain Seams
All you do here is put the fabric with the wrong sides together, pin it, then sew. Then you trim the seams down a bit and press them either open or to the side.
Pressing them open usually means less bulk, but pressing them to the side is often easier. Sometimes the seams will need to be pressed to the side for a neater finish.
Finishing seams in this way is fine when using fabric that doesn’t fray. However most fabric frays at least a little bit, so you might need to do something else to your seams here so that the thing doesn’t disintegrate.
Pinking
For fabric that only frays a little bit, pinking the seams will do the job. When you are trimming down the seams, instead of using your normal scissors, use pinking shears. The zigzag effect will be enough to prevent fraying at least a bit.
Overcasting or Zigzags
If pinking isn’t going to be enough to stop the seams from falling apart, you can finish the edges with an overlocker. If you don’t have an overlocker, some sewing machines have an overcasting stitch that is very similar that you can use with a special foot. Otherwise sewing zigzags over the raw edges can stop the fraying.
Depending on the seams, it might be easiest to finish the edges first, especially if it is a curved seam, like the inside leg of a pair of child’s trousers. Hwever sometimes it is better to do it afterwards. On a dress I made a while ago (I was actually trying to unpick it to make it fit!) I sewed the bodice with the lining to the skirt, then finished the edges with the overcasting stitch before pressing the seam upwards.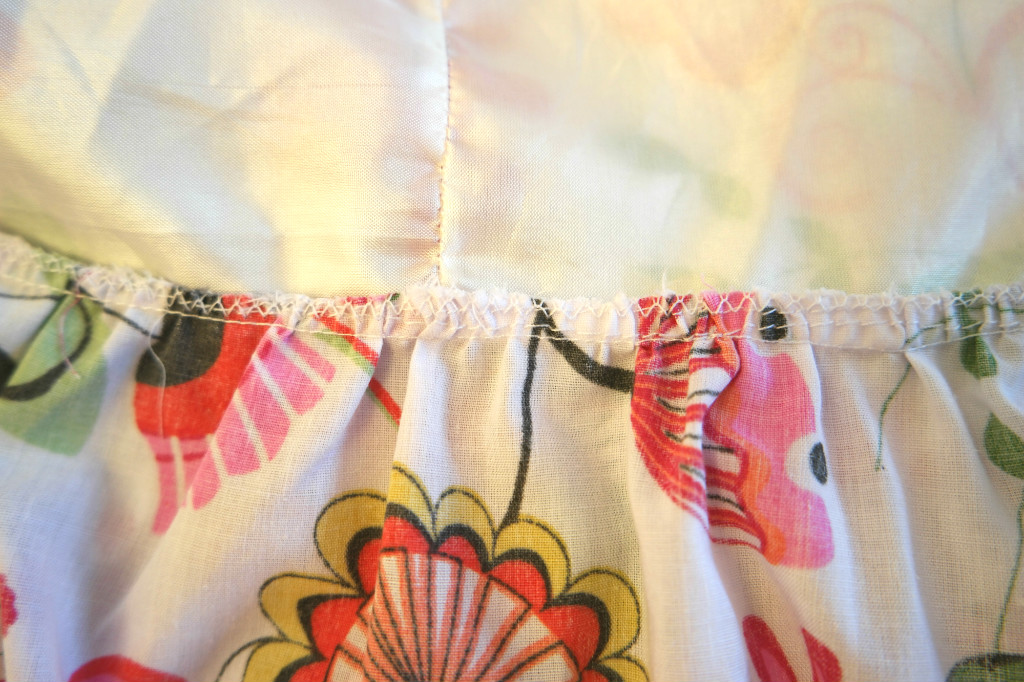
French Seam
French seams are great for straight edges if you have fabric that frays badly or if the thing you making is needs to be more robust.
For example, if you wanted to make dresses for Dress a Girl Around the World, French seams would be a good choice. Dress a Girl Around the World is an organisation that provides dresses for girls and shorts for boys in the poorest areas of the world. You can read about the work they do here. If you are in the UK there is a Facebook page here. Obviously these clothes are not gong to be washed on the gentle cycle in a washing machine! They need to withstand being scrubbed on rocks and stuff, so the seams need to hold together,
To sew a French seam (and assuming a 1.5 cm seam allowance) you will need to put your fabric wrong sides together and sew 1 cm from the raw edge.  Trim the seam right down and press it. Fold the fabric over so that the right sides are together and pin the seam.
 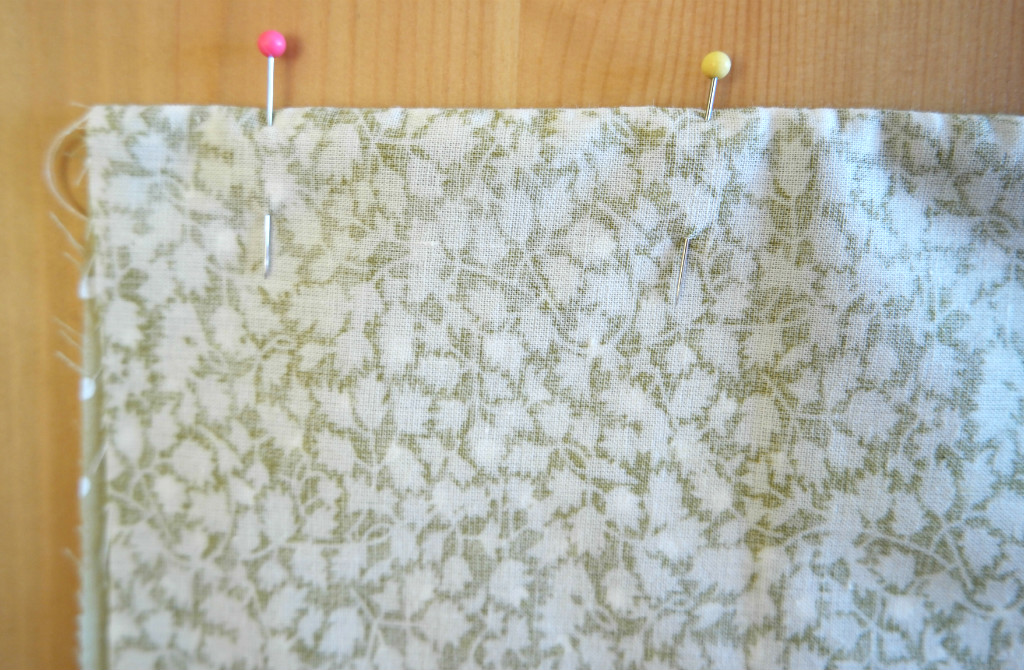 Sew along the seam 0.5 cm from the folded edge.Press to the side. The raw edges should be enclosed within the seam.
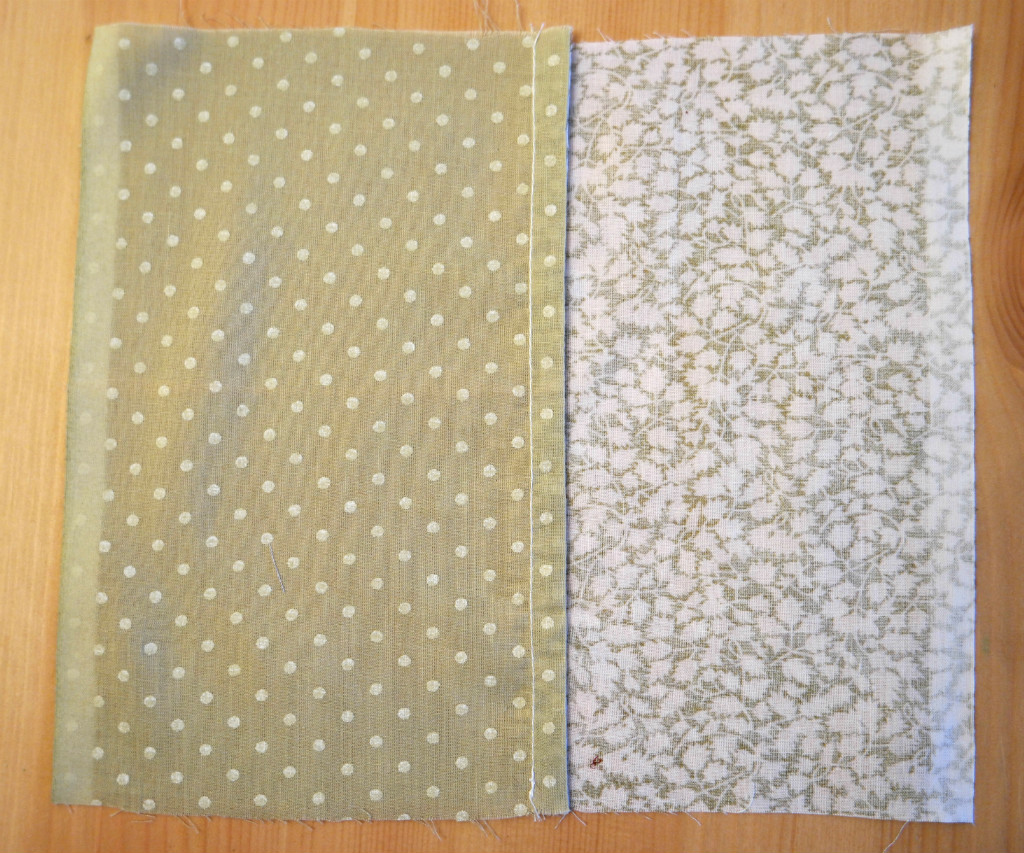

Run and Fell Seam
I have also seen this referred to as a flat felled seam and as a lapped seam.
Pin the fabric with the wrong sides together. Press the seam to the side.  Trim the underneath half of the seam allowance.
 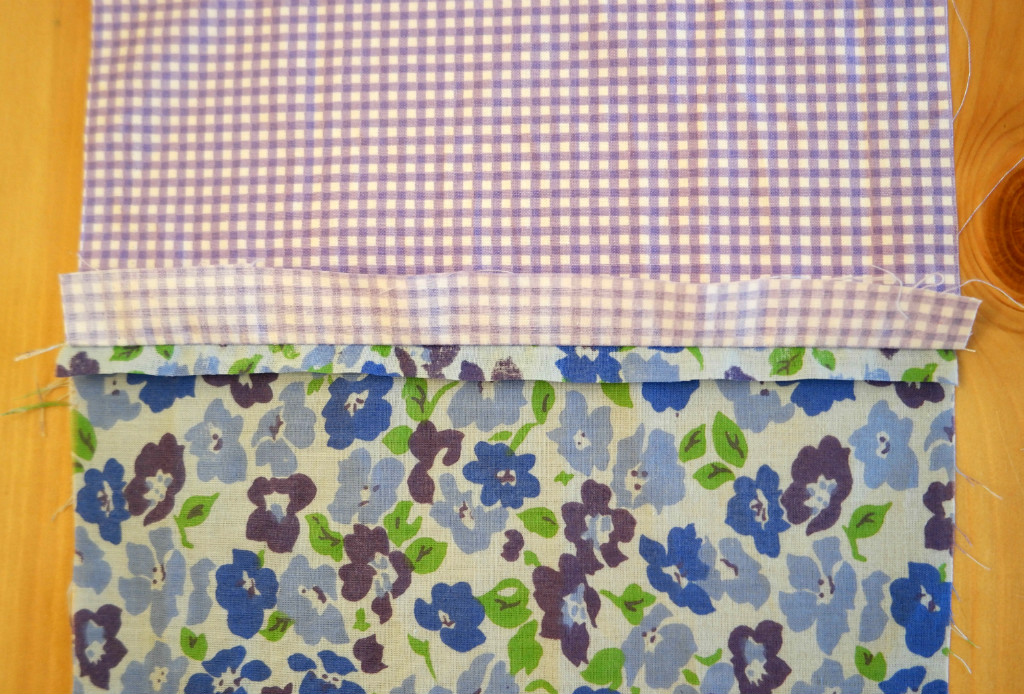 Fold the raw edge of the top half of the seam allowance over and pin it down over the underneath half.
 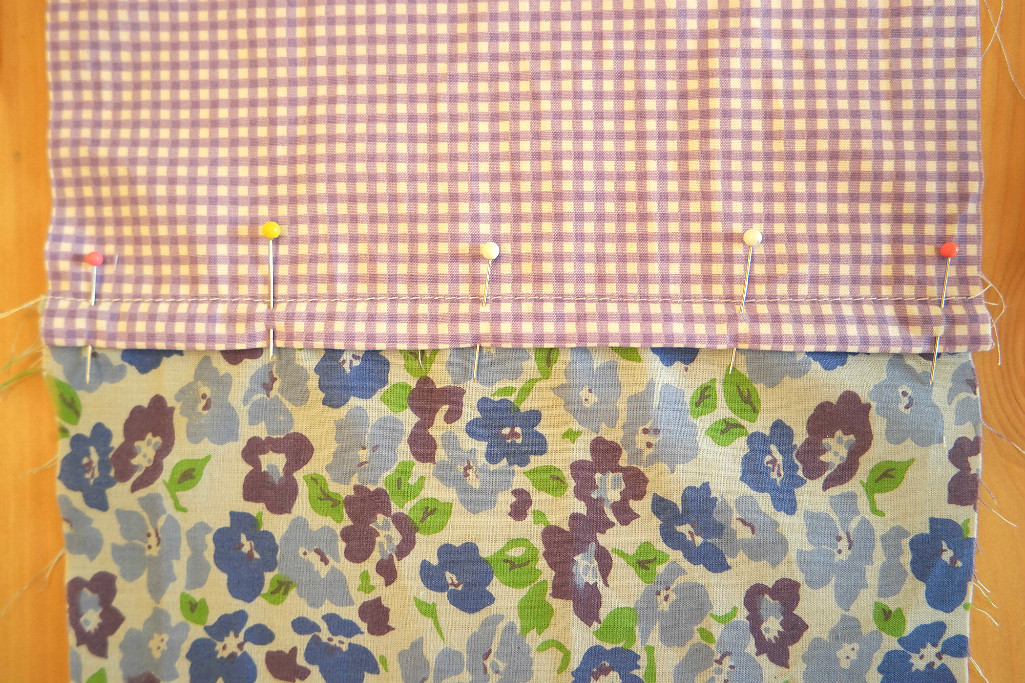 Sew in place, keeping close to the folded edge.
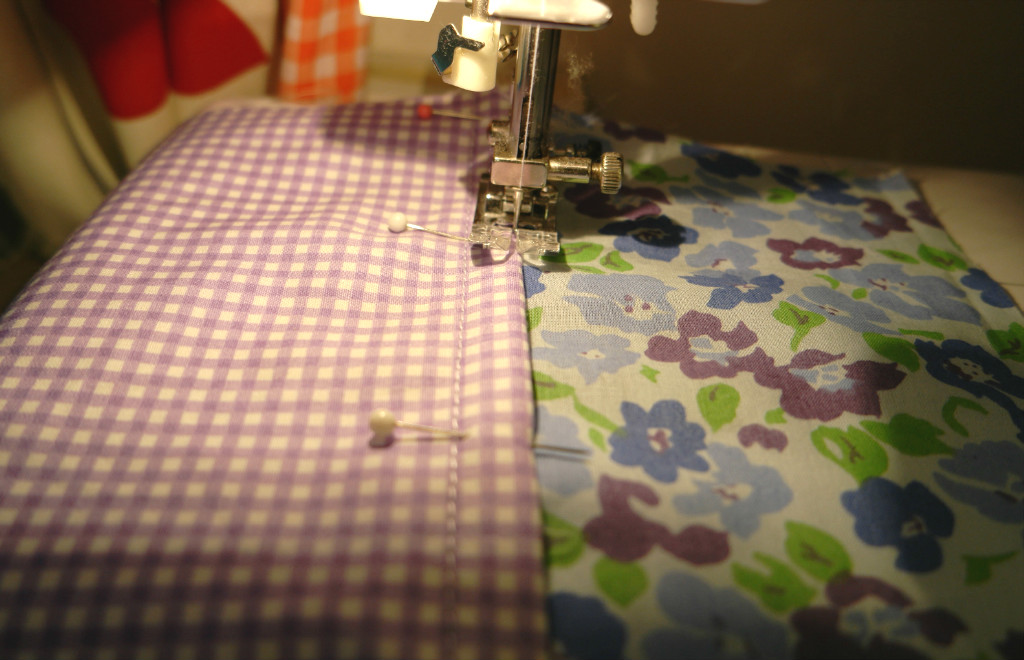

Run and fell seams are good for children’s clothes as they are sturdy. Because the seam allowance is enclosed on the right side, there are no seam allowances to irritate children who are sensitive to tickly, scratchy bits on the inside of their clothes.
There is another version of this for bulky fabrics that don’t fray. The top piece overlaps the bottom piece a little bit so that right side of the fabric is facing upwards. Then two rows of stitches hold each raw edge down. It looks very similar to the picture above, it just doesn’t have the folded bits.
Tips
It is definitely worth considering which seam finish is best before starting, as it is very disheartening to have something you are making disintegrate before your eyes or fall apart the first time you wash it.
Finishing raw edges on plain is often easiest to do before you sew up the seams. It’s fine to do it afterwards though. If the fabric is not too bulky, you can press the seam to the side and finish both edges together.
Trimming seams closely will help to reduce bulkiness.
Remembering to make a series of little cuts into the seam allowance of curved seam will prevent it from looking wrinkly.
Linking up here:


Some great advice there, I love learning new things from your blog
Thank you 🙂
Some great advice here, thank you! x
Thanks for visiting 🙂
As someone who has only sewn a few basic garments, I find this post really useful, so thank you! I like the neatness of the French seams, think I’ll be giving them a go 🙂
Thank you! French seams are my favourite 🙂