Easy Plastic Bag Storage Tutorial
Easy Plastic Bag Storage Tutorial
One of my tasks for this week was to venture into the black hole that is the utility room and declare war on the mess. I battled with the mess in the autumn and won 🙂 but unfortunately the utility room has been a dumping ground for stuff that we don’t know what else to do with for so long that six months on it is a mess again.
I’ve seen so many beautiful laundry rooms on Pinterest I’m determined to make ours if not beautiful then at least less manky.
In the last War of the Utility Room I did not tackle the bags of stuff that were hanging on the back of the door. My main objective was to clear it up enough to be able to admit a man who could fix the boiler, so this was a job that was overdue!
Most of the mess was carrier bags. Some of them had stuff in them. Most of the stuff was rubbish. So stuff that was rubbish went in the bin, stuff that was not rubbish went away, leaving me with a pile of plastic bags.
Now I know it would be a good thing to go bag free. Apparently turtles mistake them for jelly fish and they take forever to biodegrade. However I do actually use plastic bags a lot: for nappies, for rubbish, for clearing up cat sick, for putting clothes in that have been weed on/ pooed on/ sicked on/ are wet/ are filthy, as a dry patch on a wet bench, for wellies, for shoes, even for shopping sometimes.
The plastic bags were living in another plastic bag, but this had spread to a couple of other plastic bags, a rucksack and the floor. Needless to say none of the beautiful laundry rooms on Pinterest had plastic bags on the floor.
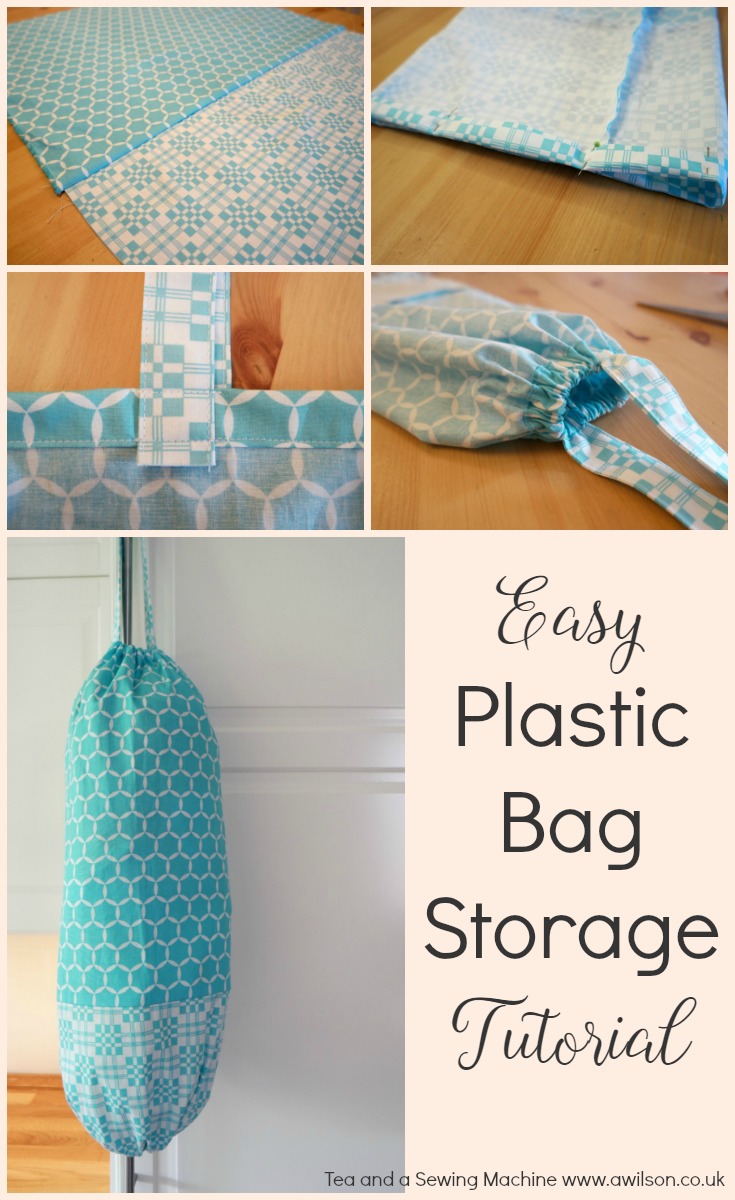
So I’ve made a pretty plastic bag storage bag from a couple of fat quarters I had lurking upstairs in my fabric hoard. Here’s the tutorial if you want to make one yourself!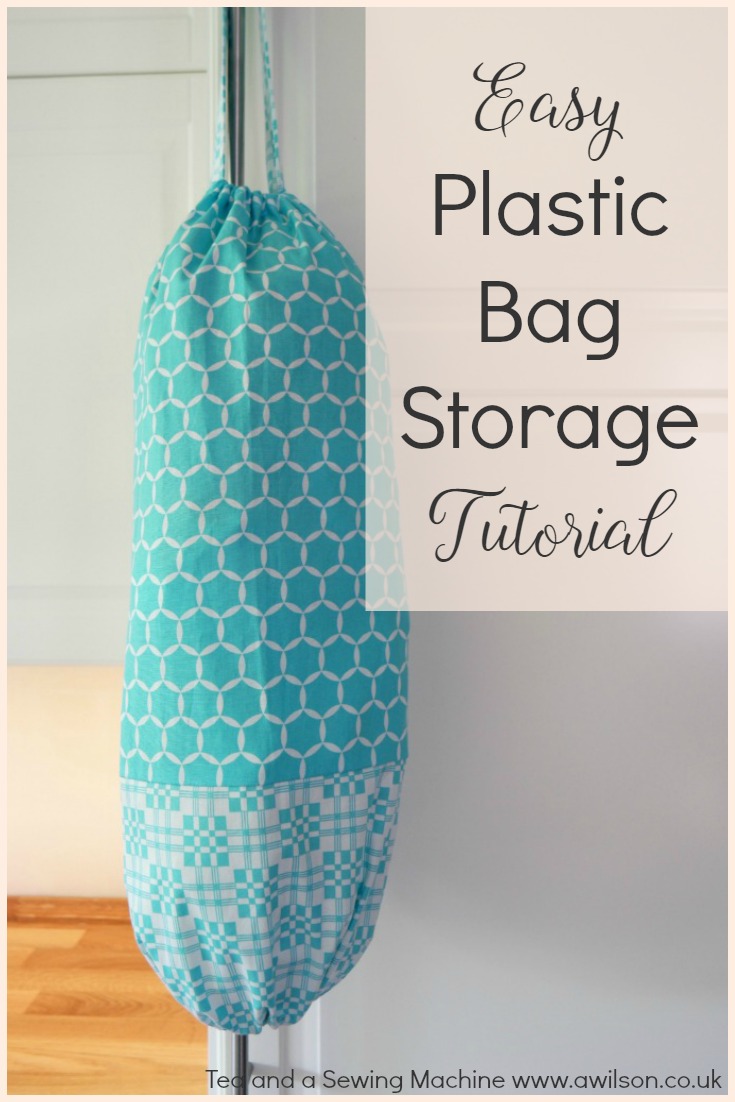
How to Make a Plastic Bag Storage Bag
You Will Need
Some fabric (2 fat quarters or half a metre is enough), 40 cm elastic, safety pin, usual sewing supplies.
Cutting Out
For the main part of the storage bag, cut a rectangle approximately 64 cm x 56 cm. If you’re using 2 different fabrics, join them together to make them the right size. I used one piece 45 cm x 56 cm and a second piece 21 cm x 56 cm, then joined them along the longer edges.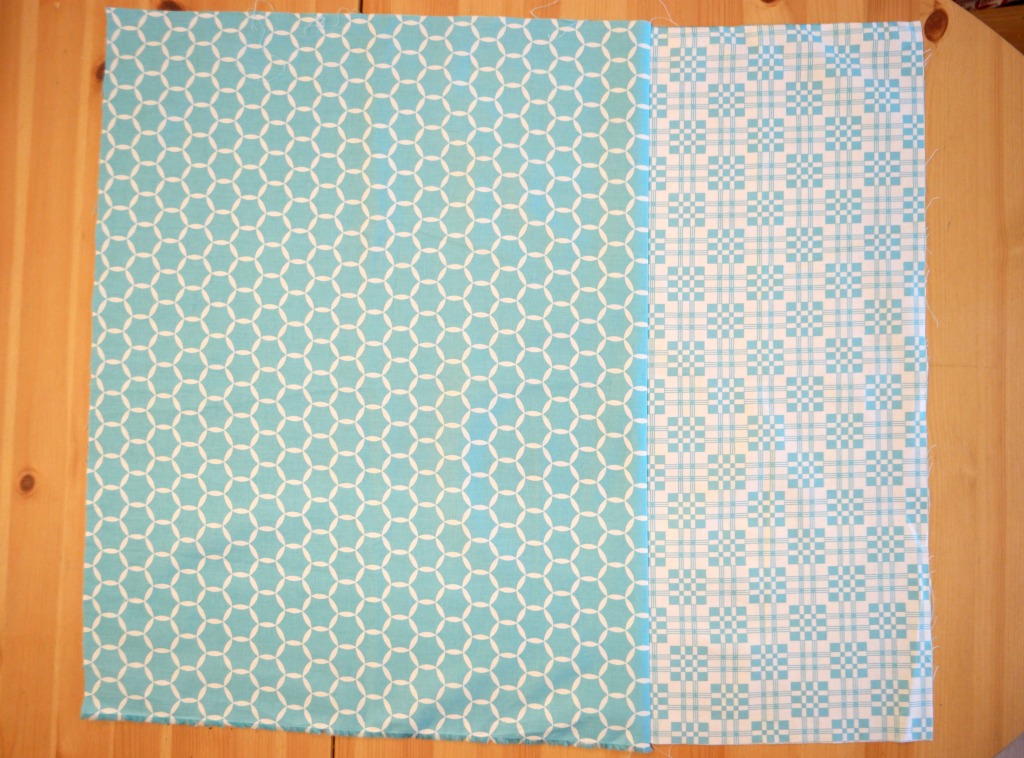
For the handle, cut a strip 56 cm x 12 cm.
Sewing Up
1. Fold the strip in half lengthways.
2. Fold the raw edges into the middle, then fold it in half again so that the raw edges are enclosed.
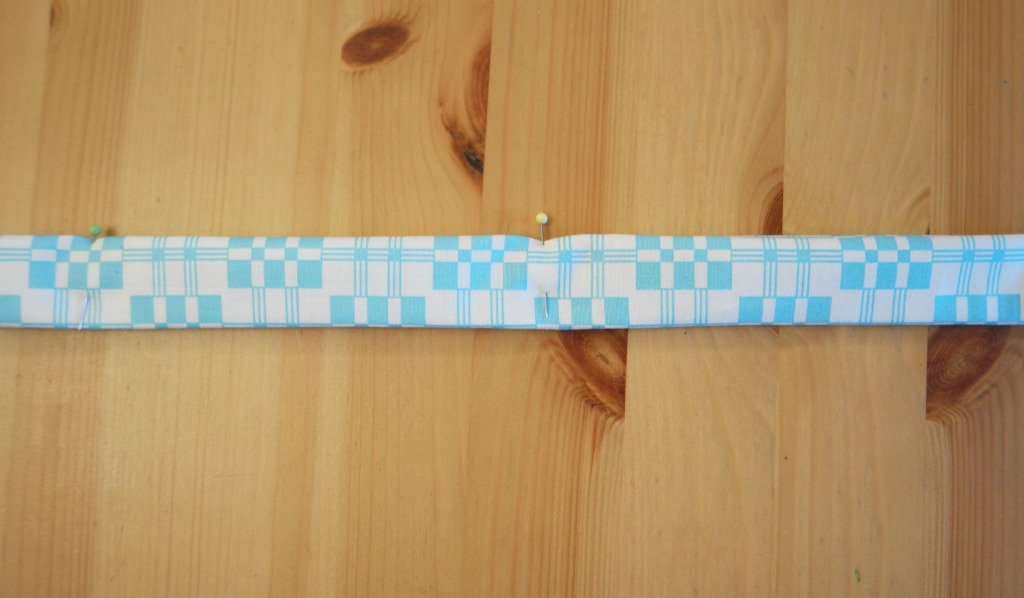
3. Sew along the open edge. To keep things symmetrical, you might like to sew along the other edge too.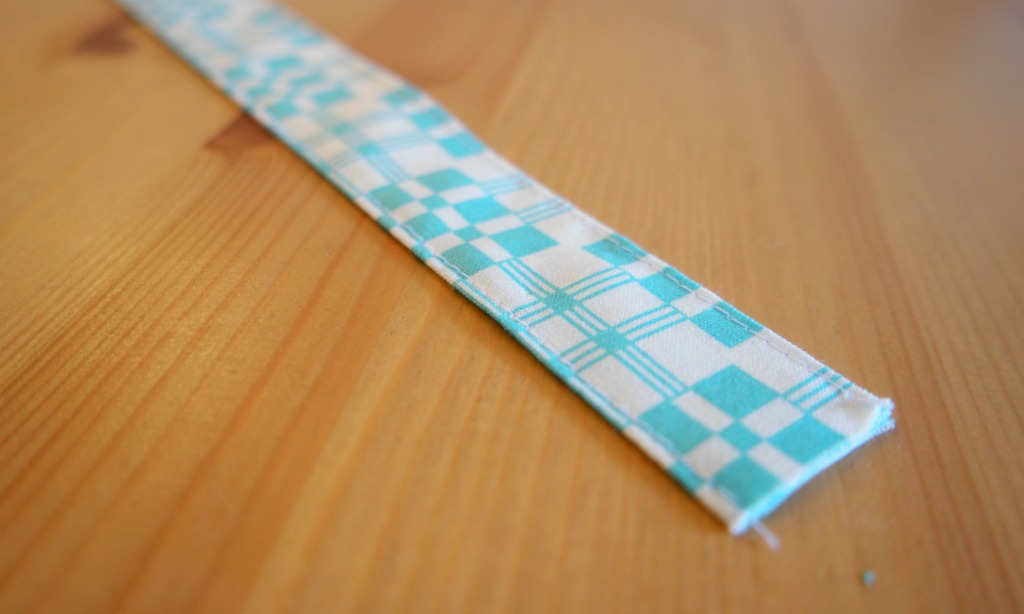
Put the handle to one side.
4. Fold the large rectangle in half so that the long edges are together. Pin, then sew.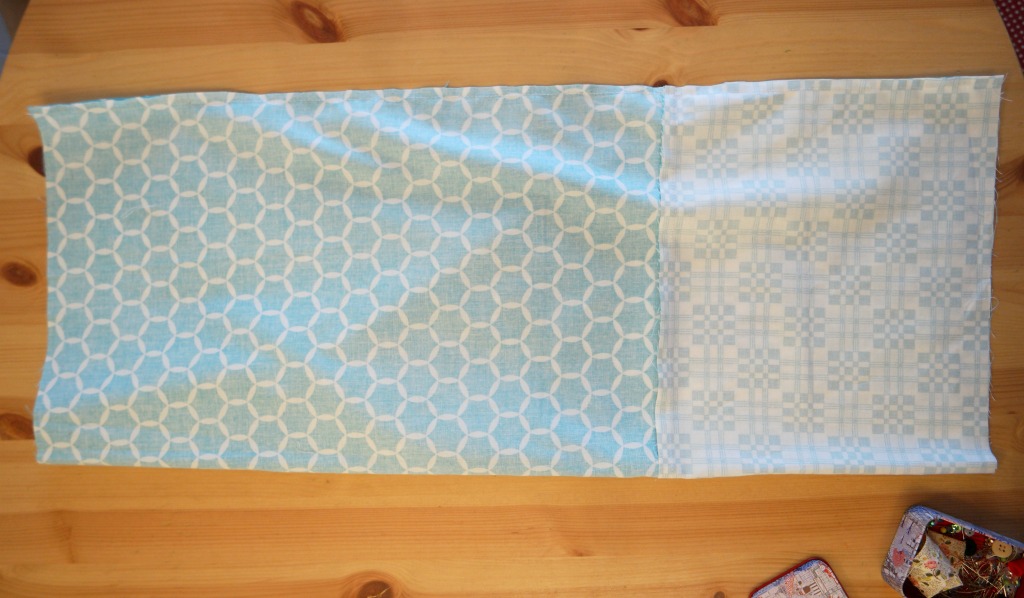
5. Take one of the ends and fold the raw edge over about a cm. Fold it over again and pin it in place. How much you fold over depends on the width of your elastic, so make sure it is wide enough, plus a bit extra.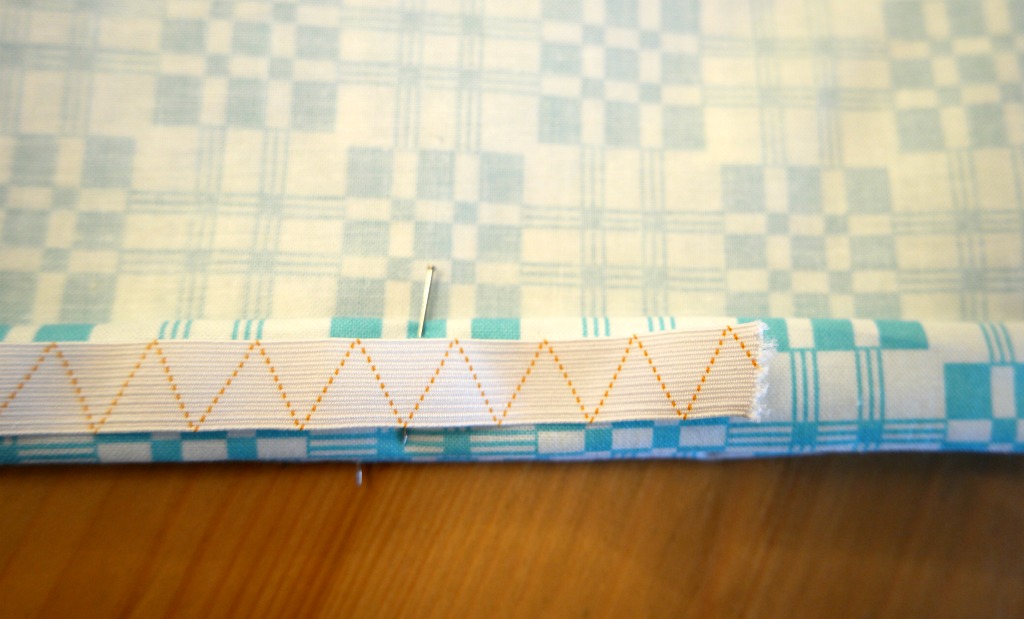
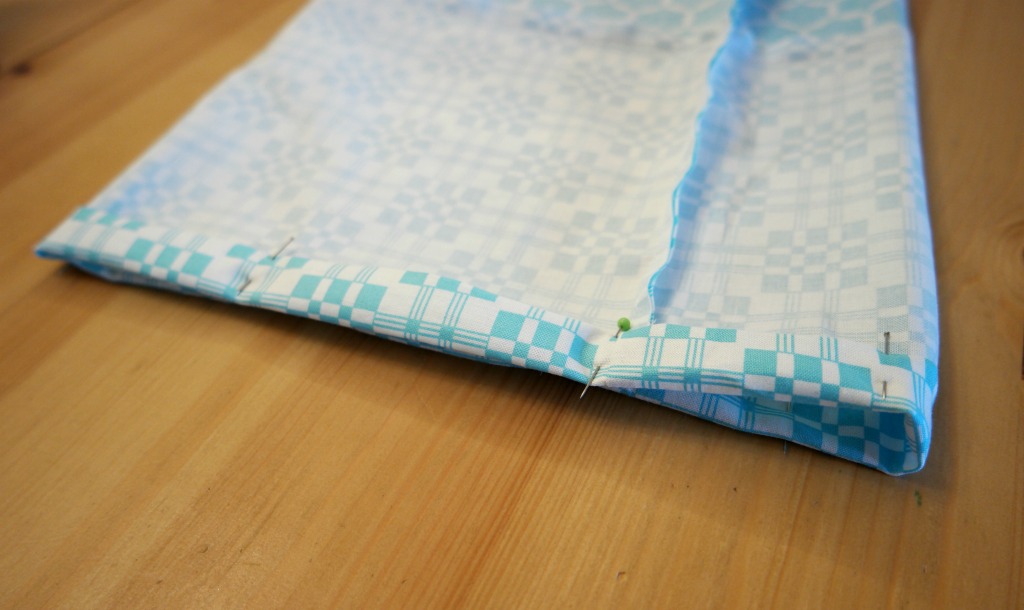 6. Sew along the lower edge, keeping close to the fold. Stop sewing about 2 cm short of where you started so that you have a gap for threading the elastic.
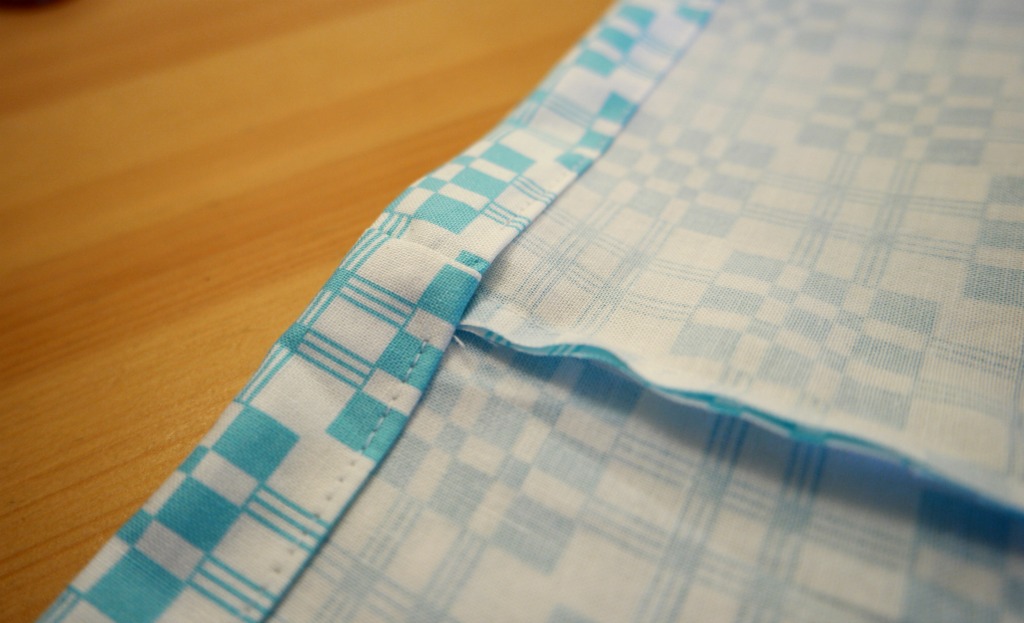
Repeat with the other end.
7. Take the handle and pin it to the casing. Sew it in place over where you sewed the casing, and also at the top of the casing, close to the folded edge.  8. Pin, then sew the other end of the handle to the opposite side of the storage bag.
It’s probably a good idea to sew over the handle end a few times. Although bags are not heavy, people might pull on it while they’re getting bags in and out.
9. Cut the elastic in 2 20 cm lengths. Using a safety pin, thread one piece of elastic through the casing at one end. Tie the ends together. Repeat with the other end.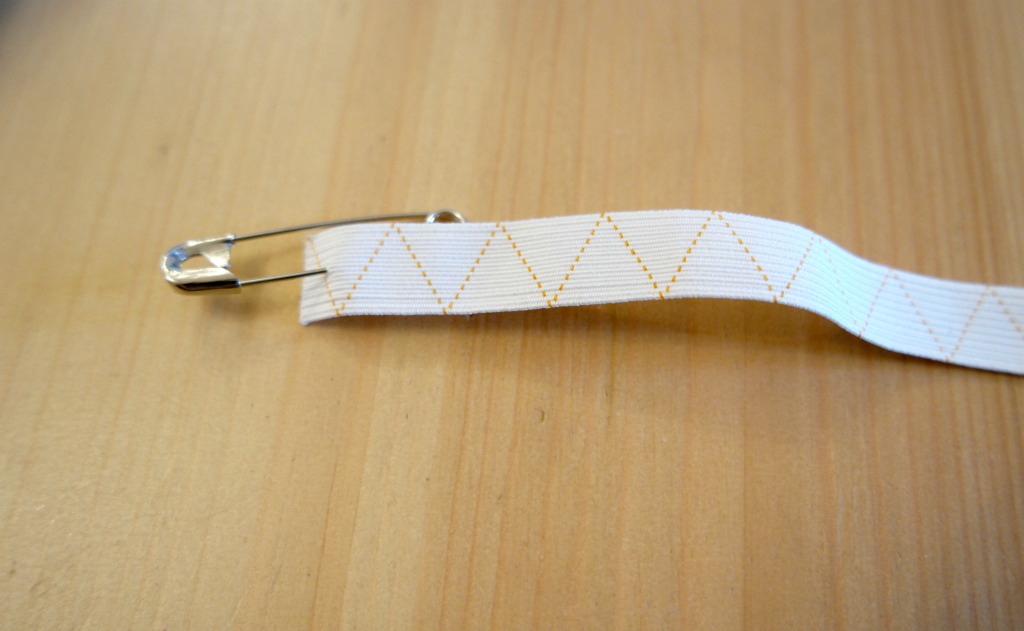
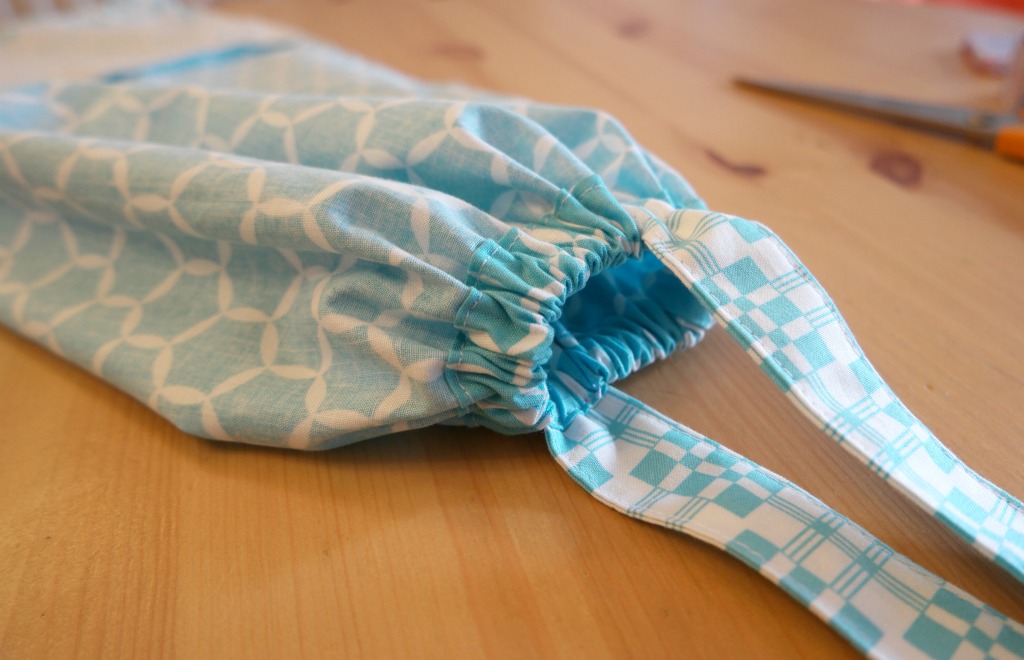
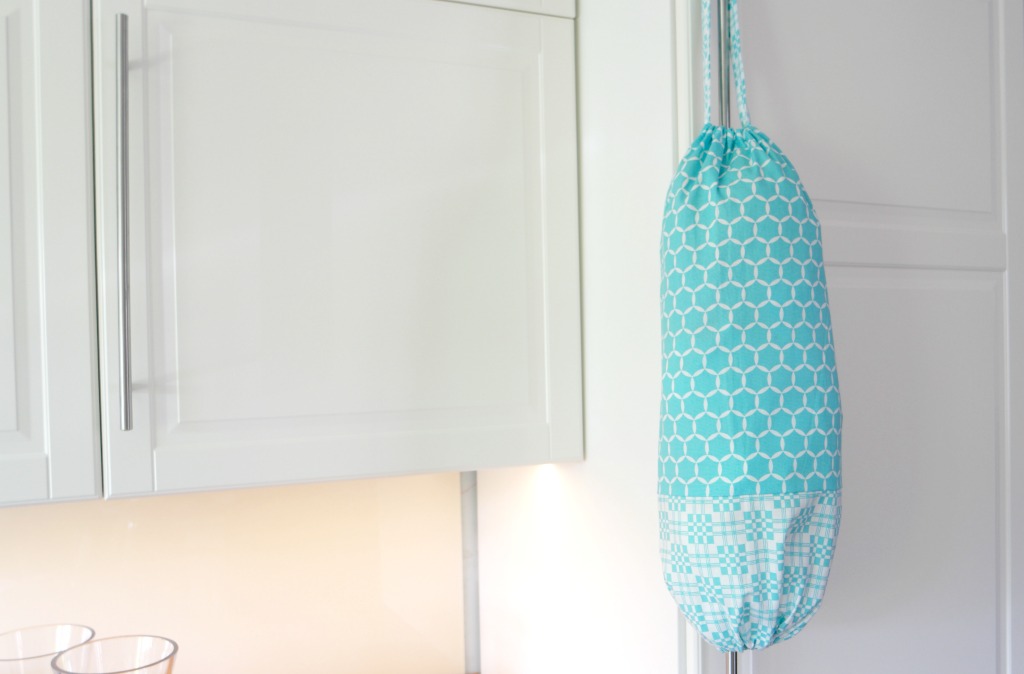
10. Turn your plastic bag storage bag right way out and stuff with plastic bags!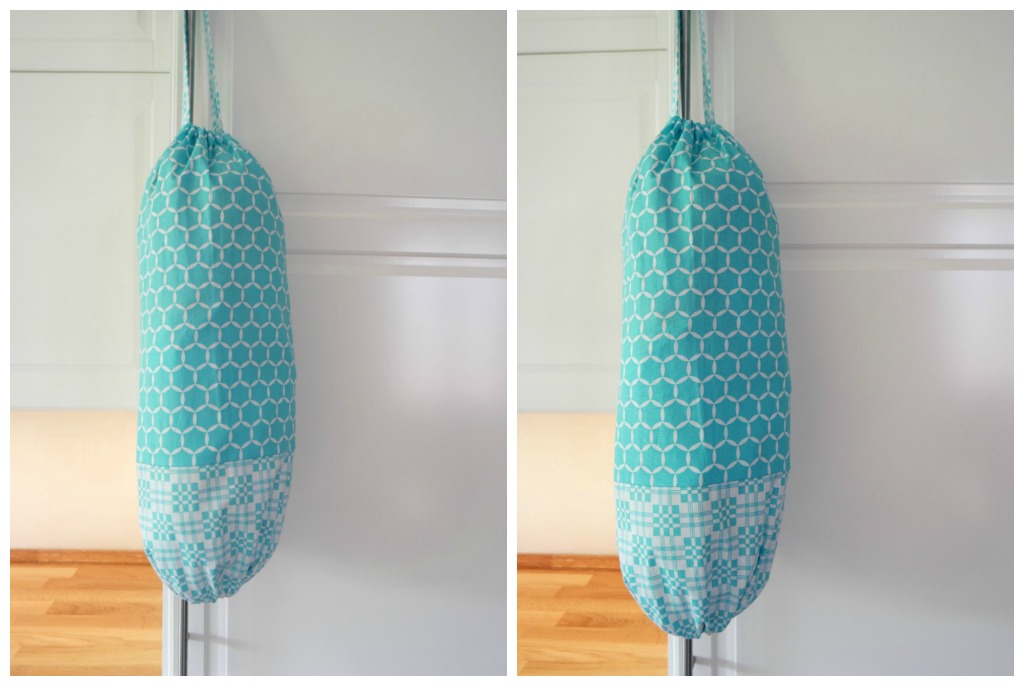
You might also like these posts:
Linking up here.



Here where I live, they would like it, honestly it is great idea, I like it. I will try it
I’m sewing with a 1/4’ seam allowance like when I’m piecing a quilt, since the seam allowance measurement wasn’t mentioned.
I wish we in the USA would learn centimeters, etc.! When I see a pattern and it’s written in centimeters, I then have to go to a conversion chart. But, for instance, 45 cm=17+++in inches. So I’m not so sure what size I should cut my fabric pieces!😢. Hope this comes out right!
Google will convert it to inches if you put in something like “convert 53 cm to in”. It does all sorts of unit conversions for you very accurately so you do not need to rely on a chart and estimating or math
Just made several of these and love them! Easy to follow directions and easy to make.
Anna,
I’m a retired teacher and your directions & photos are great. Your color choices and two print design are what attracted me to your bag. Can’t wait to get started on mine. Thank you.
Hope you enjoy making it!
Am I seeing this correctly? Is there elastic in the top and the bottom of this pattern? I cannot tell for sure but the pictures kind of look like there is.
Yes, elastic in both the top and the bottom 🙂
Brilliant, you will have a pinterest worthy utility room in no time! (good luck with that – there is always one room where all the c**p gets dumped in a ‘I’ll deal with that later’ sort of way) If the engineer can get to the boiler to fix it/service it then that is a win!
Julie recently posted…Sharpening your craft punches
That’s true, if the junk gets moved out of one room, it piles up somewhere else! I’m not optimistic about it being pinterest worthy, but just ok will do at the moment! It’s in a bad way.
What a great idea!
Thank you 🙂
This is such a great idea to both use up some scrap / stash fabric and how to store plastic bags which usually end up taking up way too much room in the cupboard / drawer.
Caroline J recently posted…Marimekko Jenny Haynes River Quilt Top
I used to keep them in a drawer but they would escape! They can’t escape from the storage bag 🙂