
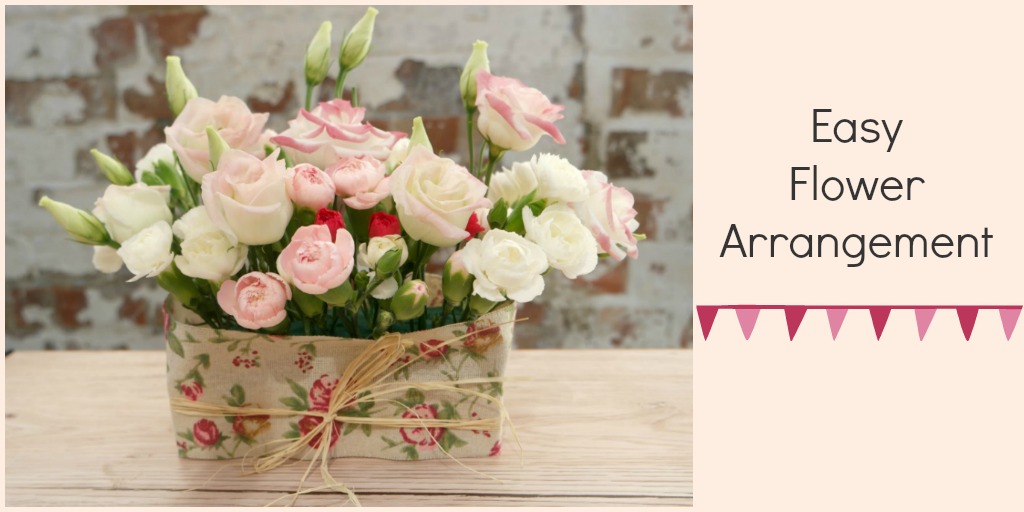
DIY Fabric Basket: A Quick and Easy Fat Quarter Project
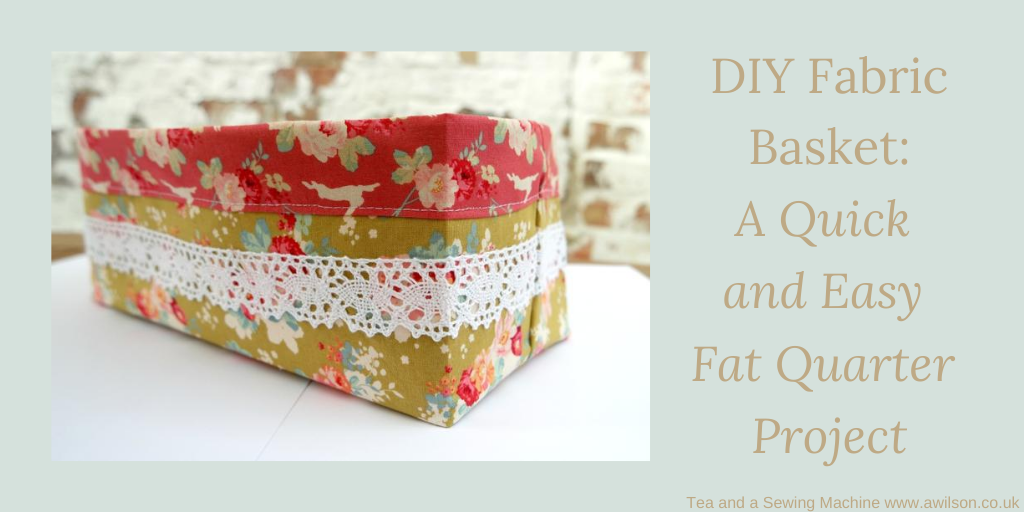
Fabric baskets are always useful. In fact, any kind of basket is useful! This DIY fabric basket is quick and easy to make, and is a perfect way to use up fat quarters bought on impulse that have never been used. And being something that you make yourself, you can decide on the fabric and the size that will meet your needs best.
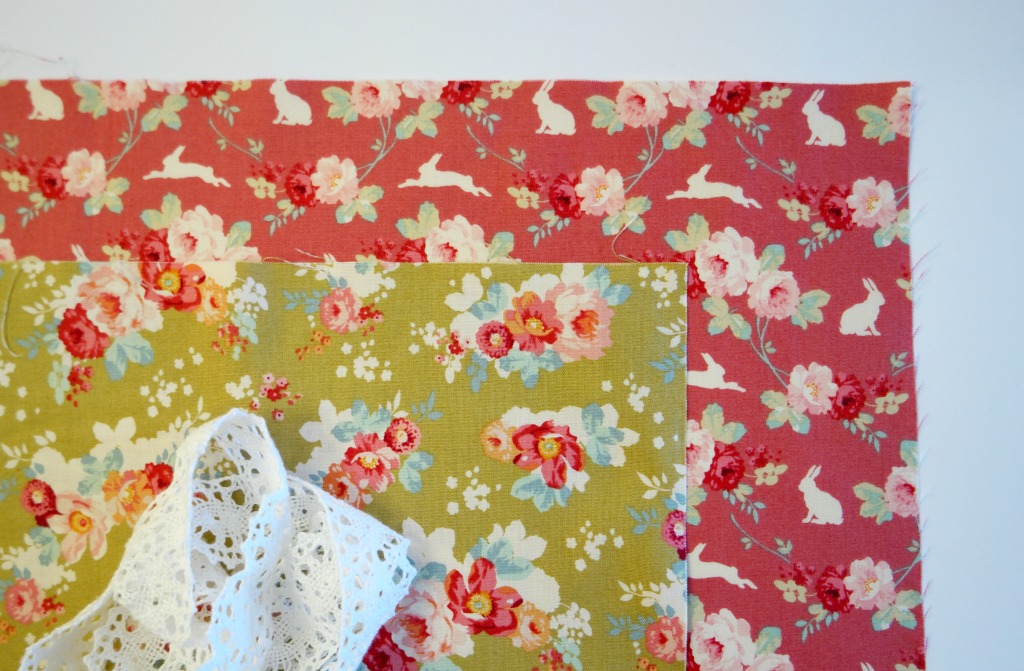
For this project I used 2 fat quarters, but you can use fabric of any size. All you need to do is make the lining fabric 12 cm (4 3/4 inches) wider than the outer if it has a directional print, or 10 cm (4 inches) wider if it doesn’t.

Instructions For a DIY Fabric Basket
You Will Need
2 fat quarters, interfacing (I used heavyweight fusible interfacing, but the sew in kind will work fine), trim (optional), usual sewing supplies.
Cutting Out
From the outer fabric, cut a rectangle 43 cm x 37 cm (17″ x 14 1/2 “)
From the interfacing, also cut a rectangle 43 cm x 37 cm (17″ x 14 1/2 “)
From the lining, cut a rectangle 43 cm x 49 cm (17″ x 19″)
If you are in a real hurry, providing that your fat quarters are the same size, you could just cut 12 cm (4 3/4″) of the long edge of the outer, and if your lining fabric does not have a directional print, cut 10 cm (4″) off the long edge.
Be warned though, this version of the DIY fabric basket will be a longer rectangle!
Sewing Up
Outer
1. If you are using fusible interfacing, fuse it to the wrong side of the outer.
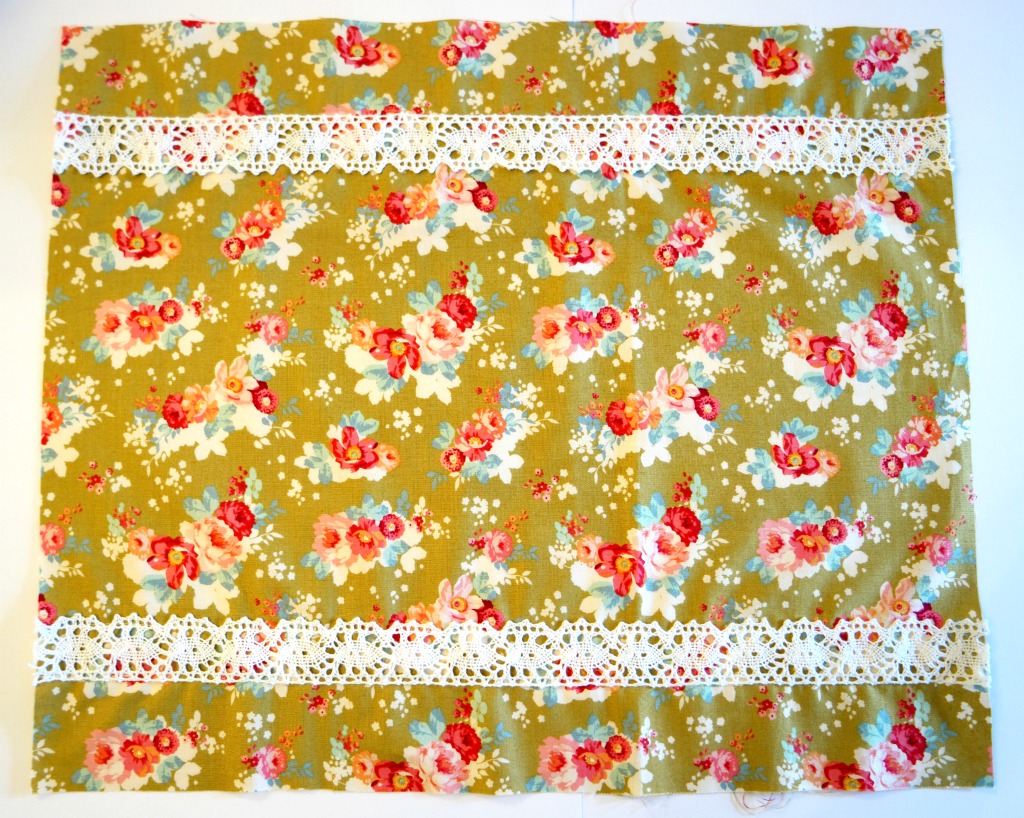
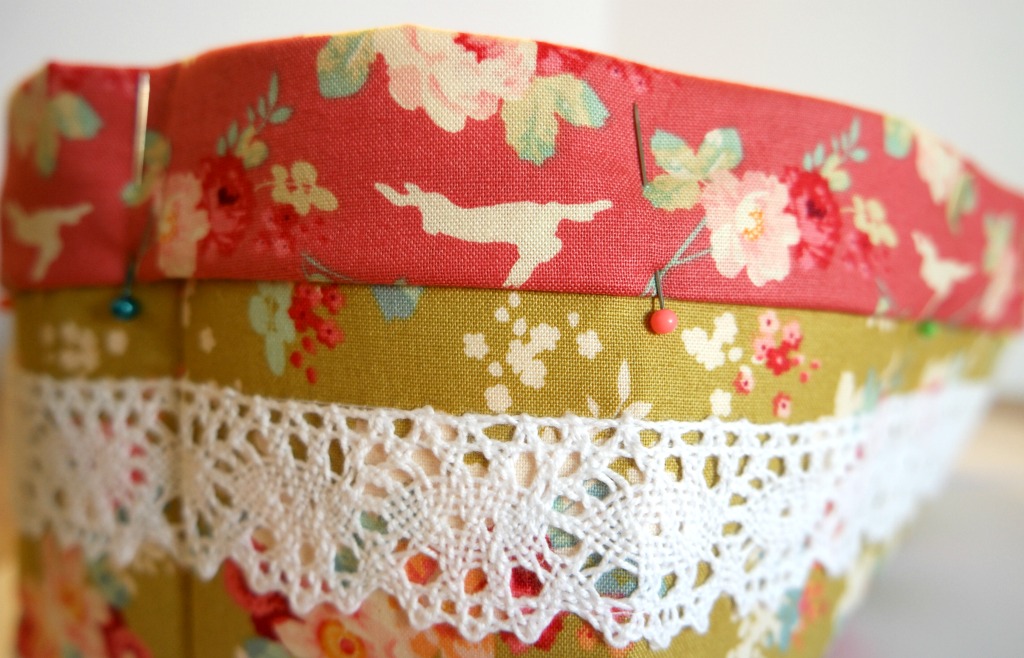
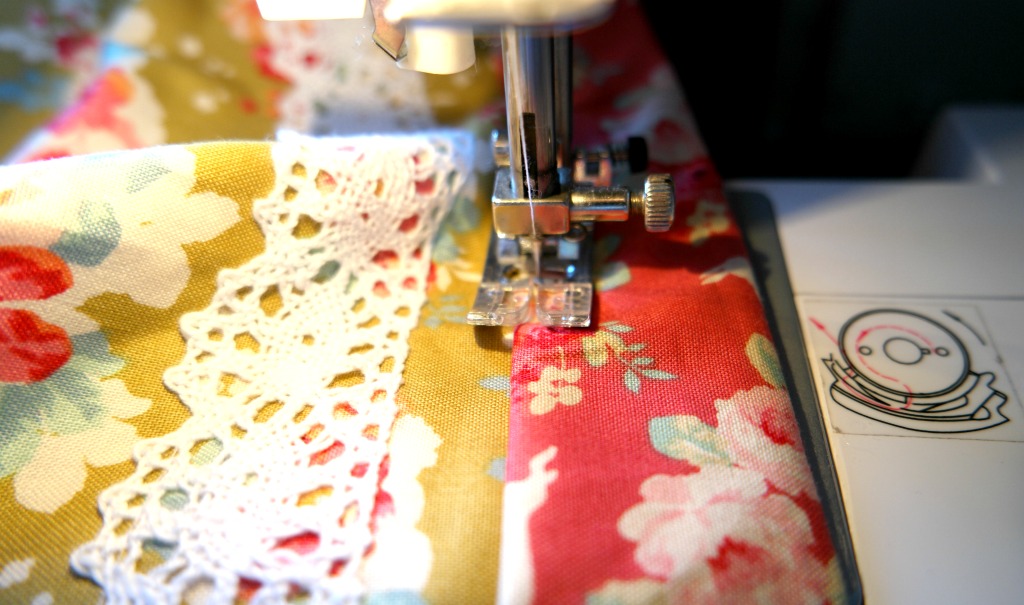
2. Cut 2 pieces of trim the same width as the outer. Measure down 5 cm (2″) from one of the long edges and pin the trim in place.
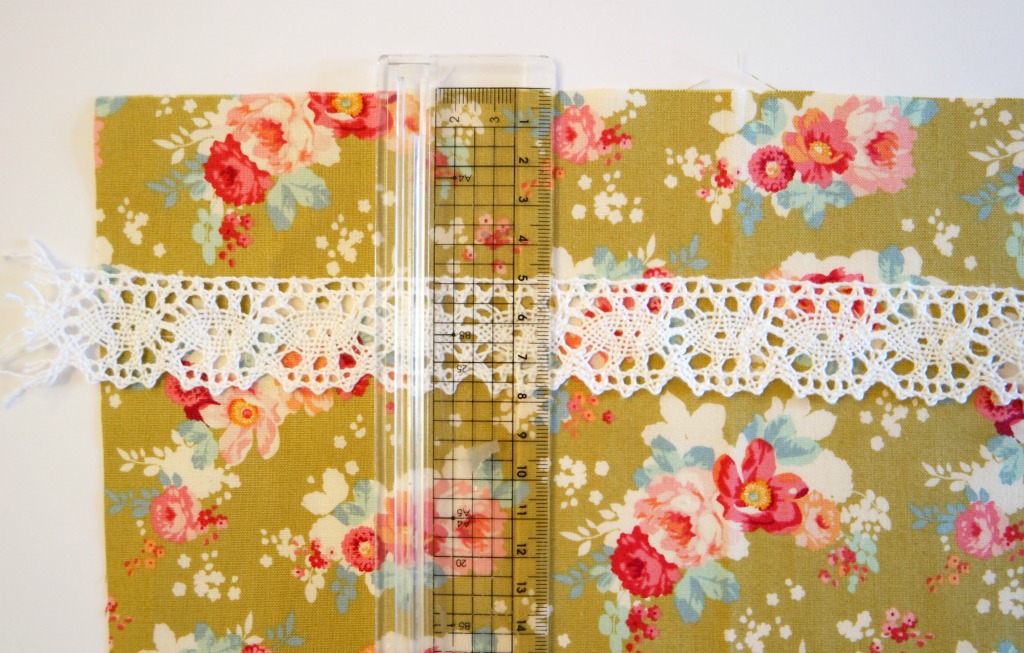
Repeat for the other side of the fabric. Sew the trim in place.
3. Fold the outer in half length ways. Check that the trim is lined up on both sides. Pin the sides, then sew. Trim the seams.
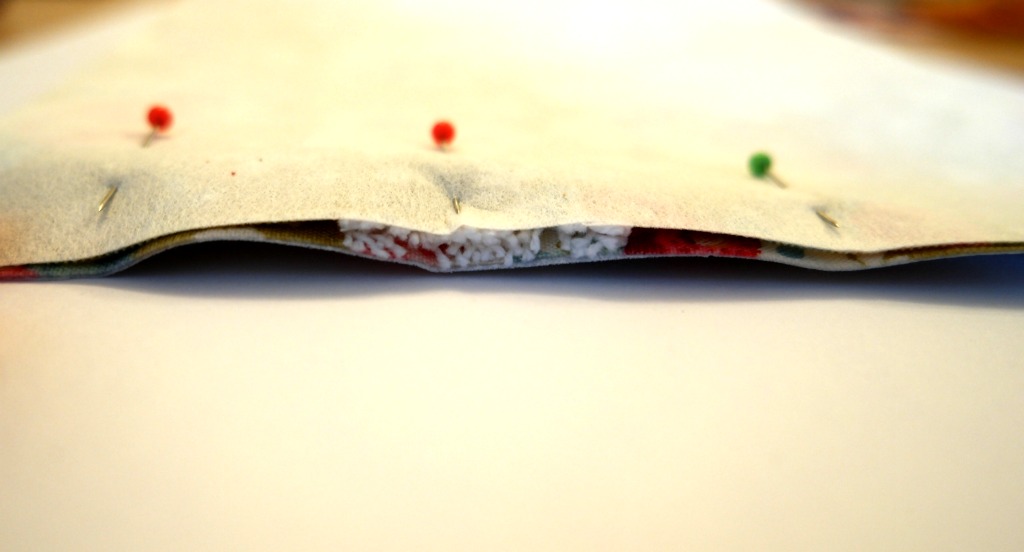
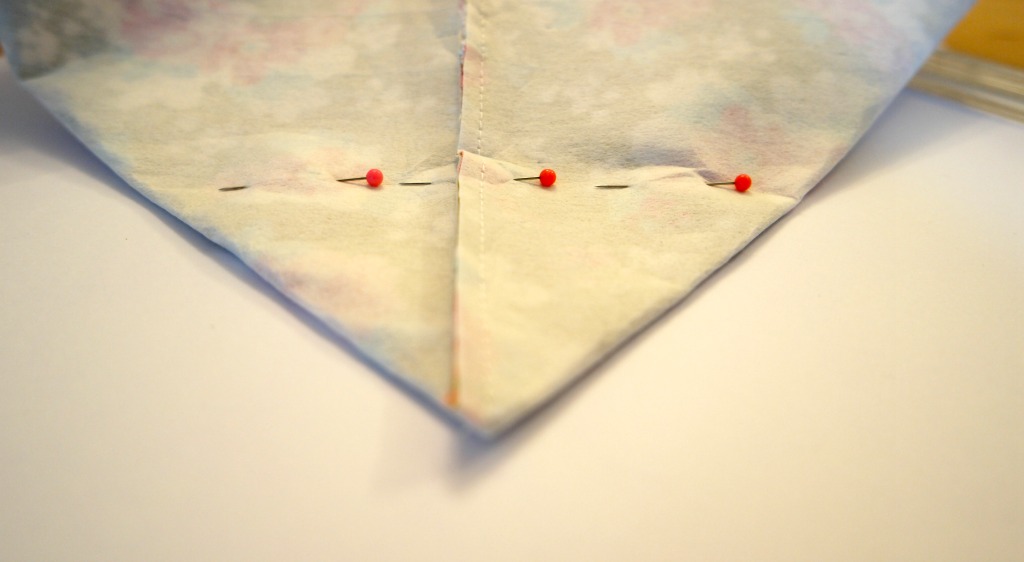
4. To make the boxed corners, crease the fold at the bottom with your finger. Open it out and squash the corner flat so that the seam is next to creased line.
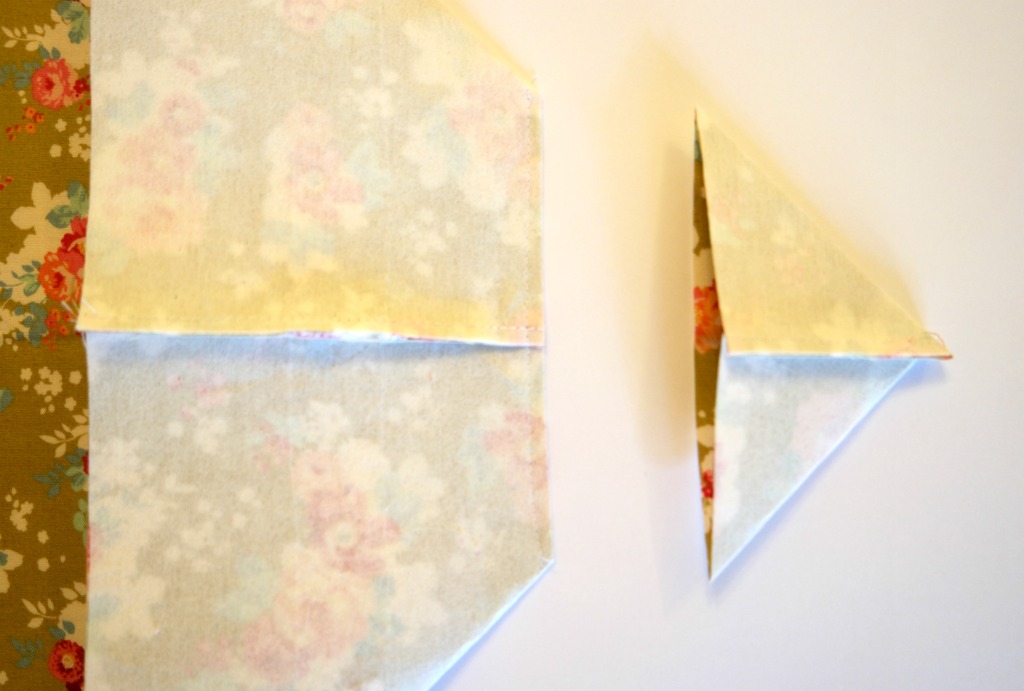
5. Measure up 7 cm (2 3/4″) from the corner and pin at right angles to the seam. Sew where you have pinned. Cut the corners off.
Lining
If you are using different fabric and it does not have a directional print, you don’t need to cut it in half. Just fold it length ways and sew the side seams, then make the boxed corners.
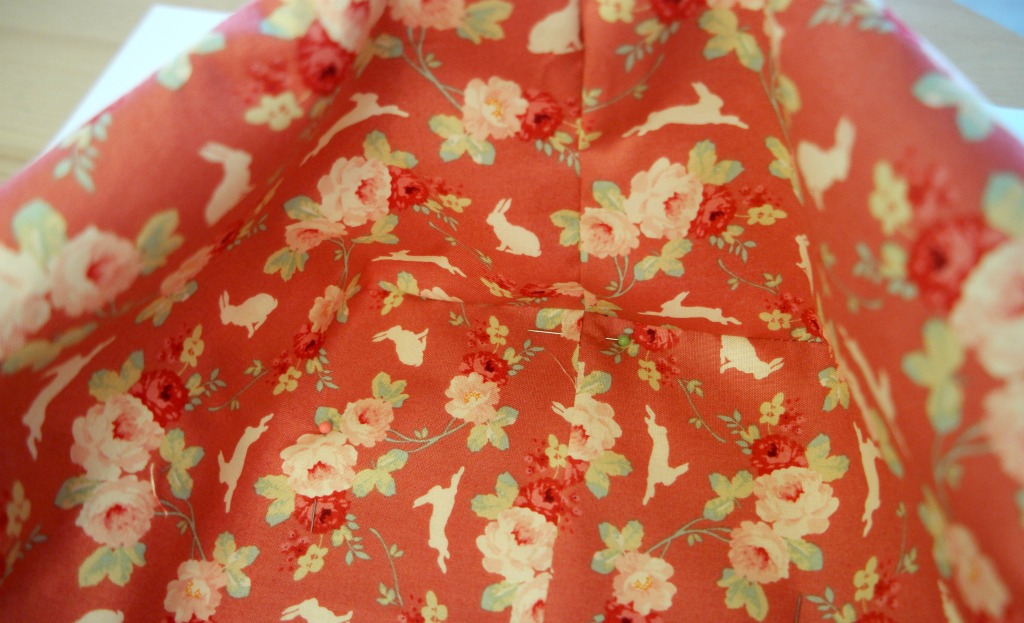
1. Fold the lining in half length ways. Cut where you have folded.

2. Take one of the halves and turn it round so that the print goes the opposite way. Pin the 2 halves together and sew along the sides and the bottom. Trim the seams.
3. Make the boxed corners in the same way as for the outer.
Finishing the DIY Fabric Basket
1. Pop the lining inside the outer so that the right sides are together. Push the corners of the lining right into the outer. You might want to pin the lining to the outer at the sides to make things easier.
2. Fold the lining over the top of the outer and press with your fingers as you go. Tuck the raw edge underneath and pin in place.
3. Top stitch all the way round.
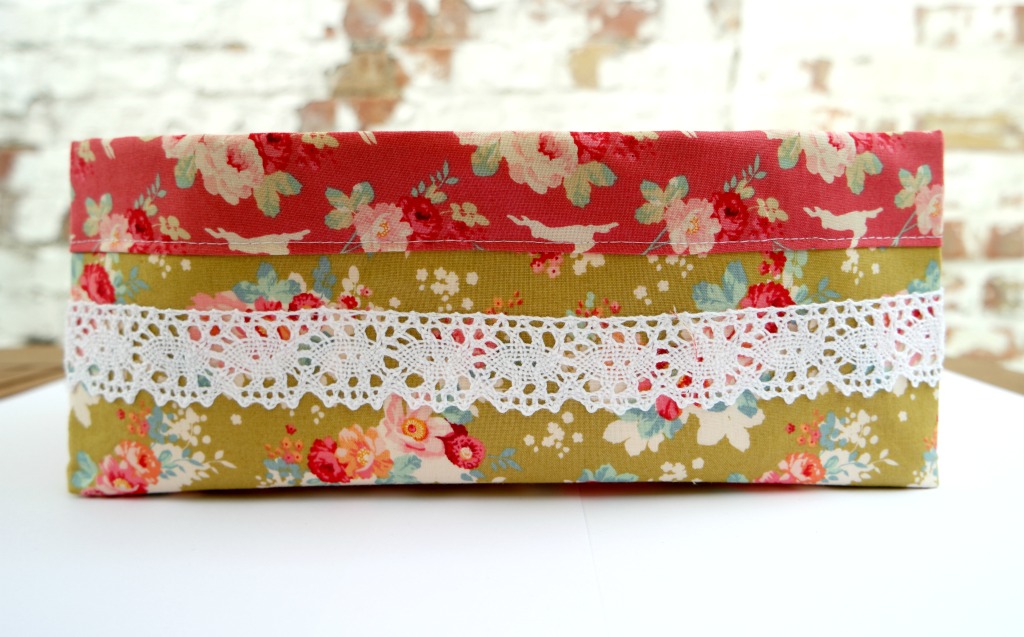

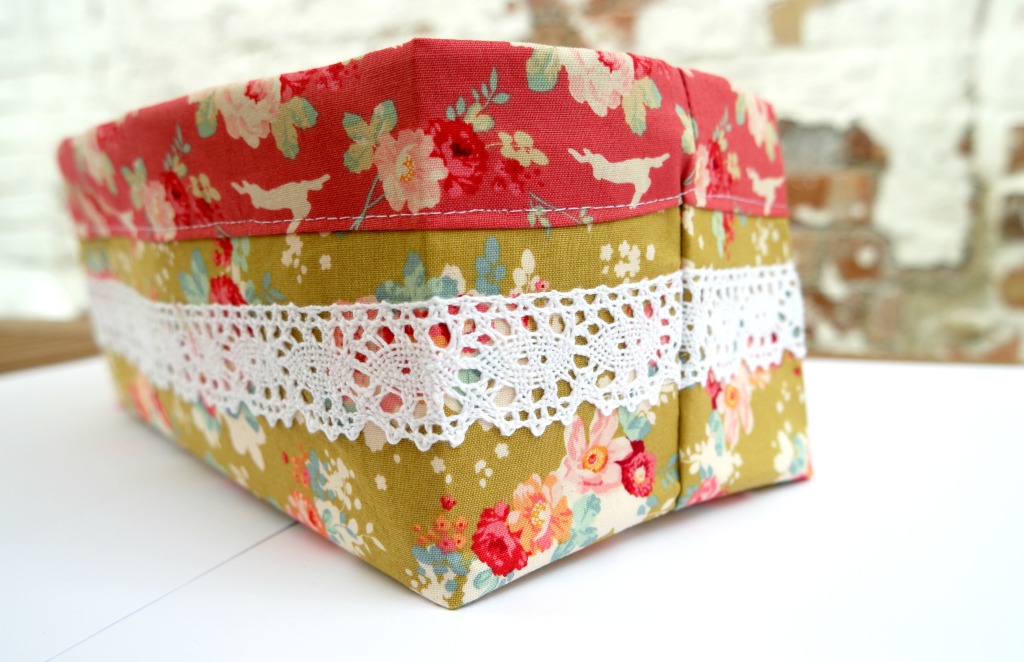
Your DIY fabric basket is finished!
The off cuts don’t need to be wasted! You could save them for a scrap project, like a wrist pin cushion or pattern weights!
If you like sewing things for organising stuff, I have a Pinterest board devoted to boxes and baskets you can make.


When I sewed the lining sides length wise, the liner was two inches longer than the outer. Do you mean to have liner mearsurements 17’long 19″tall?
Hi Carolyn, I’ve double checked and yes, that’s correct. It’s so that the liner folds over the outer. I can help if you’re stuck, if you want to send me an email at [email protected] x
Another lovely project, thank you Anna
Can you please tell me the finished size, so I can adjust for my drawer size, as I am not sure how the corner boxing affects the size. Much nicer than my plastic inserts which I use at the minute for my Fat Quarters ?
Thank you again
Stay safe
Sheila
Hi Sheila,
It’s 14 cm x 29 cm, and 11 cm high xx