How to Make a Top From a Scarf
How to Make a Top From a Scarf
This is a guest post by my mum, who is going to show you how to make a top from a scarf.
My mum has been sewing for a very long time. Her mum taught her, just as she taught me.
The soundtrack to my childhood would feature the hum of the sewing machine! She made countless little dresses for my sisters and I. I remember a little green party dress with pintucks on the front, school photos of my sisters and I wearing dresses that were similar but not the same! I remember trips to the department store to choose fabric and patterns that my mum would whip up into outfits. She would even make coats for us and knit or crochet matching hats.
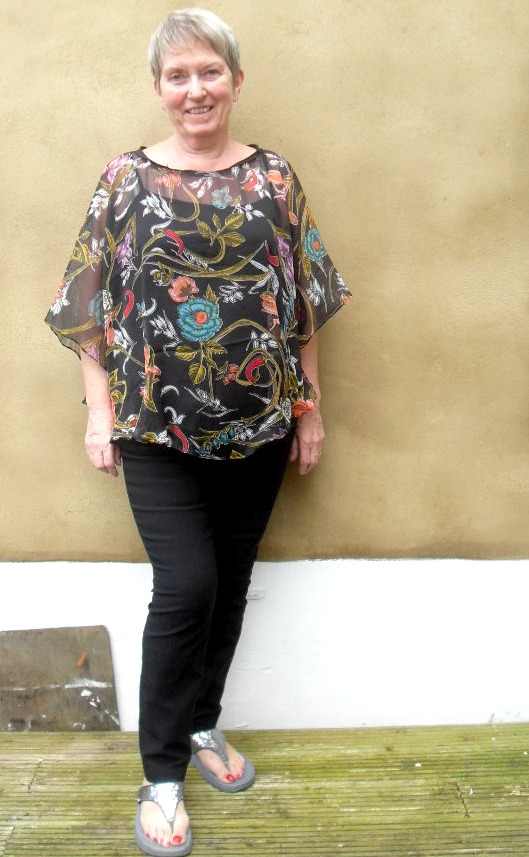
This is a tutorial showing how to make a floaty kind of top from a scarf. This is a nice thing to make if you like pretty scarves but you don’t really wear them!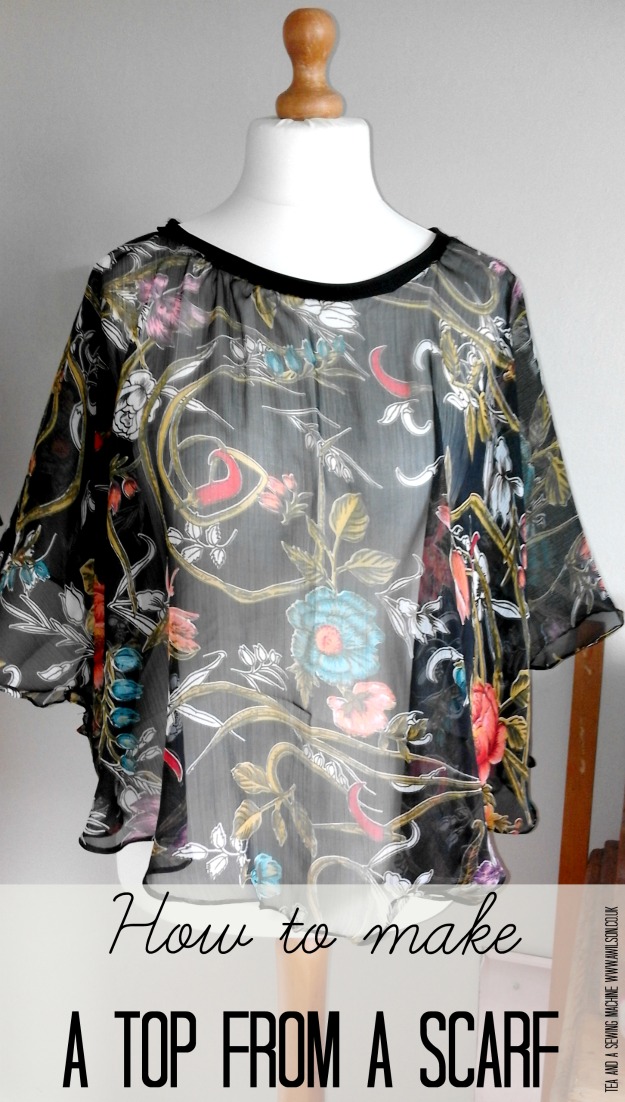
How to Make a Top From a Scarf
You Will Need
1 scarf (the one used here was 180 cm x 110 cm), bias binding, usual sewing supplies.
Making the Top
On a recent trip to Italy, I was impressed by the brightly coloured fabrics and floaty styles characterised by the fashion of the area. While there I bought a large scarf (180 x 110 cm) to make a top in this style.
1. Fold your scarf in half widthways, then in half lengthways. Cut from about 20 cm down to the opposite corner. The line that you want to cut is marked in purple on the diagram below.
3. Cut off the folded corner, 5cm off the long side of fold and 15cm off the short side to make the neck hole (this is marked in pink on the diagram).
4. Bind the neck hole with bias binding or stretchy fabric.
5. Finish the lower edge with a Rouleau hem. This is easiest to do with a rolled hem foot. They have them on Amazon here (affiliate link).
6. Catch the sides at the bottom of the straight part of the edges (see diagram above) to make armholes.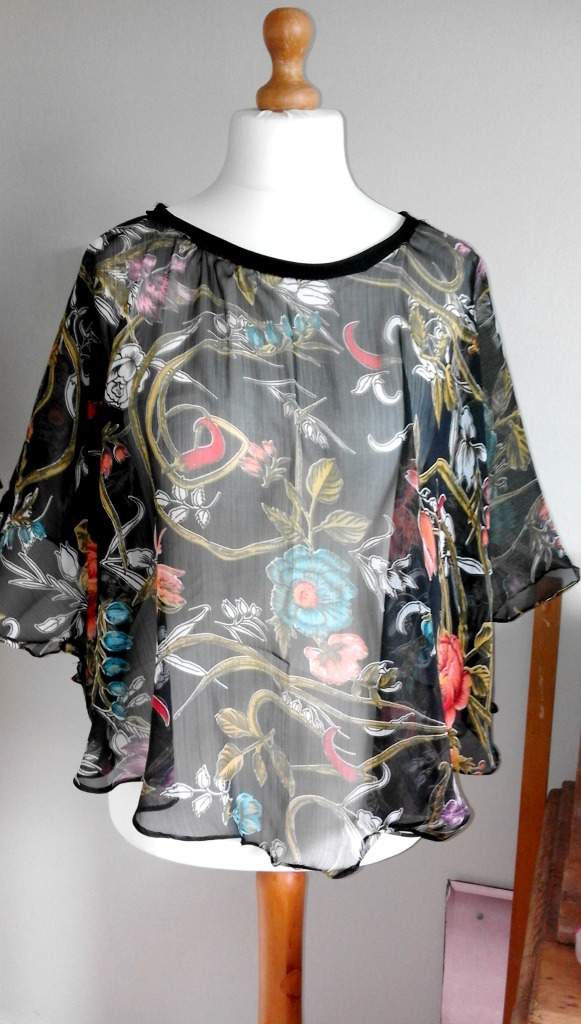
Linking up here.


I must be really stupid, because I can’t make it work at all. I don’t have any straight edges to make an armhole. the whole thing is curved.
Hi Sheila, sorry it’s taken me a while to reply, I’ve been on holiday.
When you were cutting the bottom edge, did you leave 20 cm at the top like in the diagram?
Hi there
Just stopped by to let you know that I featured this on my Saturday Spotlight post this week!
Saturday Spotlight
Thanks again for linking up to A Round Tuit Hope you have a great weekend!
Jill @ Creating my way to Success
Thanks Jill xx
I read this avidly, such a great idea and your pattern is so clear. I am not a sewer but I could follow this. The finished result is so clever and a lovely style. I guess you could do it by just ordering a piece of fabric this size too if you didn’t see a scarf pattern you liked.
Thank you for sharing with me on #Trash2Treasure
That would work too!
fabulous! thanks so much for sharing on craft schooling Sunday and love meeting your mum!
creativejewishmom/sara recently posted…Super Simple Balloon Bouquet In A Pinch (Or On The Road!)
Thank you 🙂
Super simple! What a neat idea – looks like such a lovely summery top!
Jill recently posted…Make your own handbag complete with hidden set of fabric shopping bags you’ll never forget!
Very quick to make as well 🙂